

Results 101 to 120 of 120
Thread: derekf's 69 El Camino build
-
3 Weeks Ago #101

 -ɹoʇɐɹǝpoW-
- Join Date
- Jul 2002
- Location
- Mesquite, TX
- Posts
- 4,929

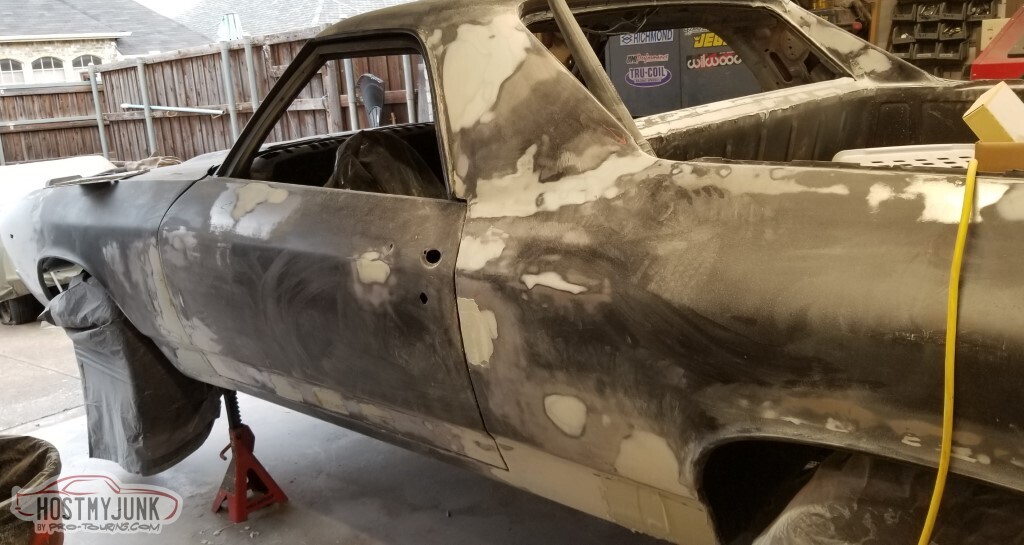
This update has a lot of filling/sanding/feeling which takes a lot of time but doesn't really make for exciting photographs. Sorry about that.
I closed a couple of updates back by mentioning that I'd gone to Summit and picked up a rocker.
This is that rocker.

Replacing
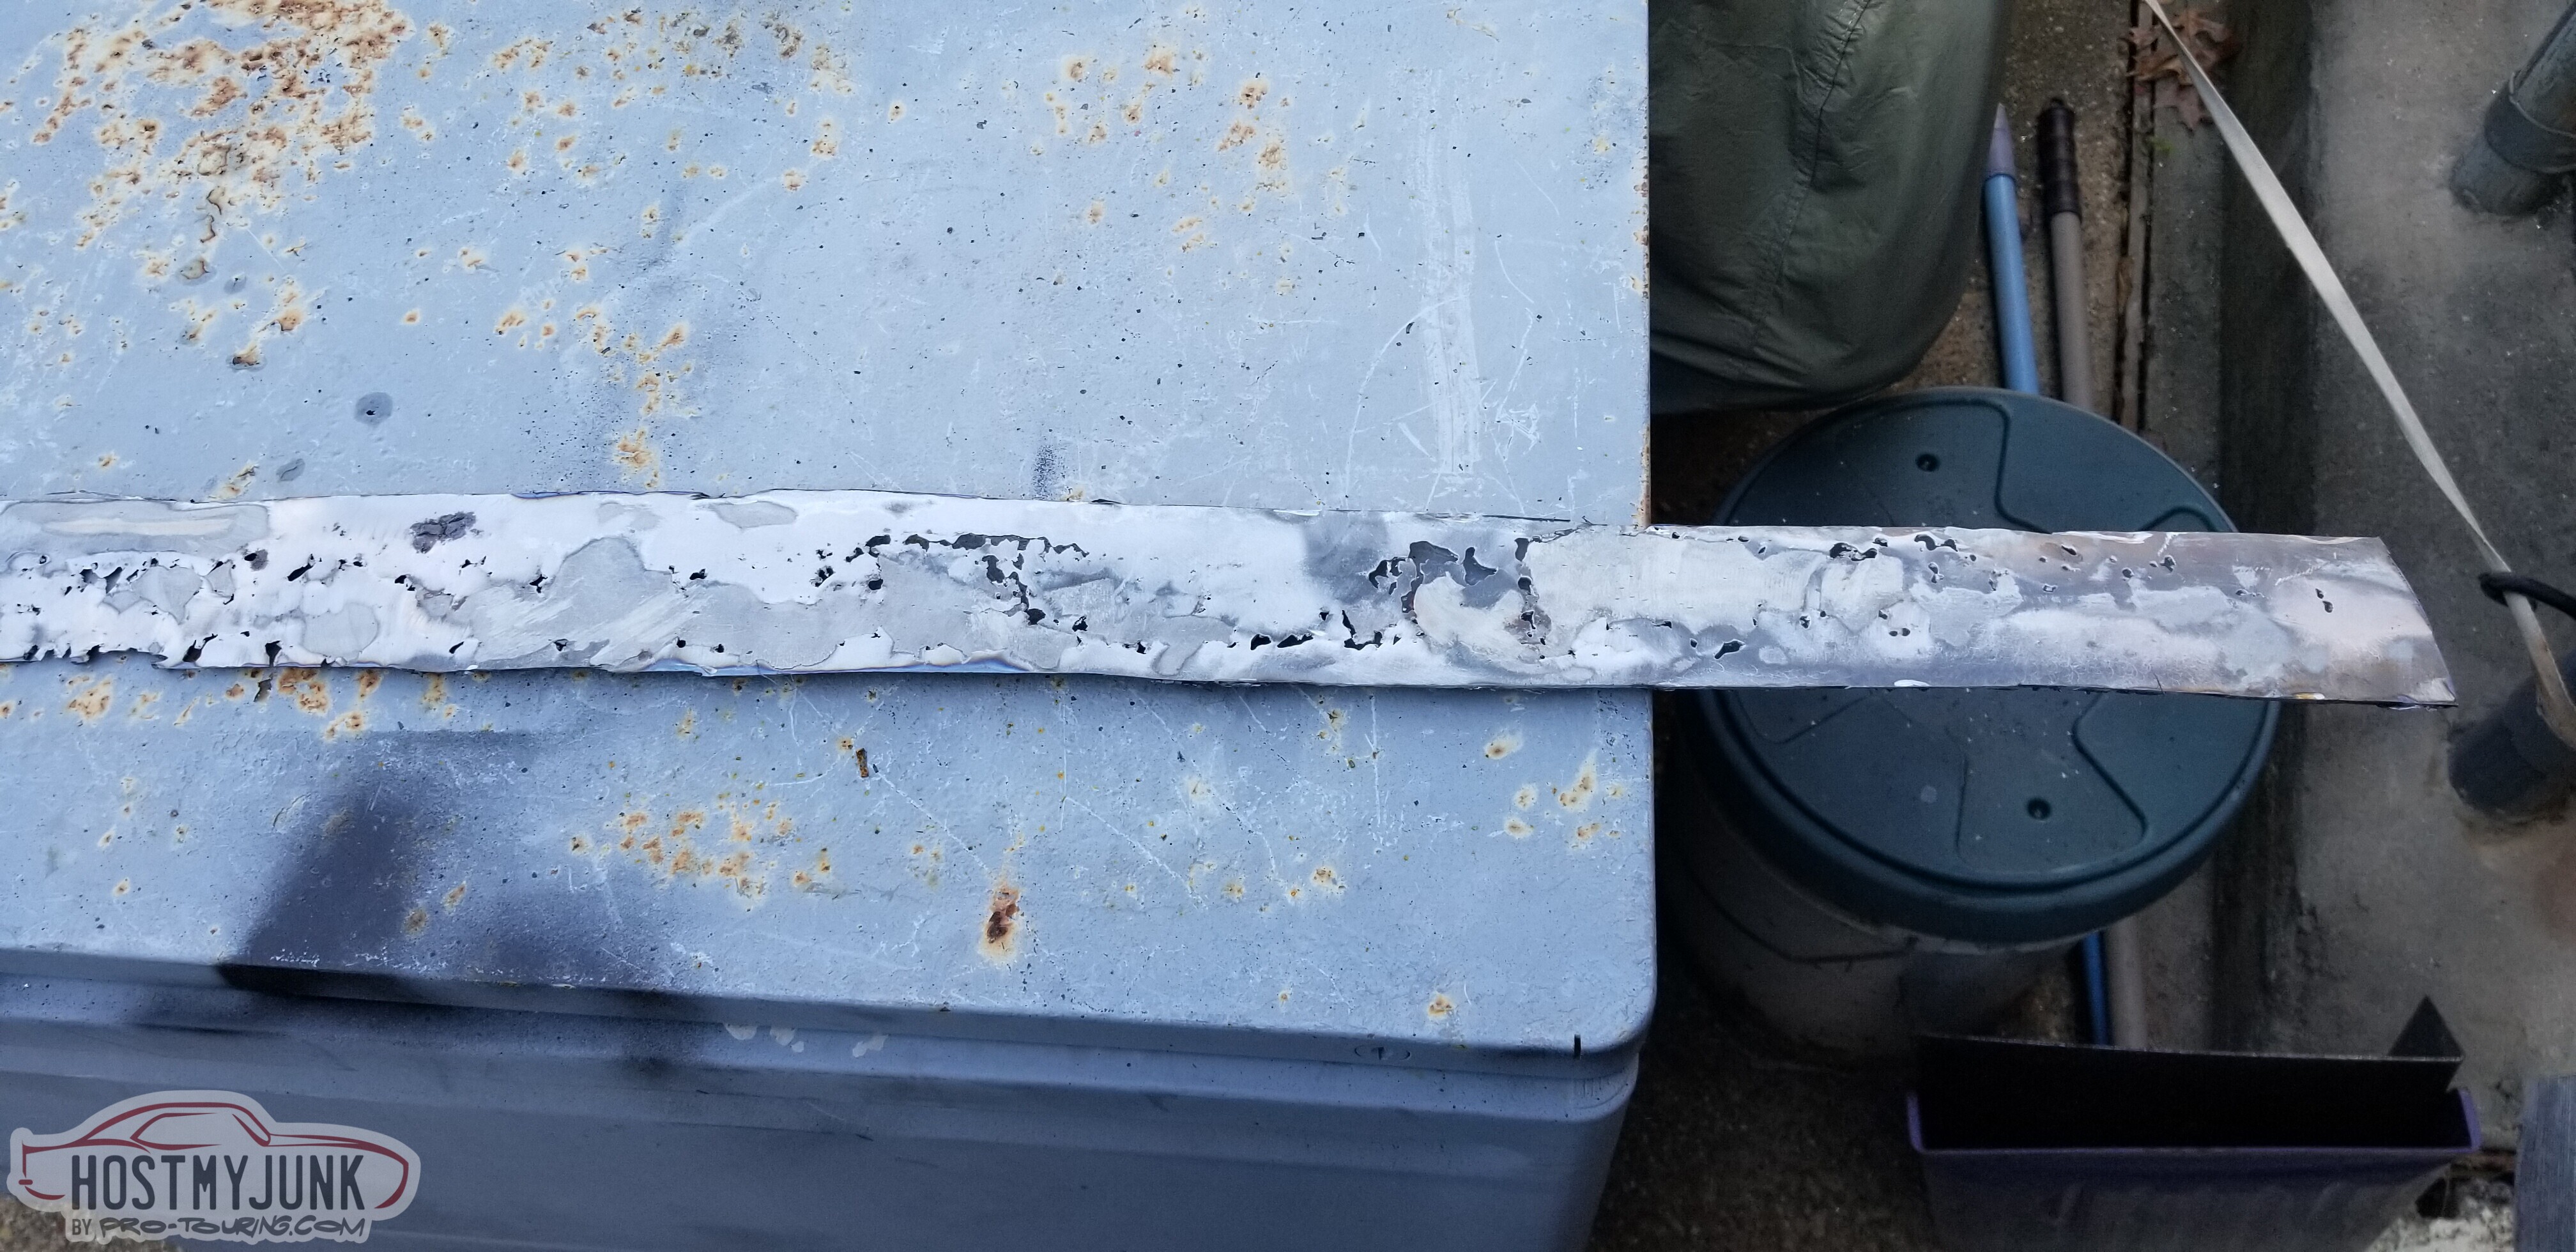
and the other end
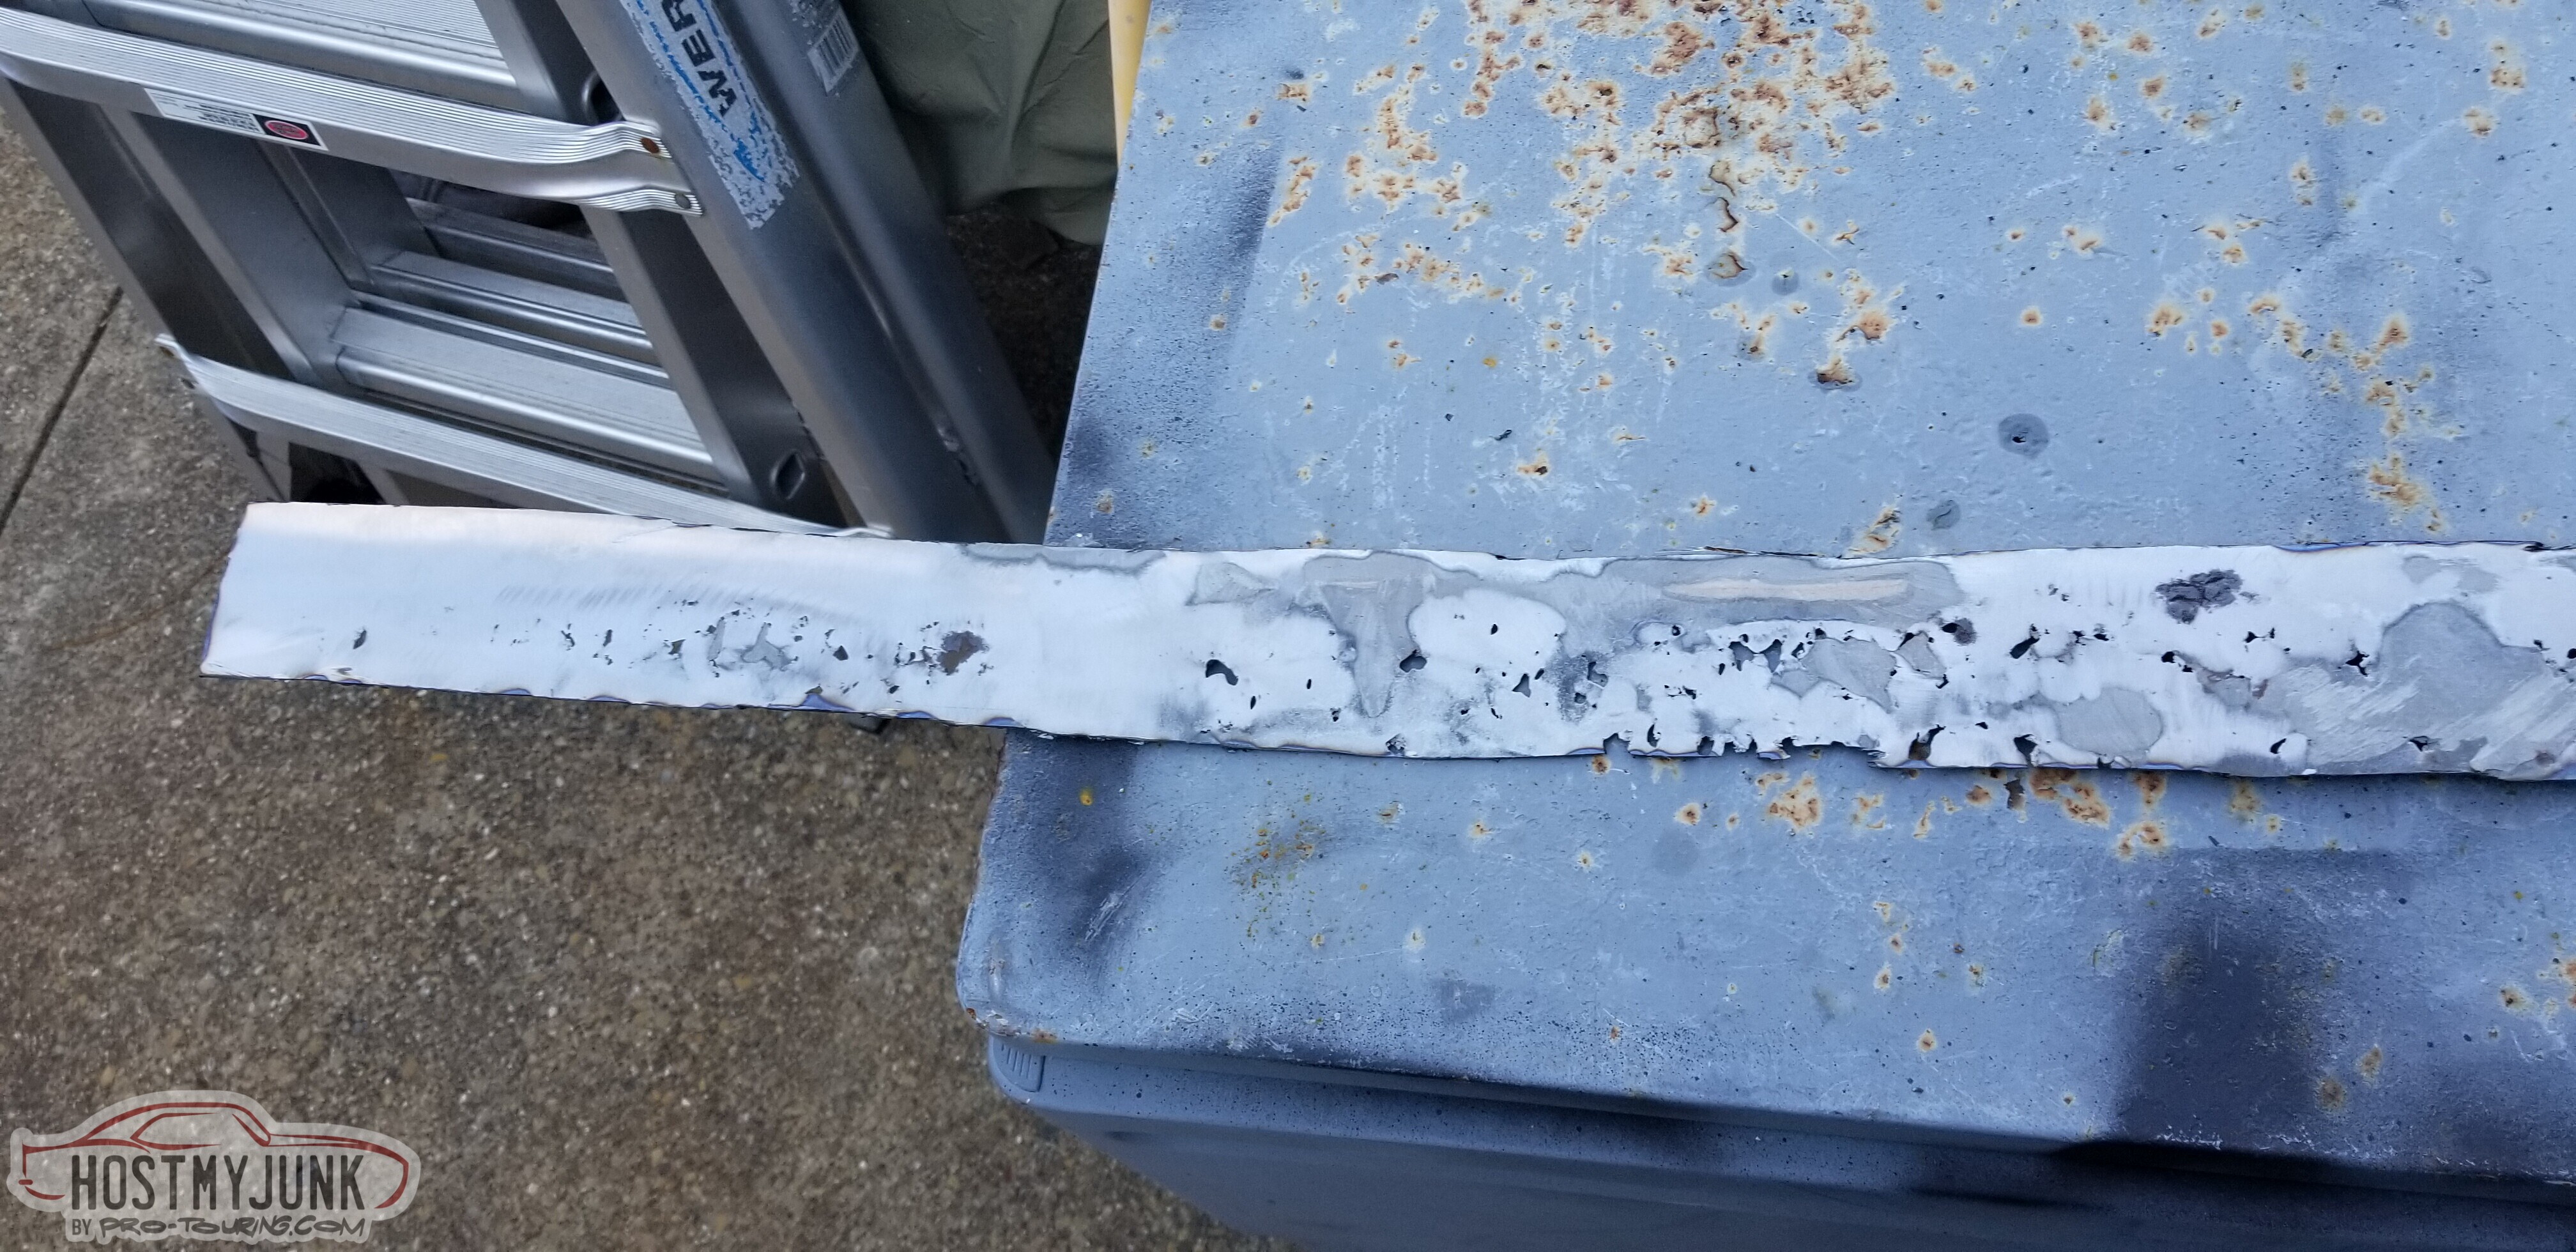
The rest of the area looked fine.
(except for this pile of rust and dirt and rust-foam I pulled out of it)

Cut the new rocker up to get the nice curve I needed.
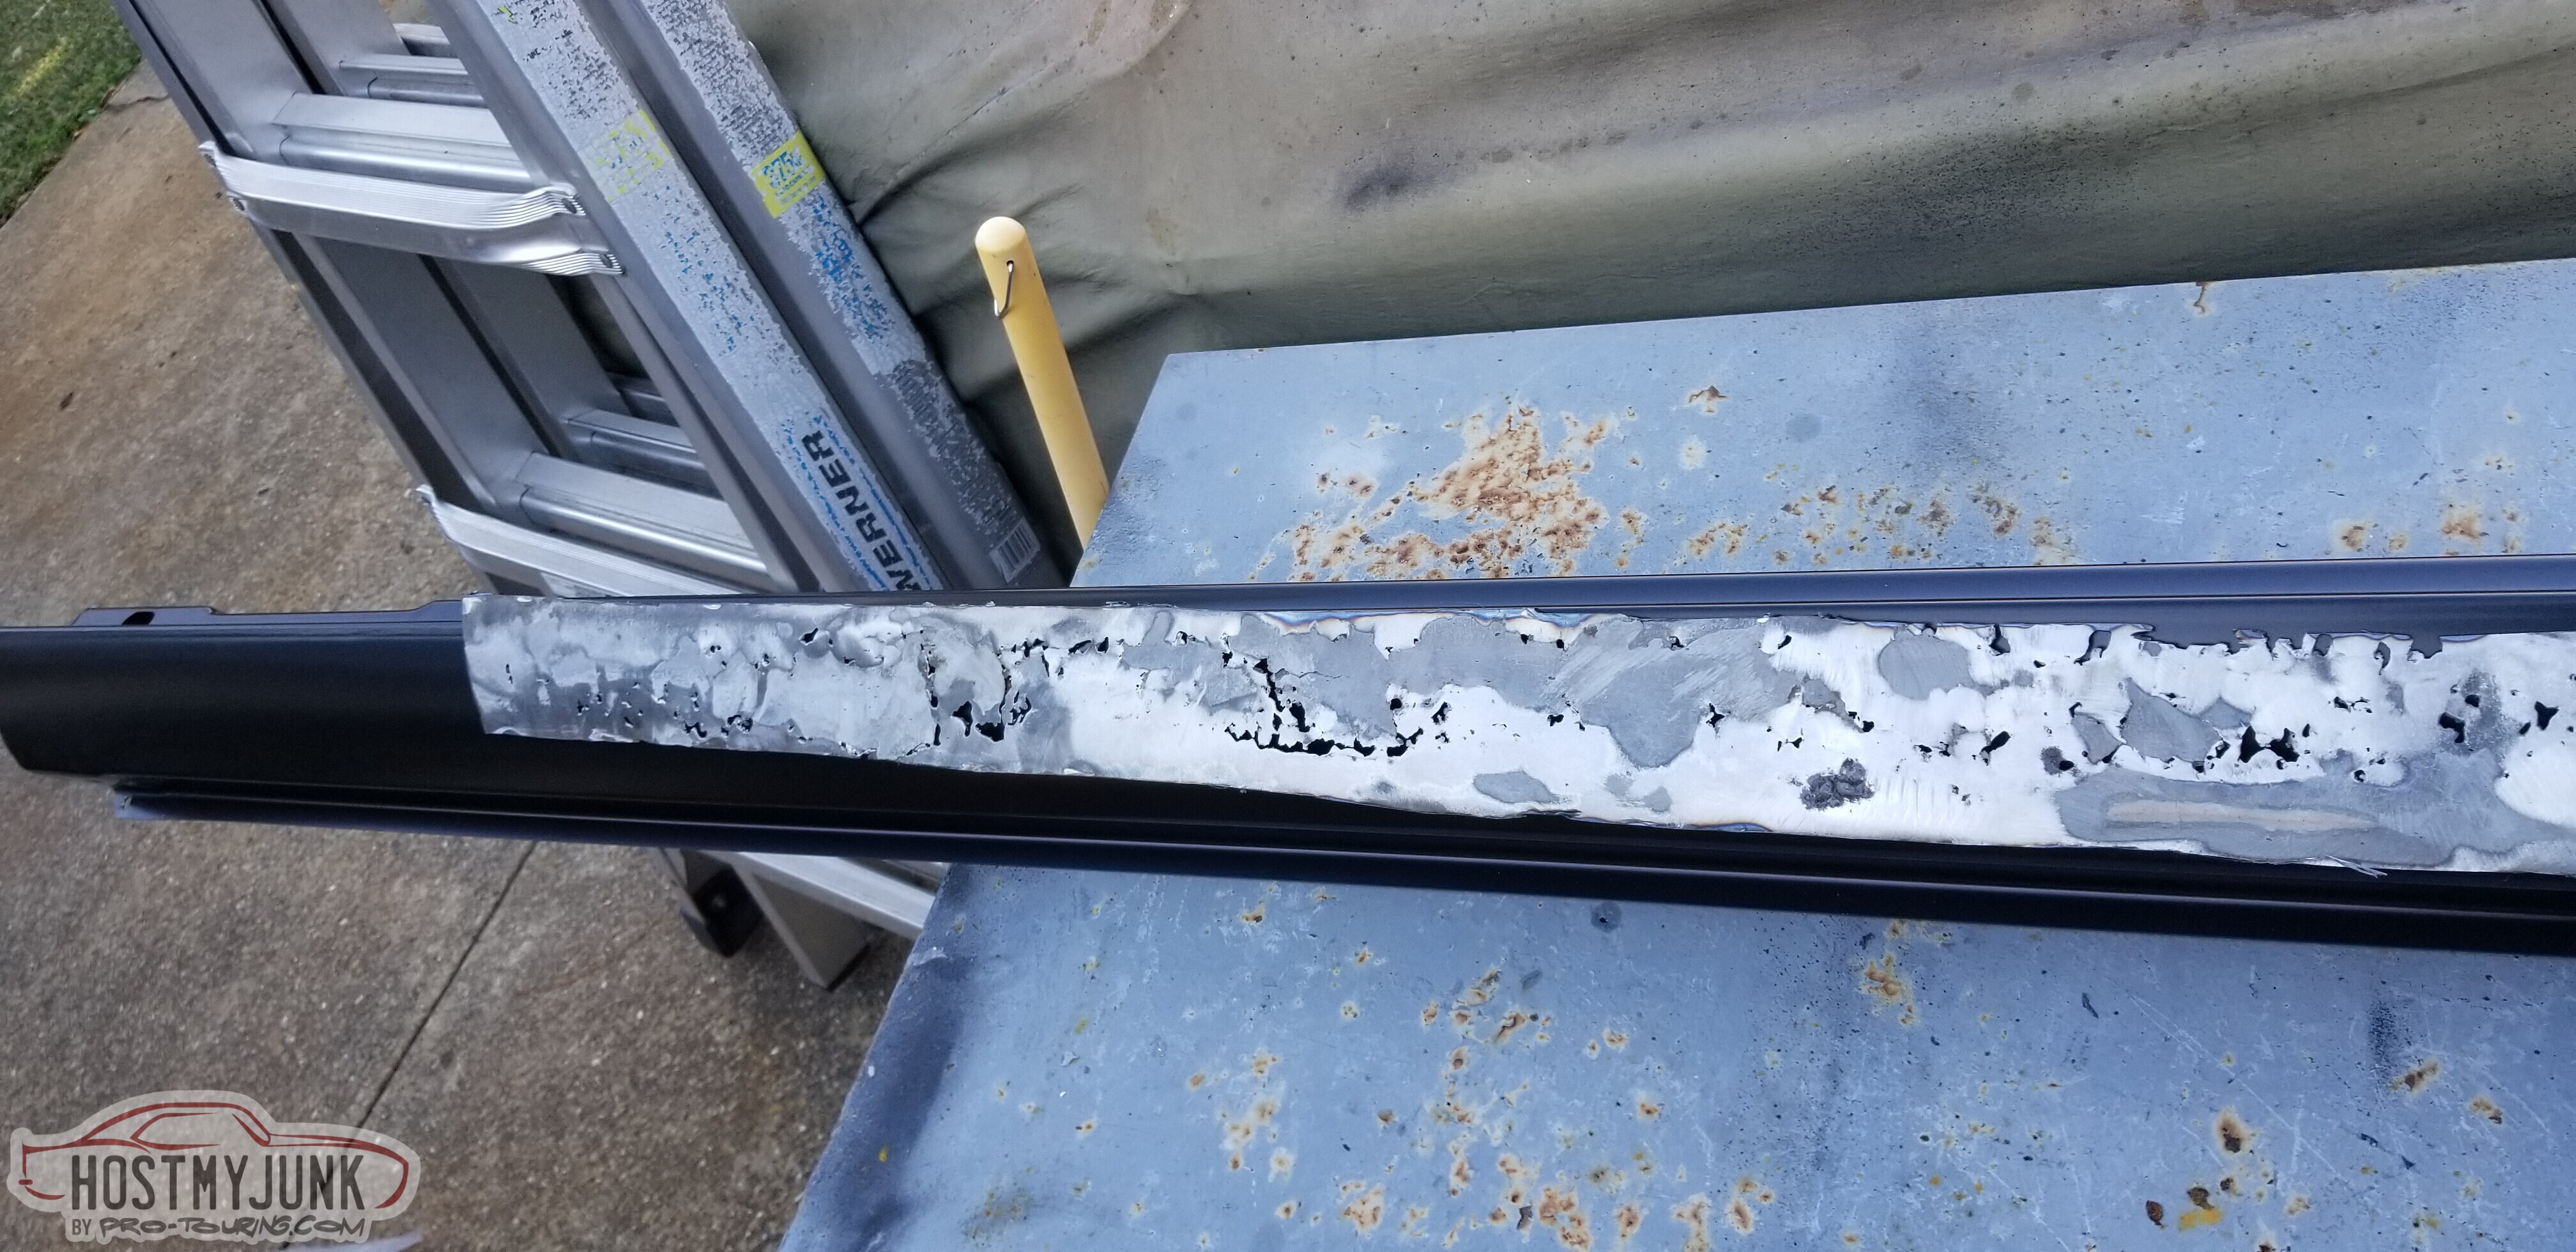
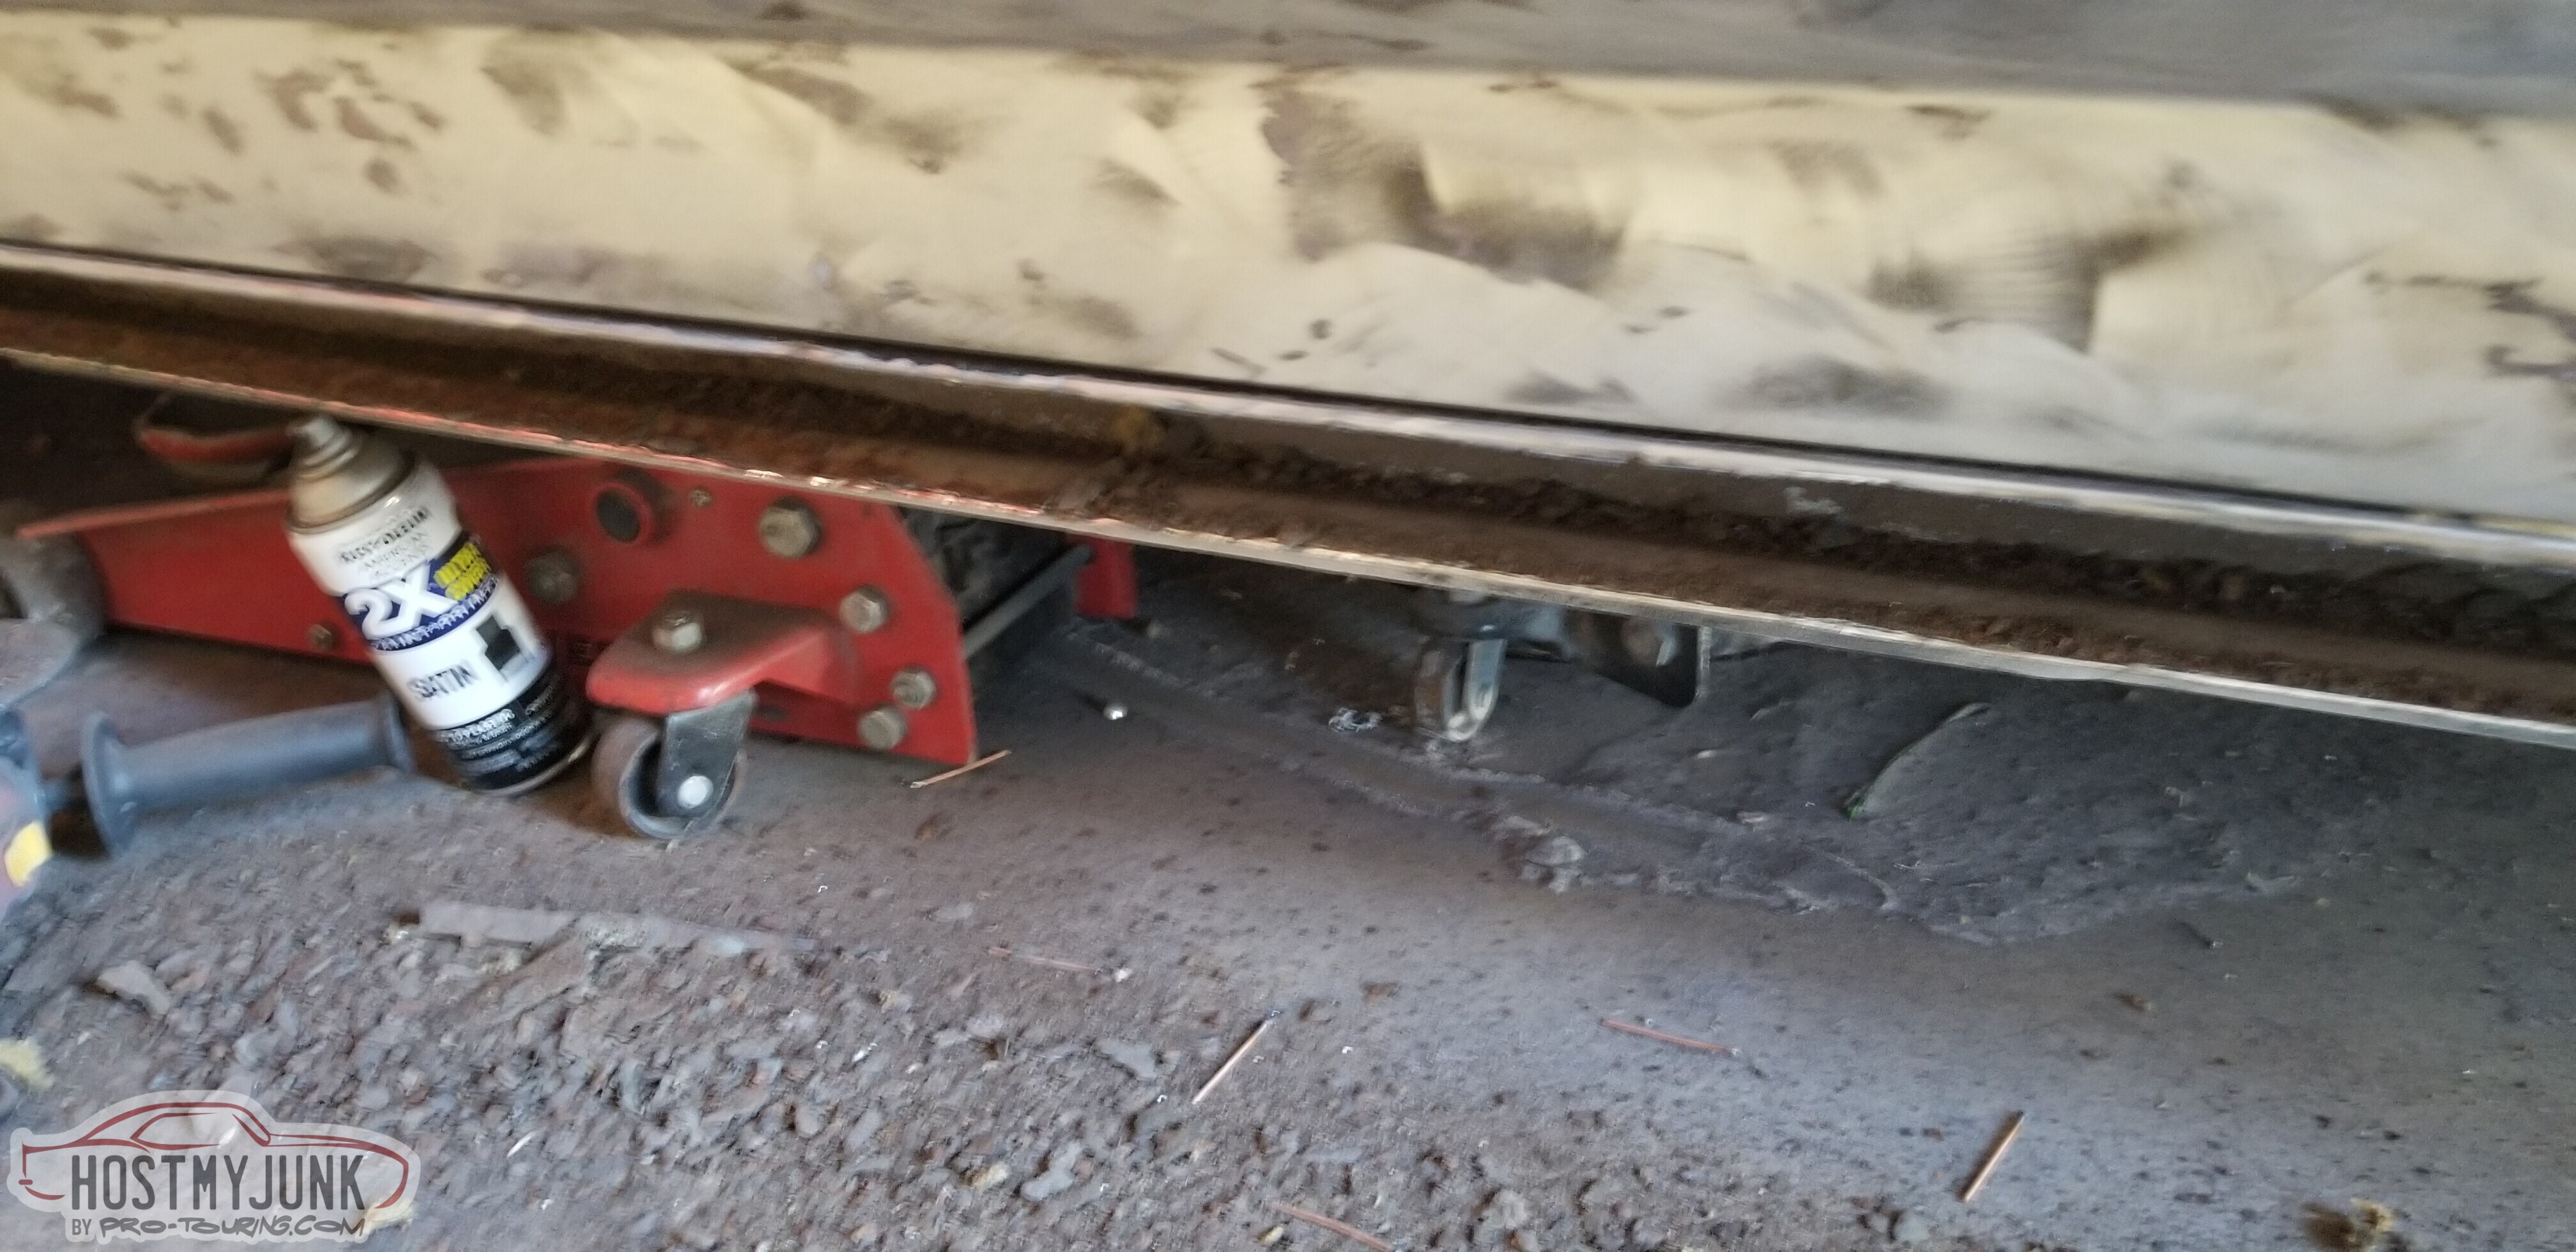
You can see that I painted the inside of this area while it was open.
First tacks.
More tacks.
Lots of tacks.
Some grinding
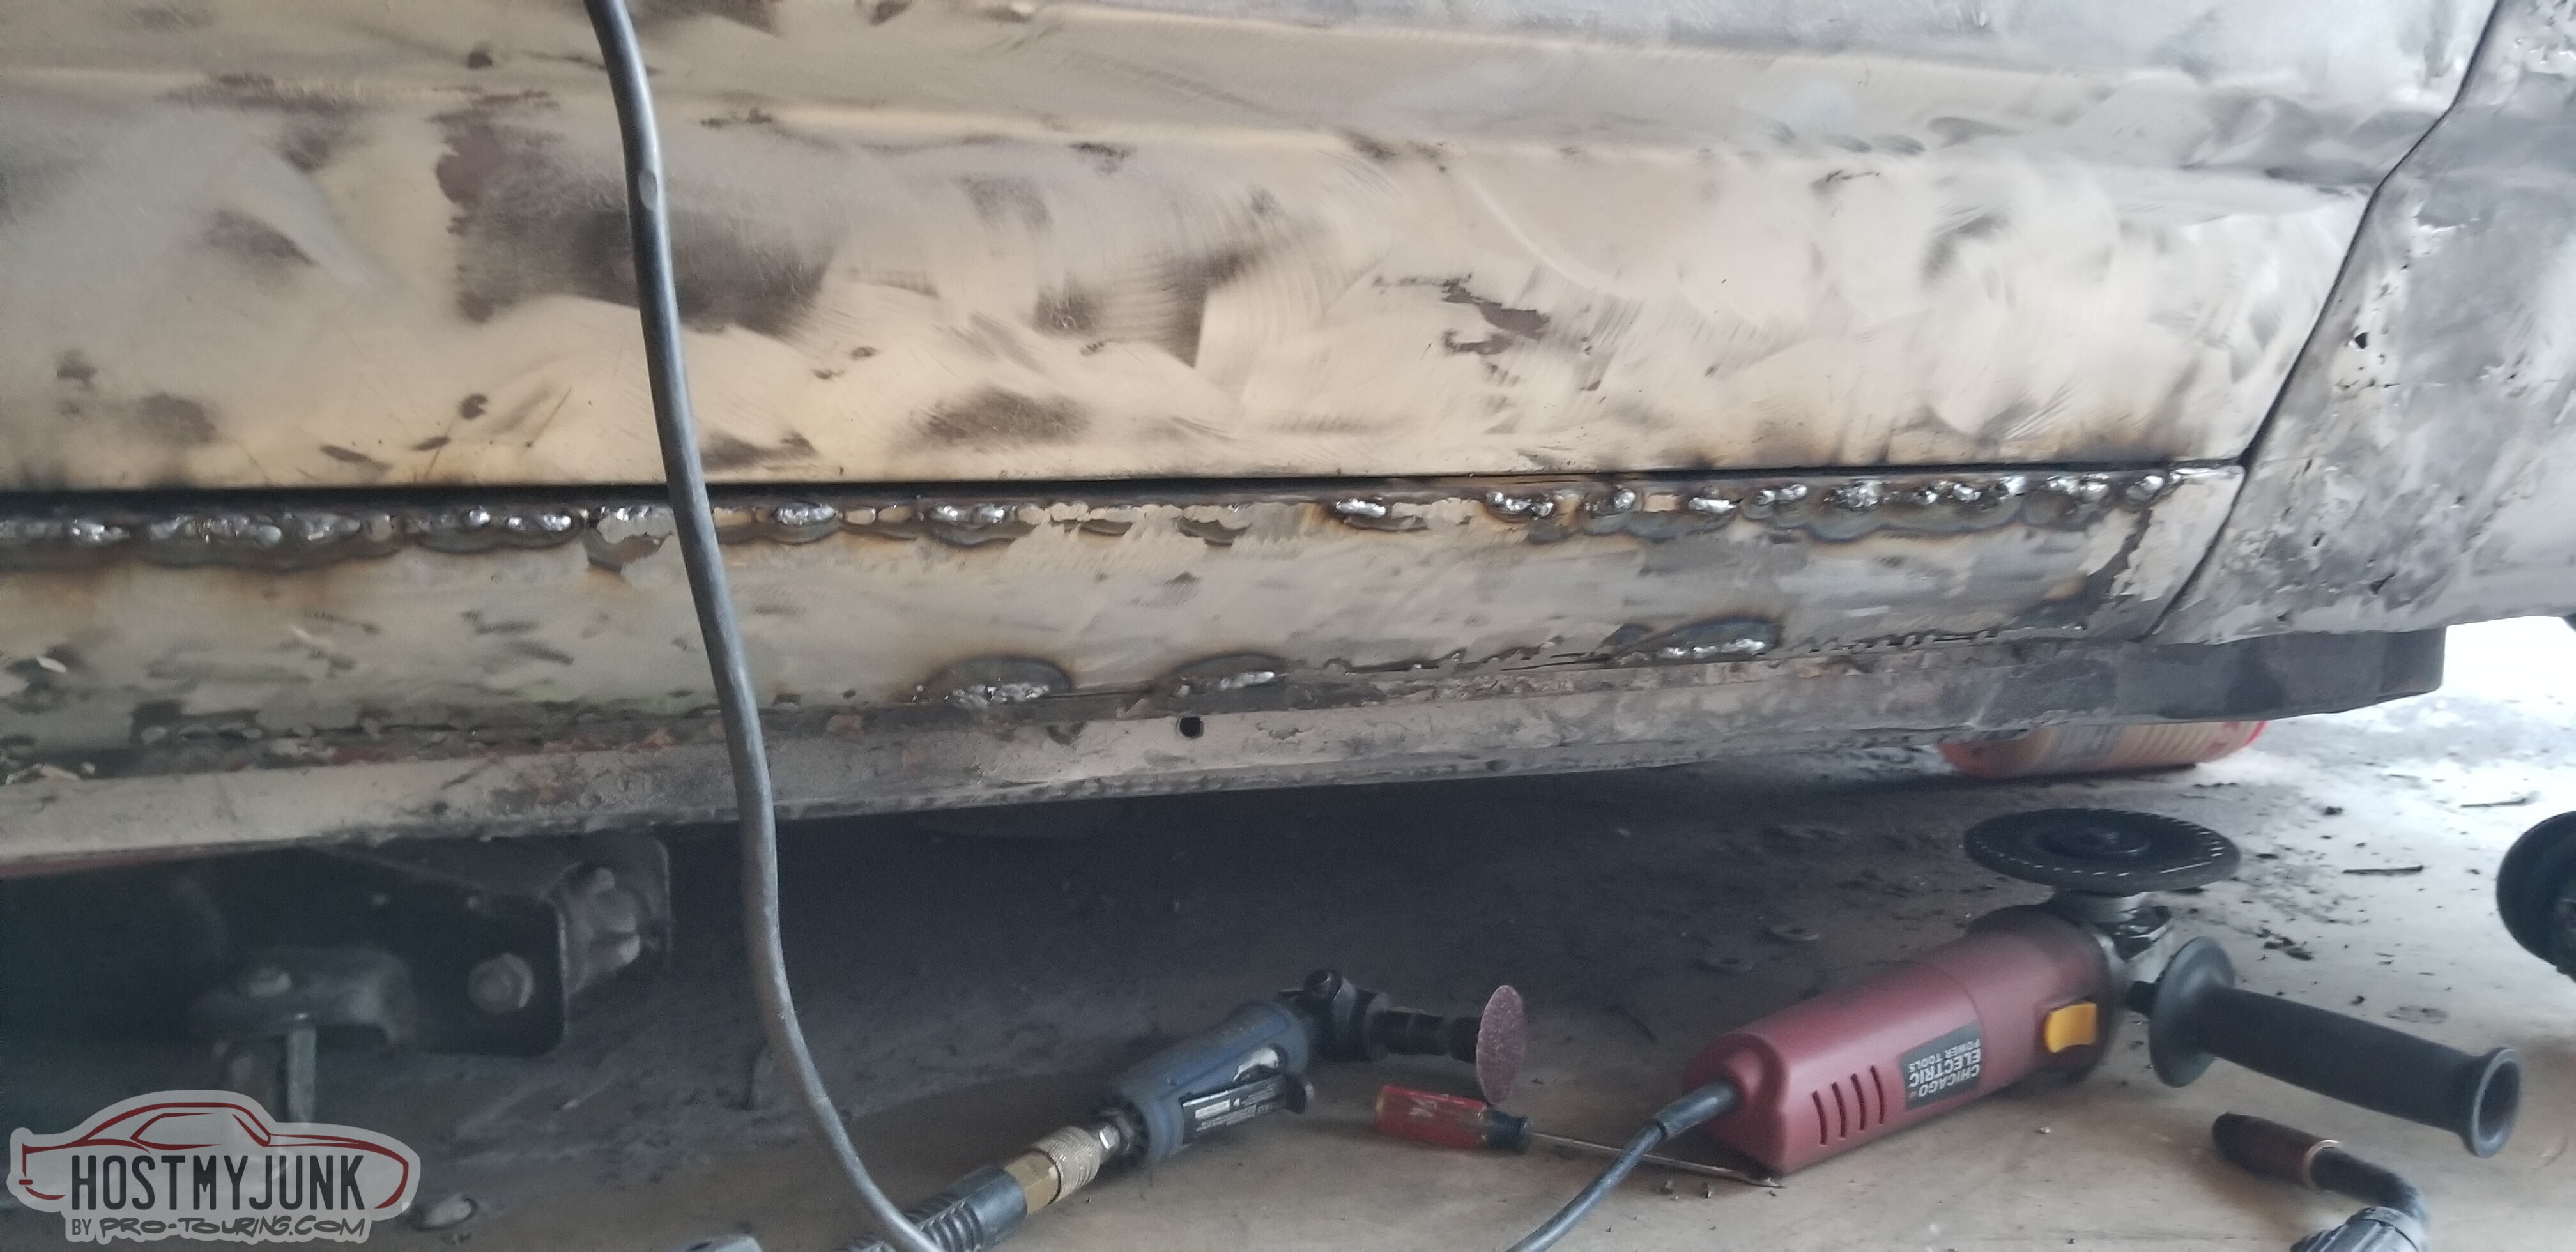
More tacks, more grinding.
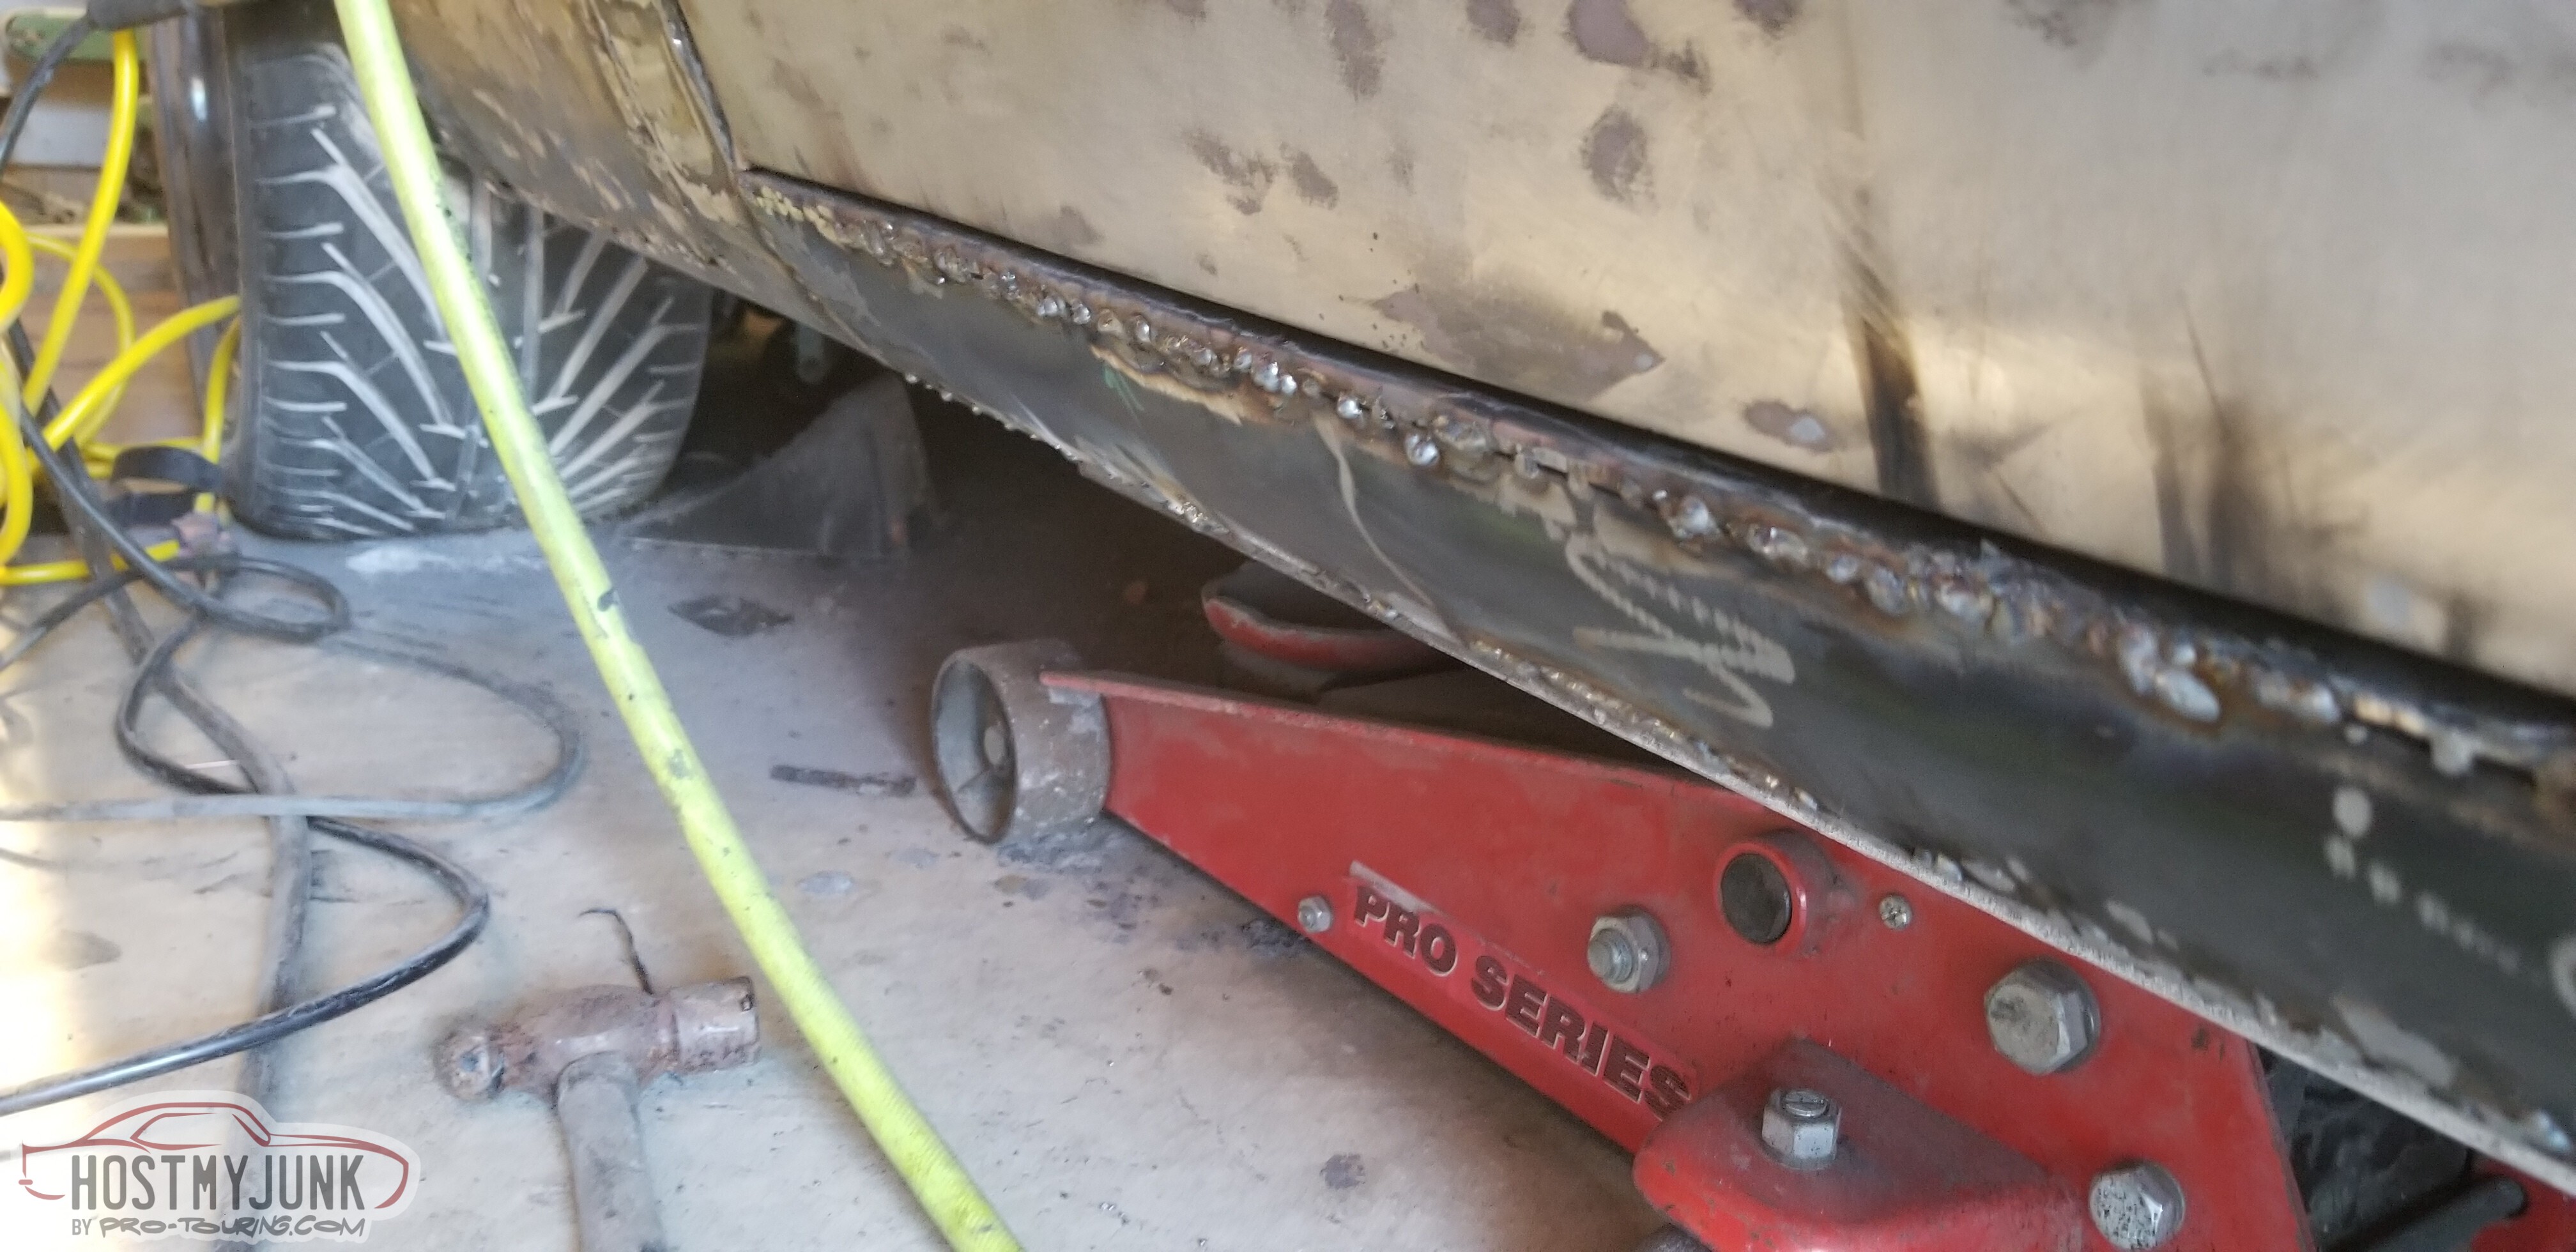
Ground.

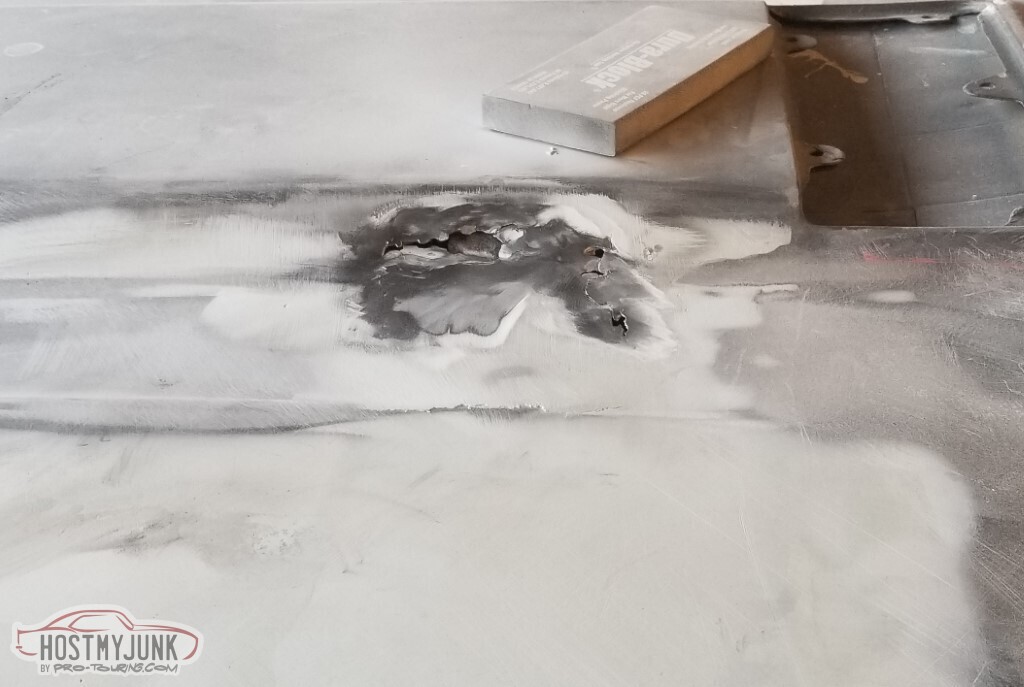
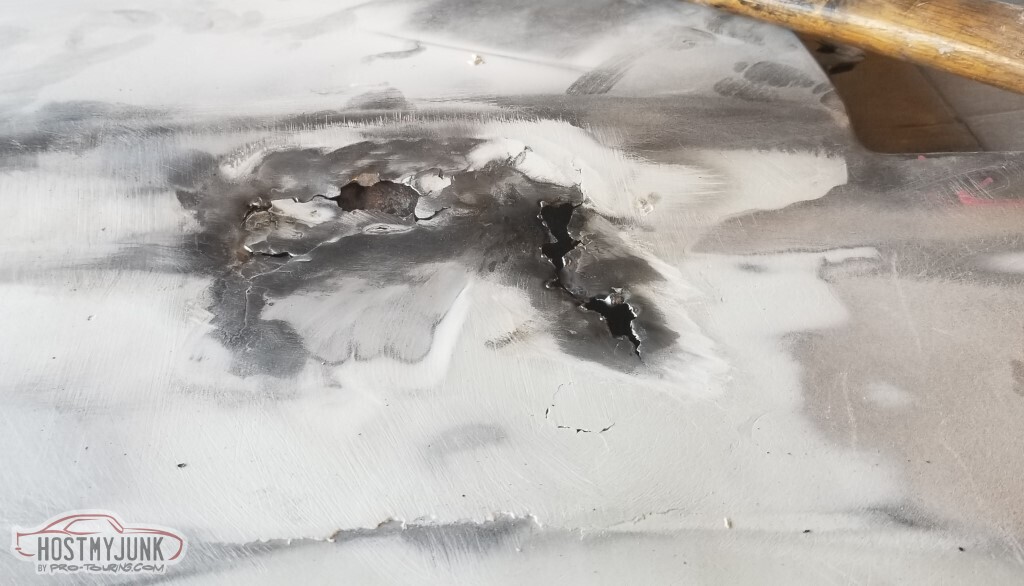
One more rust area to take care of.
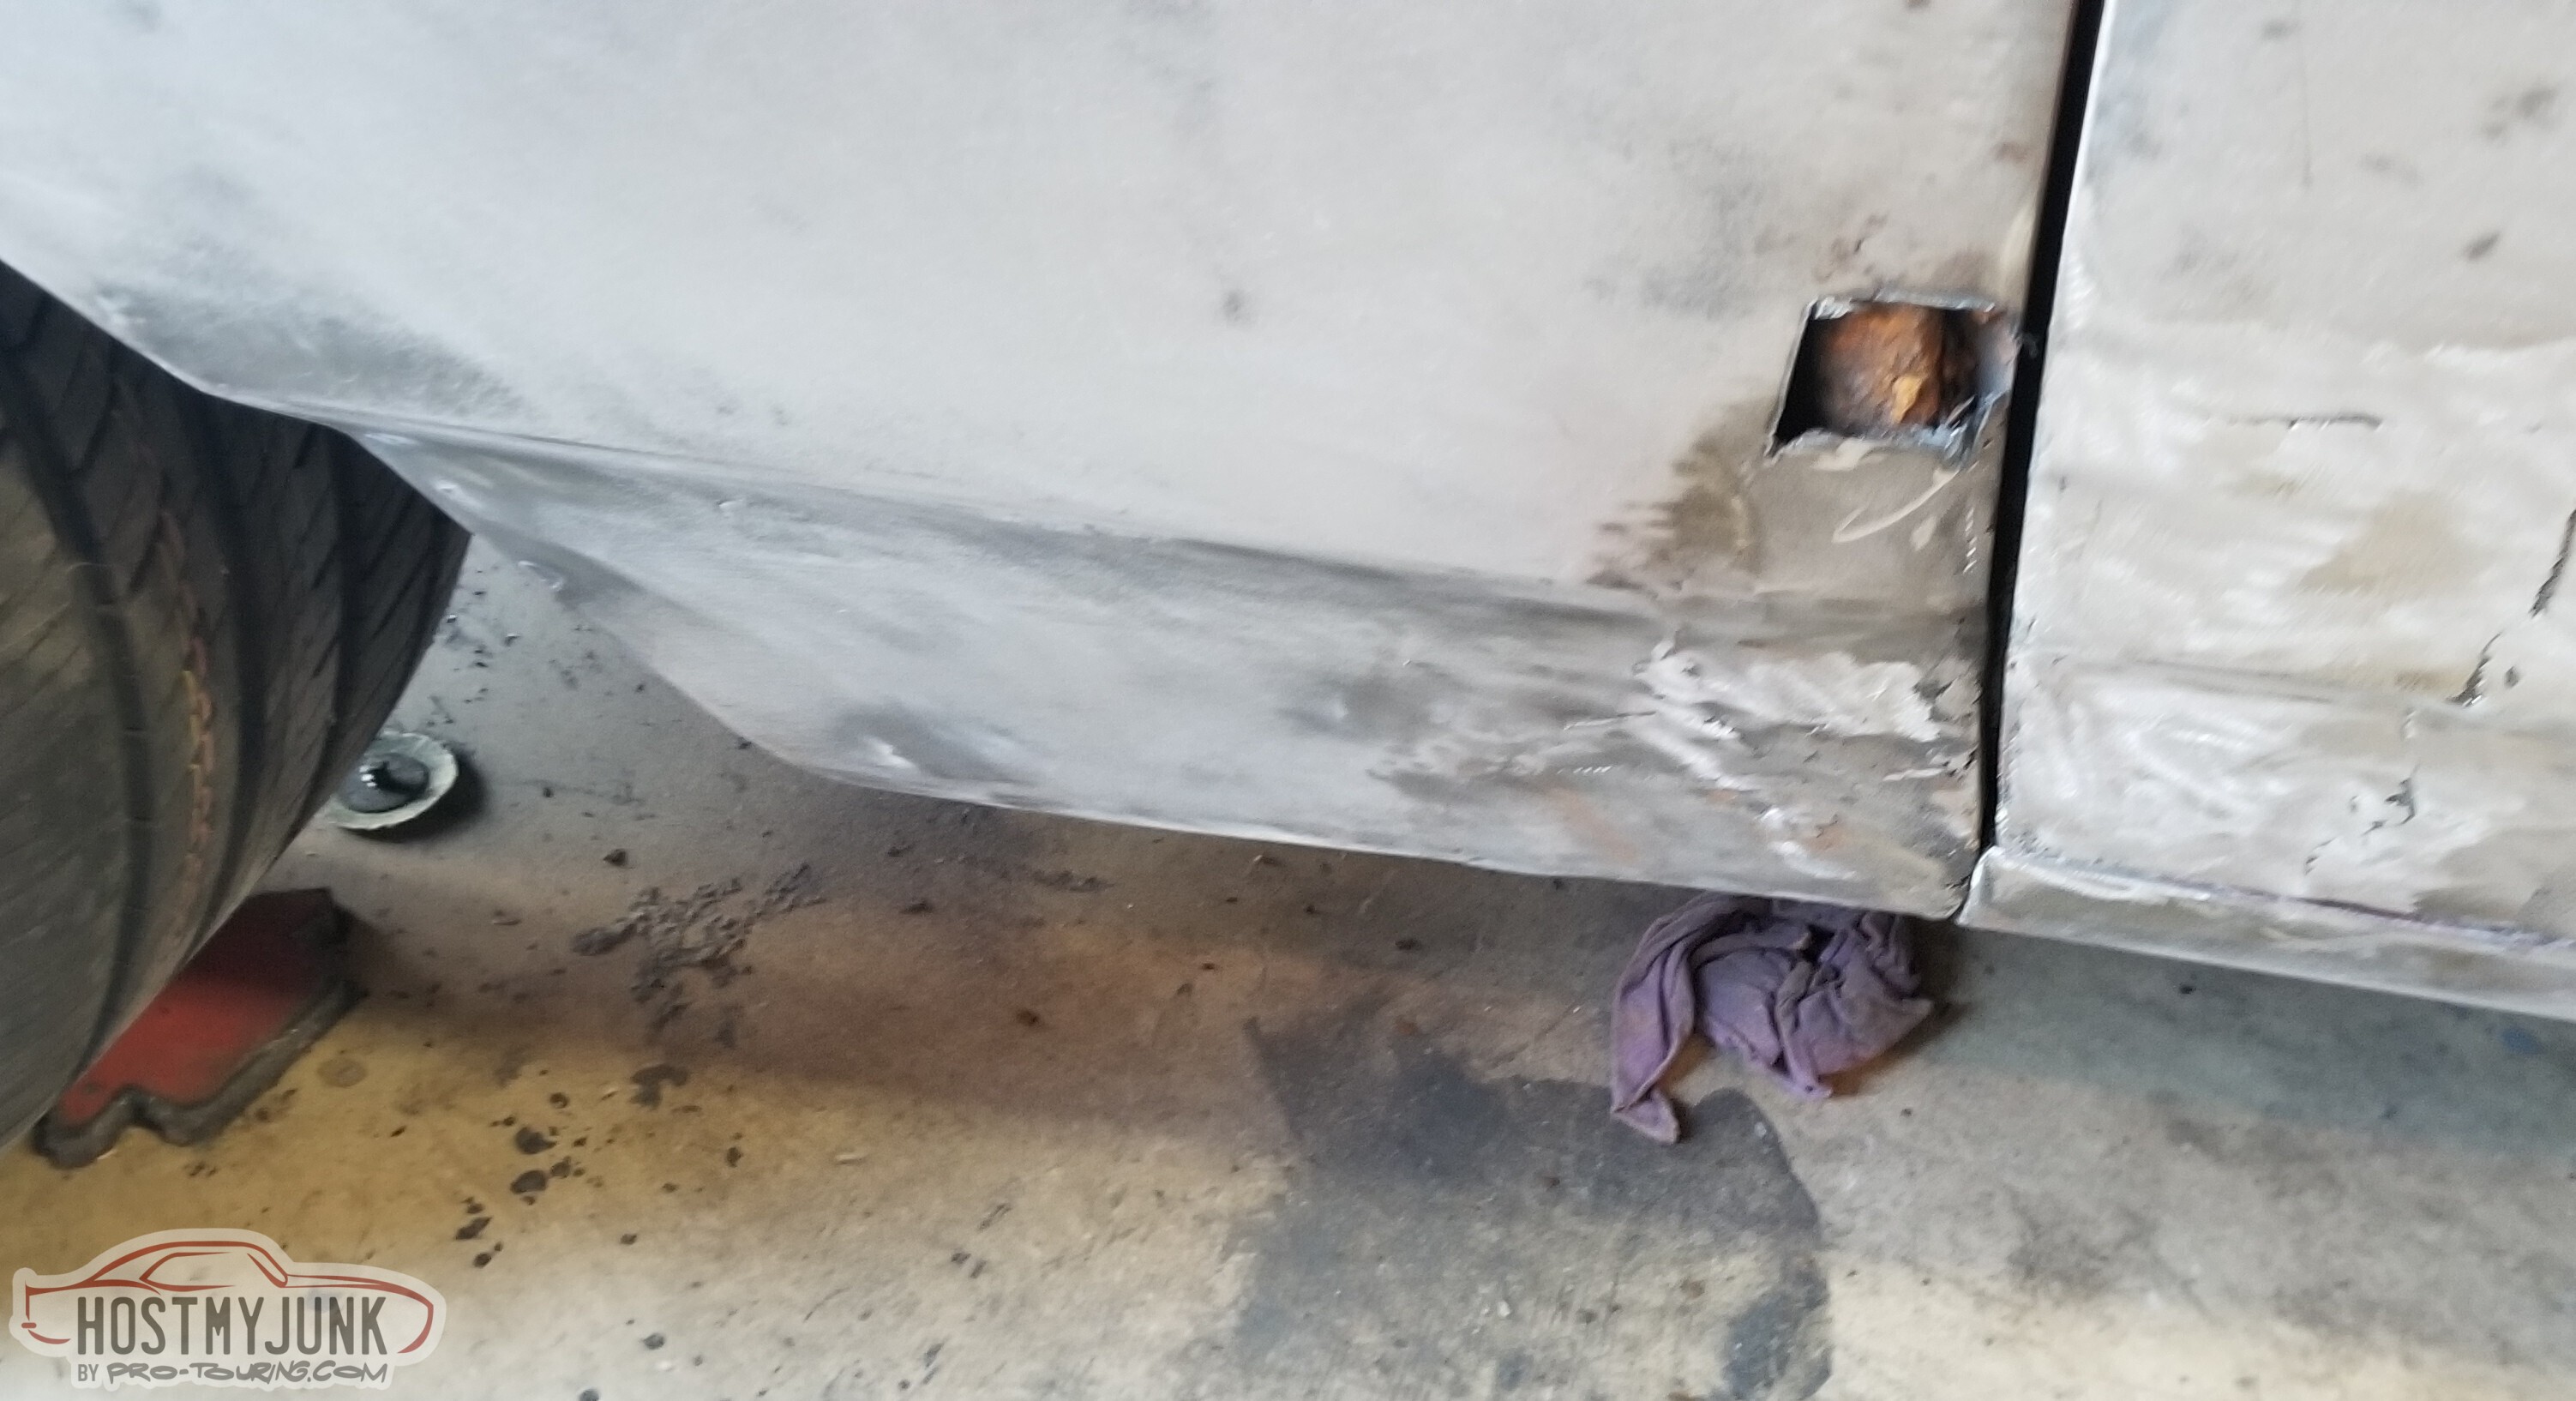
I have found that the stud welder studs make outstanding holders for small patches.

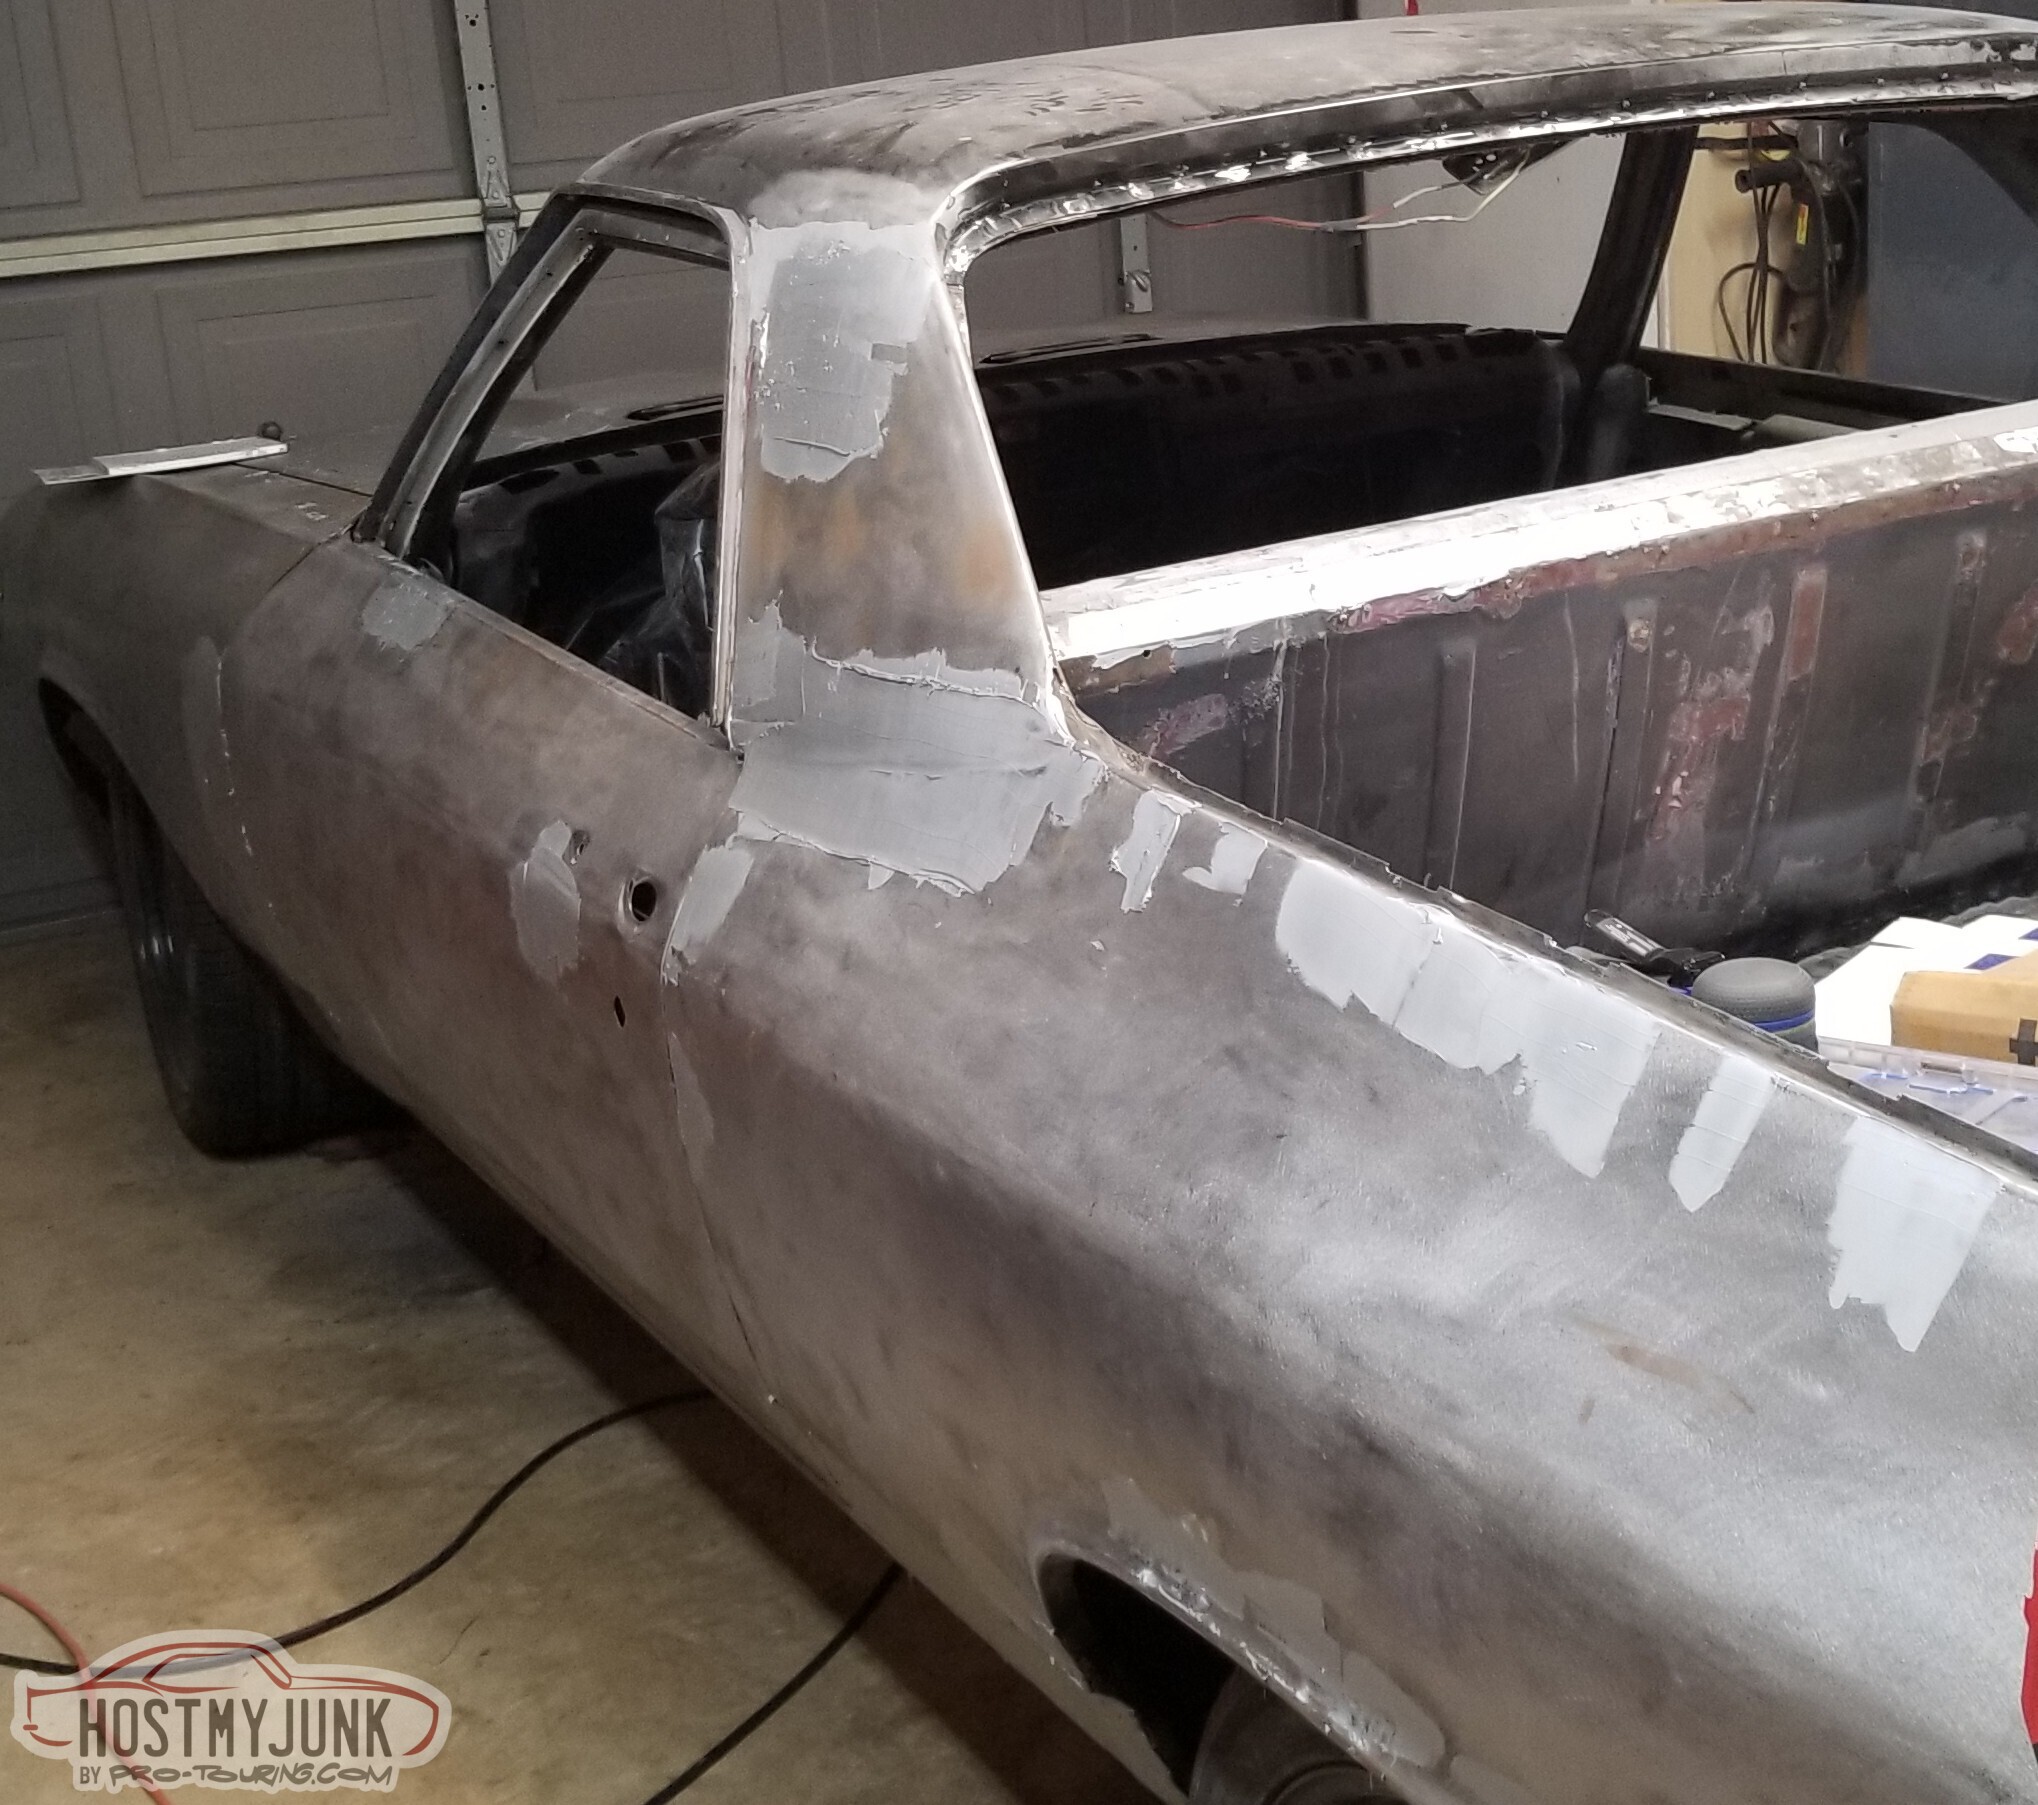
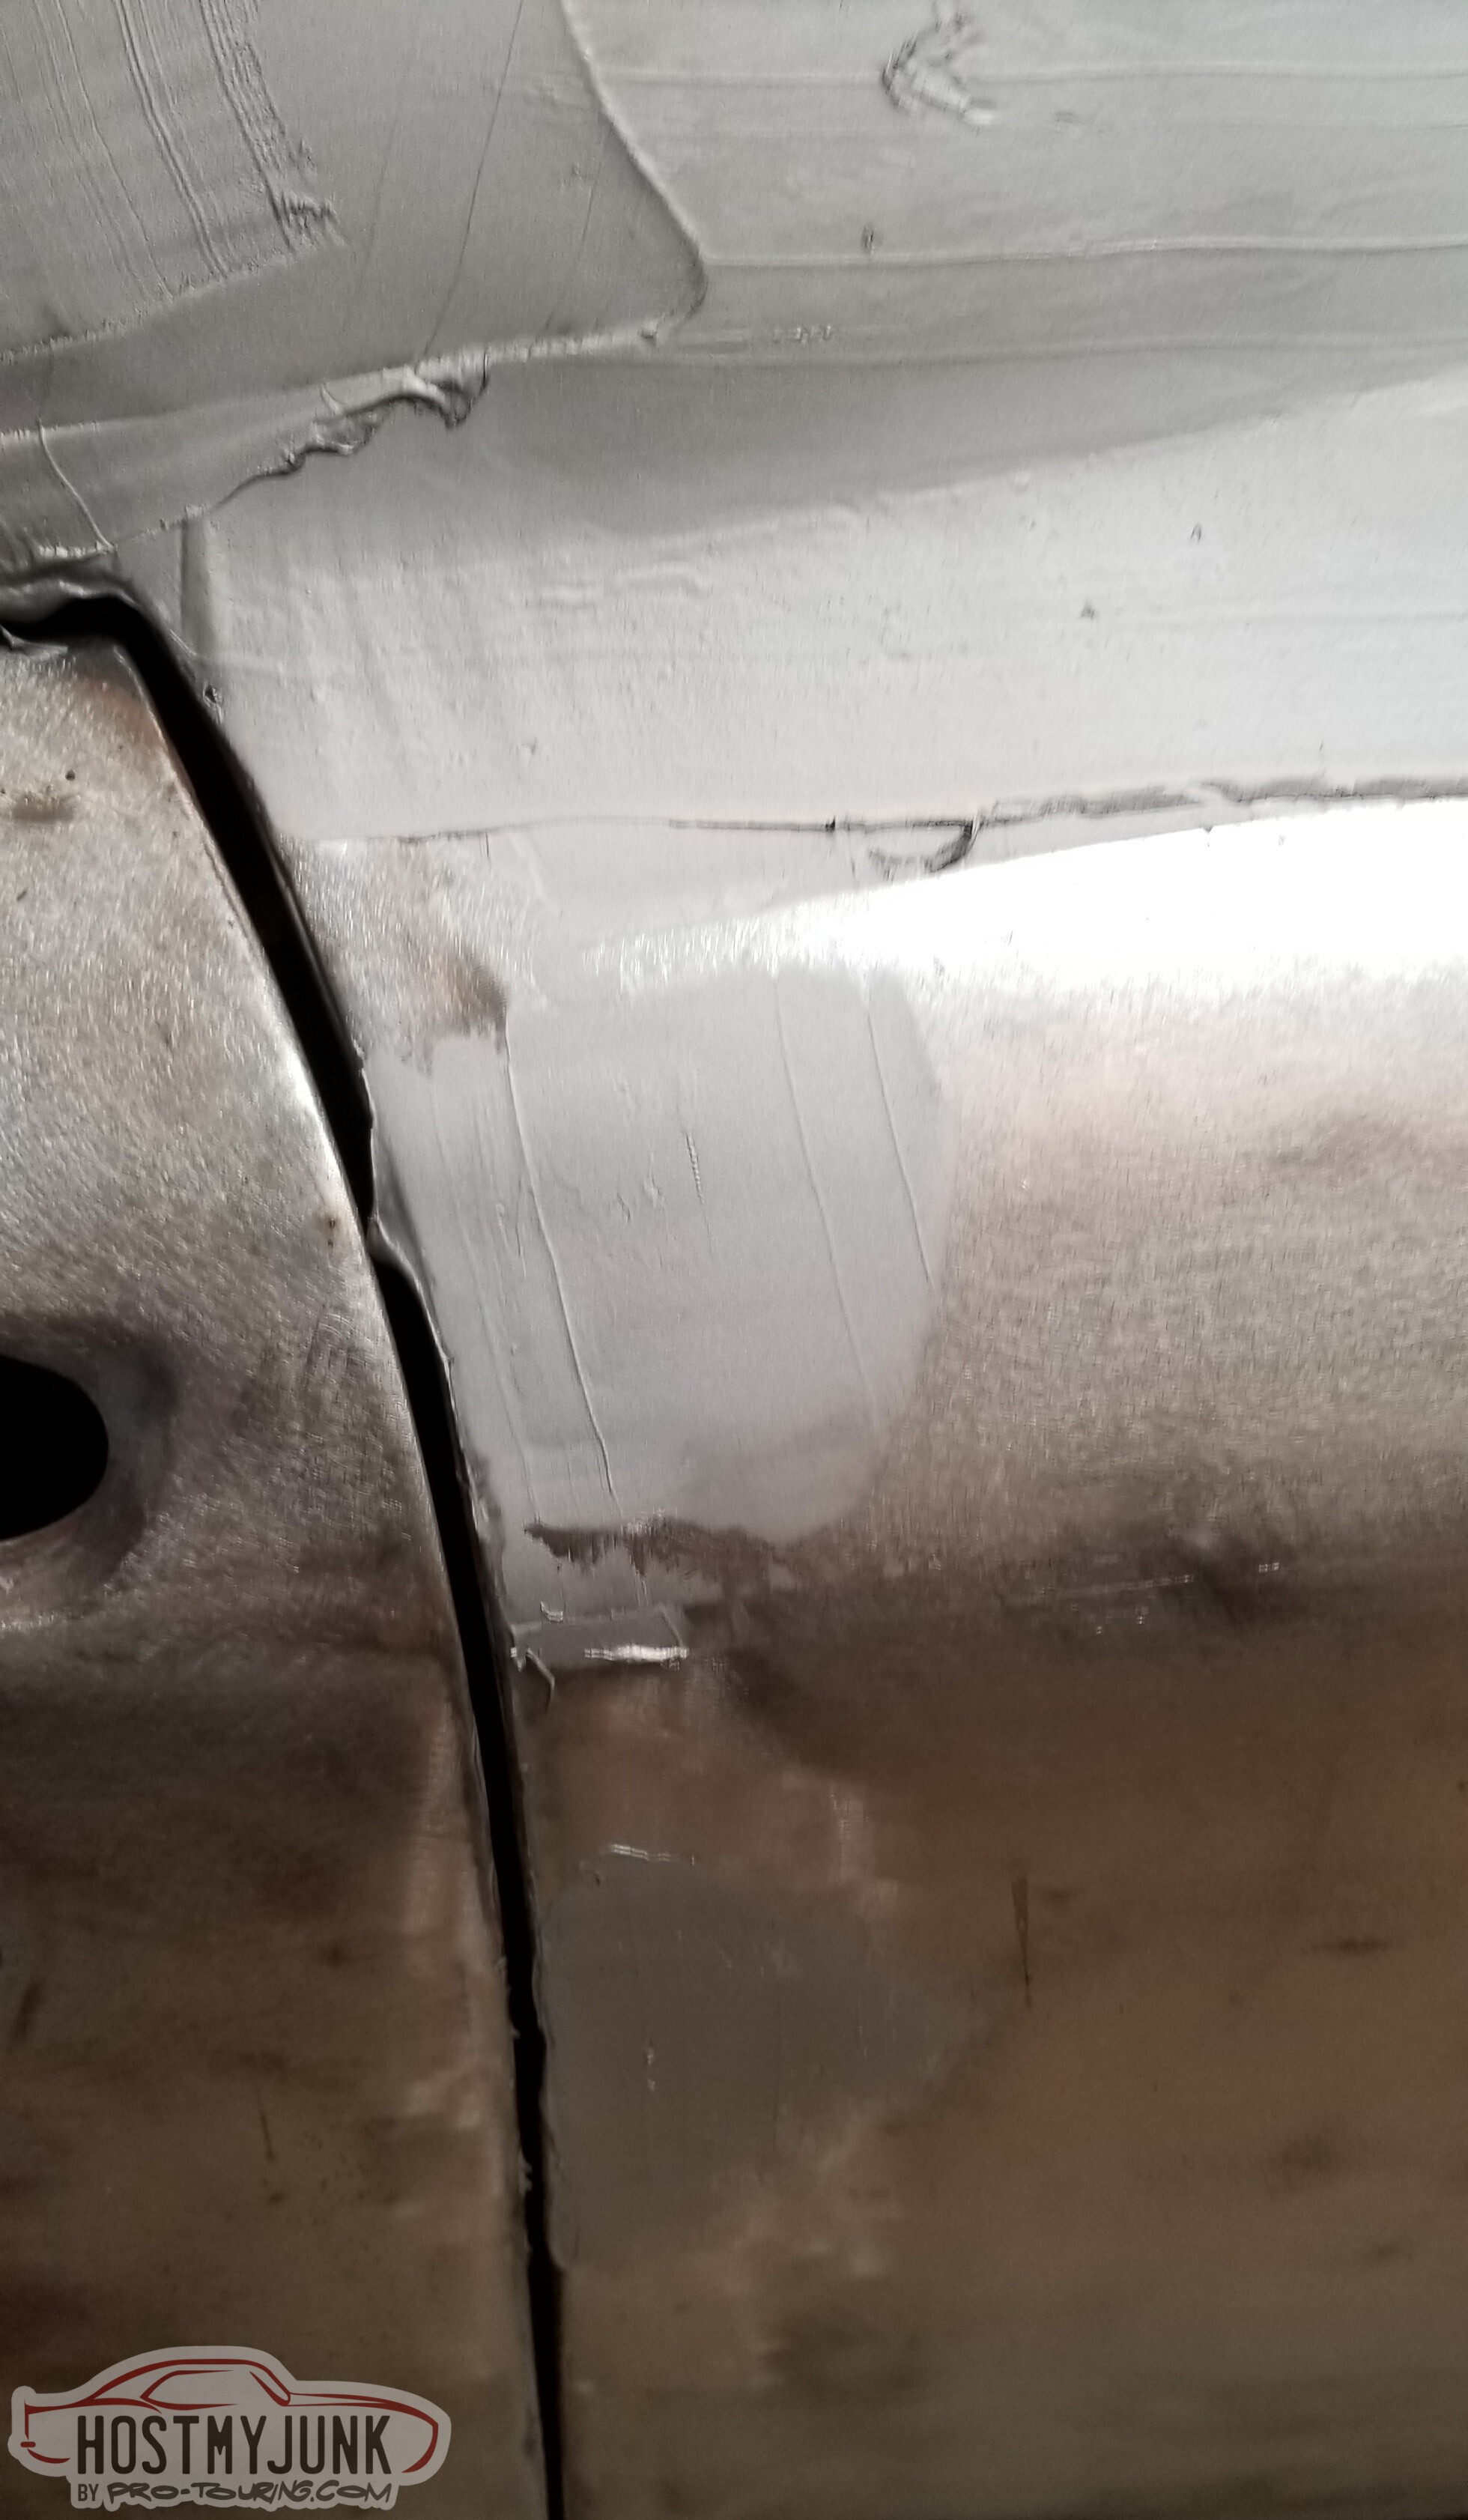
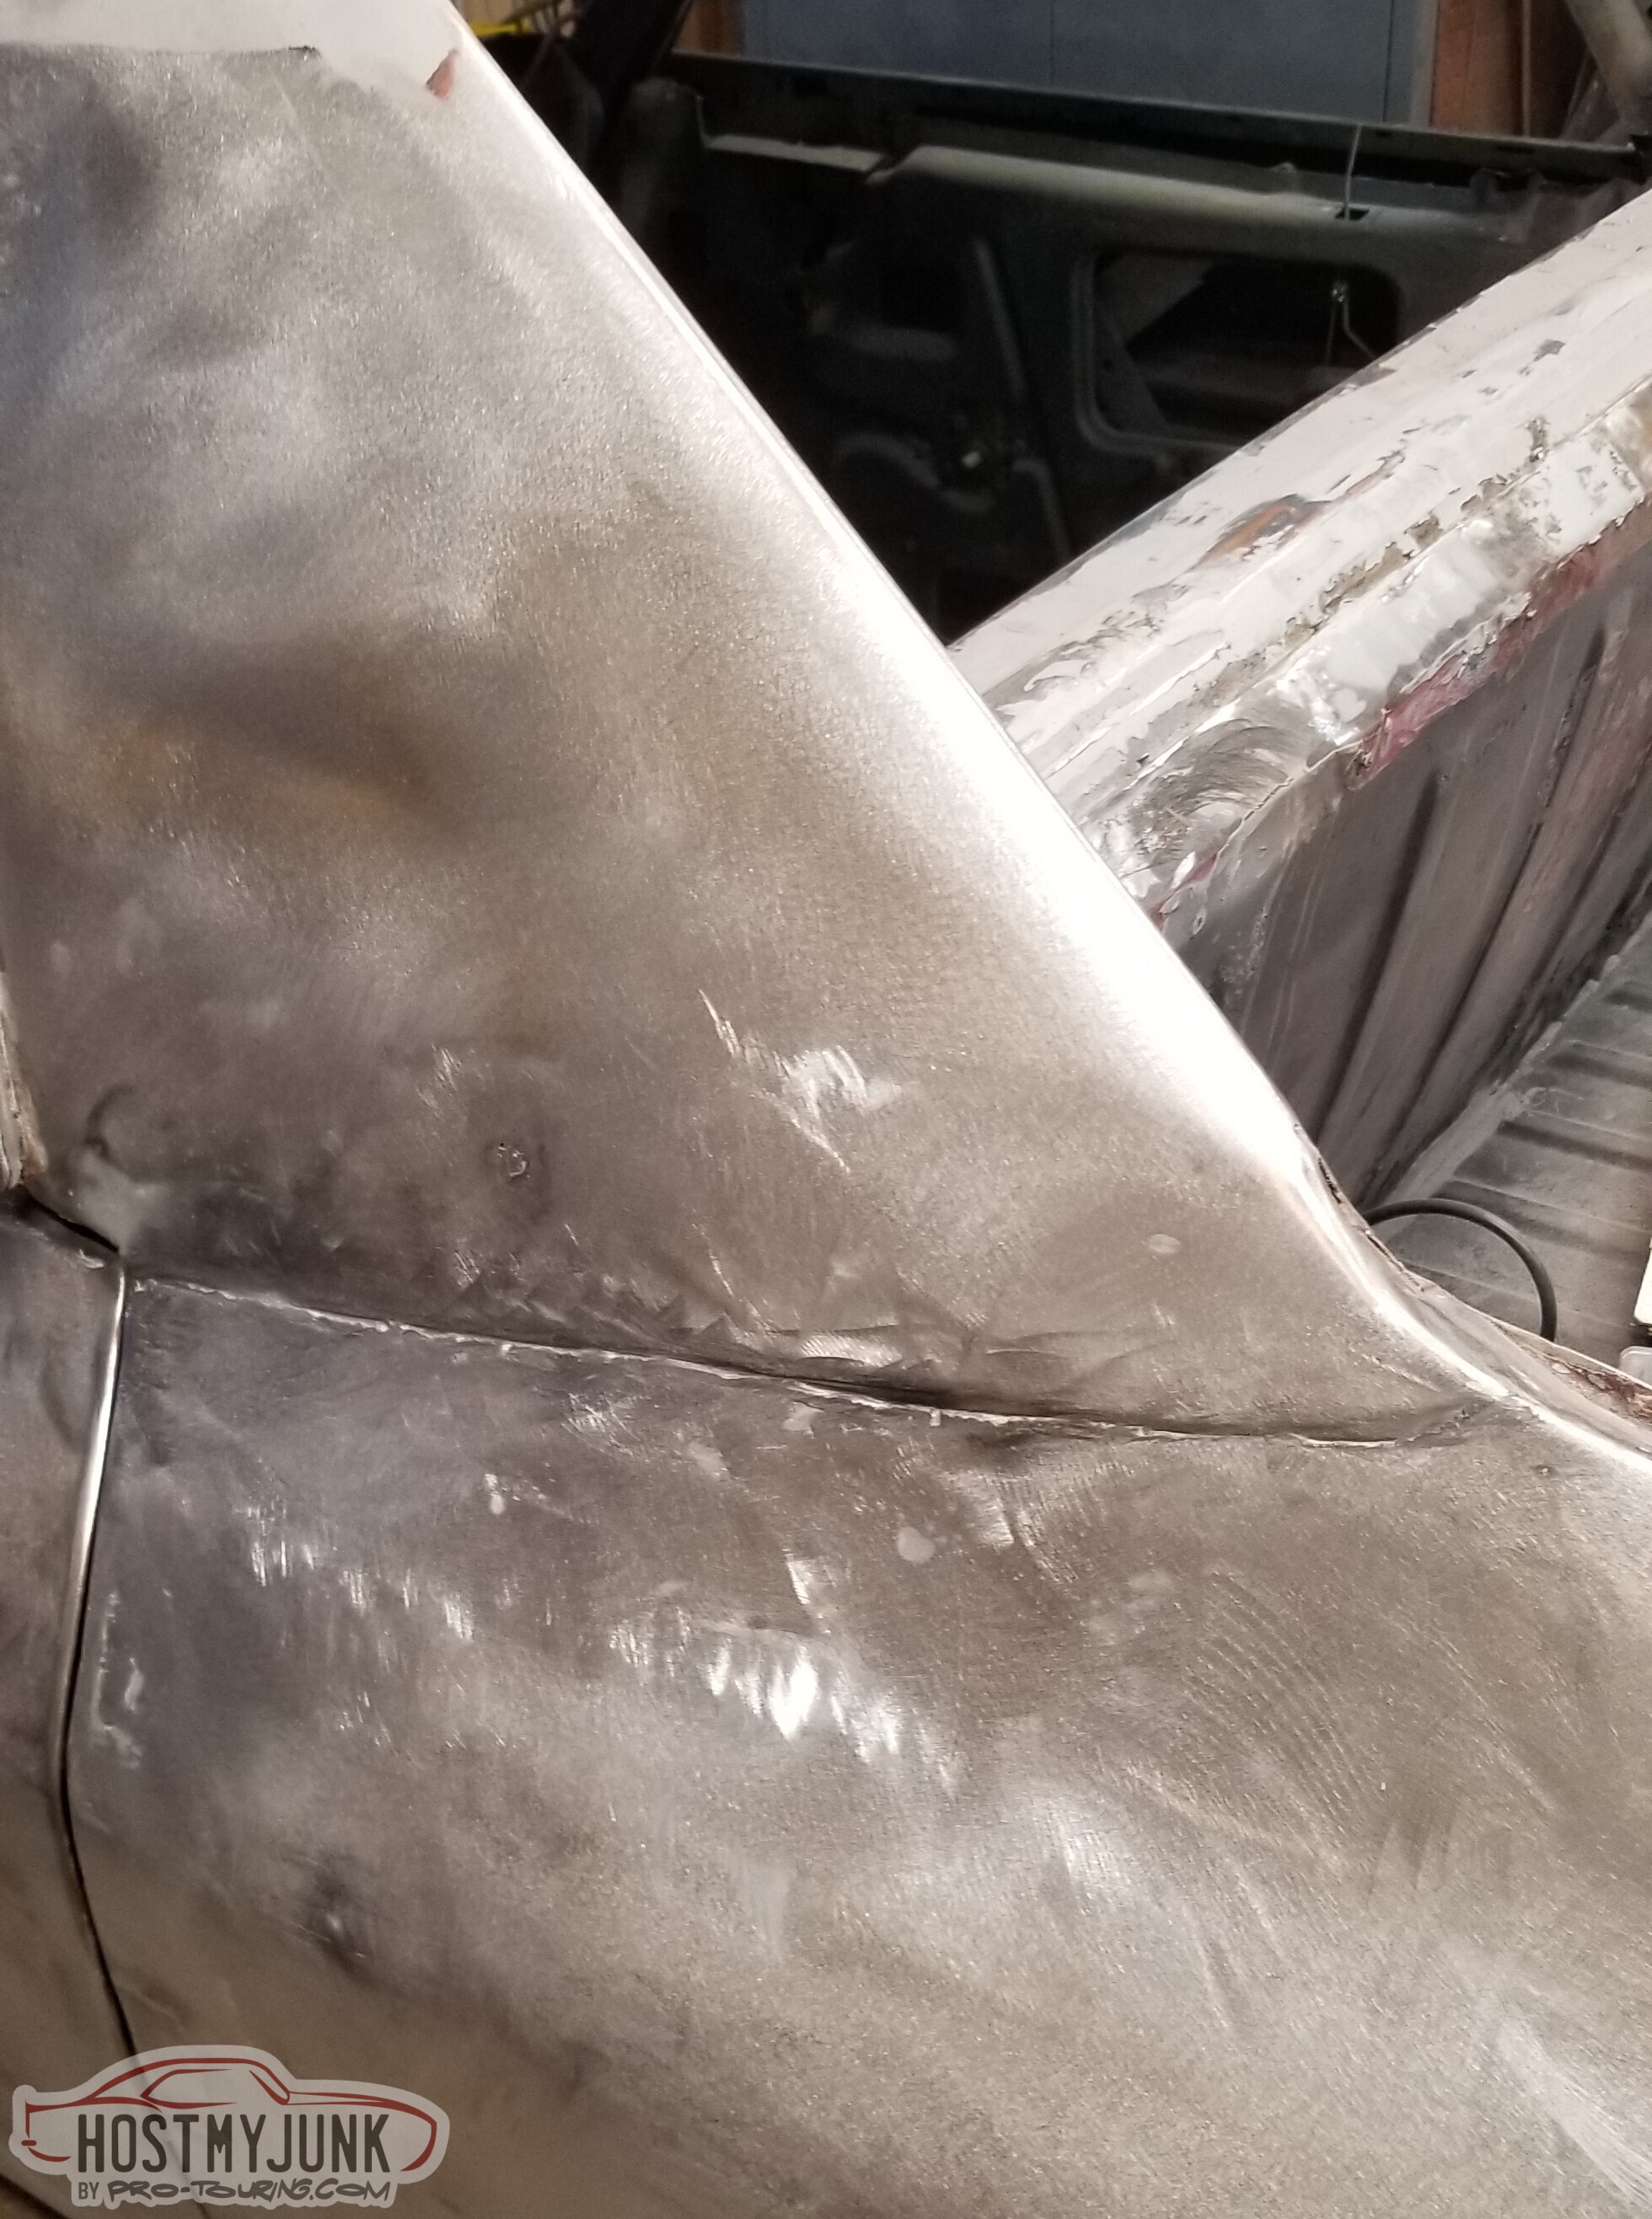
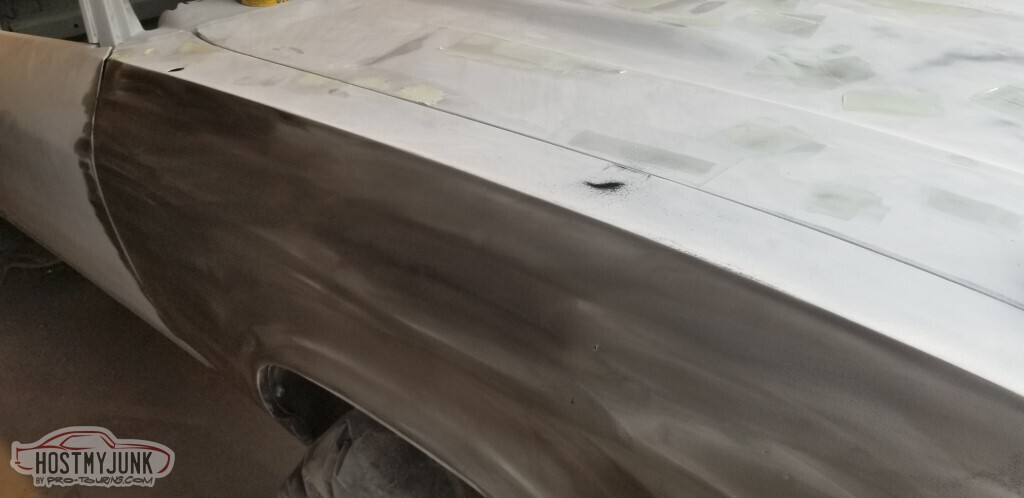
Used the stud welder to raise the depression here on the sail panel, too. Doesn't have to be perfect, just has to be better than it was; and it is.

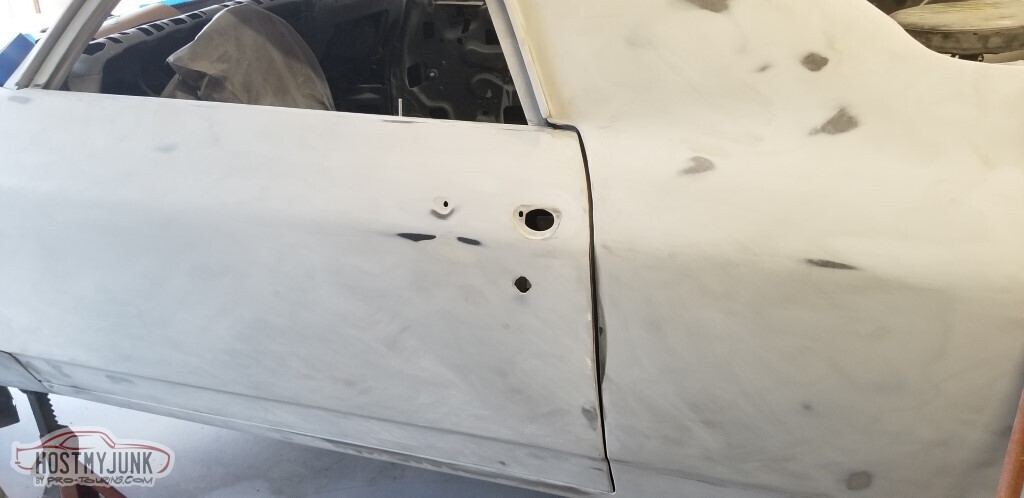
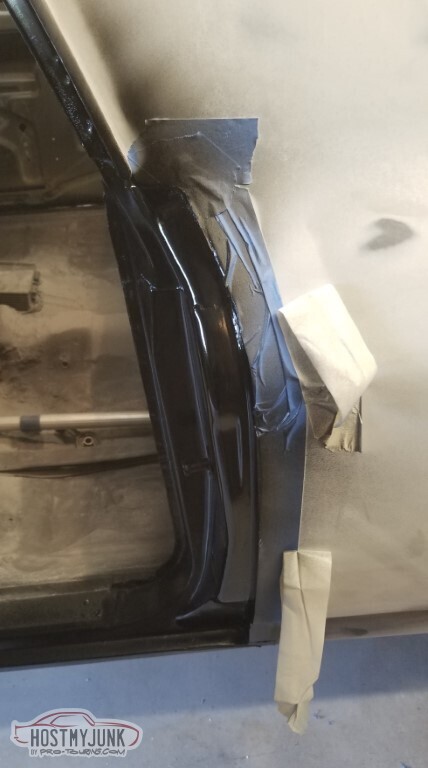
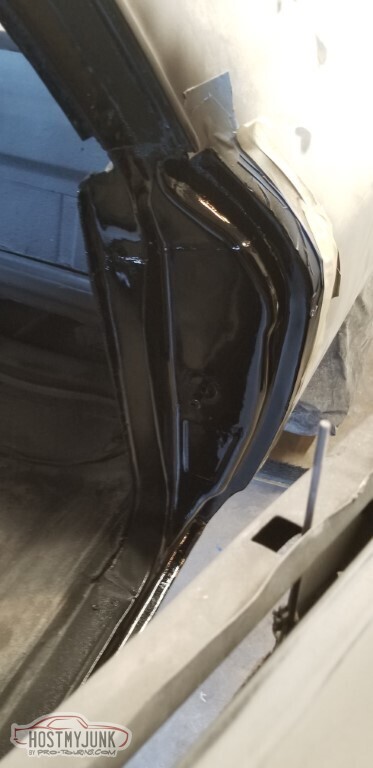
Mixed up some All-Metal for these spots to go under the epoxy primer.
Ahead of the door too...

.. and behind.
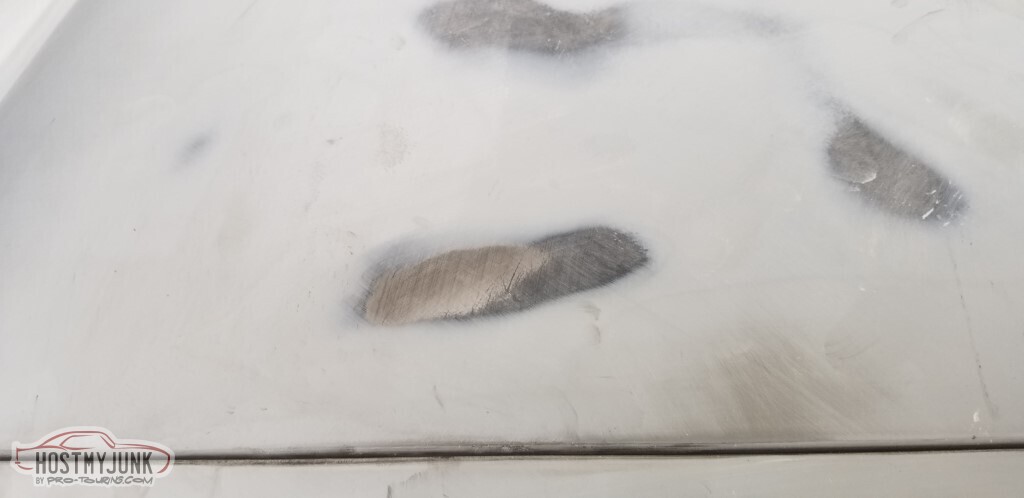
I don't know if the temperature was just wrong, or the hardener failed, or I didn't mix well enough... but the all-metal didn't harden.
Tried to sand it and it just smeared.

Smear, smear.
Means I can't trust any of it.
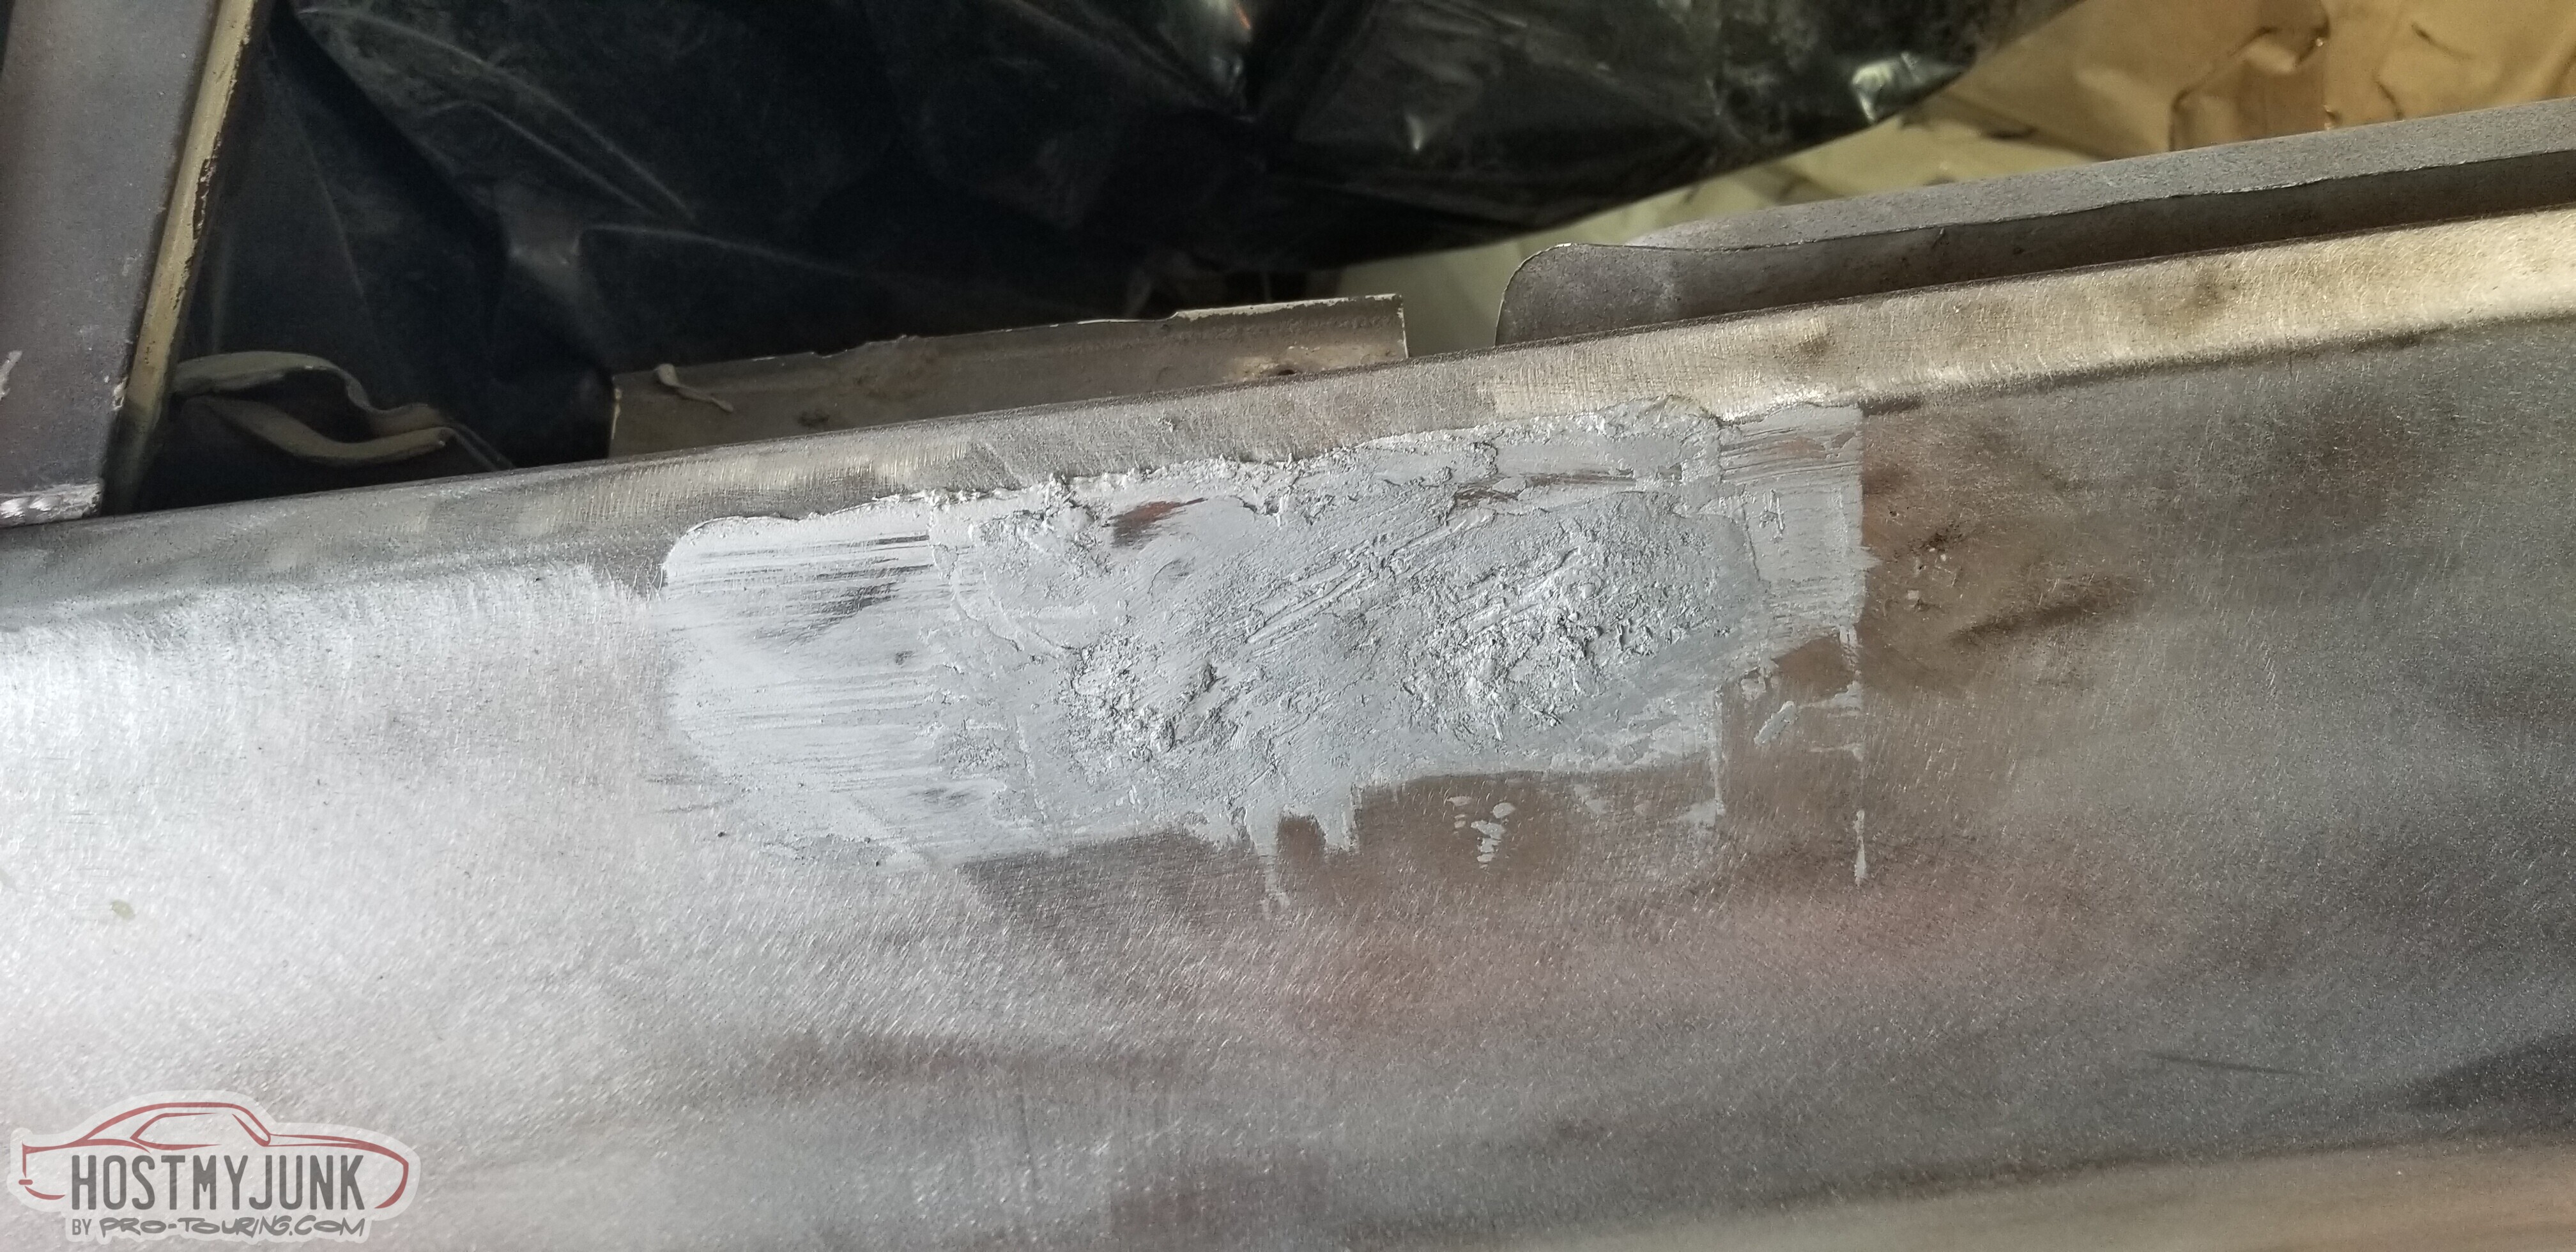
36 grit fiber discs work pretty good for taking uncured all-metal off.
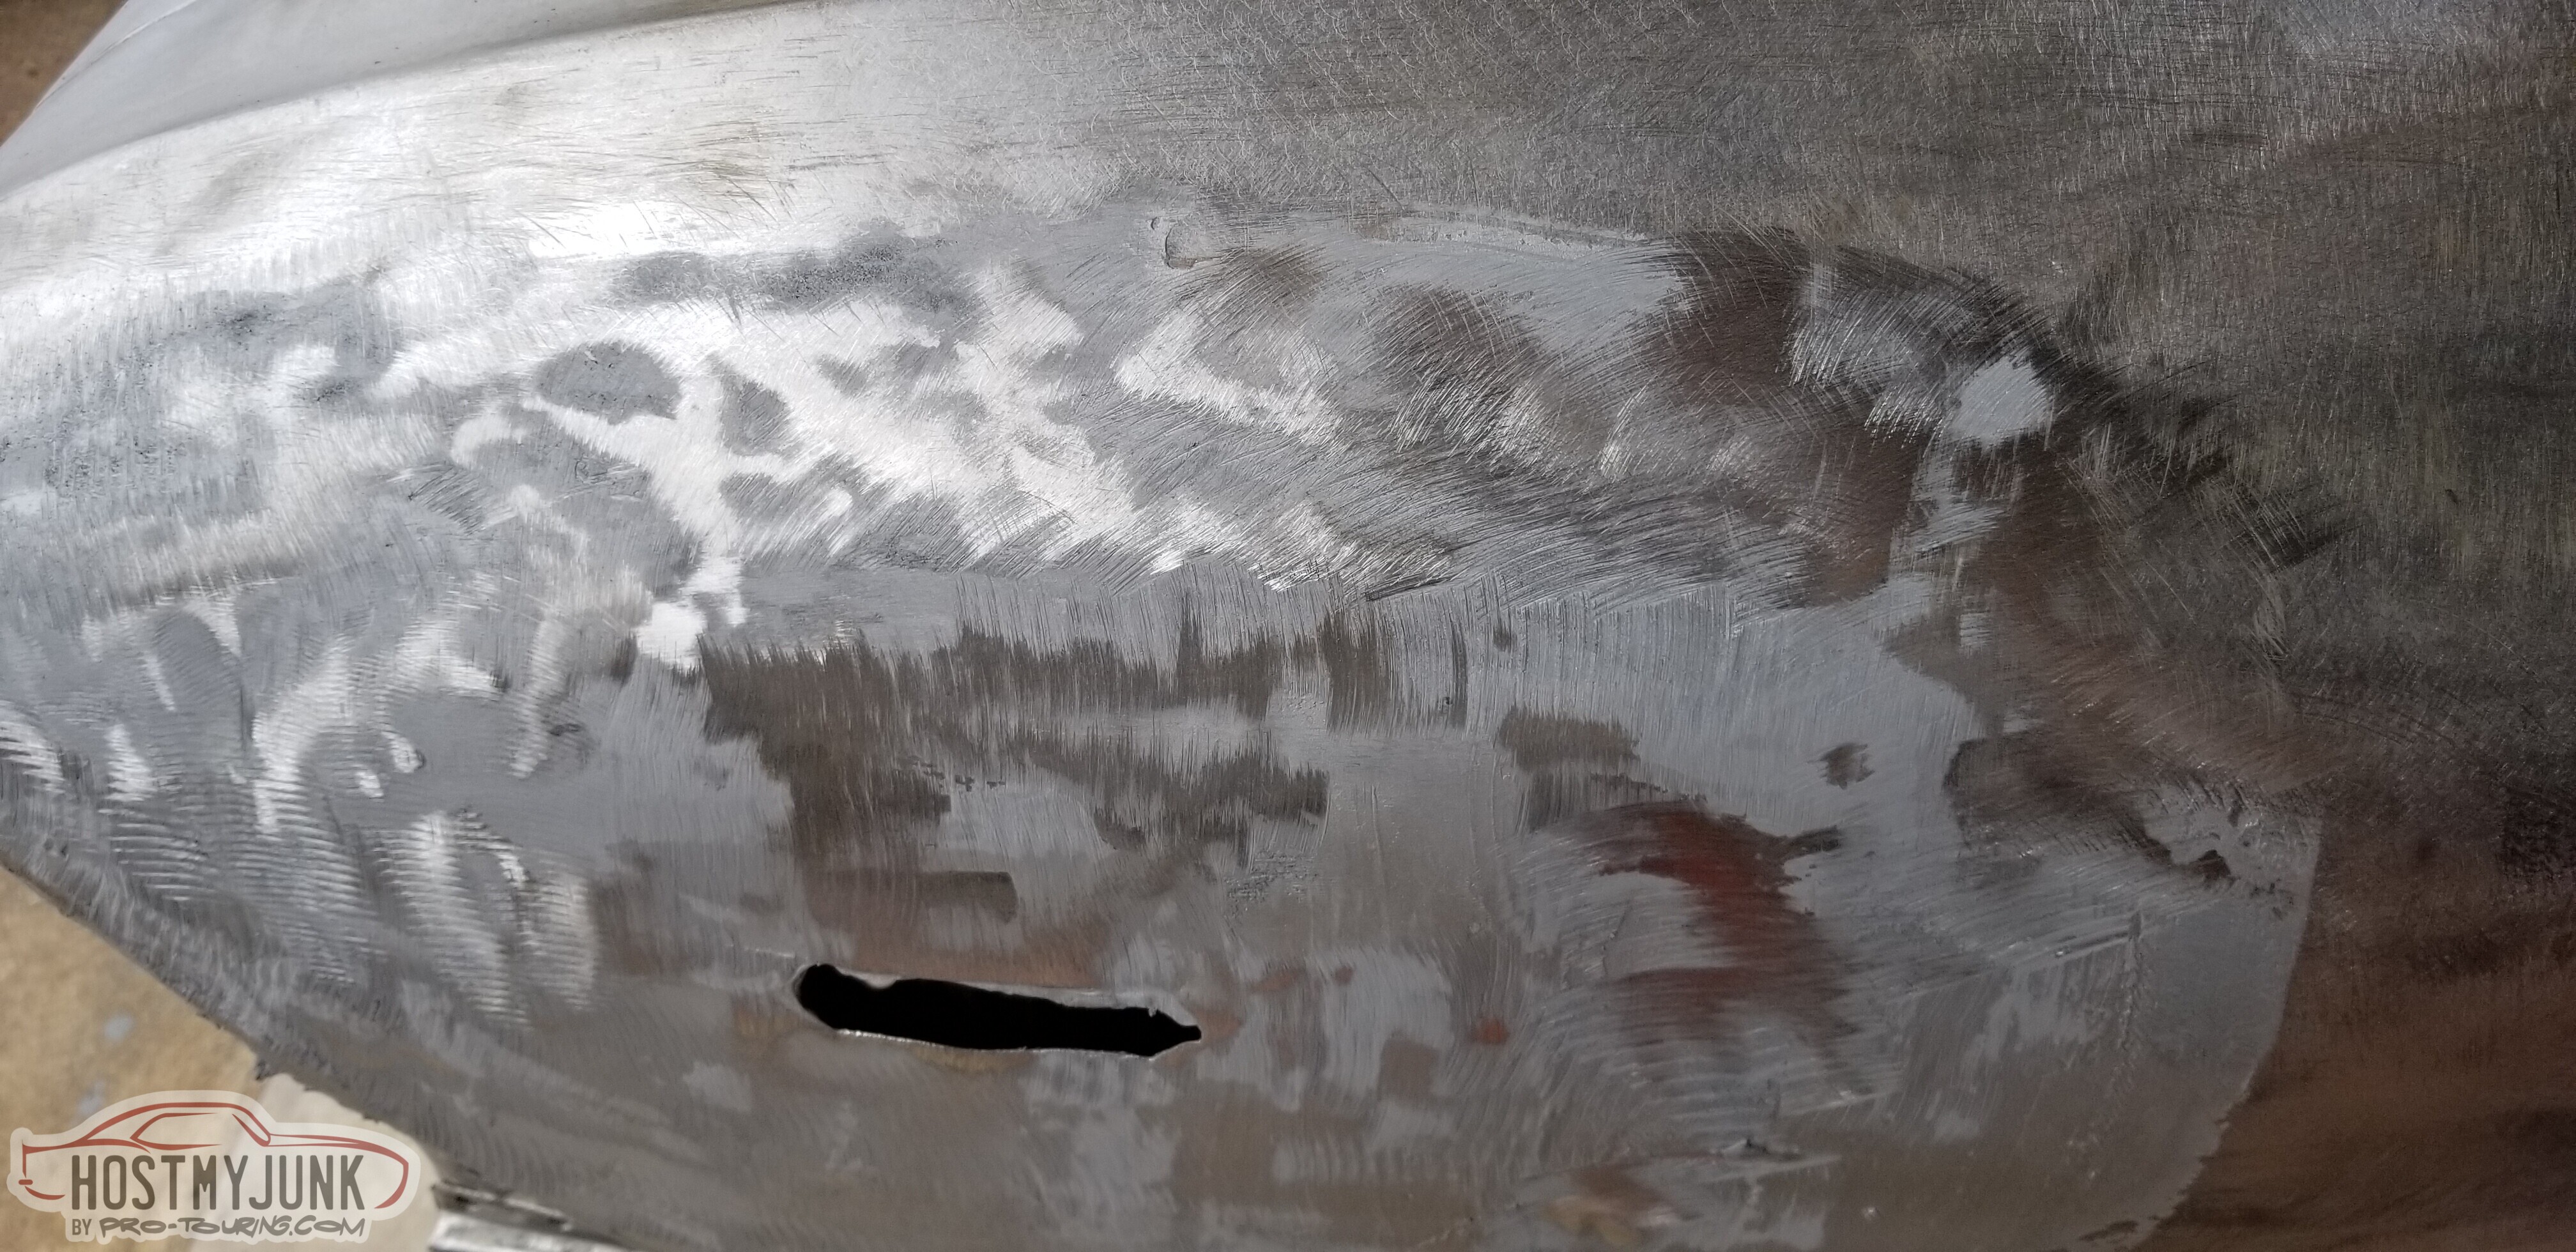
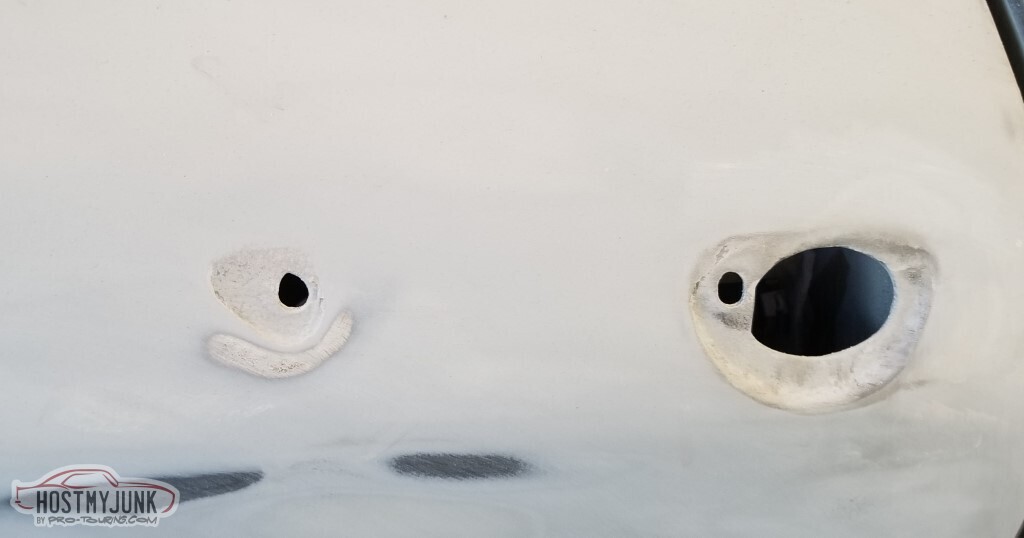
Cleaned it out of this seam...
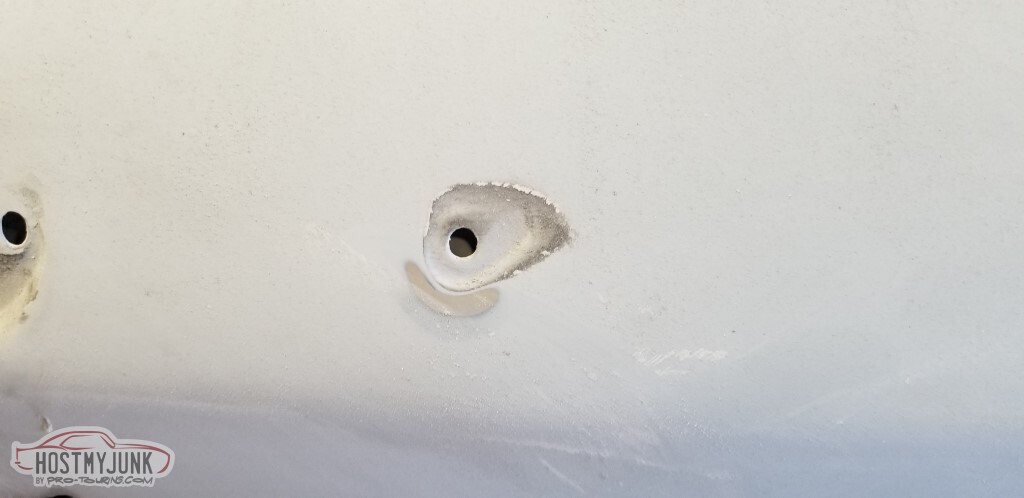
... all of the tonneau cover snap holes...
... the gate-dent...

... and all the tonneau cover snap holes on this side
Left the initial filler on the seam since it actually hardened.
Did clean out this seam too.

After all that sanding, the interior had a quarter-inch thick layer of dust.
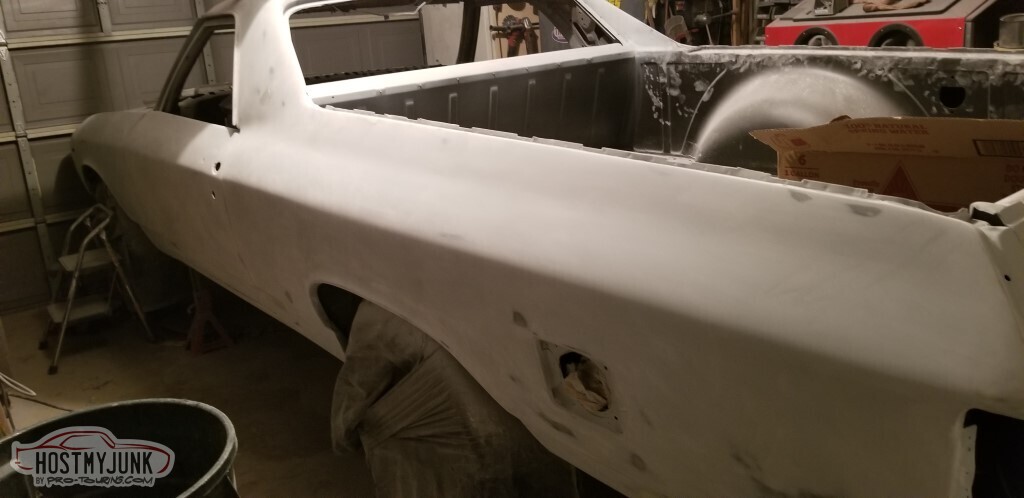
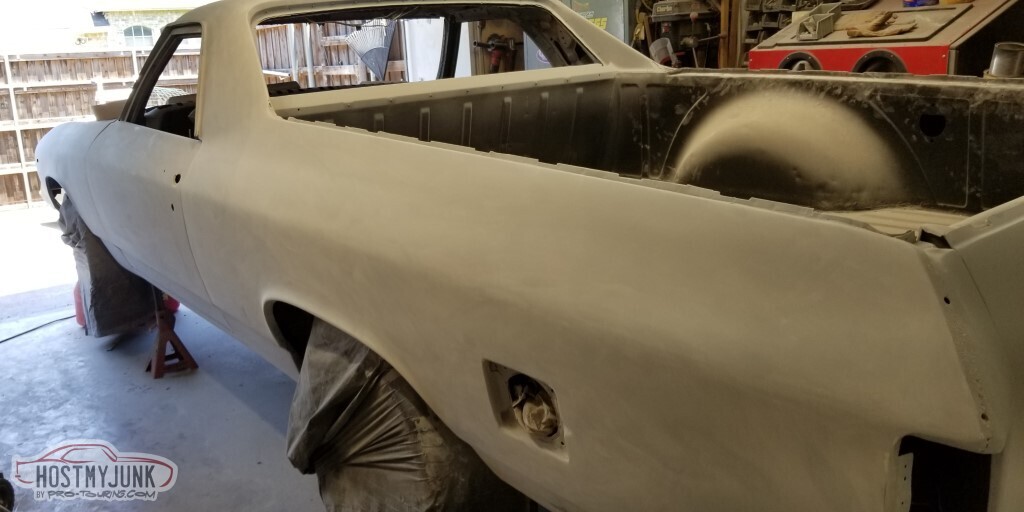
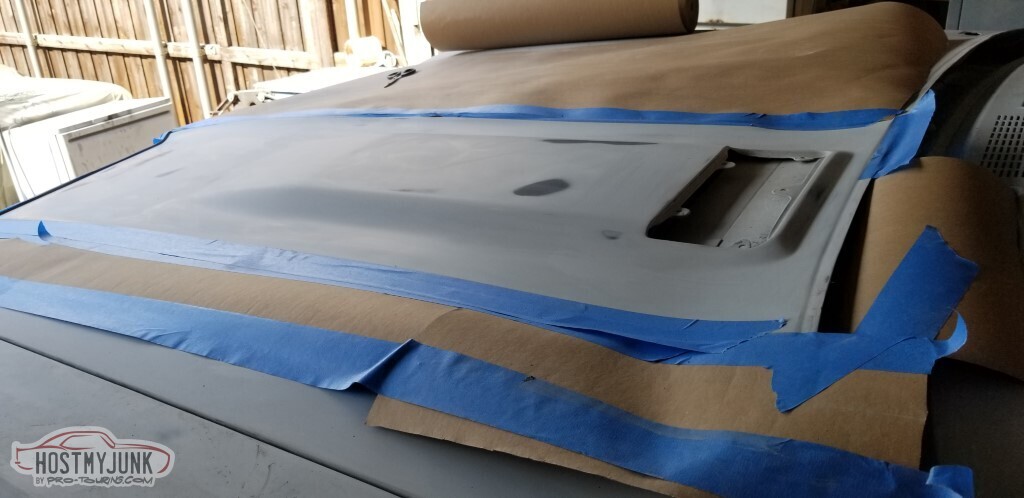
Next step: epoxy primer. The gas water heater is in the garage, so at SWMBO's request, I did this in sections so as to avoid creating an explosion. Apparently I was successful.
Two wet coats with half an hour between them.
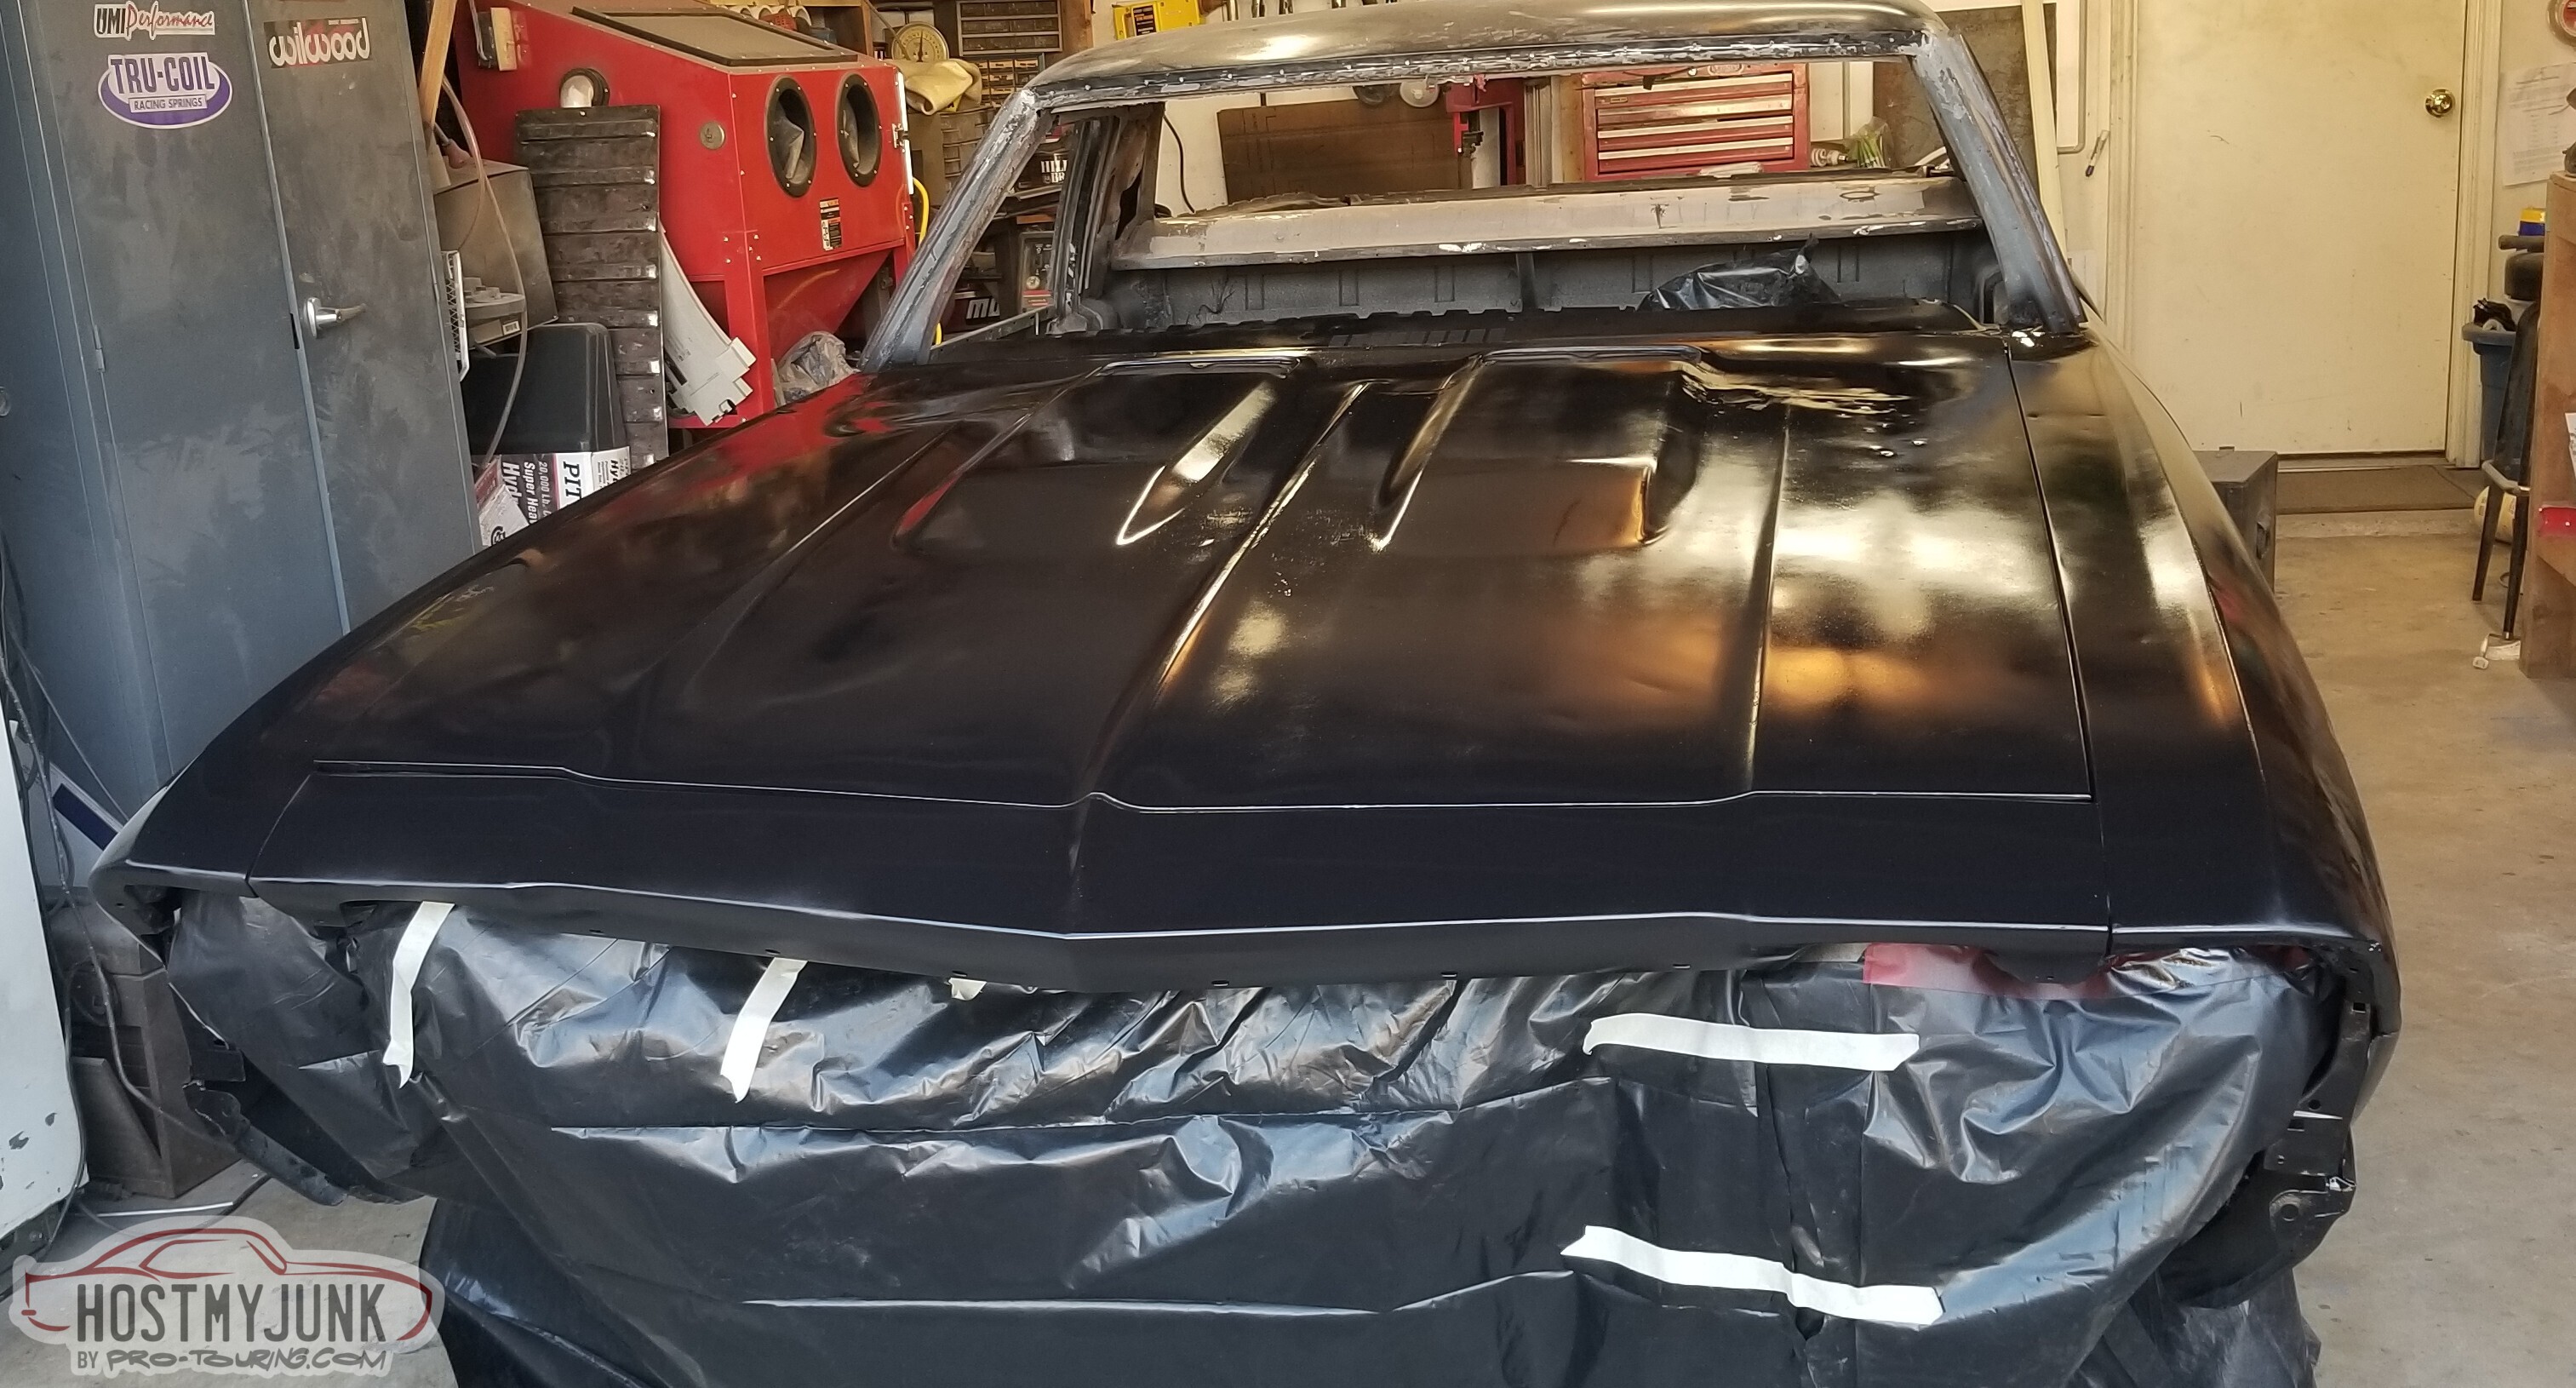
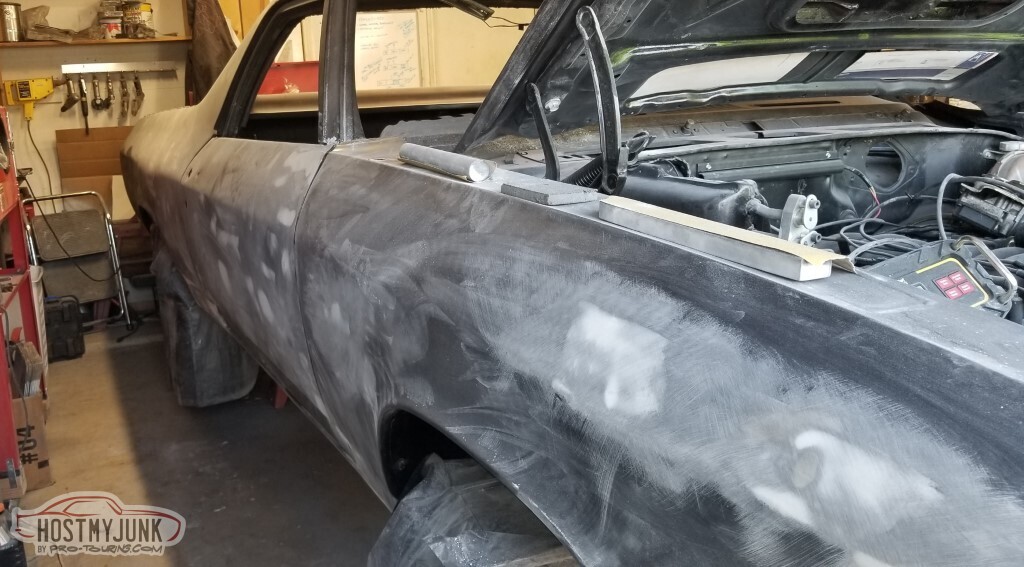
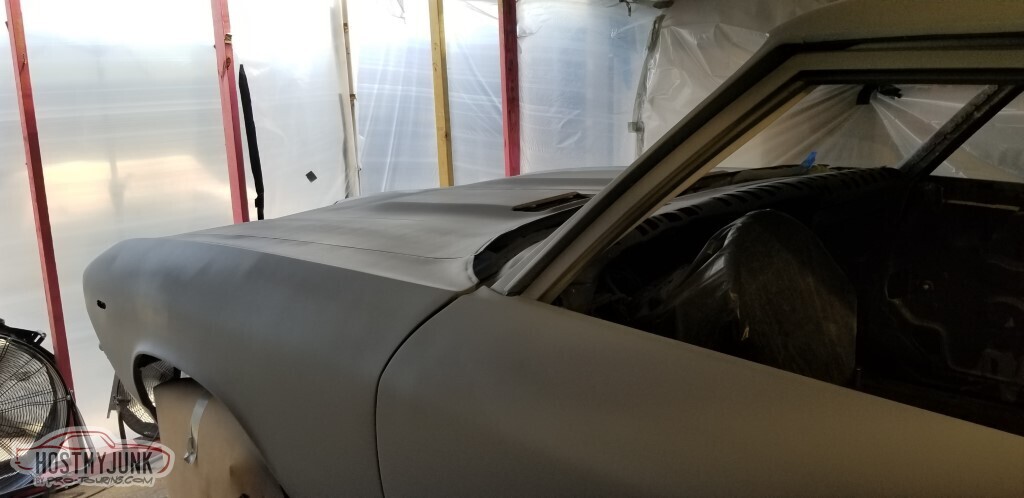
First section was hood/fenders/driver's door.
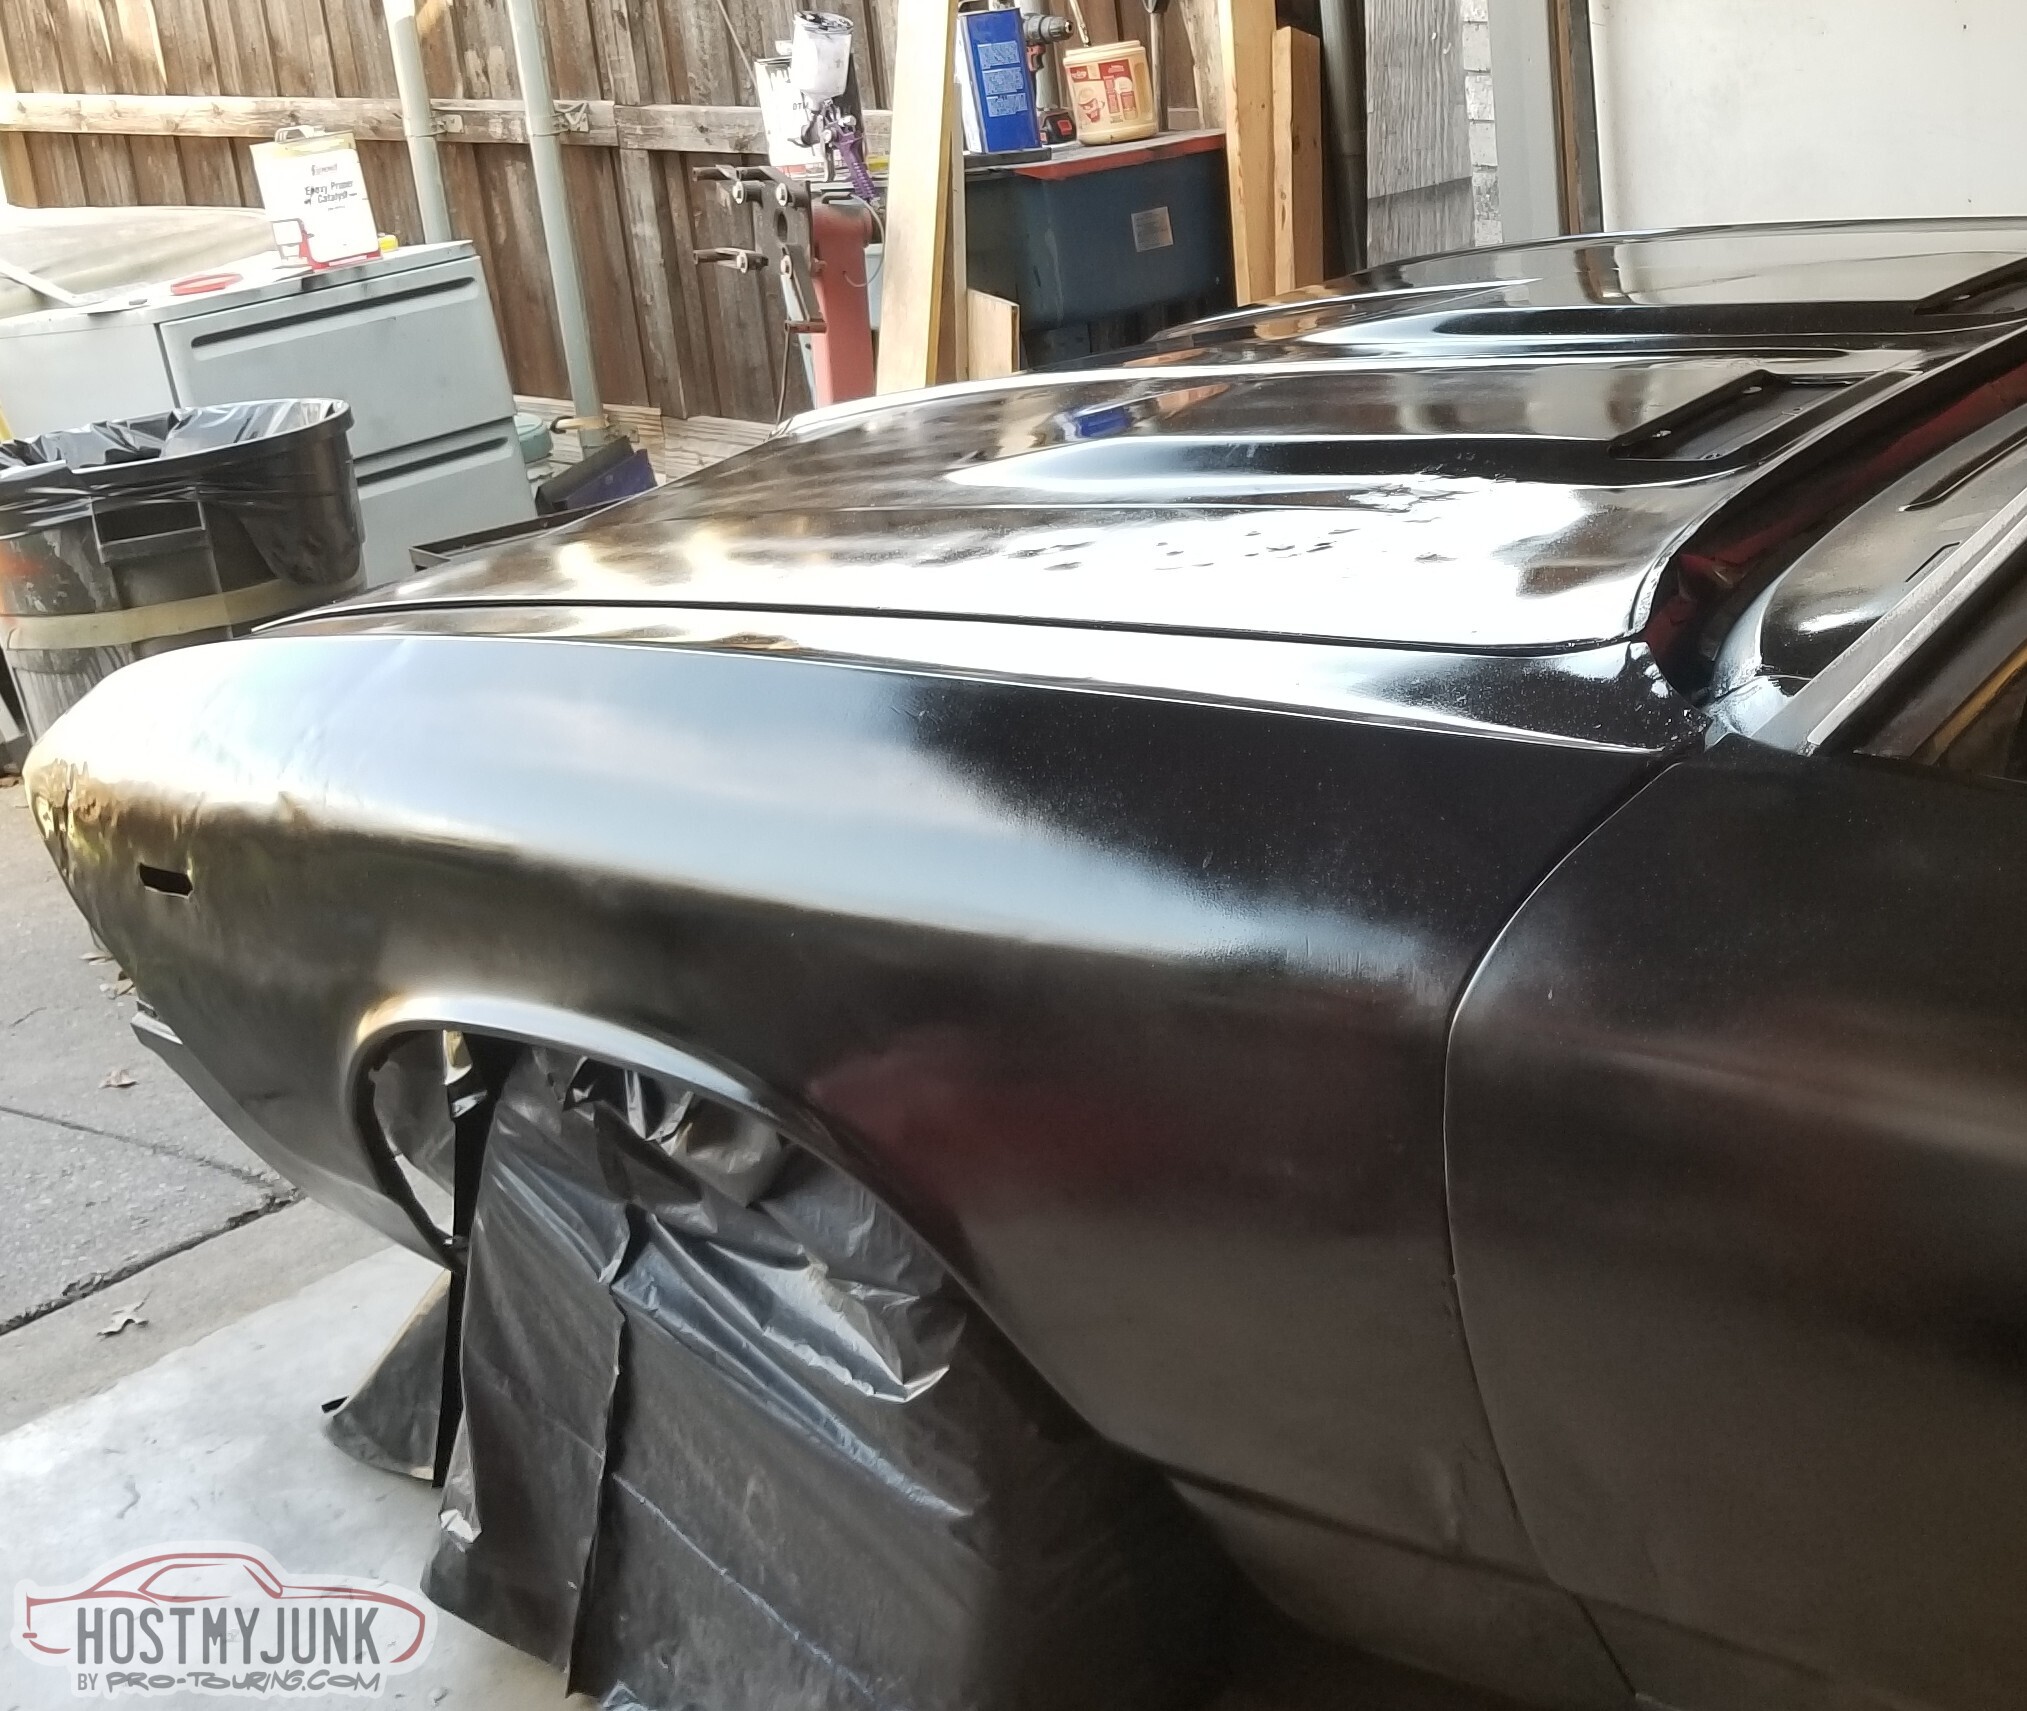
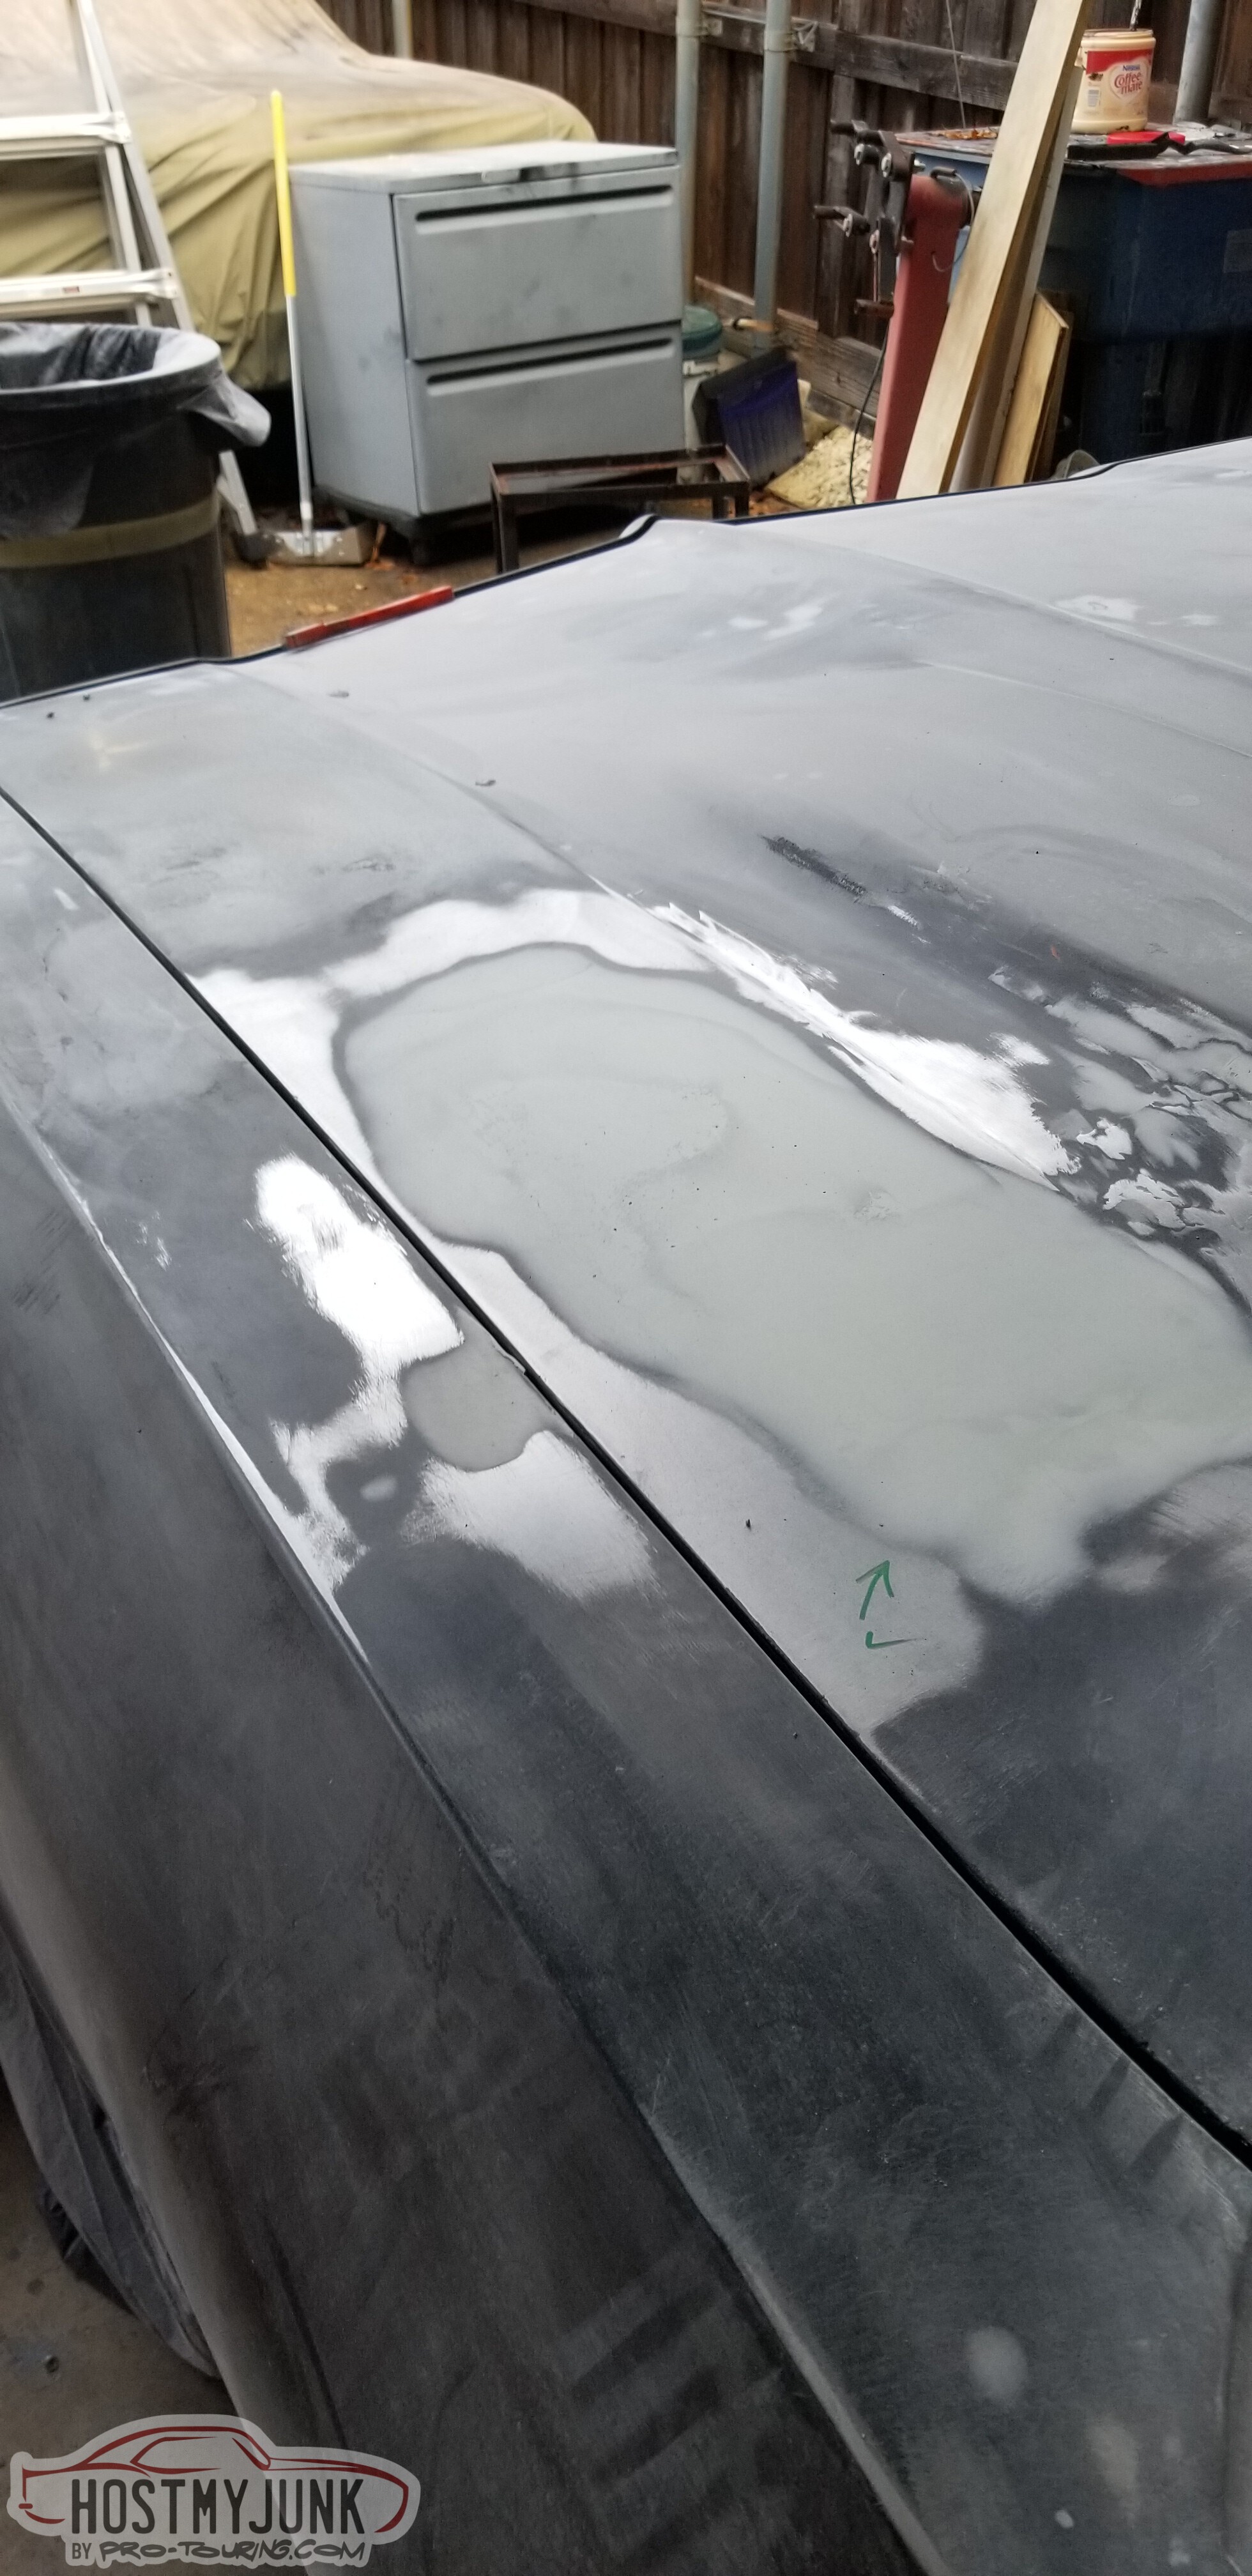
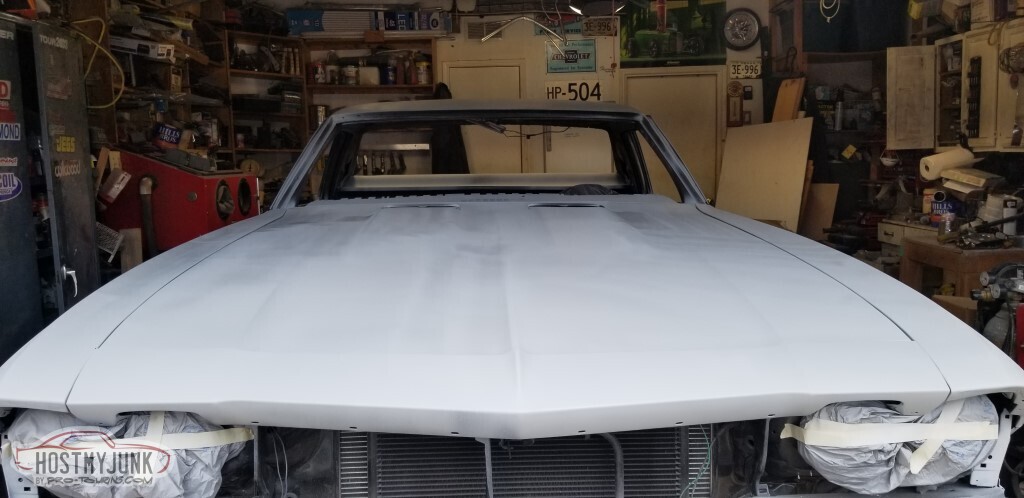
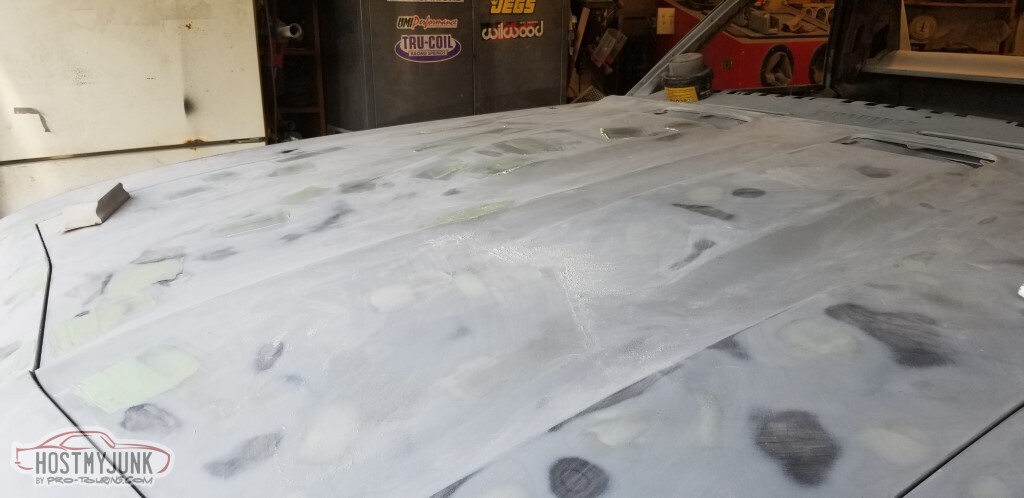
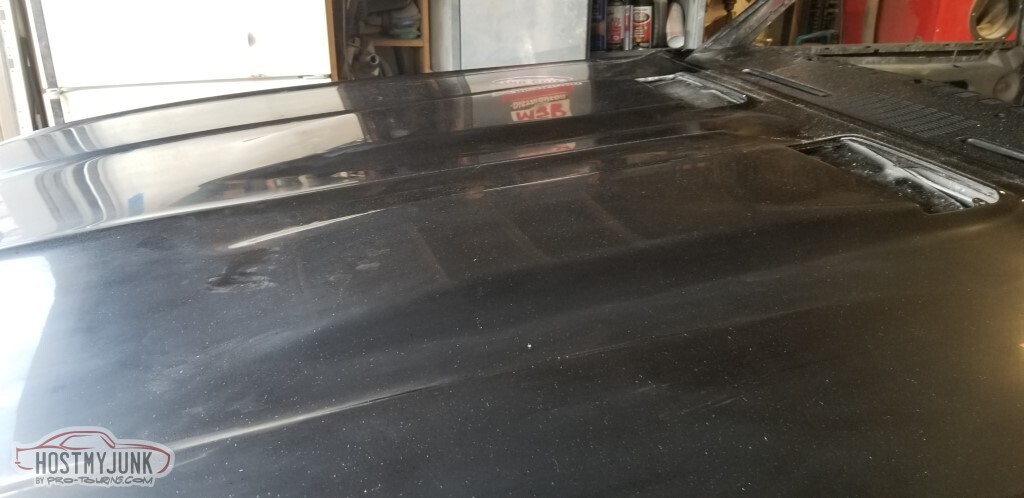
You can really see that I've got my work cut out for me on the hood.
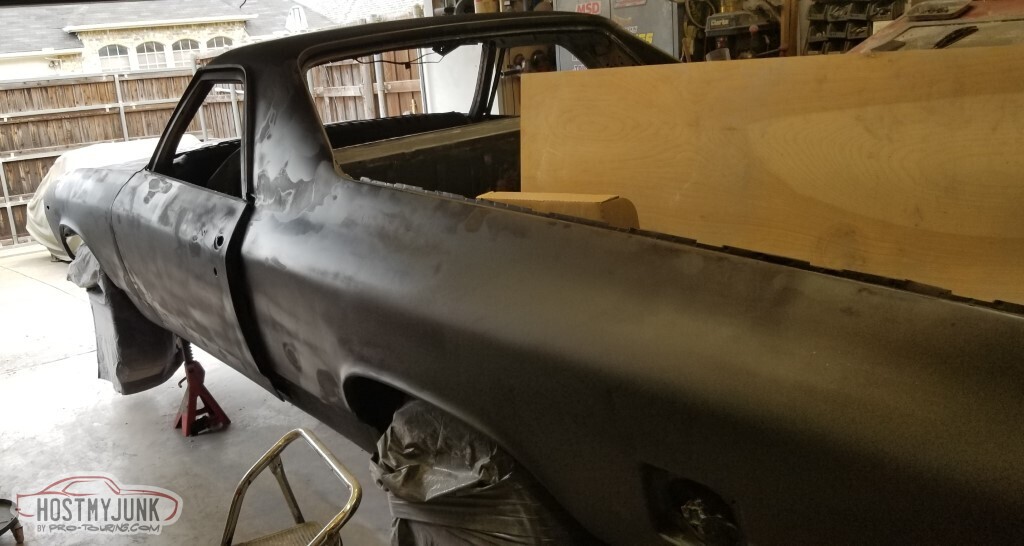
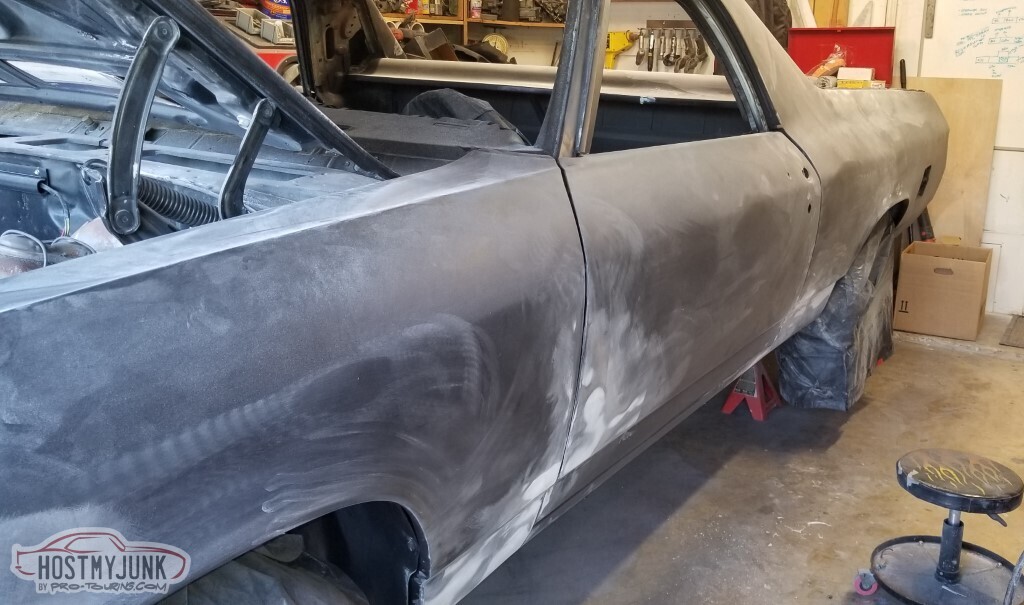
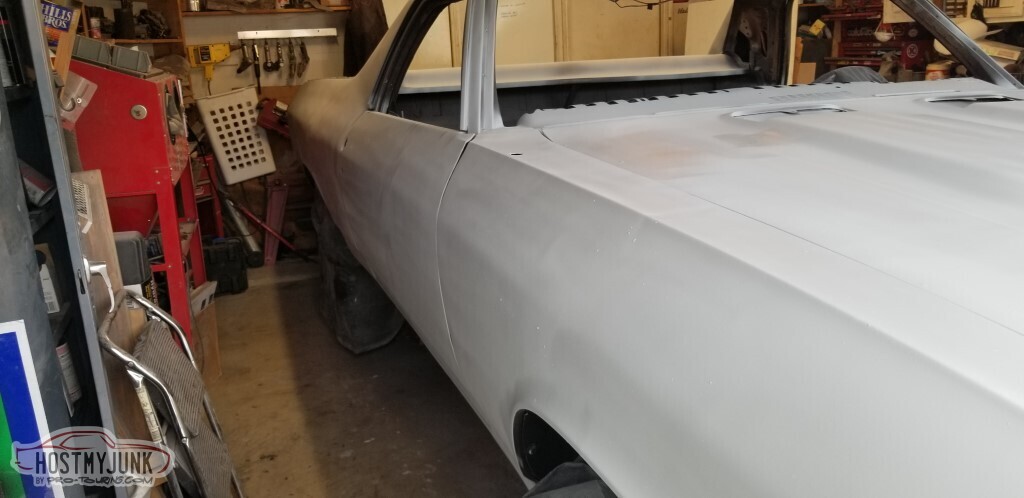
Second section was roof and quarters, and pass door. Lots of dust in the primer.
Does look nice shiny though.

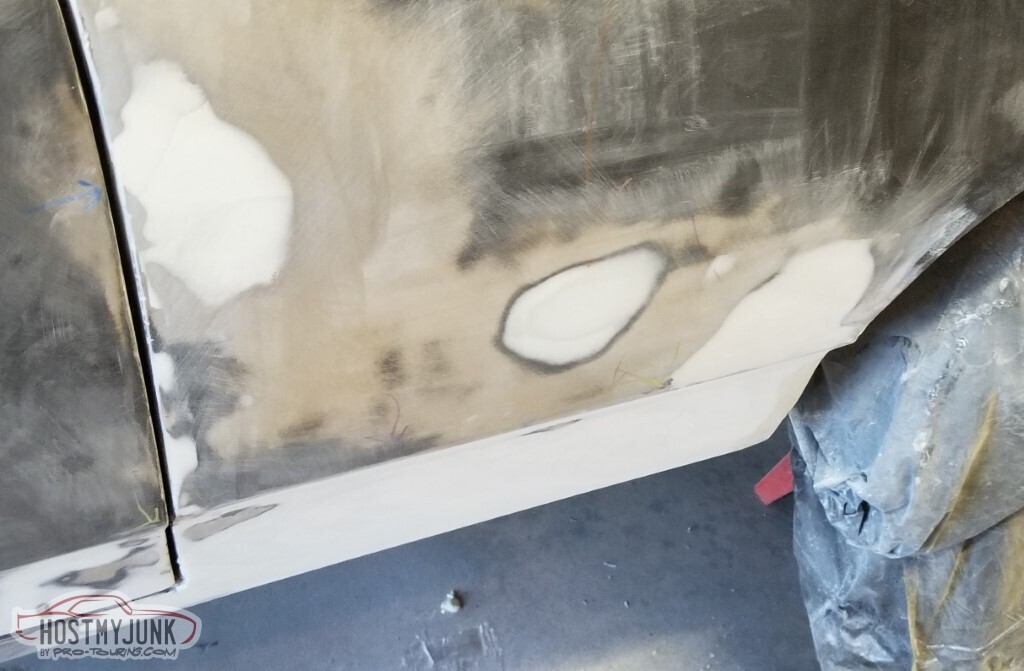
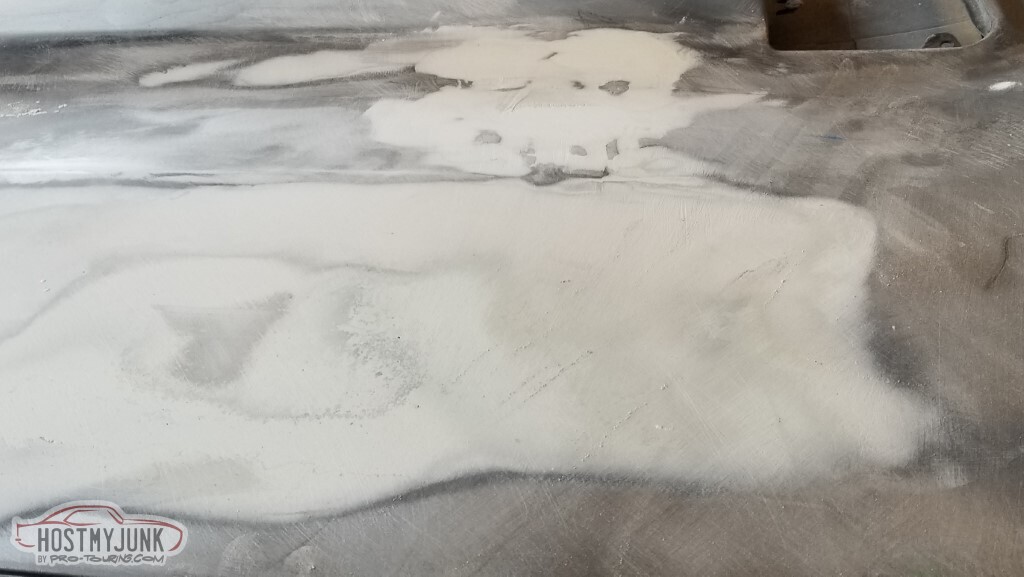
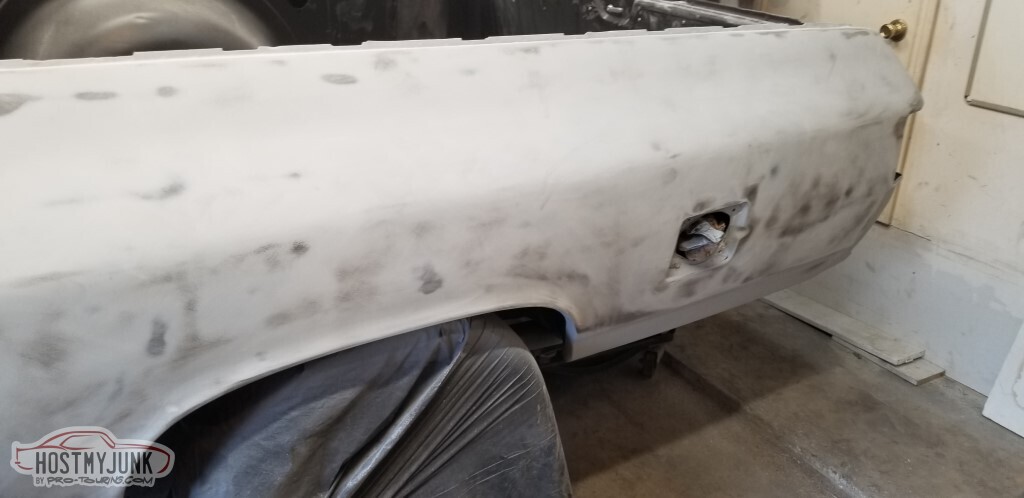
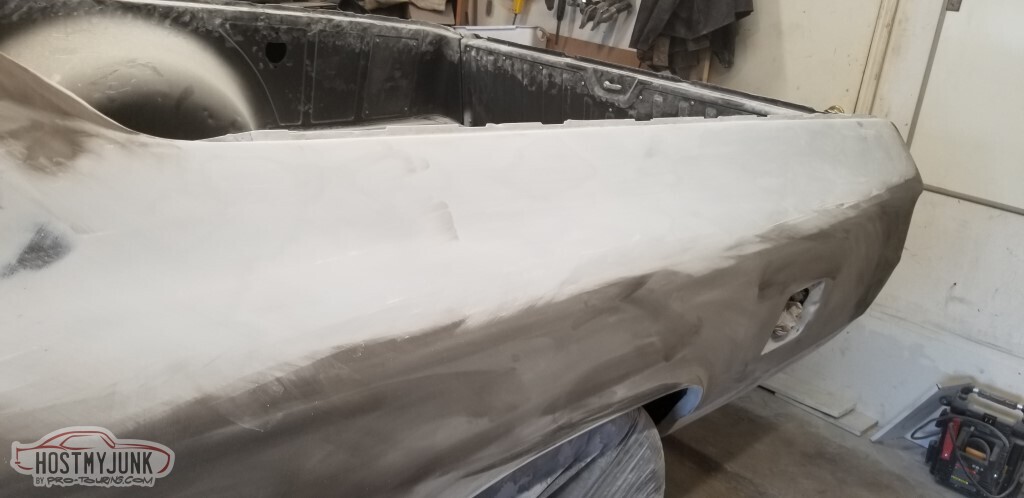
Then filler is applied over the epoxy primer. That's Evercoat Rage Ultra, not All-Metal. Reckon I'm done with that one.

So many spots that need filler.
All the spots.
And, of course, as soon as I start sanding the filler, there goes the primer.
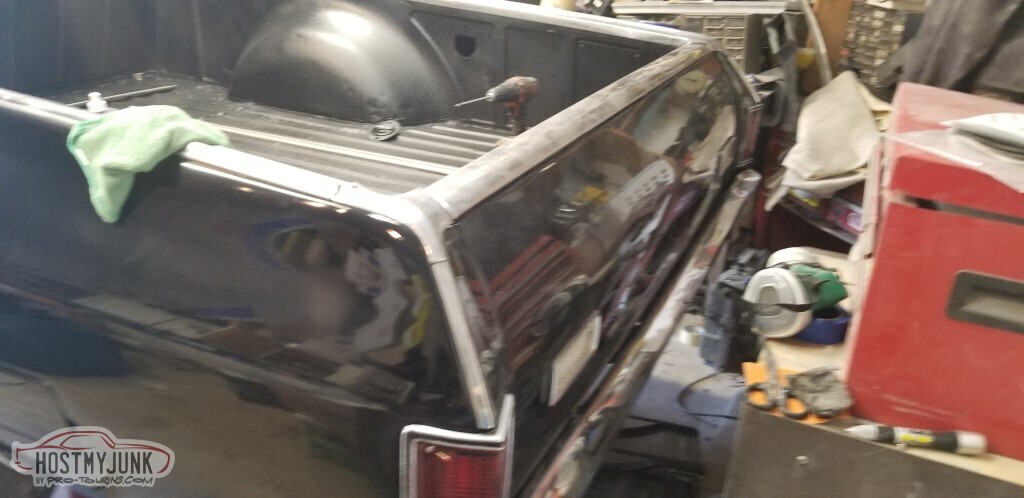
I actually have to move the toolbox behind the car to get access to the tailgate. It's not in very good shape.
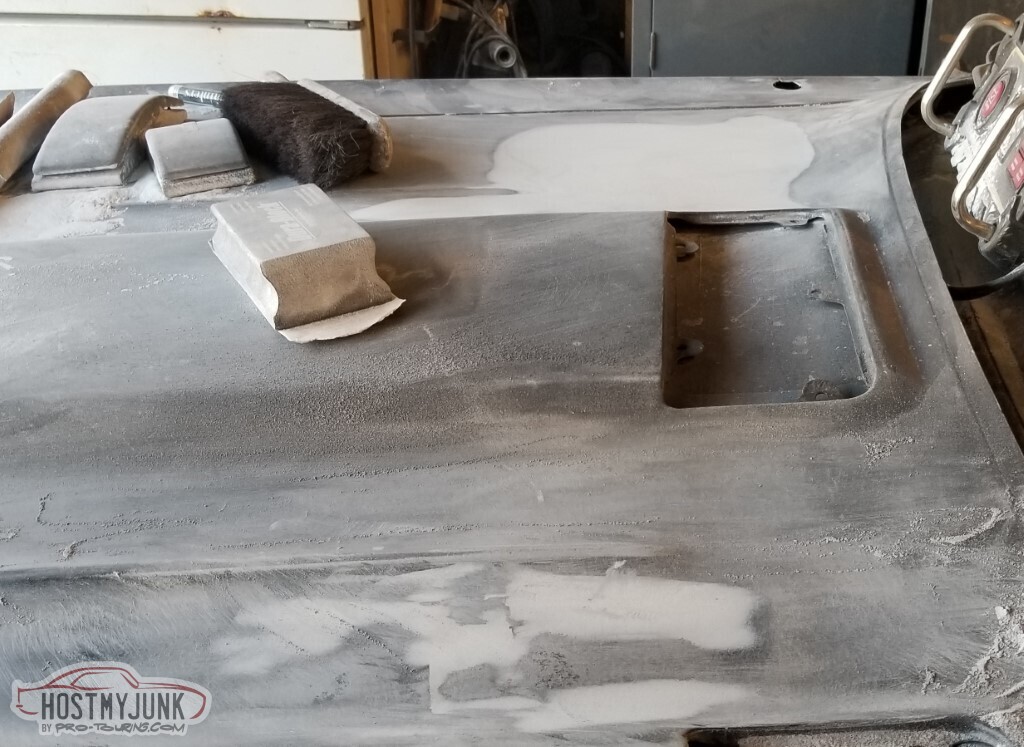
More filling/sanding/filling/sanding.
Got the major problem area of the hood handled.
I expect this to be the last day of forward progress for a while - it's becoming winter today; 11:59p yesterday it was 70F out, tonight it's supposed to get down to 21F.
That's not the issue though: I ran out of filler.
I don't have a LOT of things that still need work but it's non-zero. I
I expect updates to slow (at least from a bodywork perspective) since it's too cold for things to harden.
I'd have preferred to get the body in primer again but I needed one more warm day. Also vacation ends and I need to go do day job again.
-
3 Weeks Ago #102
-ɹoʇɐɹǝpoW-
- Join Date
- Jul 2002
- Location
- Mesquite, TX
- Posts
- 4,929
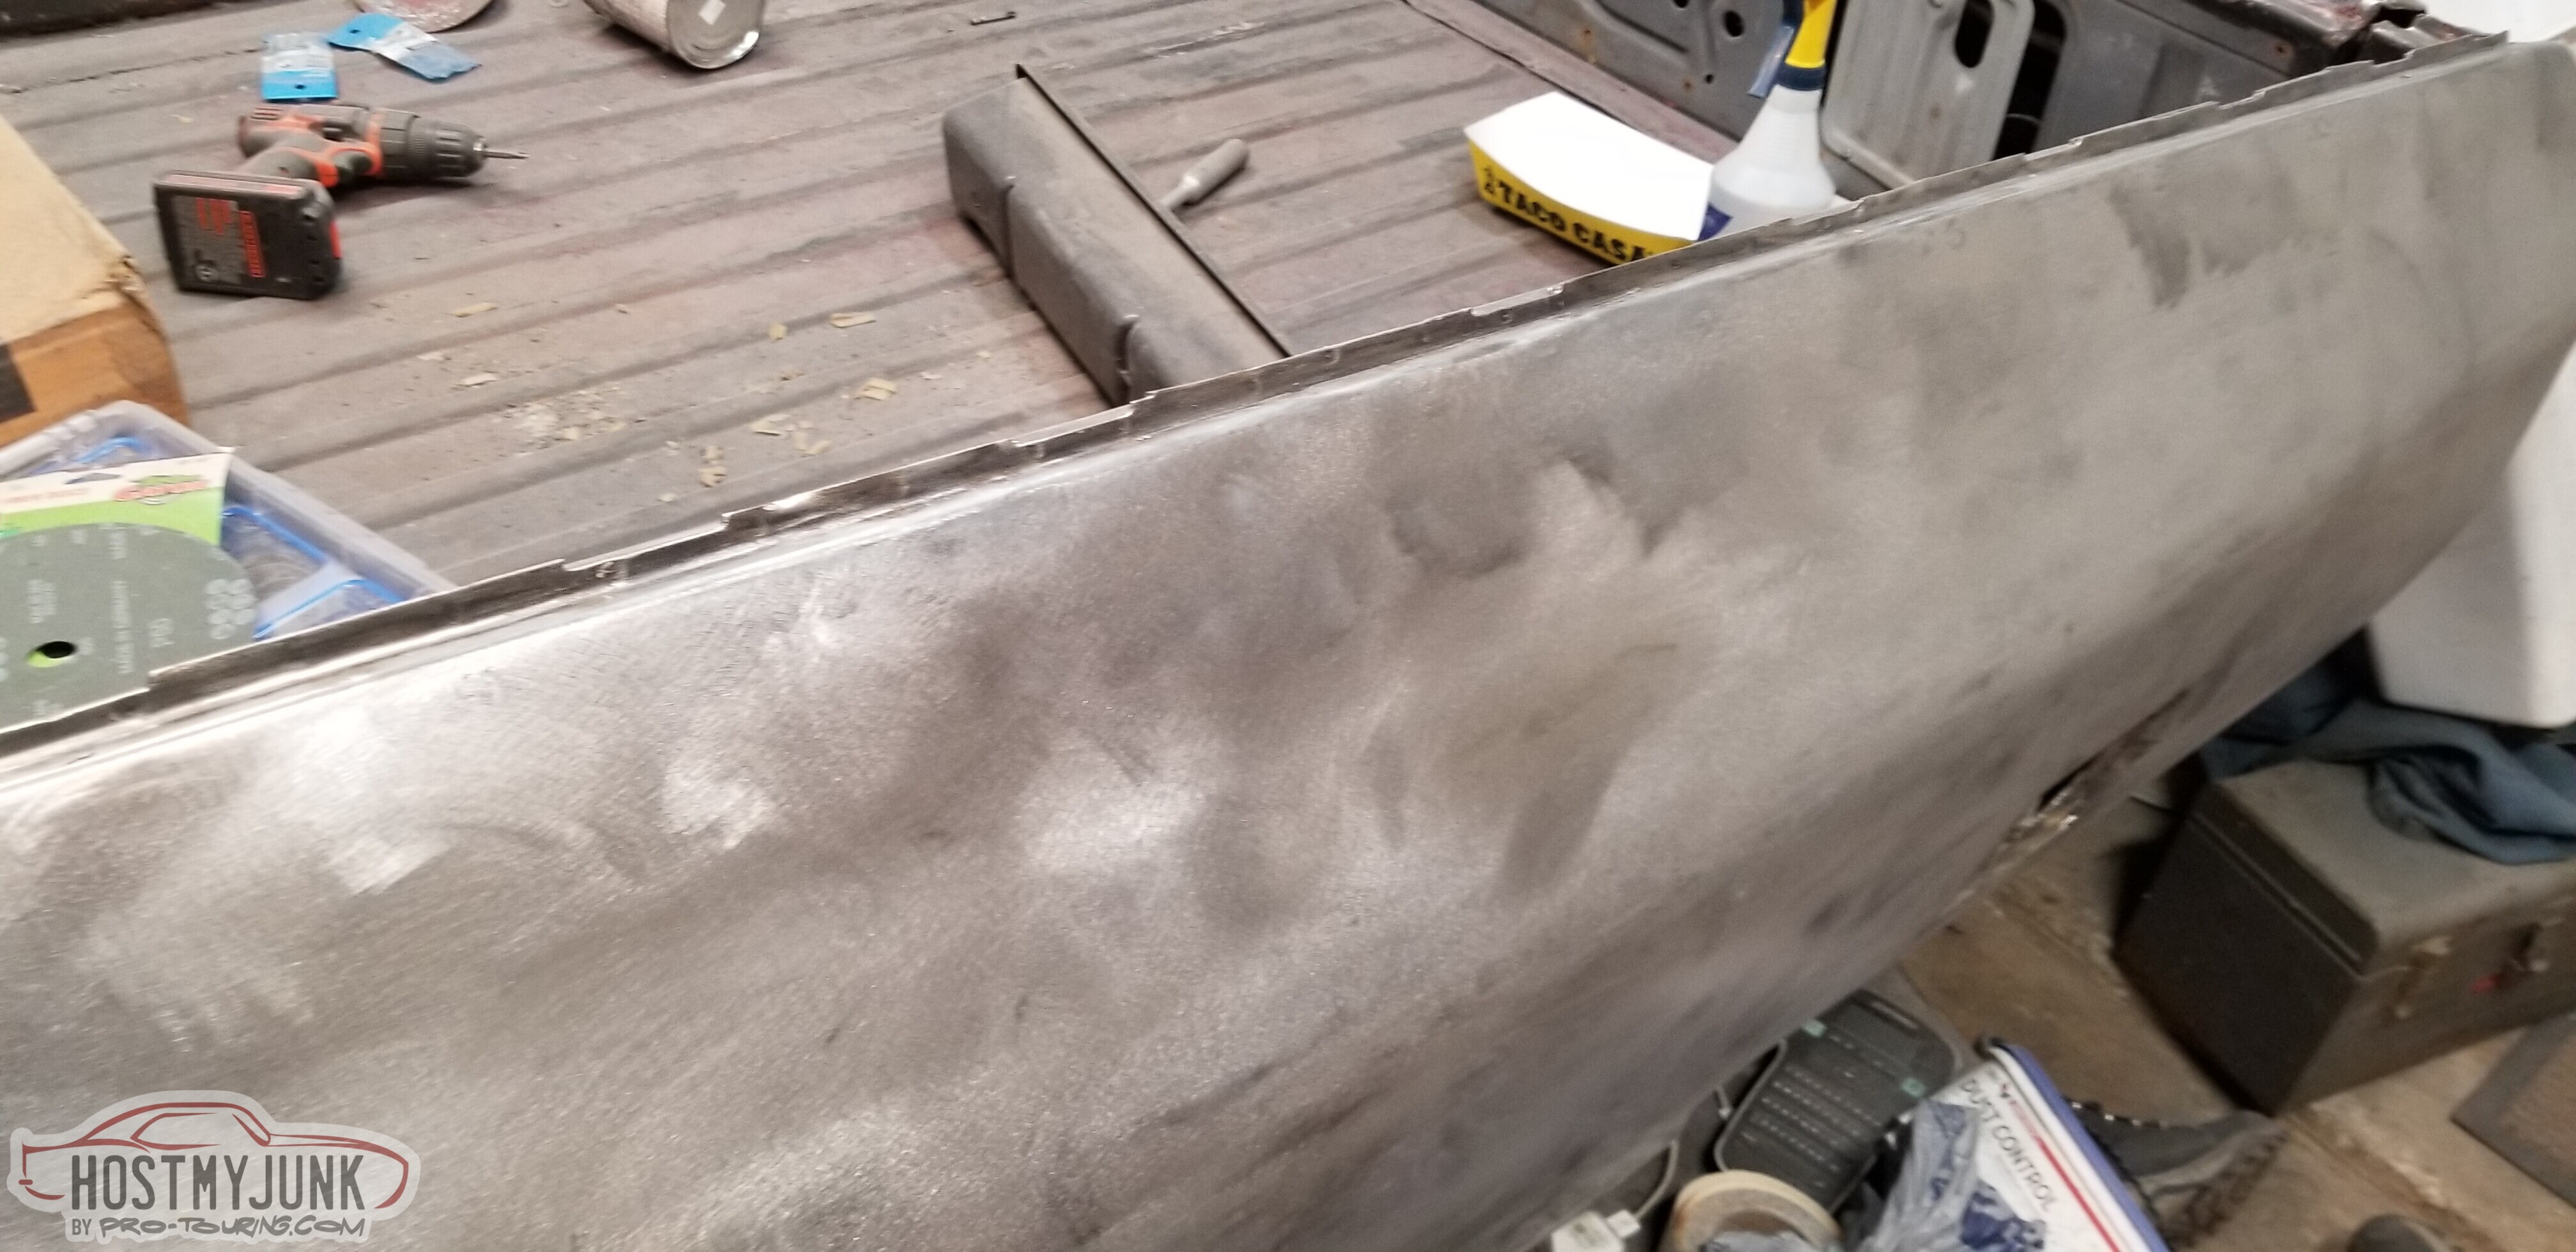
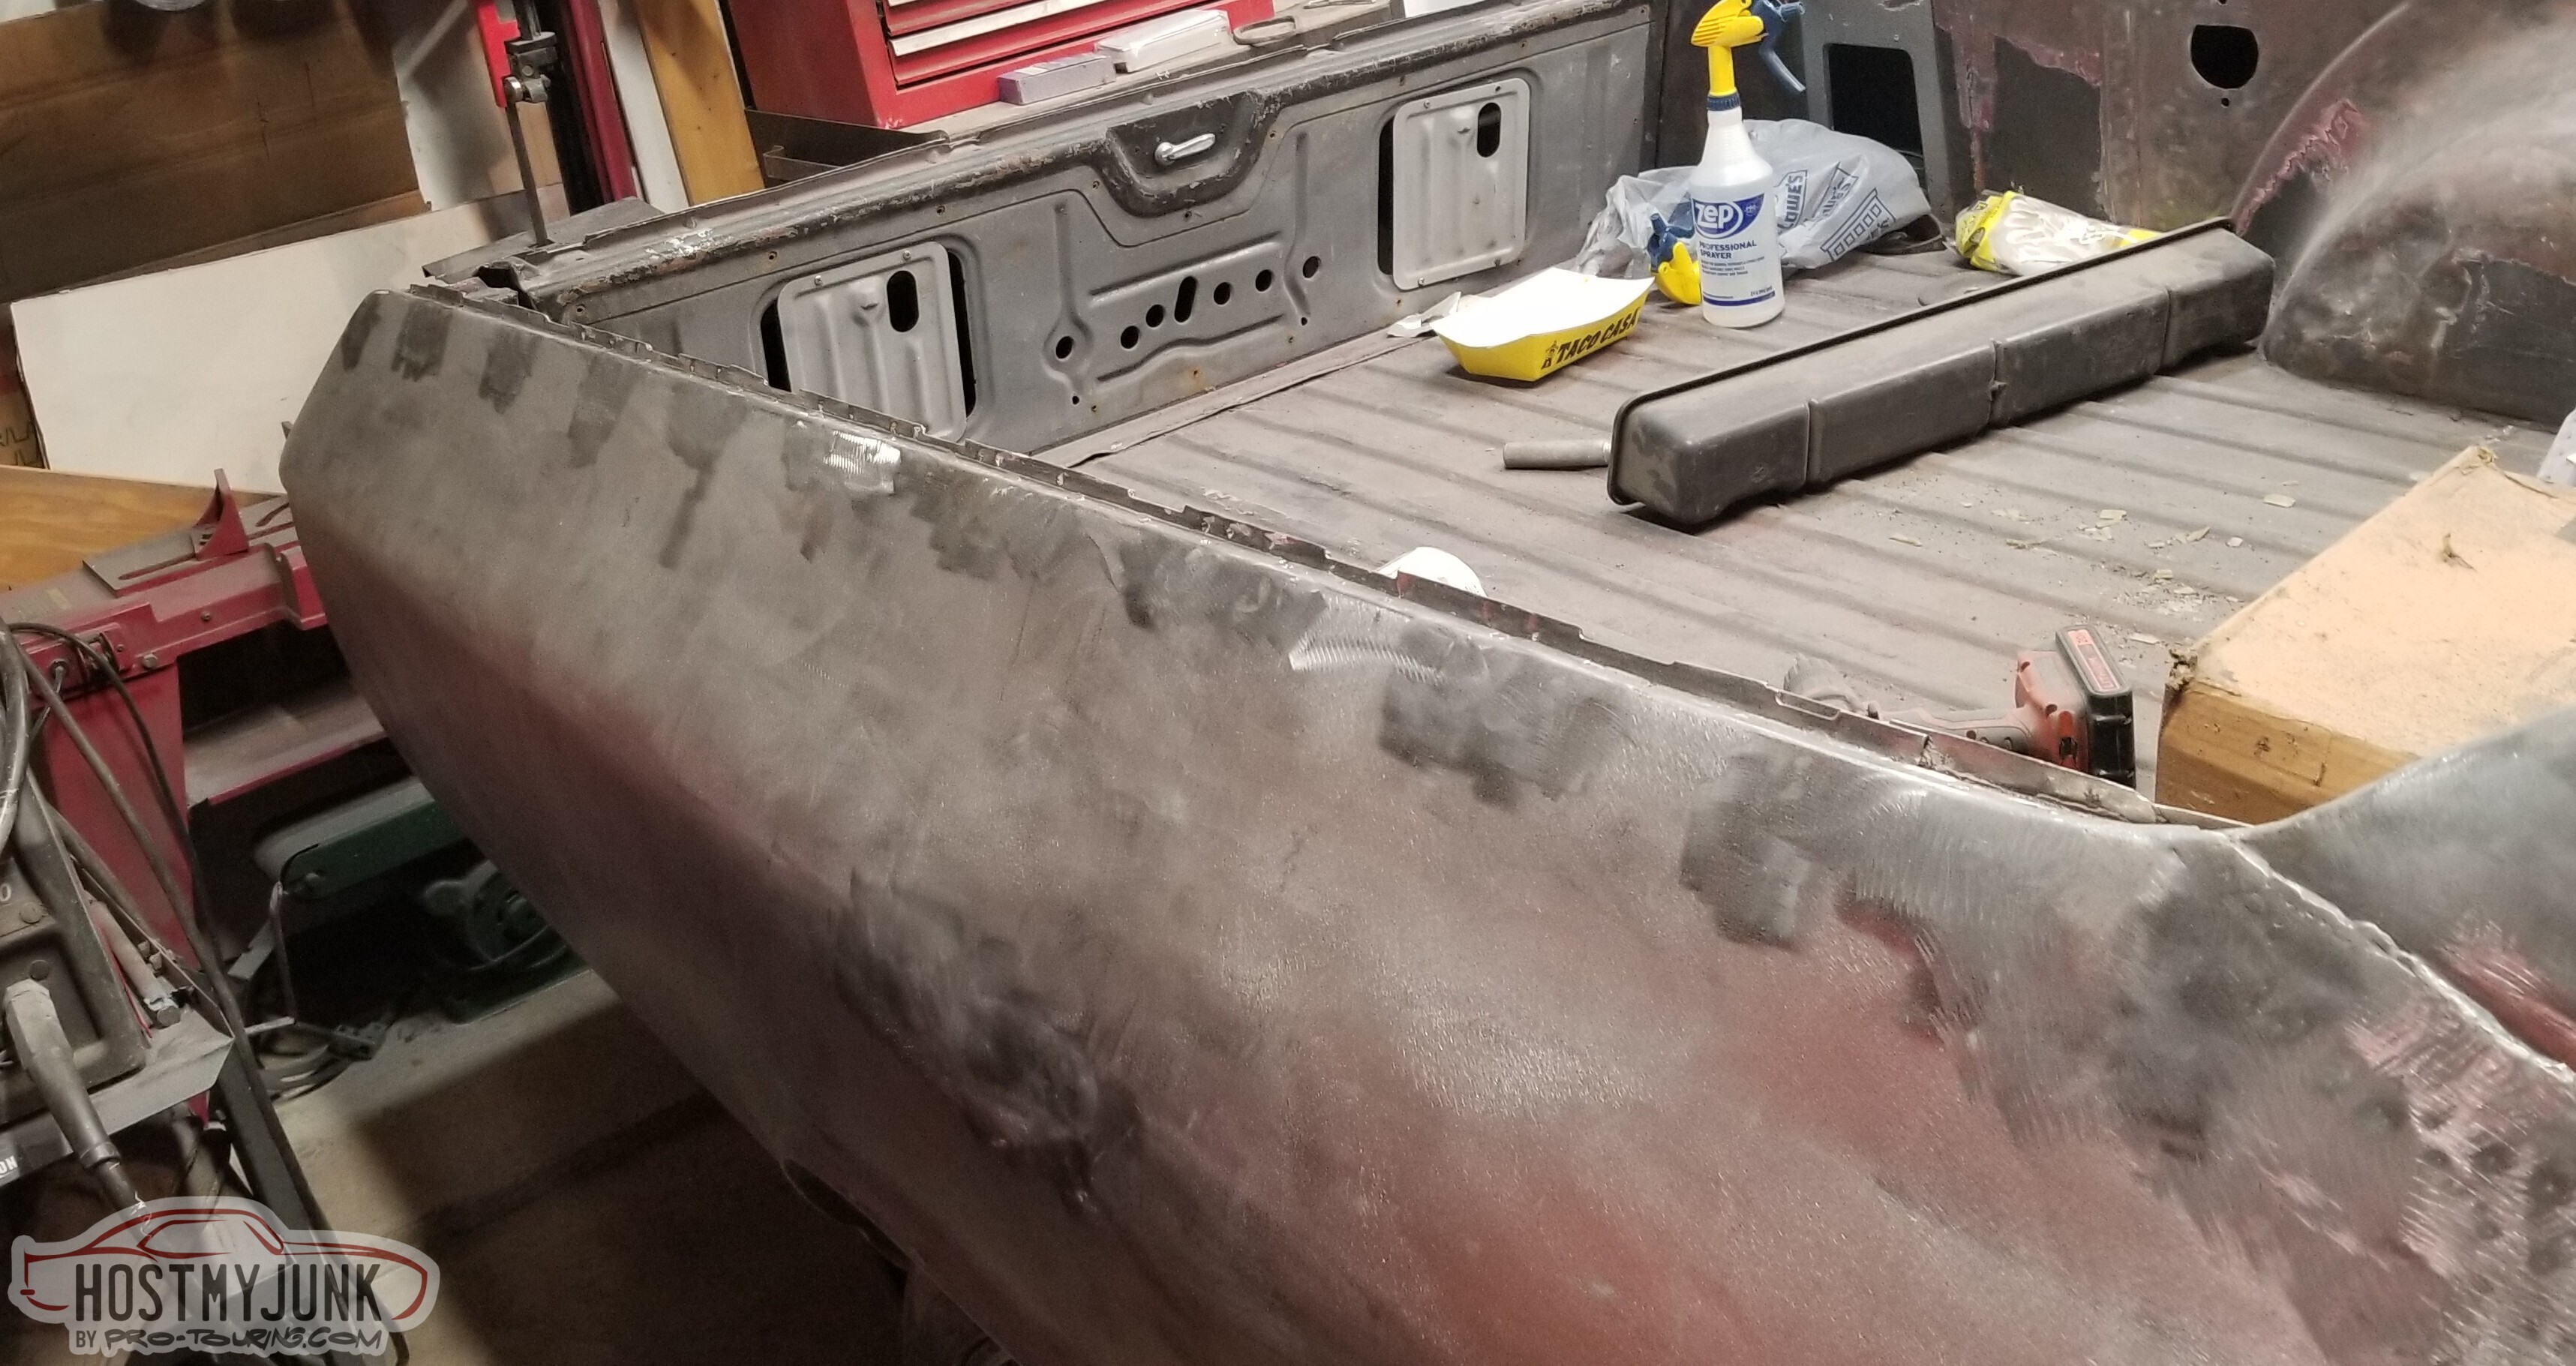
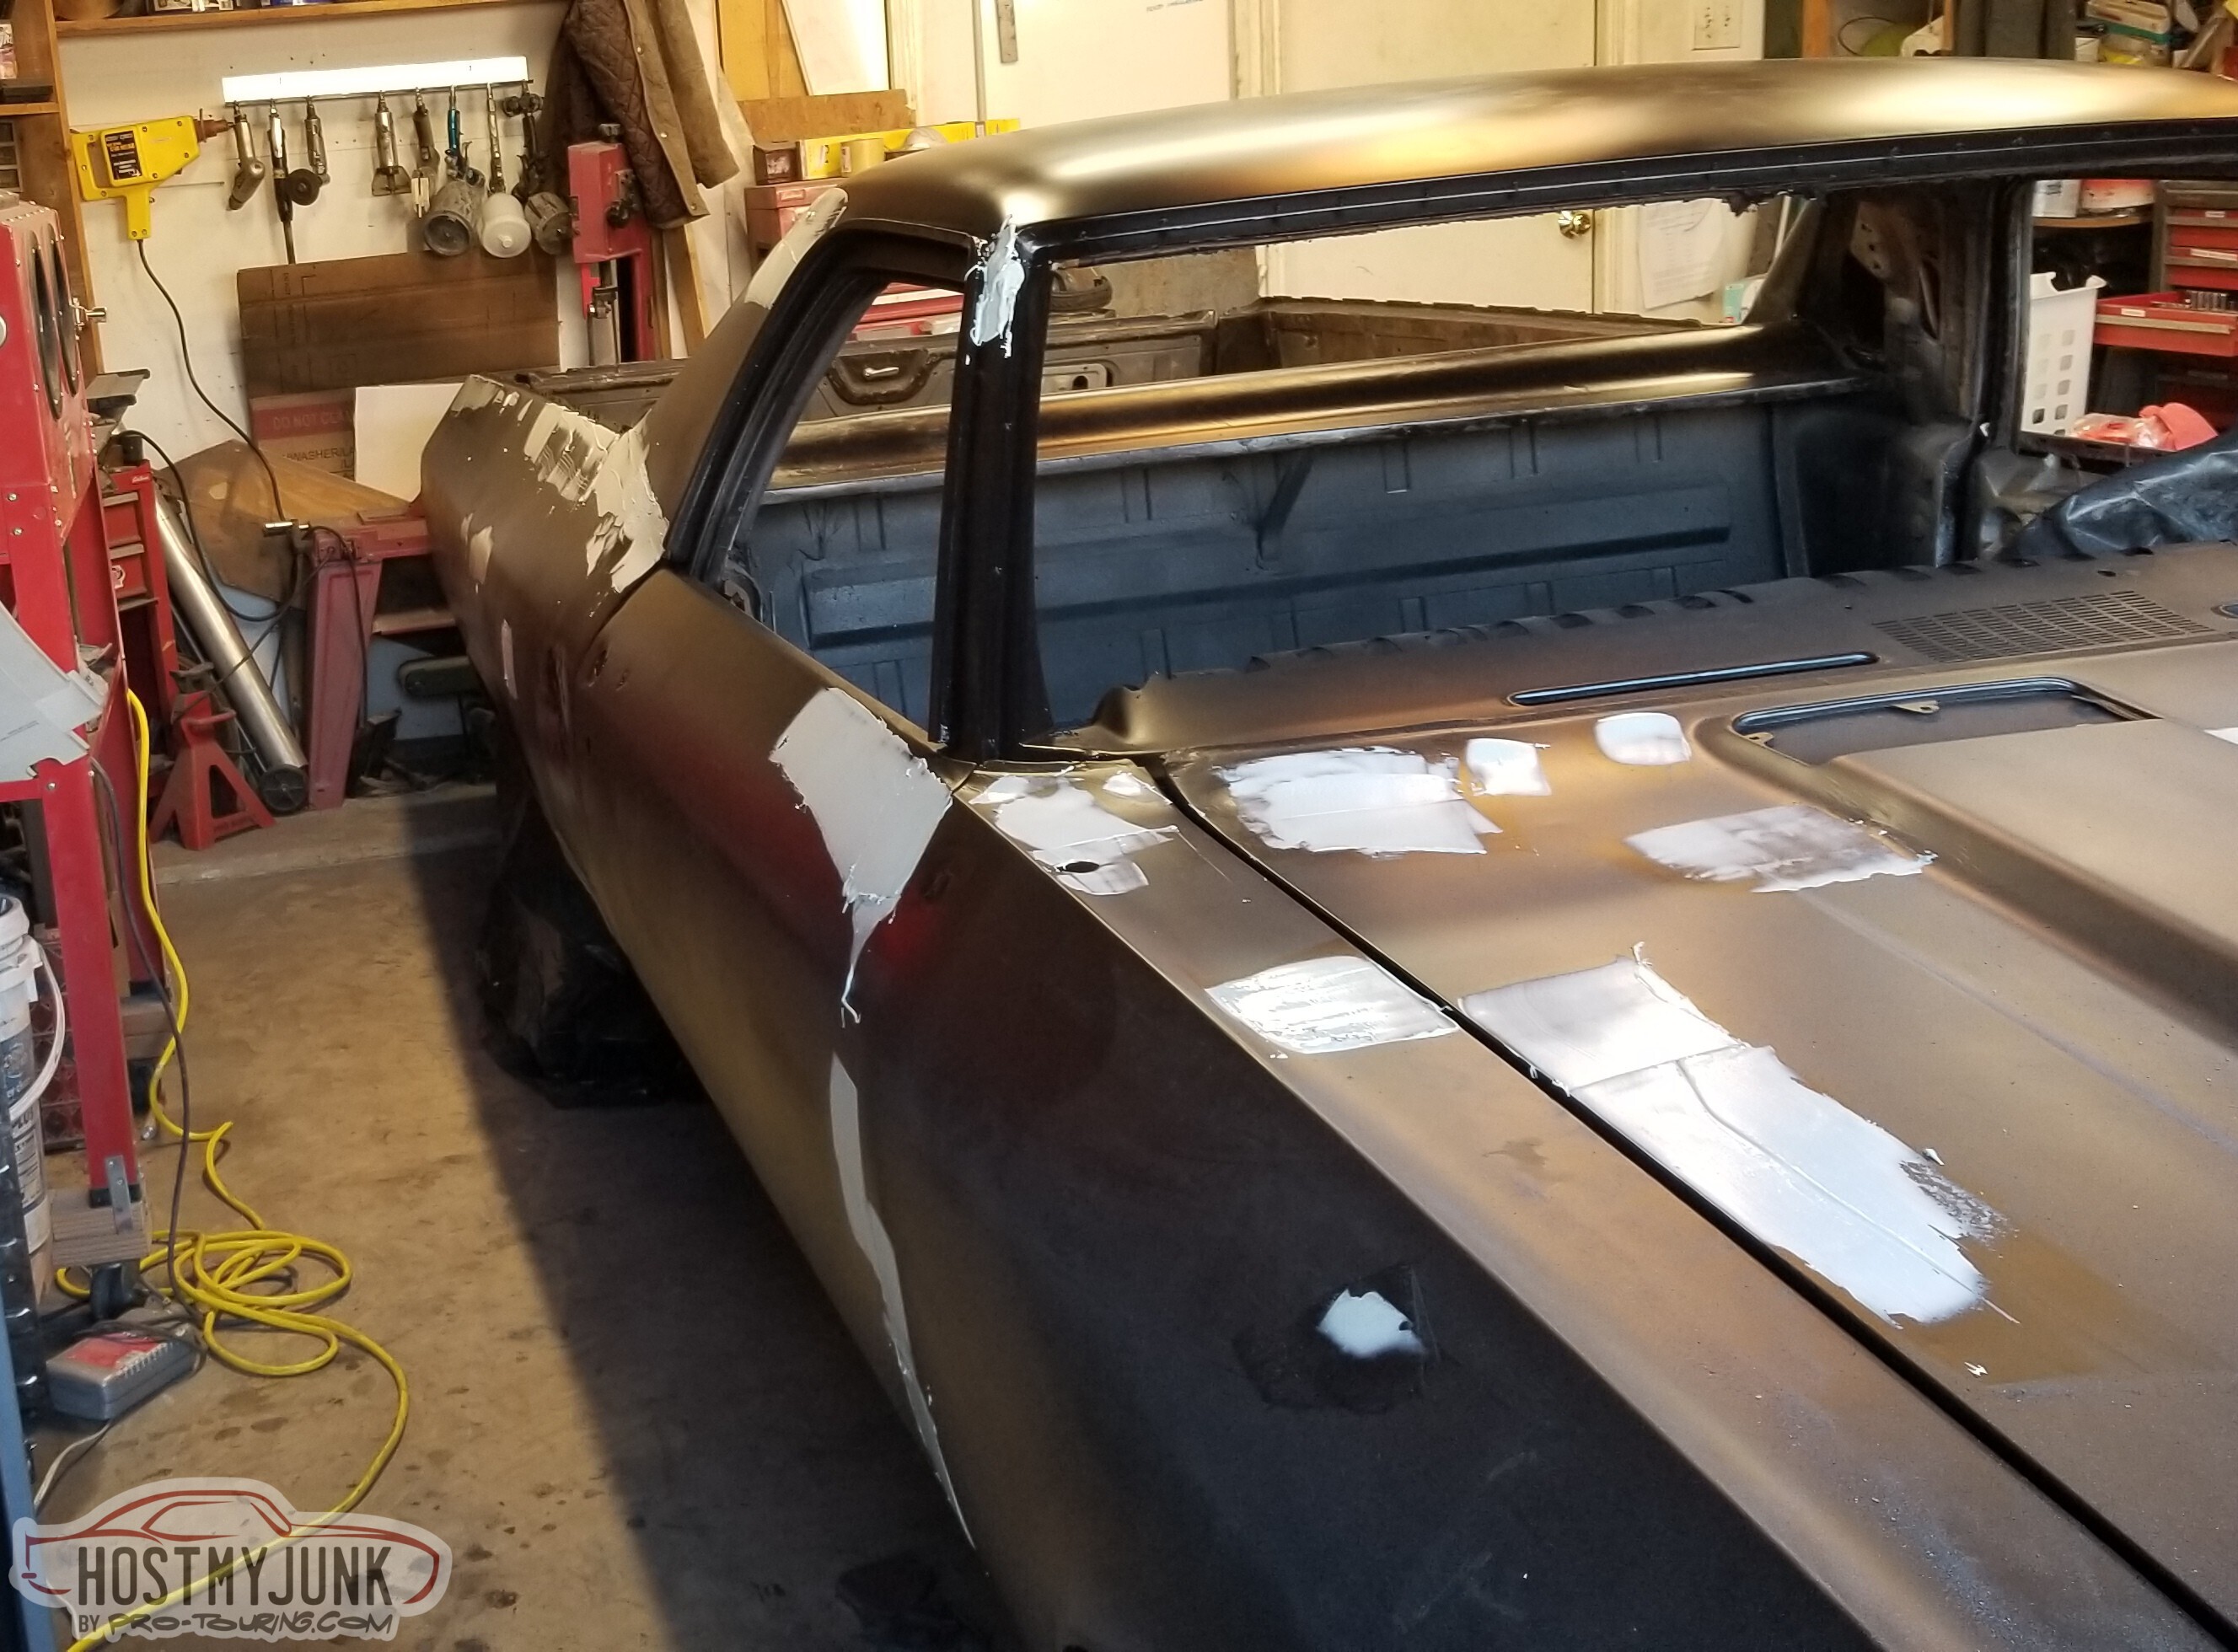
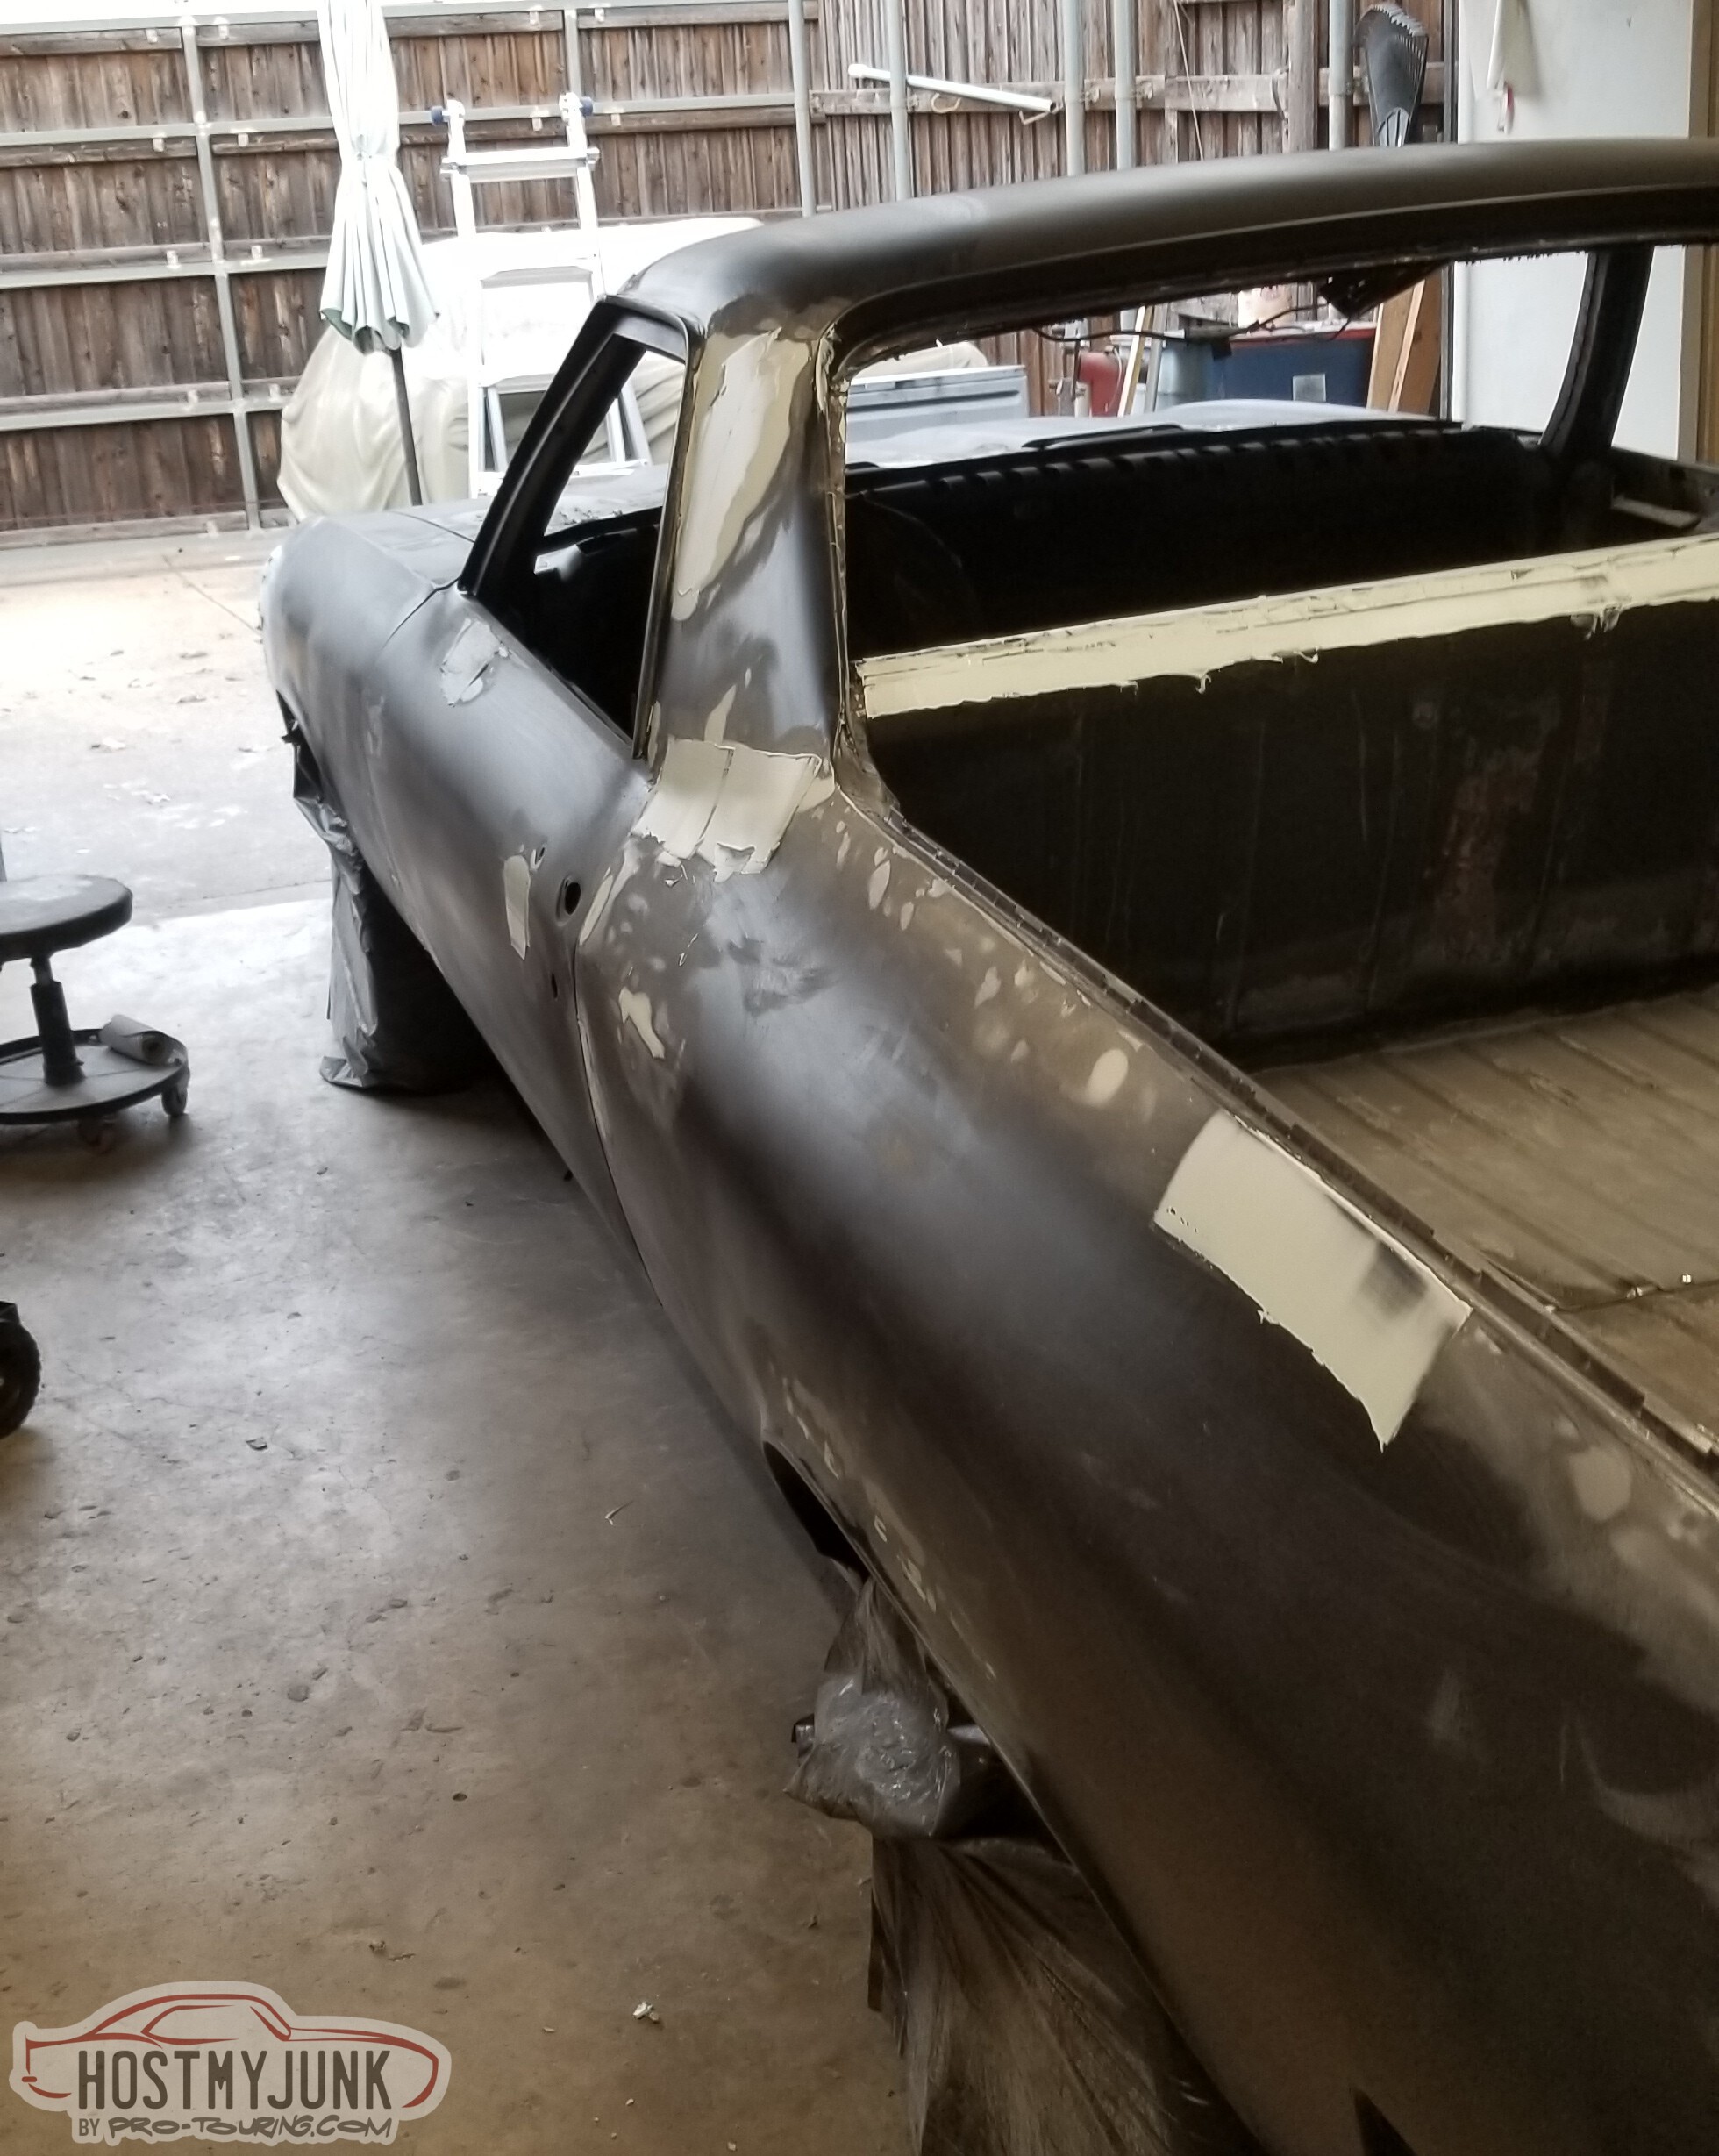
So - what's the least interesting possible thing to document? Probably applying and sanding filler. Enjoy.
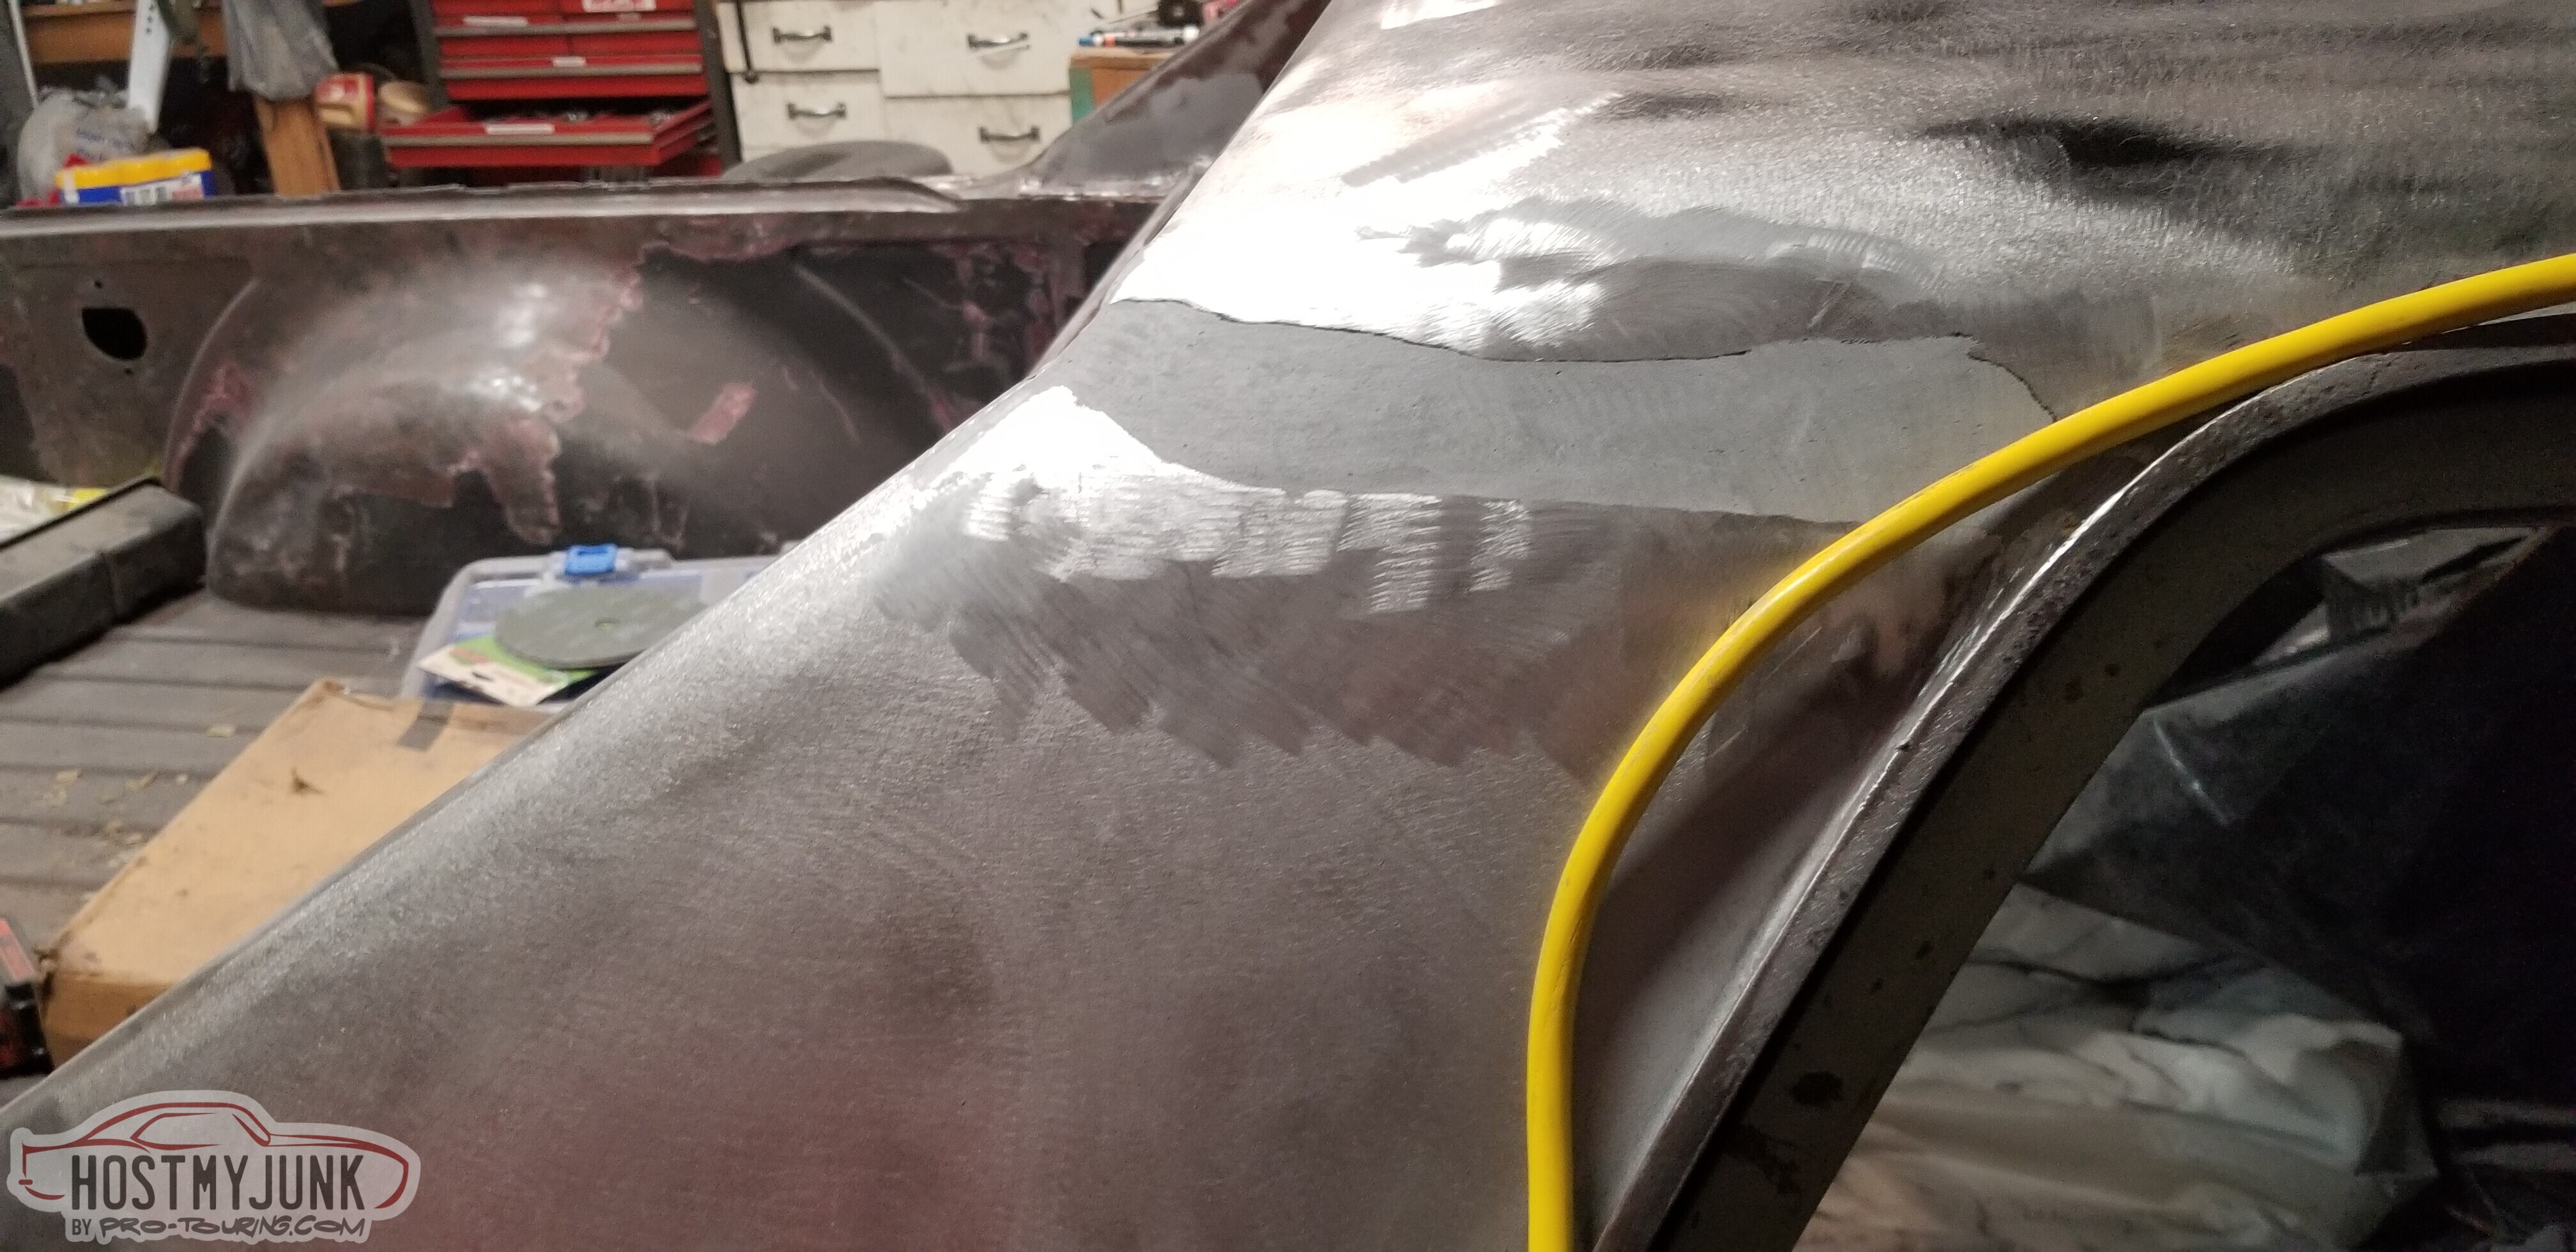
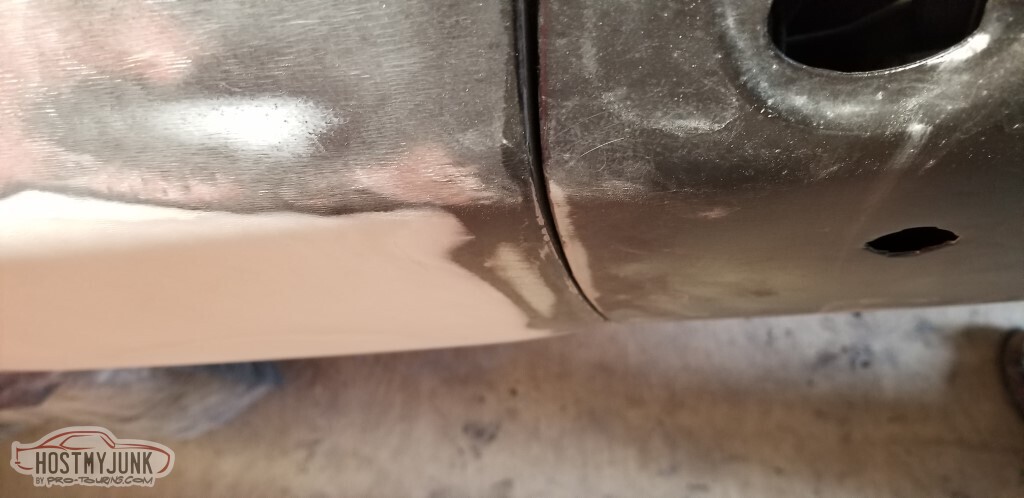
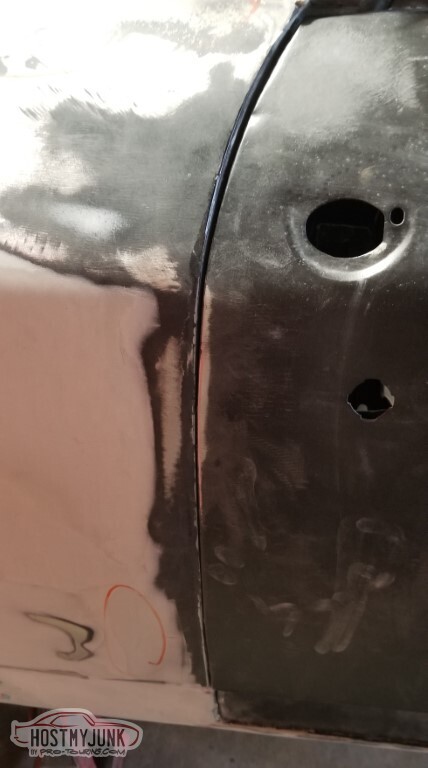
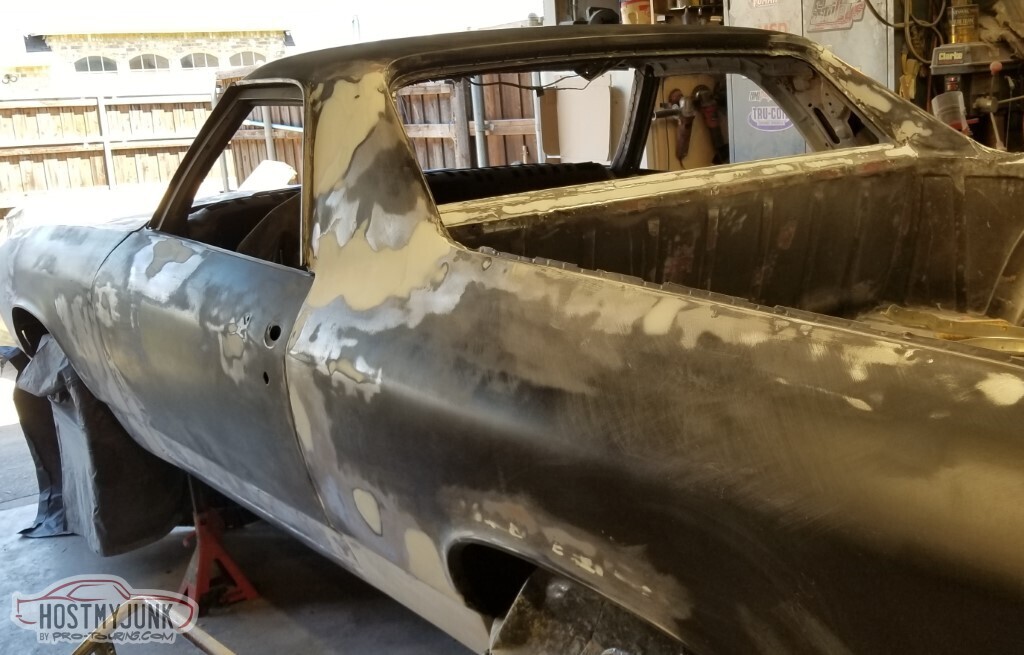
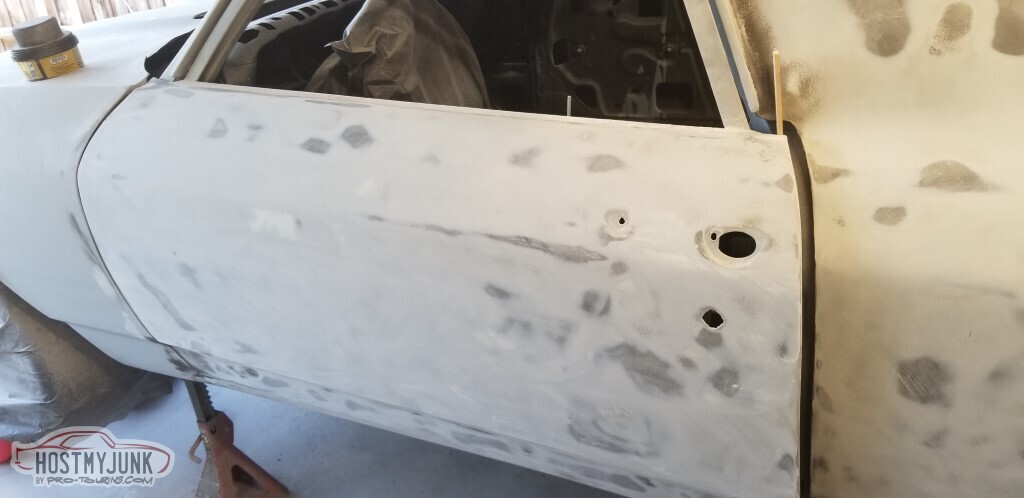
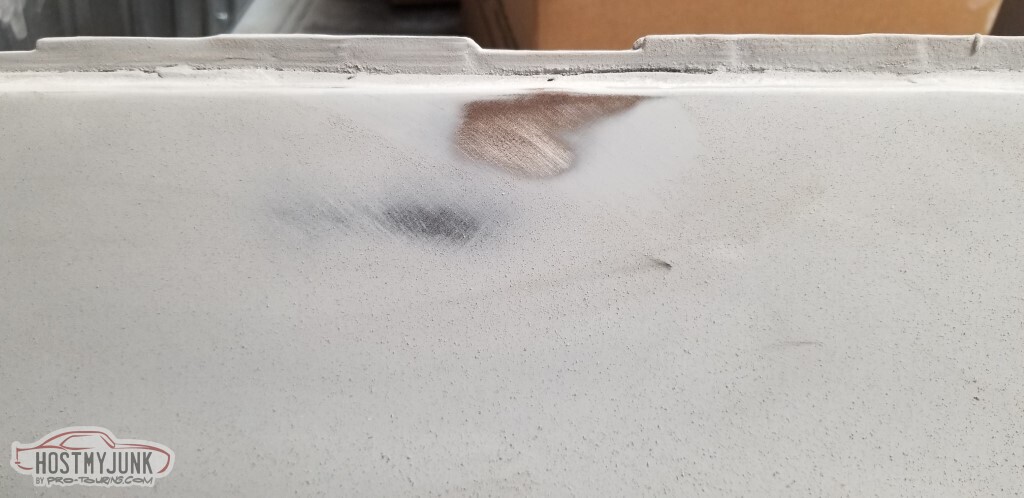
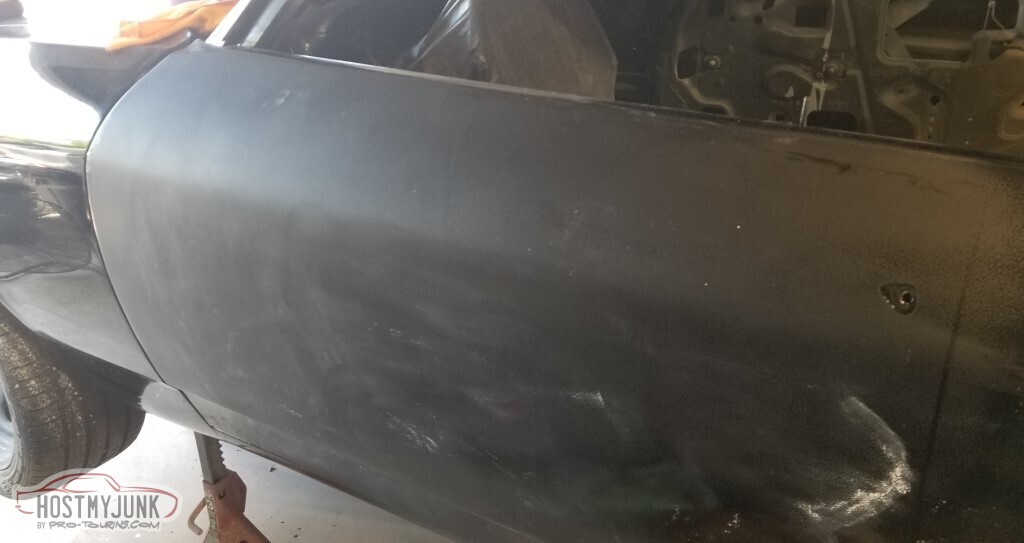
This fender was repaired somewhere before I got the car (read: somewhere in the 80s) with a lot of plastic filler. Now that I took it down to bare metal, I need to apply my own new coat.
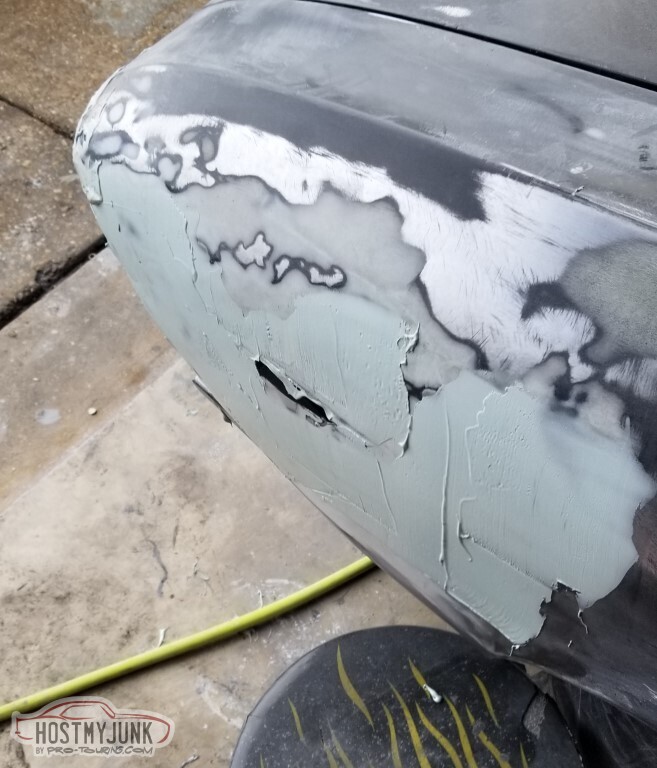
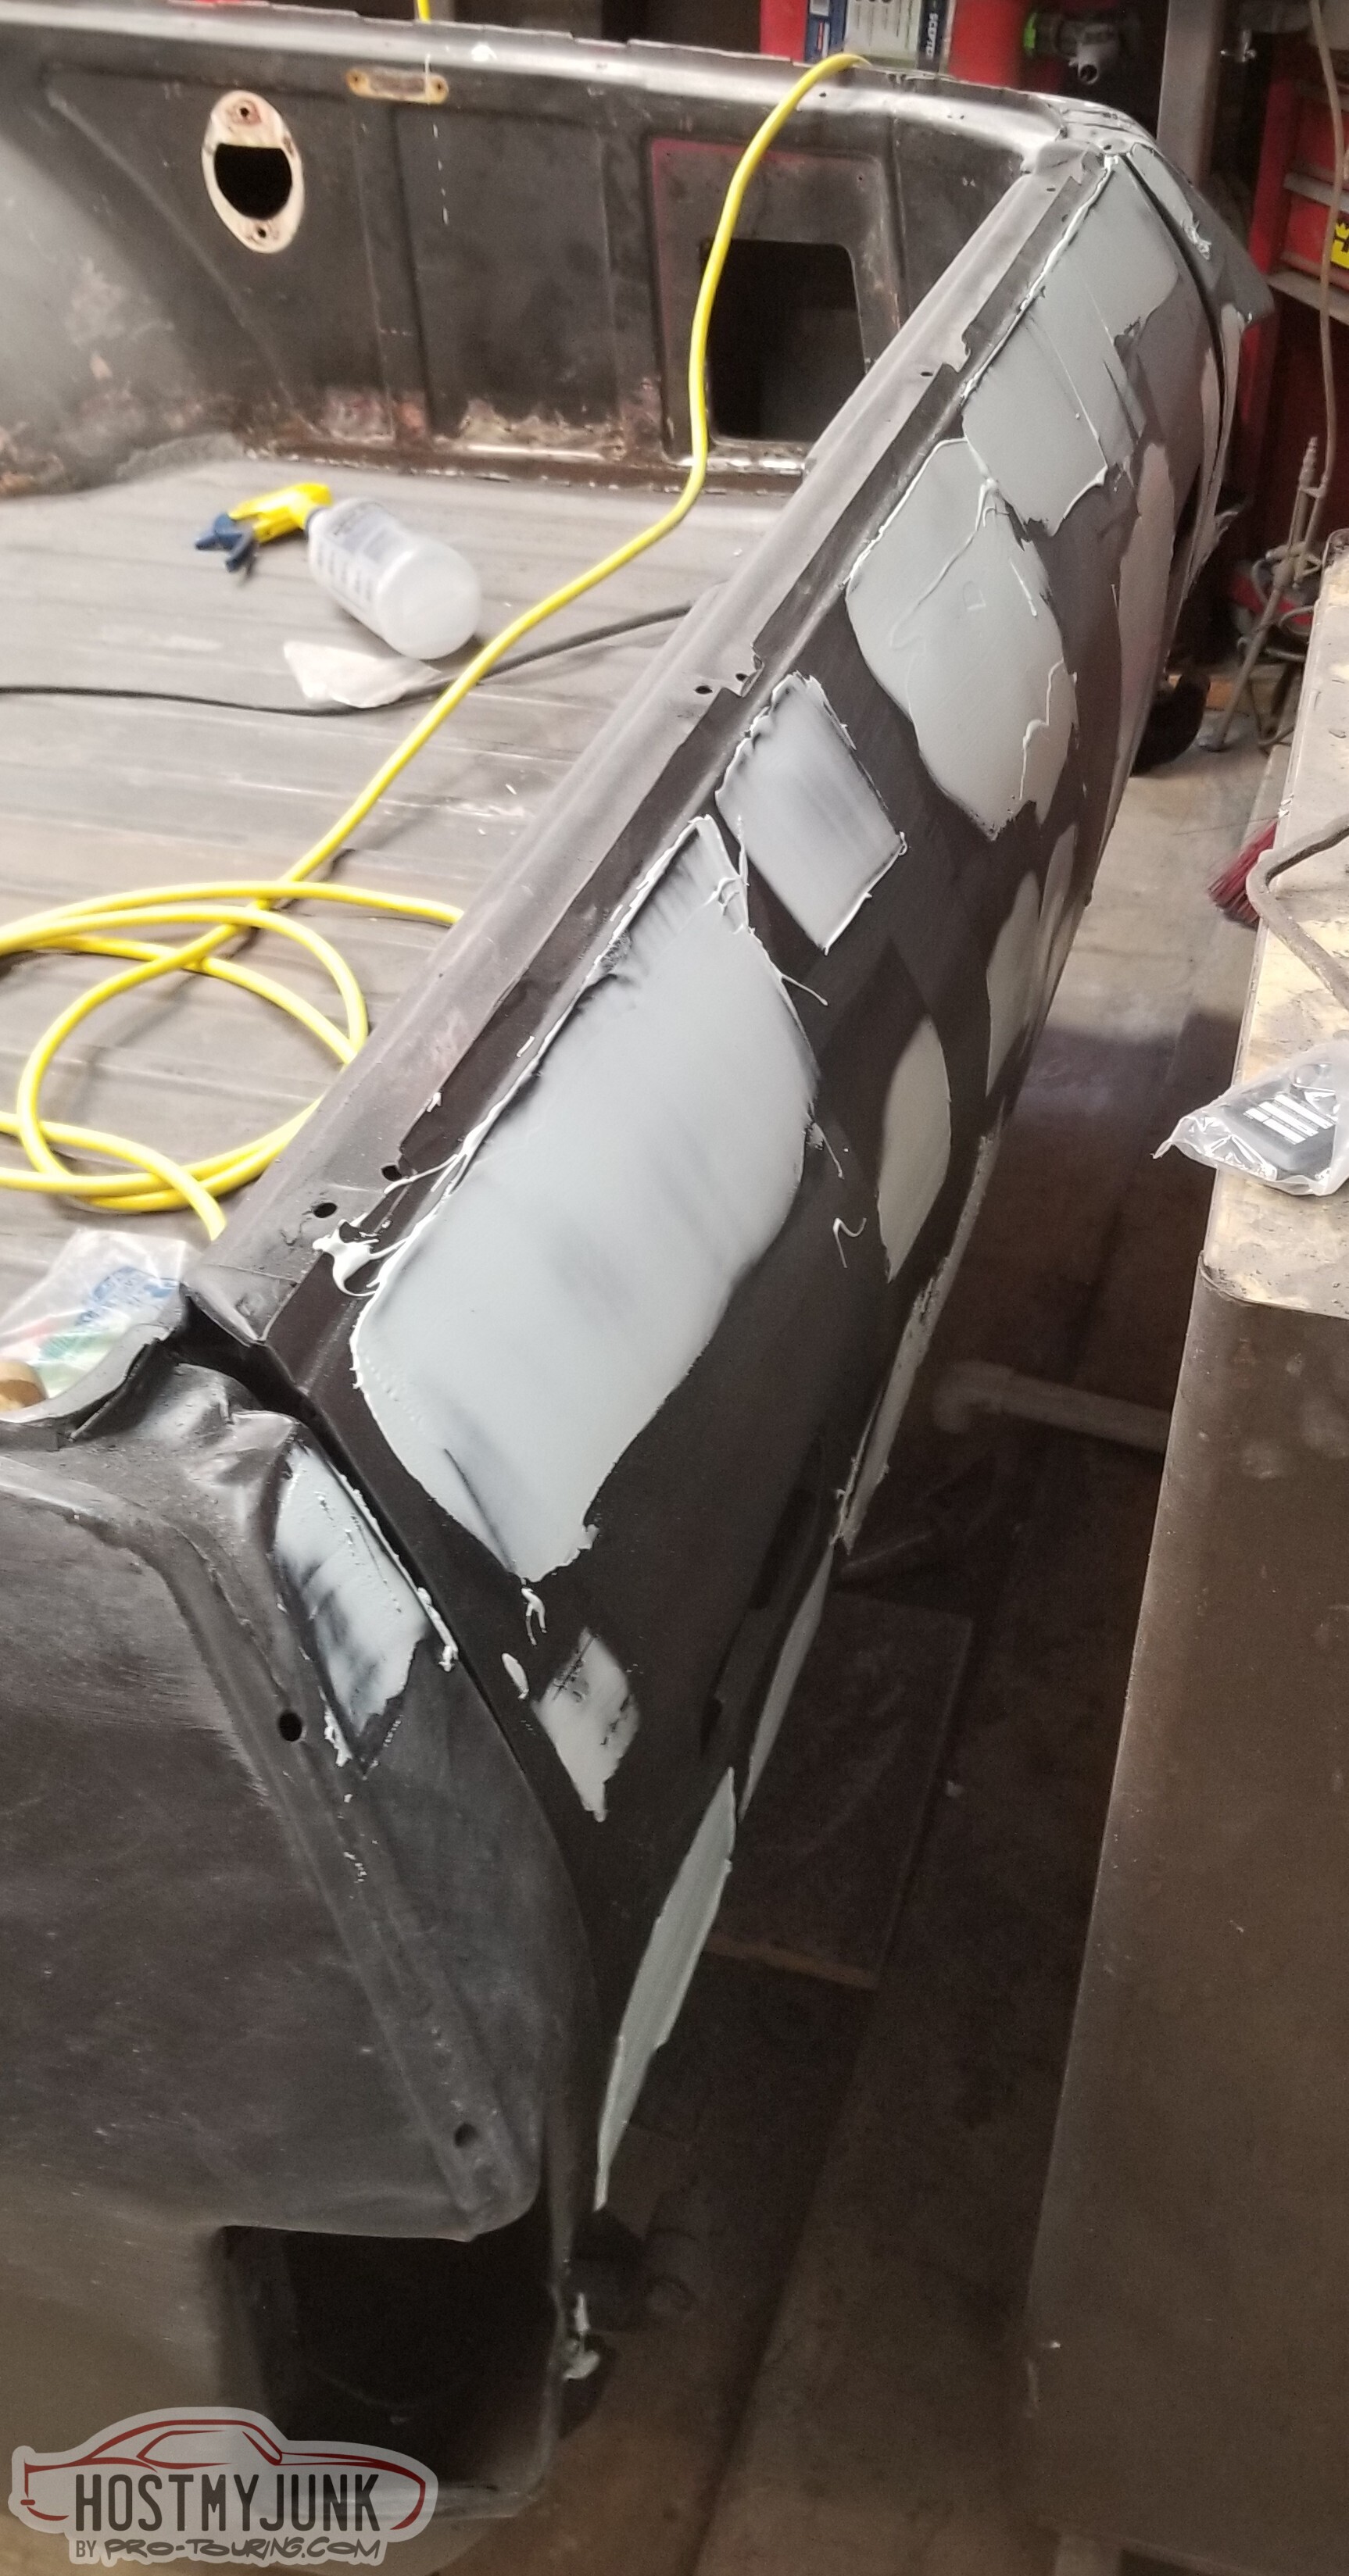
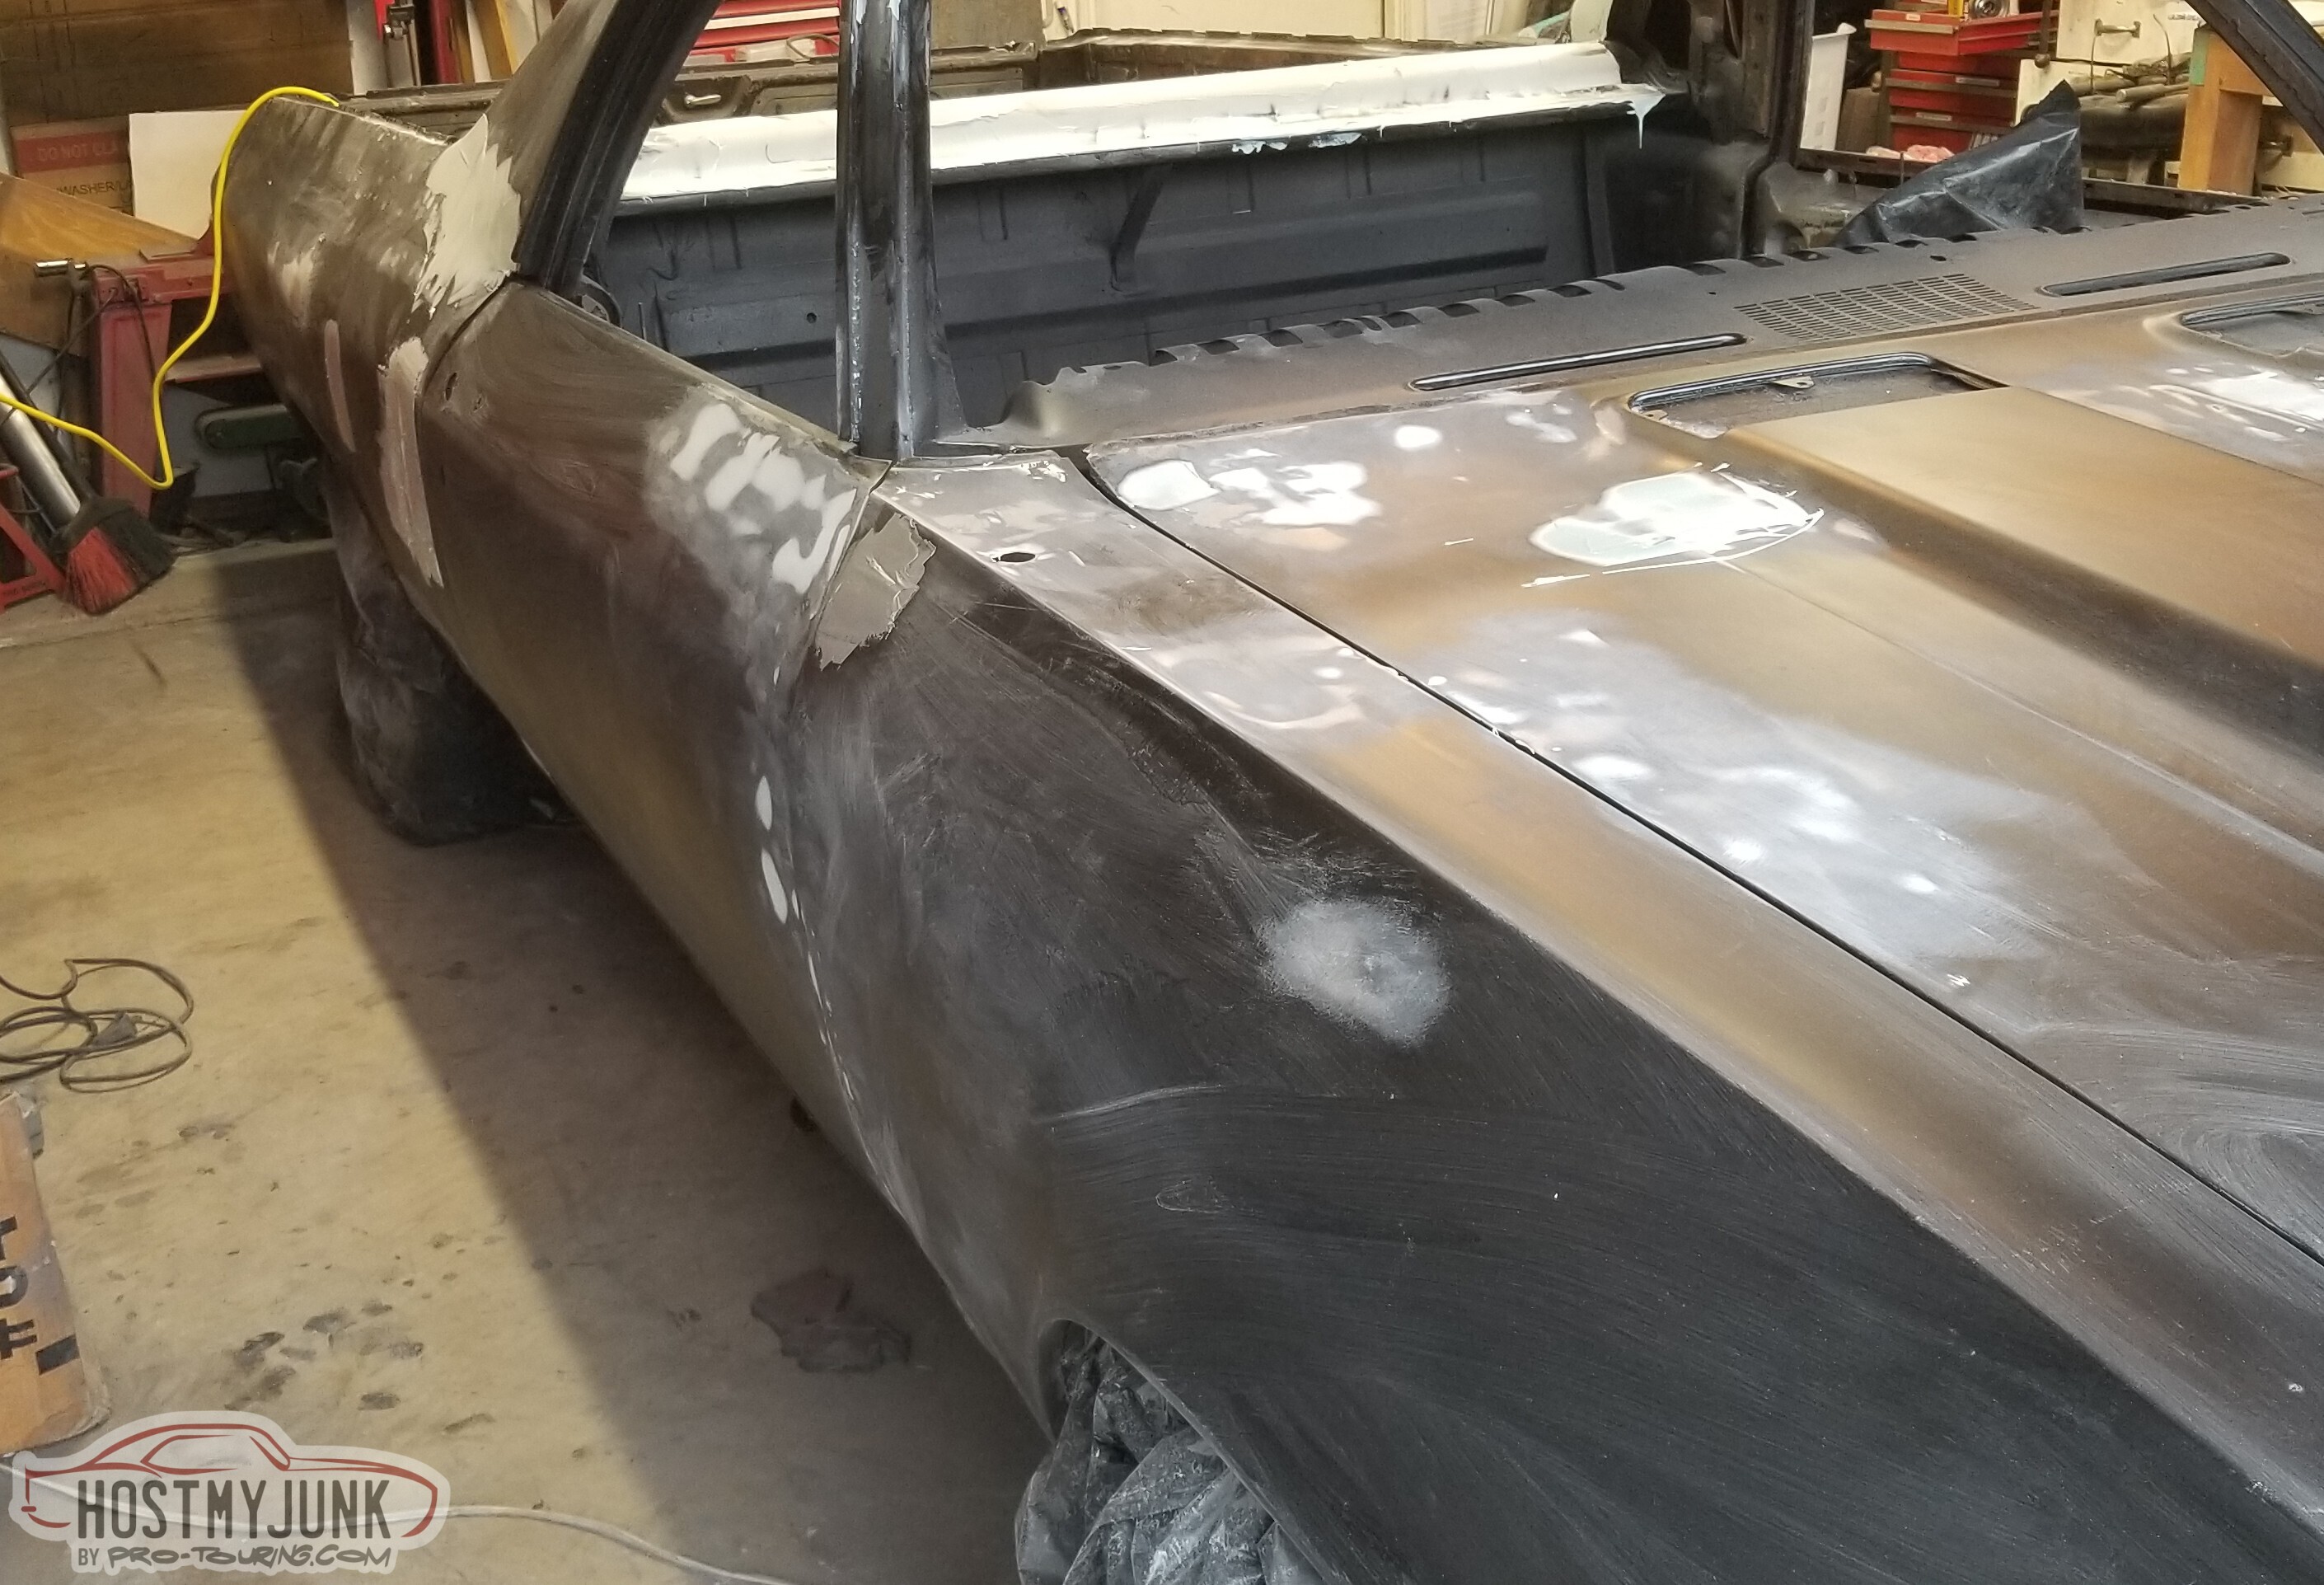
The gate-dent is partially filled

The panel below the rear window too.
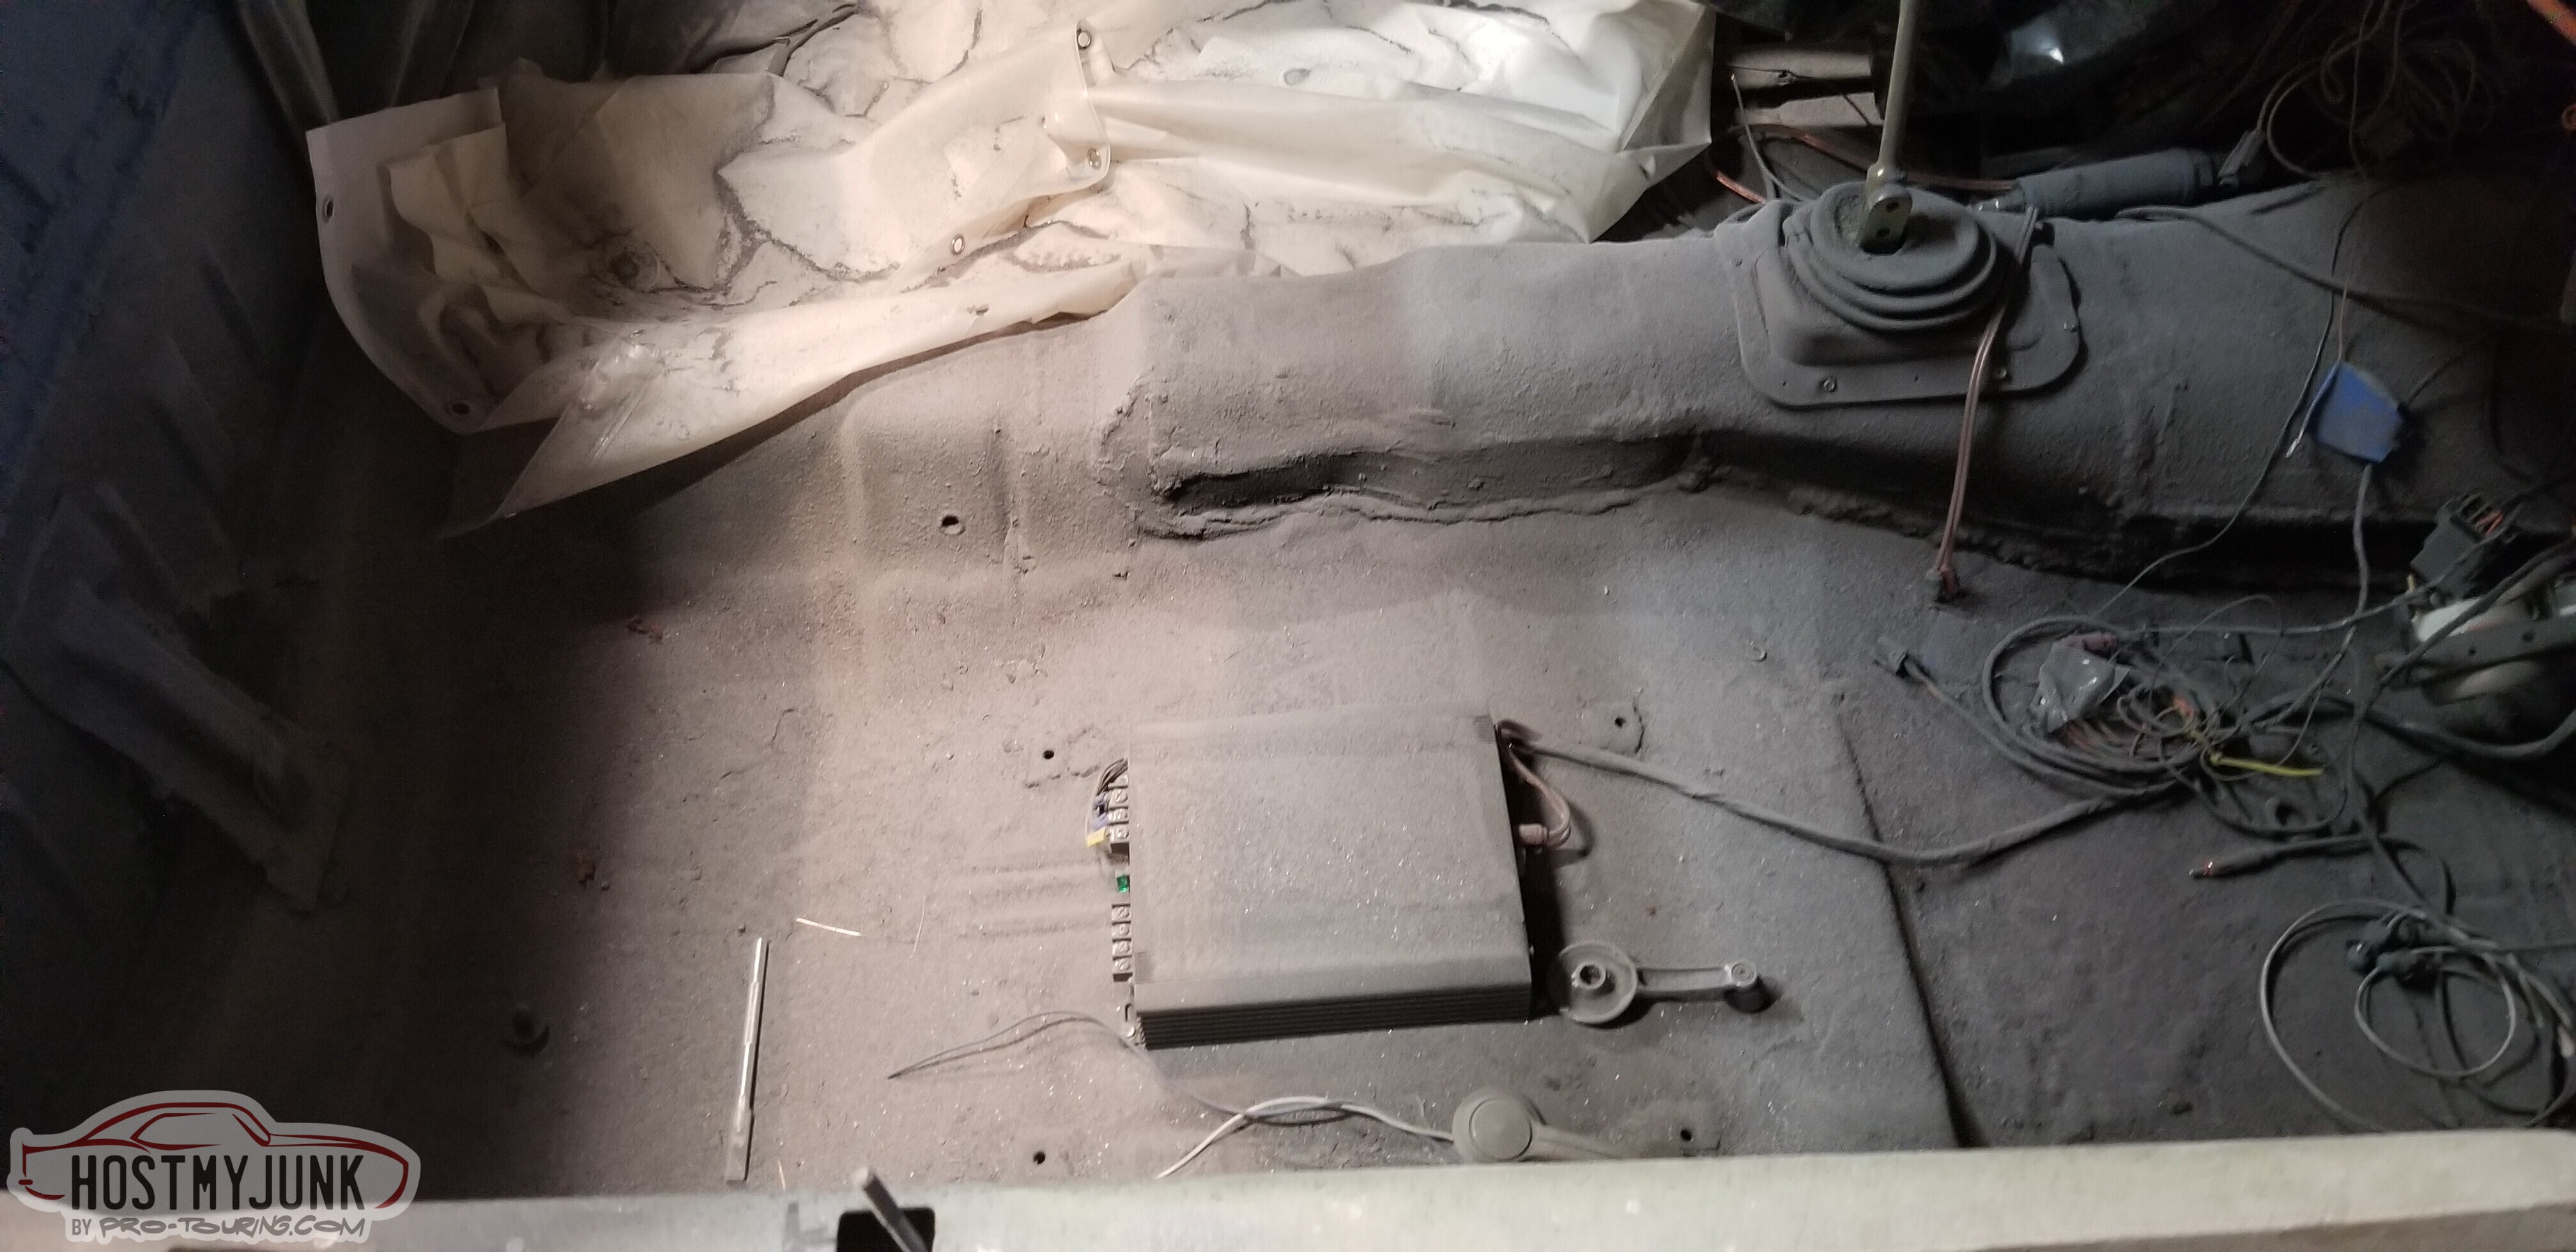
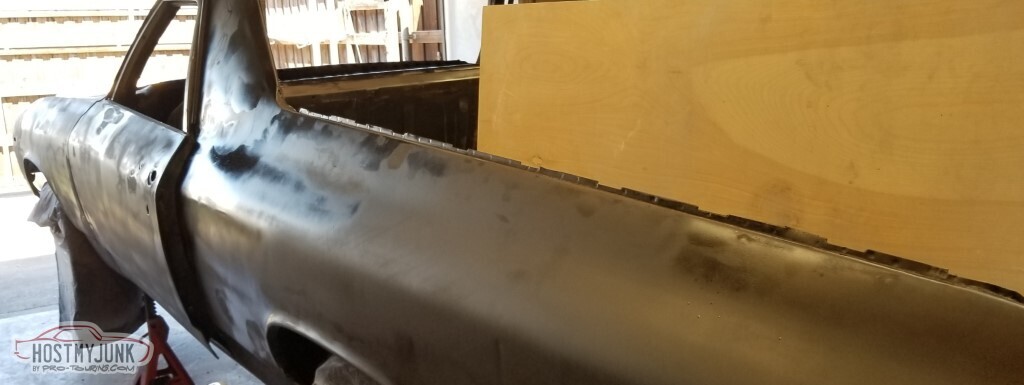
So this is the point where it proper became too cold to do bodywork.</p> The supplies all get moved to the spare room so they don't freeze, and time to pick a new section to work on.
I went to a junkyard and got the wiper motor bracket I needed.
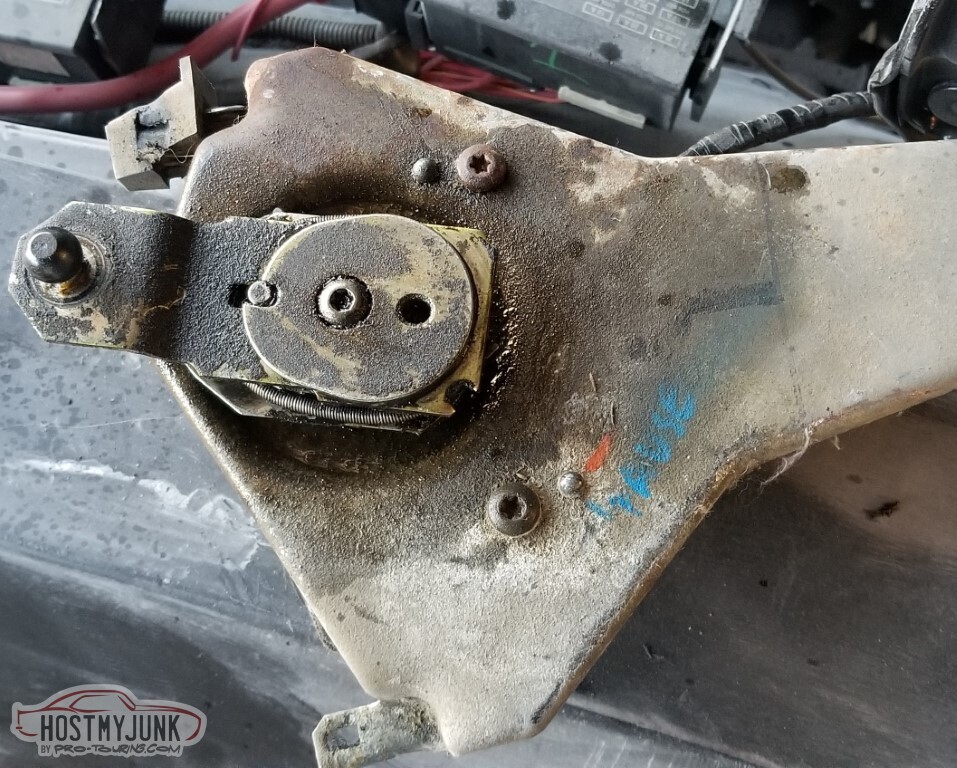
It came with the motor, because of course it did, but it's SO filthy.
I don't want to worry about this until the windshield is in, so next project:
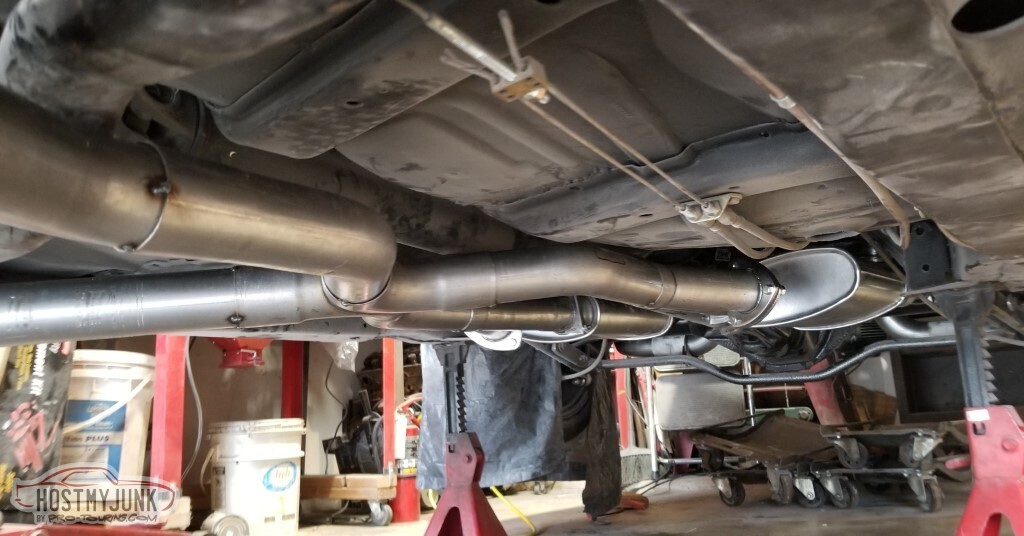
She hated the exhaust. To be fair, so did I, but it was free (or free-adjacent). So, I was instructed to go buy what I needed to do it proper.
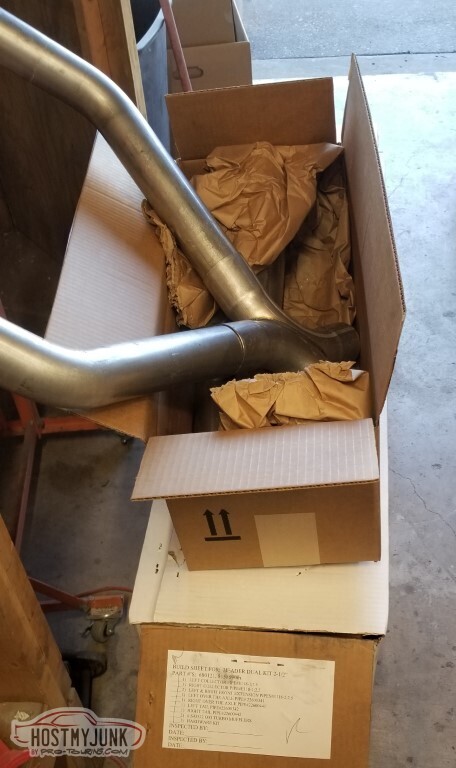
Also instructed to get cutouts. Well, not too much twisting of arm required.
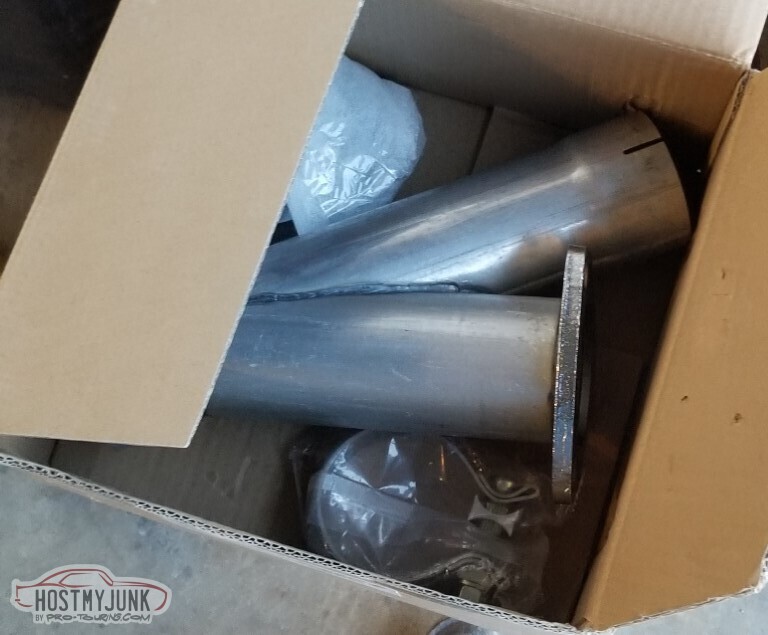
It's a 2 1/2" system rather than the 3" I had on before, it's got the proper over-the-axle pipes and everything. And an X-pipe, because why not?

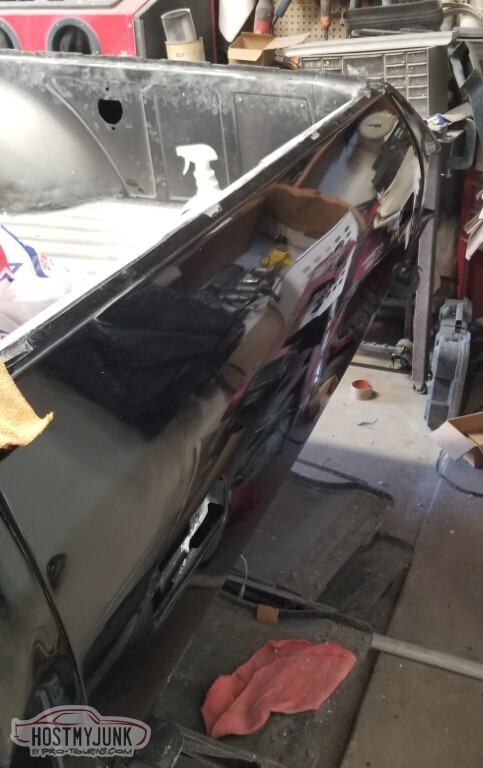
The pipes in the rear are just hanging for now, I want to have the bumper on before I set their final location.

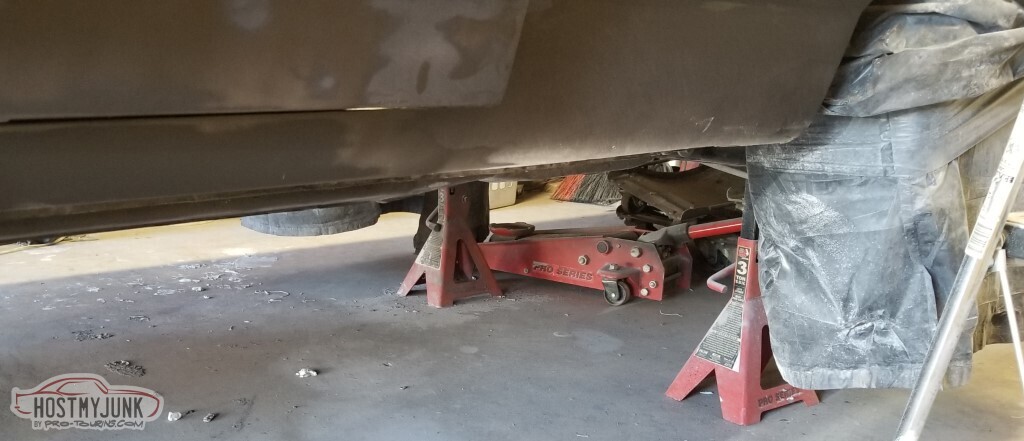
Car goes up in the air for exhaust, may as well leave it there for bodywork too.

ADD strikes again!
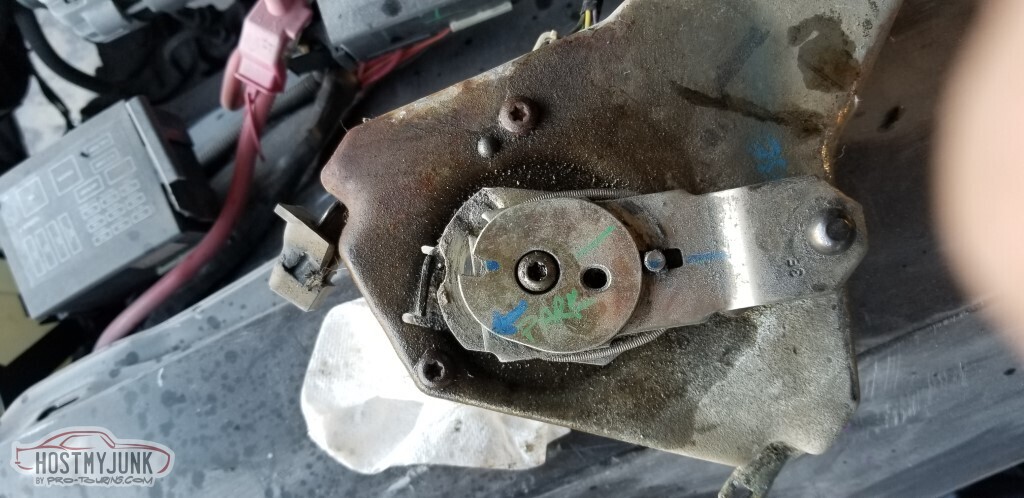
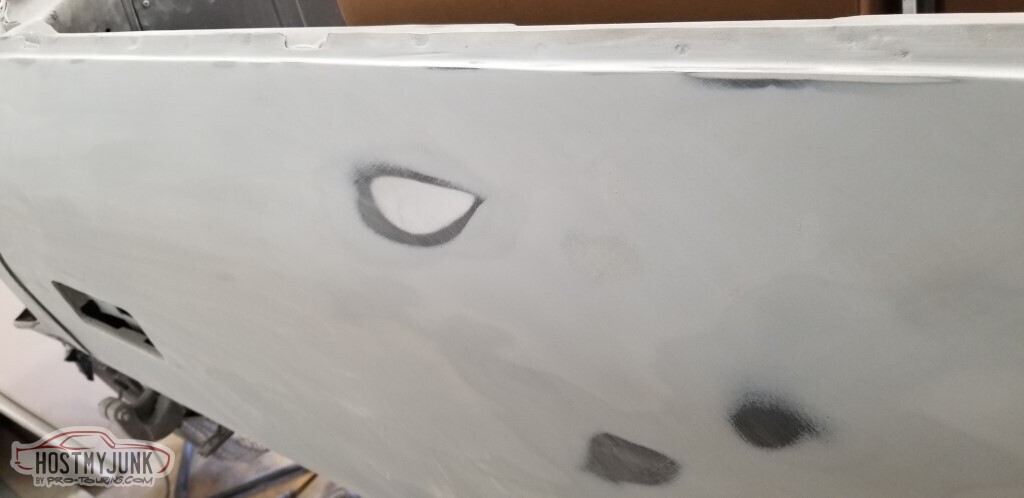
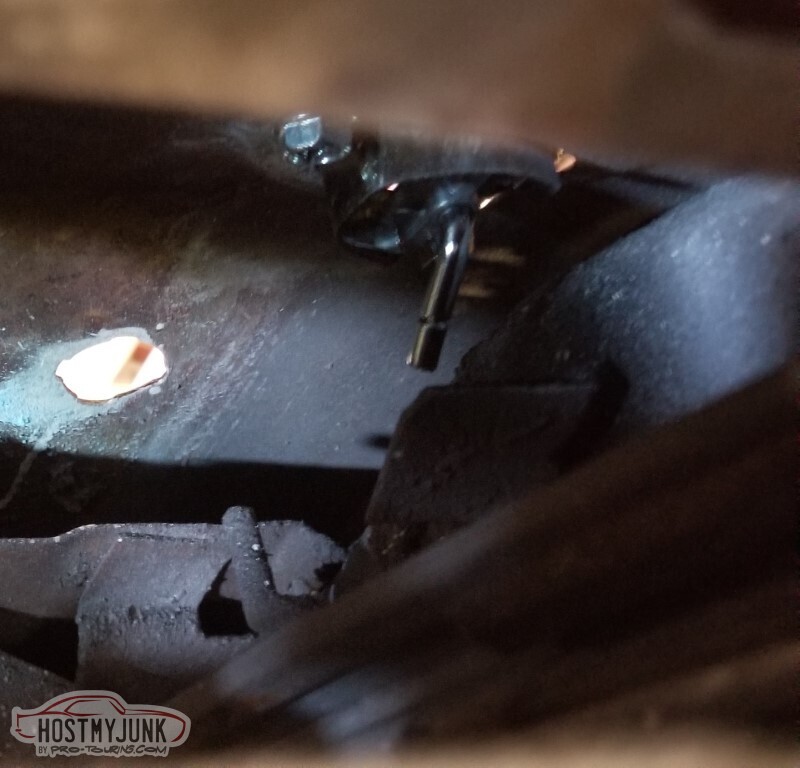
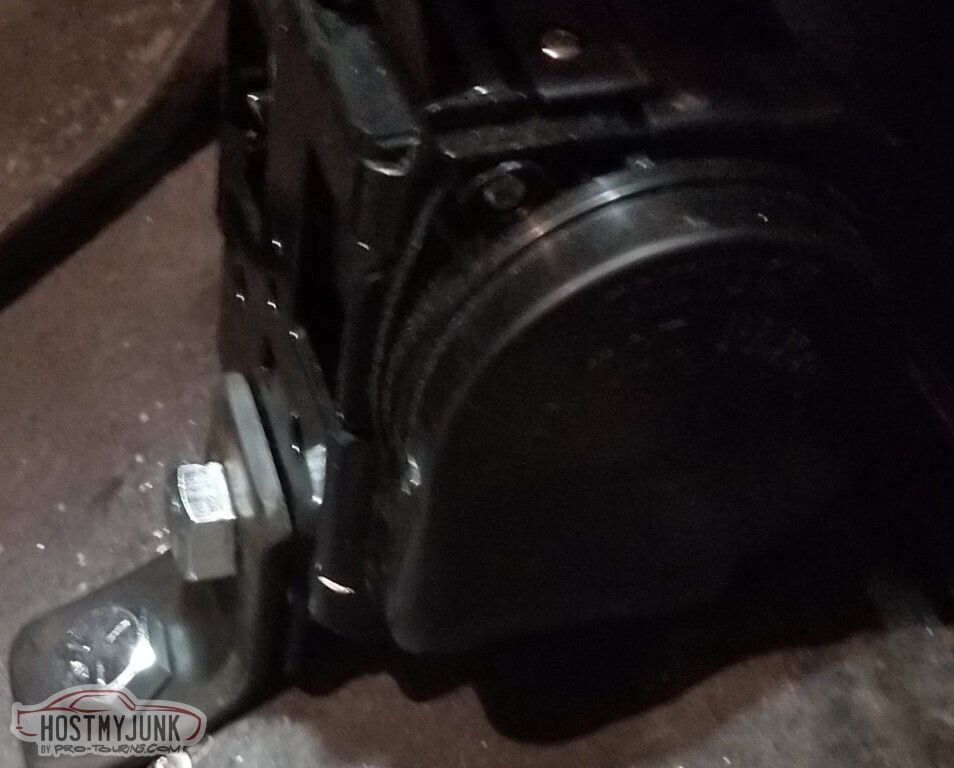
The passenger door doesn't line up well. I was using that to help guide the gate-dent filler but it's hard with the misalighment.
Looks like the striker is part of the issue. Blurry pic so maybe it's not obvious - but the allen part of it is somewhat rounded and I can't loosen it.
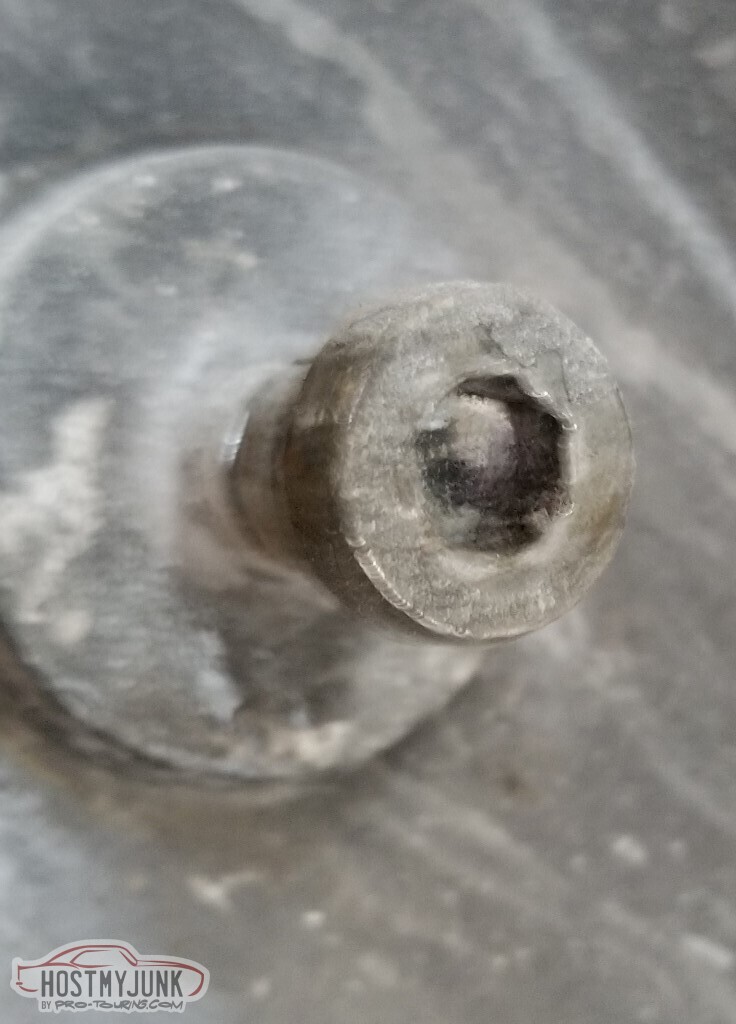
Lots of contemplating how to get it out, everything from welding a big nut on the end to drilling a hole to get penetrating oil on the threads. This seemed easier.

It worked, so that's good.

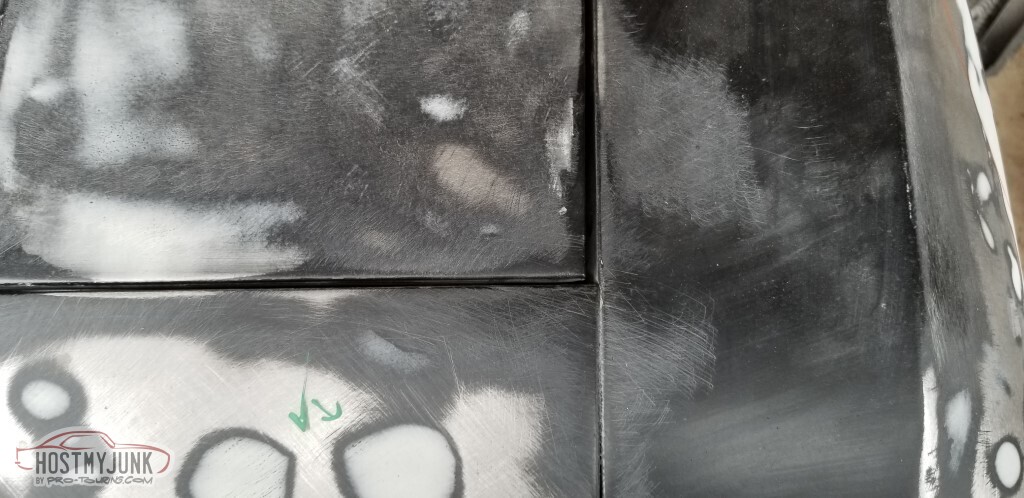
What's even less interesting to watch (or read about) than body filler?
Panel alignment. This is after many, many changes to the hinges. The door was hanging low (and not worn out bushings) and too far forward.
That'll work.
Also brought the front of the door out at the top and it lines up with the fender pretty well now (gap at the top rear of the fender is a little larger than I'd like but I don't think I'll be doing anything about it)

Had to pull the fender partway off to get to the door hinges, which meant that the hood hinge was unbolted - which leads to realignment of the hood. This is after closing with no "press down on the back edge", so I'm happy.

Gap is acceptable. It's spring, though, in Texas; it's going to be warm but it's going to rain frequently. I don't want water hitting the bare metal.
Also - the Summit branded epoxy primer sands REALLY poorly. It's just rough where it's been sanded.
So sand more, then put some more of the epoxy on the front edge just to protect from the forecast rain this weekend. Assuming I'll be able to get out there.

-
3 Weeks Ago #103
-ɹoʇɐɹǝpoW-
- Join Date
- Jul 2002
- Location
- Mesquite, TX
- Posts
- 4,929
So yes, a lot of this update also counts as The Boring Stuff. But also I got the exhaust "done", for certain values of done.
Tack the parts together as I go.

Comes together pretty well.
Fully weld it up, then paint with some high-temp paint.
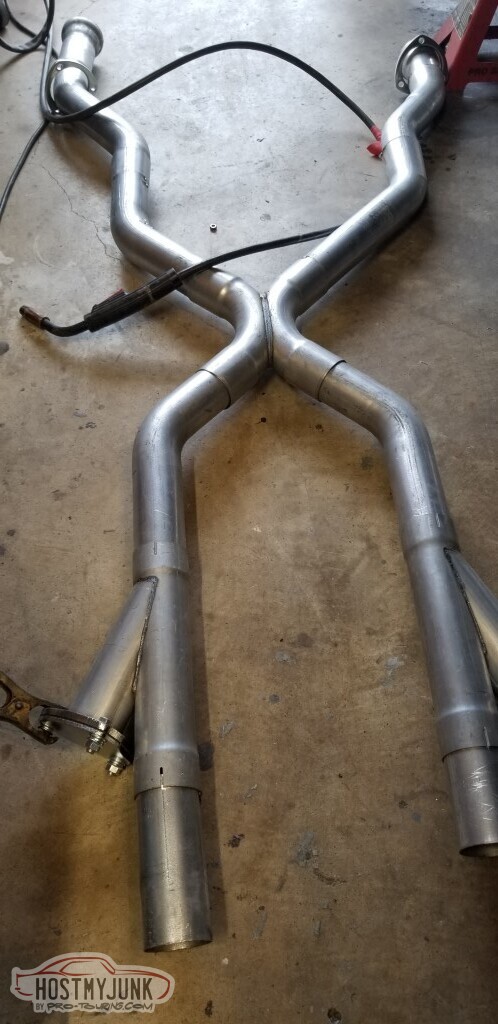
Welds aren't great; they don't have to be.
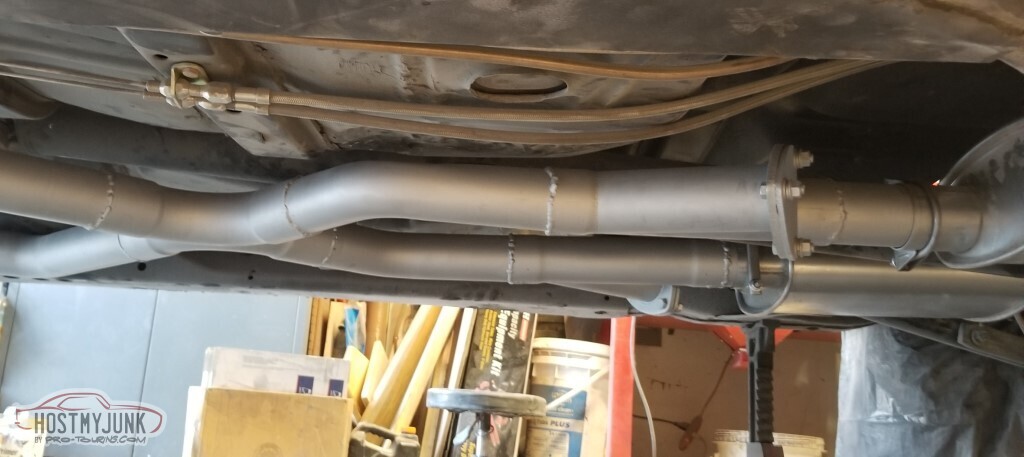
Did add the bung for the wideband.
Then back to the boring stuff.
Fill prime sand fill prime sand
fill sand prime

Looked like the hood patch job was a little too tall. Hit it with a hammer, and the ground welds cracked.
"Hey! I know! I'll just run the TIG across this at low amperage, it'll fuse the crack!"
No, it will not.
MIG, grind, MIG, grind, MIG, grind.

MIG, grind, MIG, grind, MIG, grind.

Fill sand fill sand fill sand
It's boring to write, I'm sure it's boring to read, and it was boring to do.

I think this is below the final surface?
The other side should be fine. I hope.
Remember when I said a smarter man would have replaced the hood?
Note to self: When in doubt, replace the entire panel.
So much filler.

Not a big fan of how the primer soaks up the epoxy.. but I suppose that's what the surfacer is for.
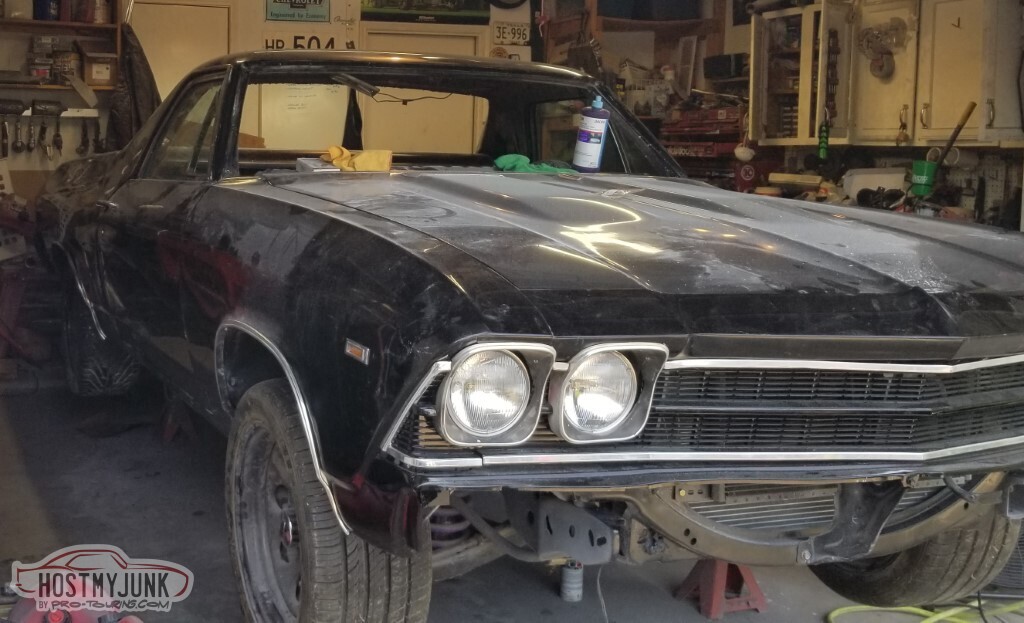
Front end primed, again.
I missed the lower edge when I reprimed.
Can definitely see where the filler was/is.
Same same

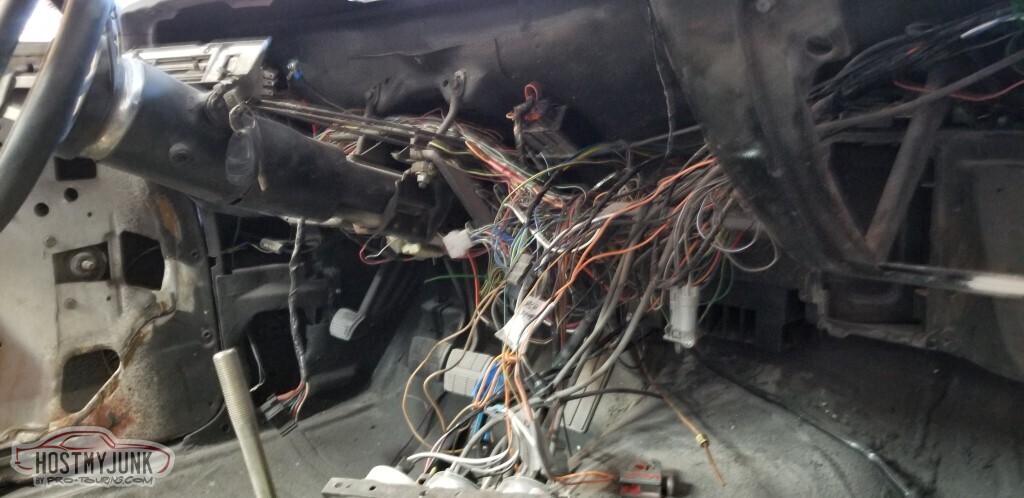
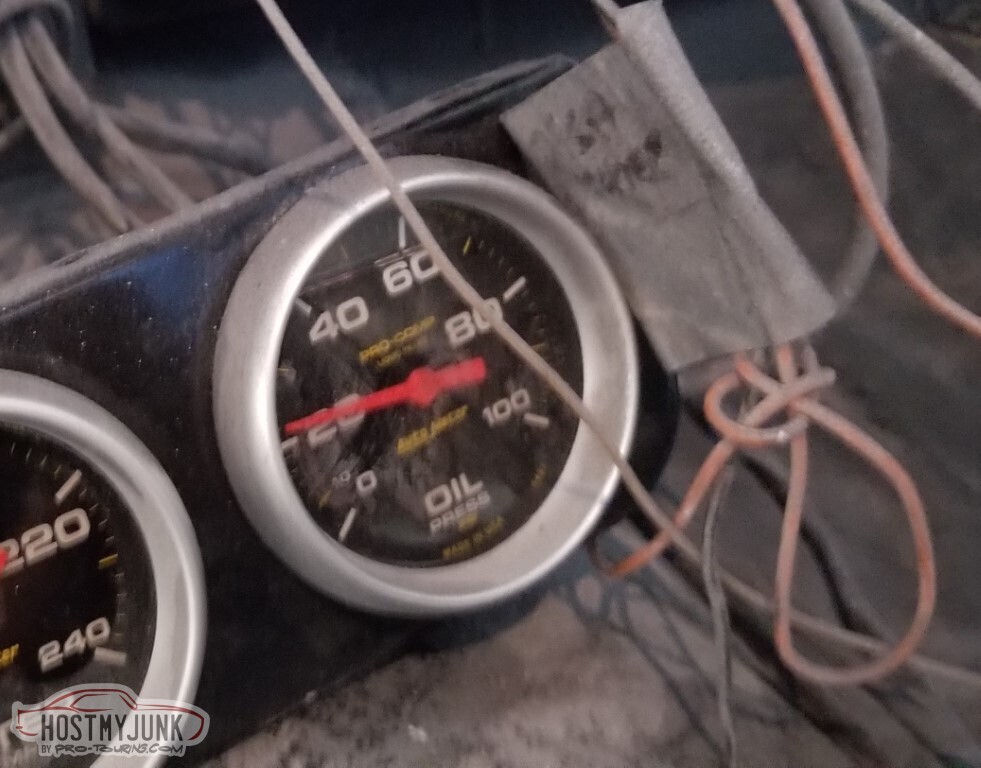
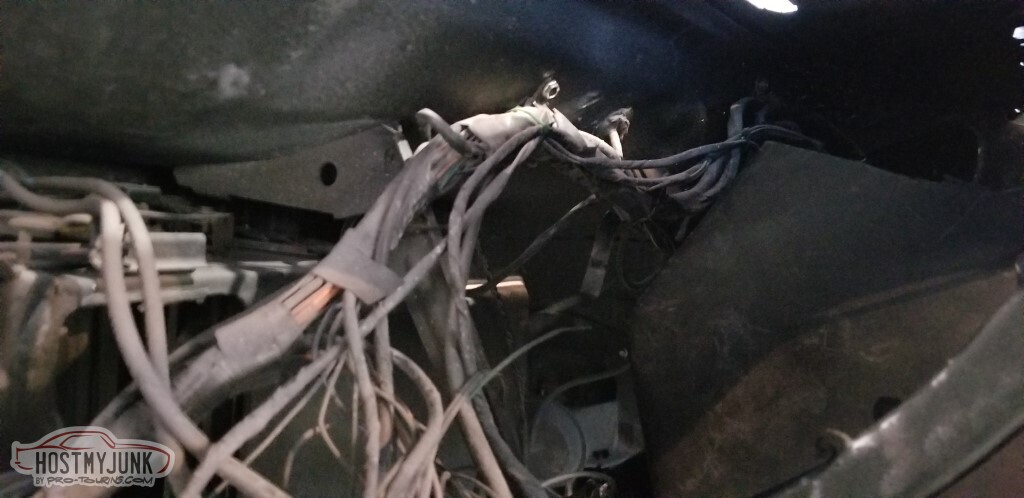
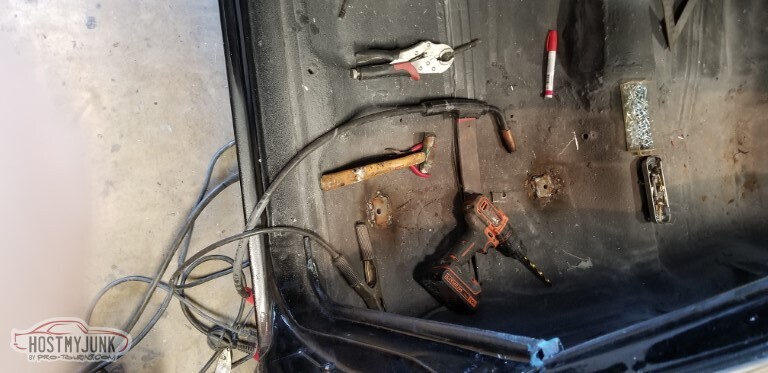
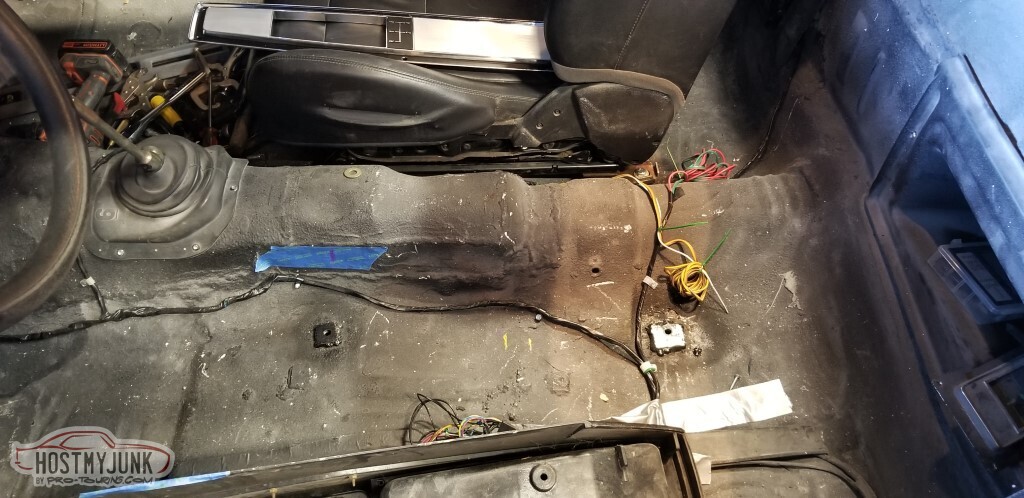
Moved on to the interior wiring for a bit. It's a mess, it looks like a mess.

Made a bracket to hold the relay and mounted it. Wrapped more bundles with electrical tape. Routed all the wires more in line with where they'll live.

It's improved.
Bonus: If you look bottom-middle, you might notice that the oil pressure line pulled out of the gauge. Had to go buy a new ferrule to put it back.
With a second coat of primer it looks better.
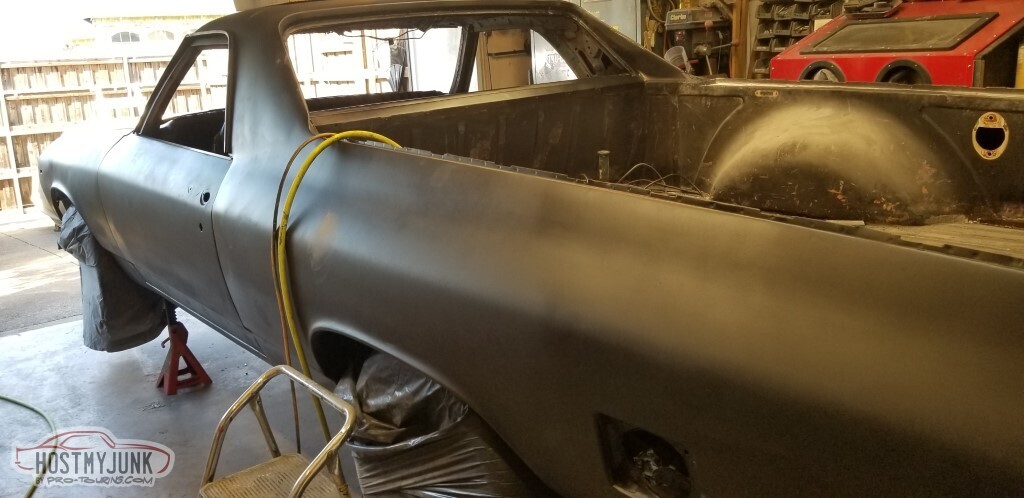
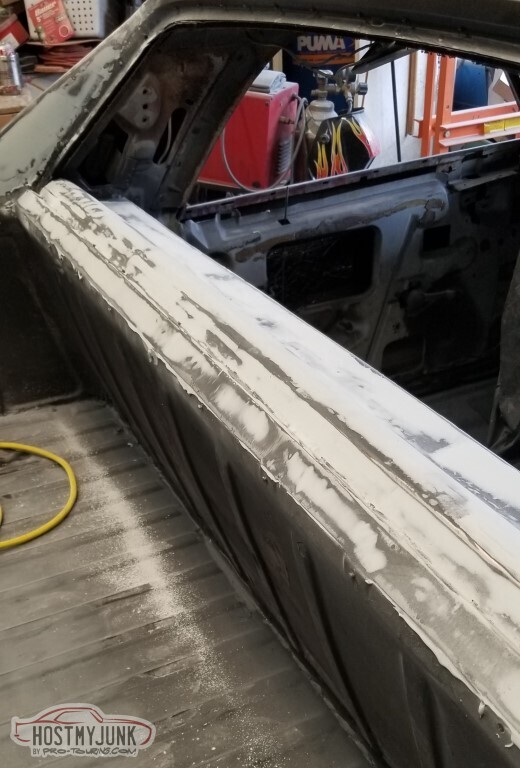
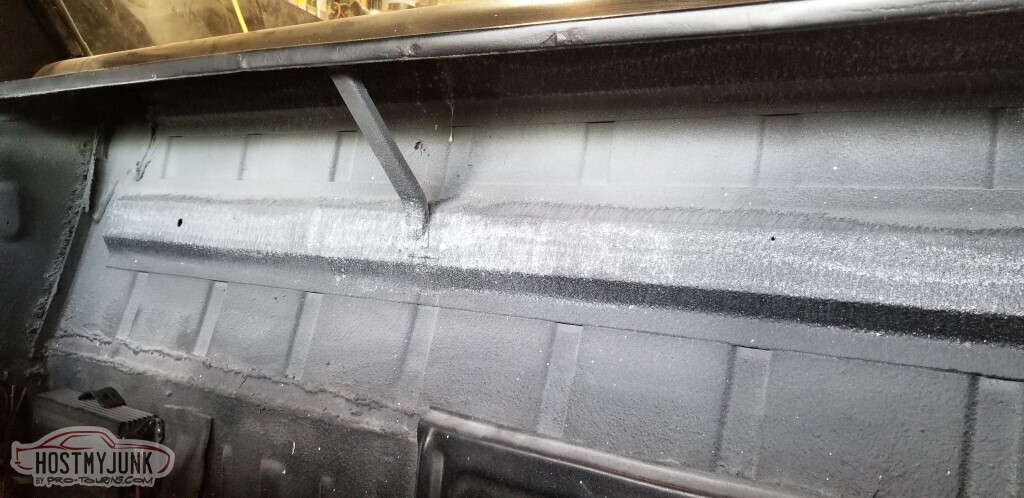
She says "don't bother fixing the dents in the bed, that's her battle scars". Well, easy enough then. Strip the paint. Seam sealer (not pictured) on every joint. A little bit of all-metal on the pinholes at the weld seams (doesn't have to be great, it'll get rhino-lined)

Does look better now than it has in years. This was the last of the epoxy primer. A few spots really needed a heavier coat but this is all there was.
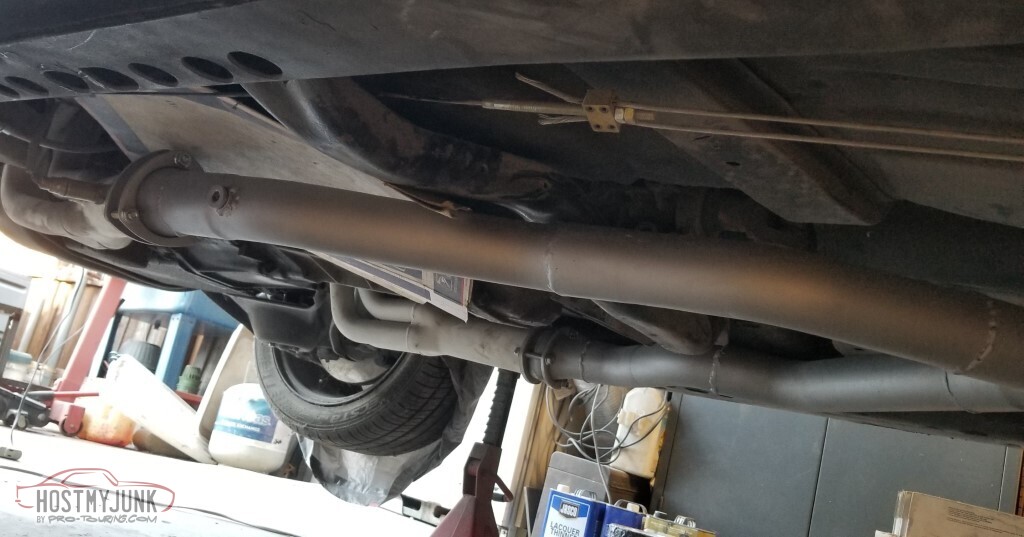
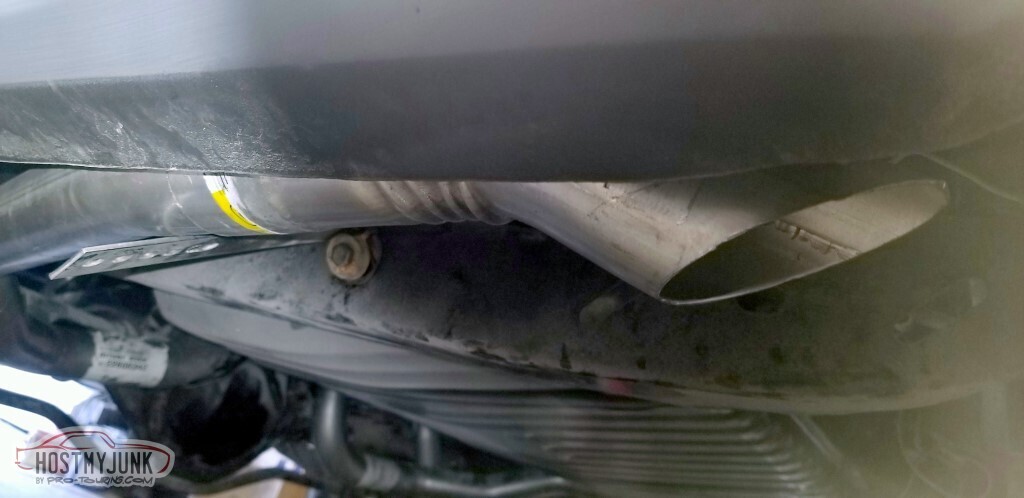
Also I made A Decision on the exhaust: Turndowns before the bumper. I'll tuck the pipe up as high as I can.
After all the crawling around under the car today, I've found more spots that need filler or need more sanding... so I guess I need to get even more primer (even if most of the last two gallons got swept out of the garage in dust form)
-
3 Weeks Ago #104
-ɹoʇɐɹǝpoW-
- Join Date
- Jul 2002
- Location
- Mesquite, TX
- Posts
- 4,929
This is not an exciting update, but it might be the path to an exciting update.
I got the air filter situated. Do wish I hadn't dented it in the process but it's longer than I think it should have been (and it's a tight squeeze to get it in there).

Bumper filler panel and vertical grille supports turned up and got installed.

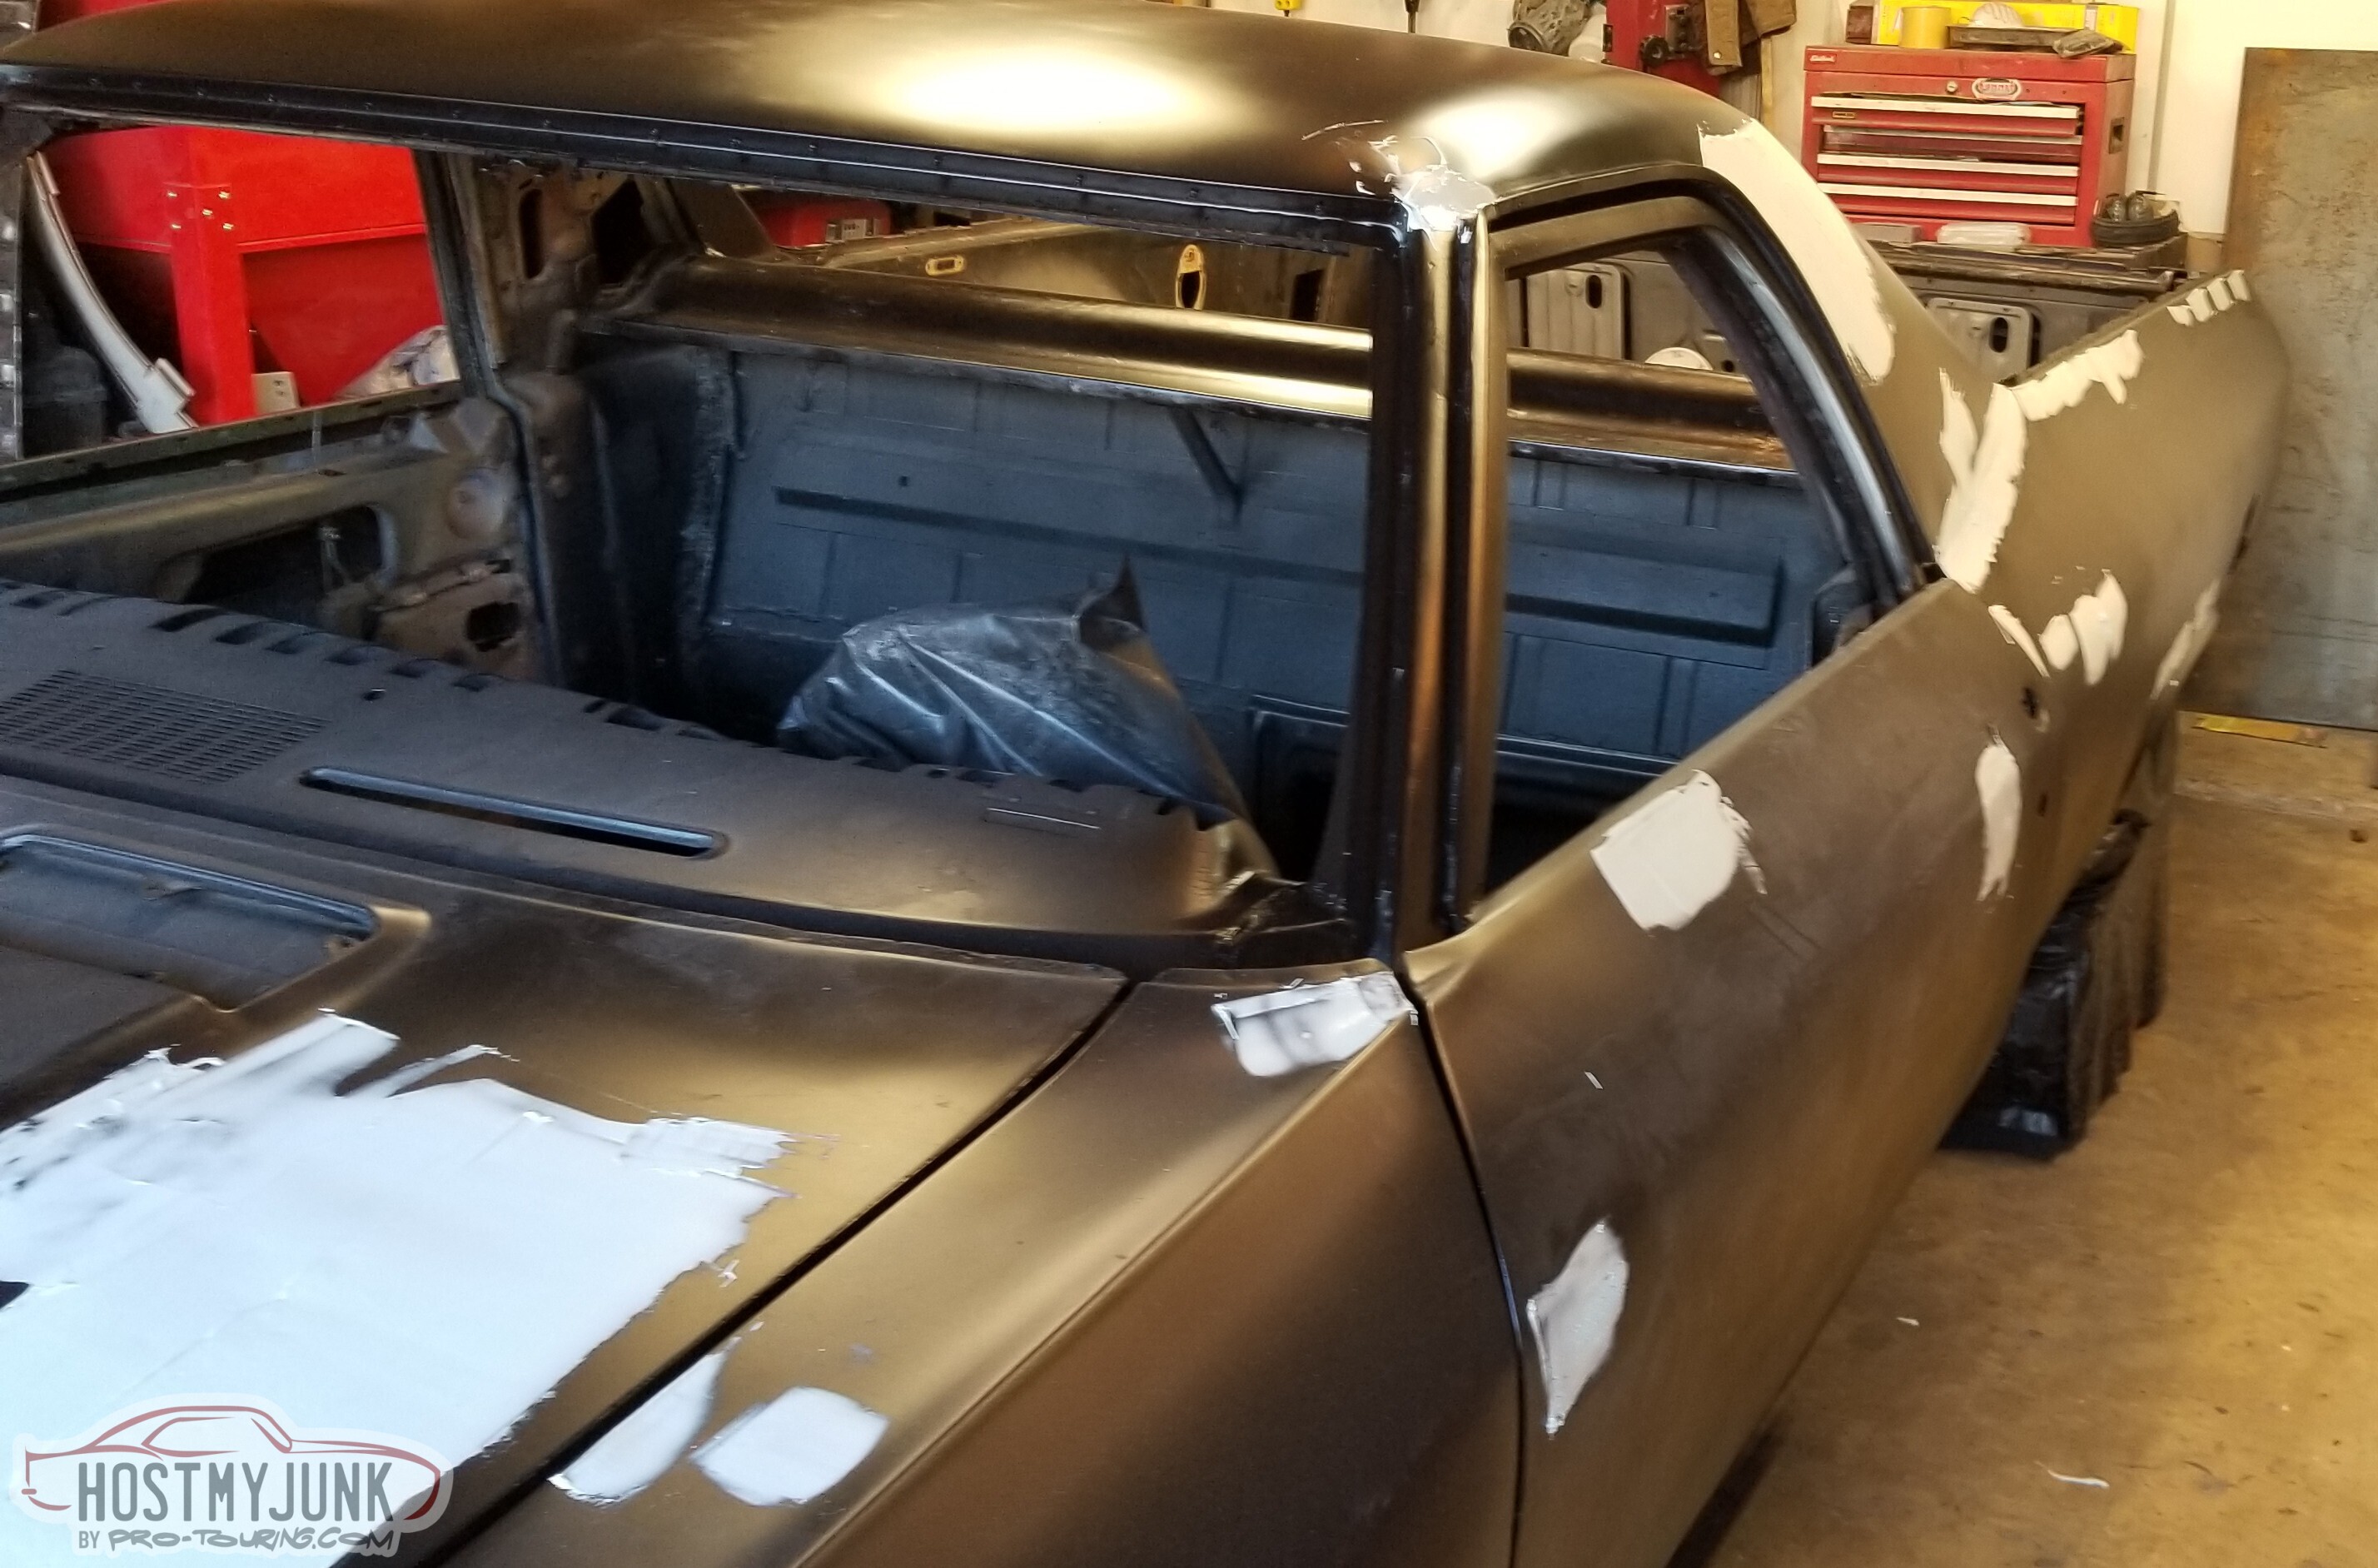
Coat of epoxy (Summit branded), then filler, sand, rinse, repeat.
Coat of epoxy (Summit branded), then filler, sand, rinse, repeat.
Coat of epoxy (Summit branded), then filler, sand, rinse, repeat.
Coat of epoxy (Summit branded), then filler, sand, rinse, repeat.
No useful text available, more of the same.

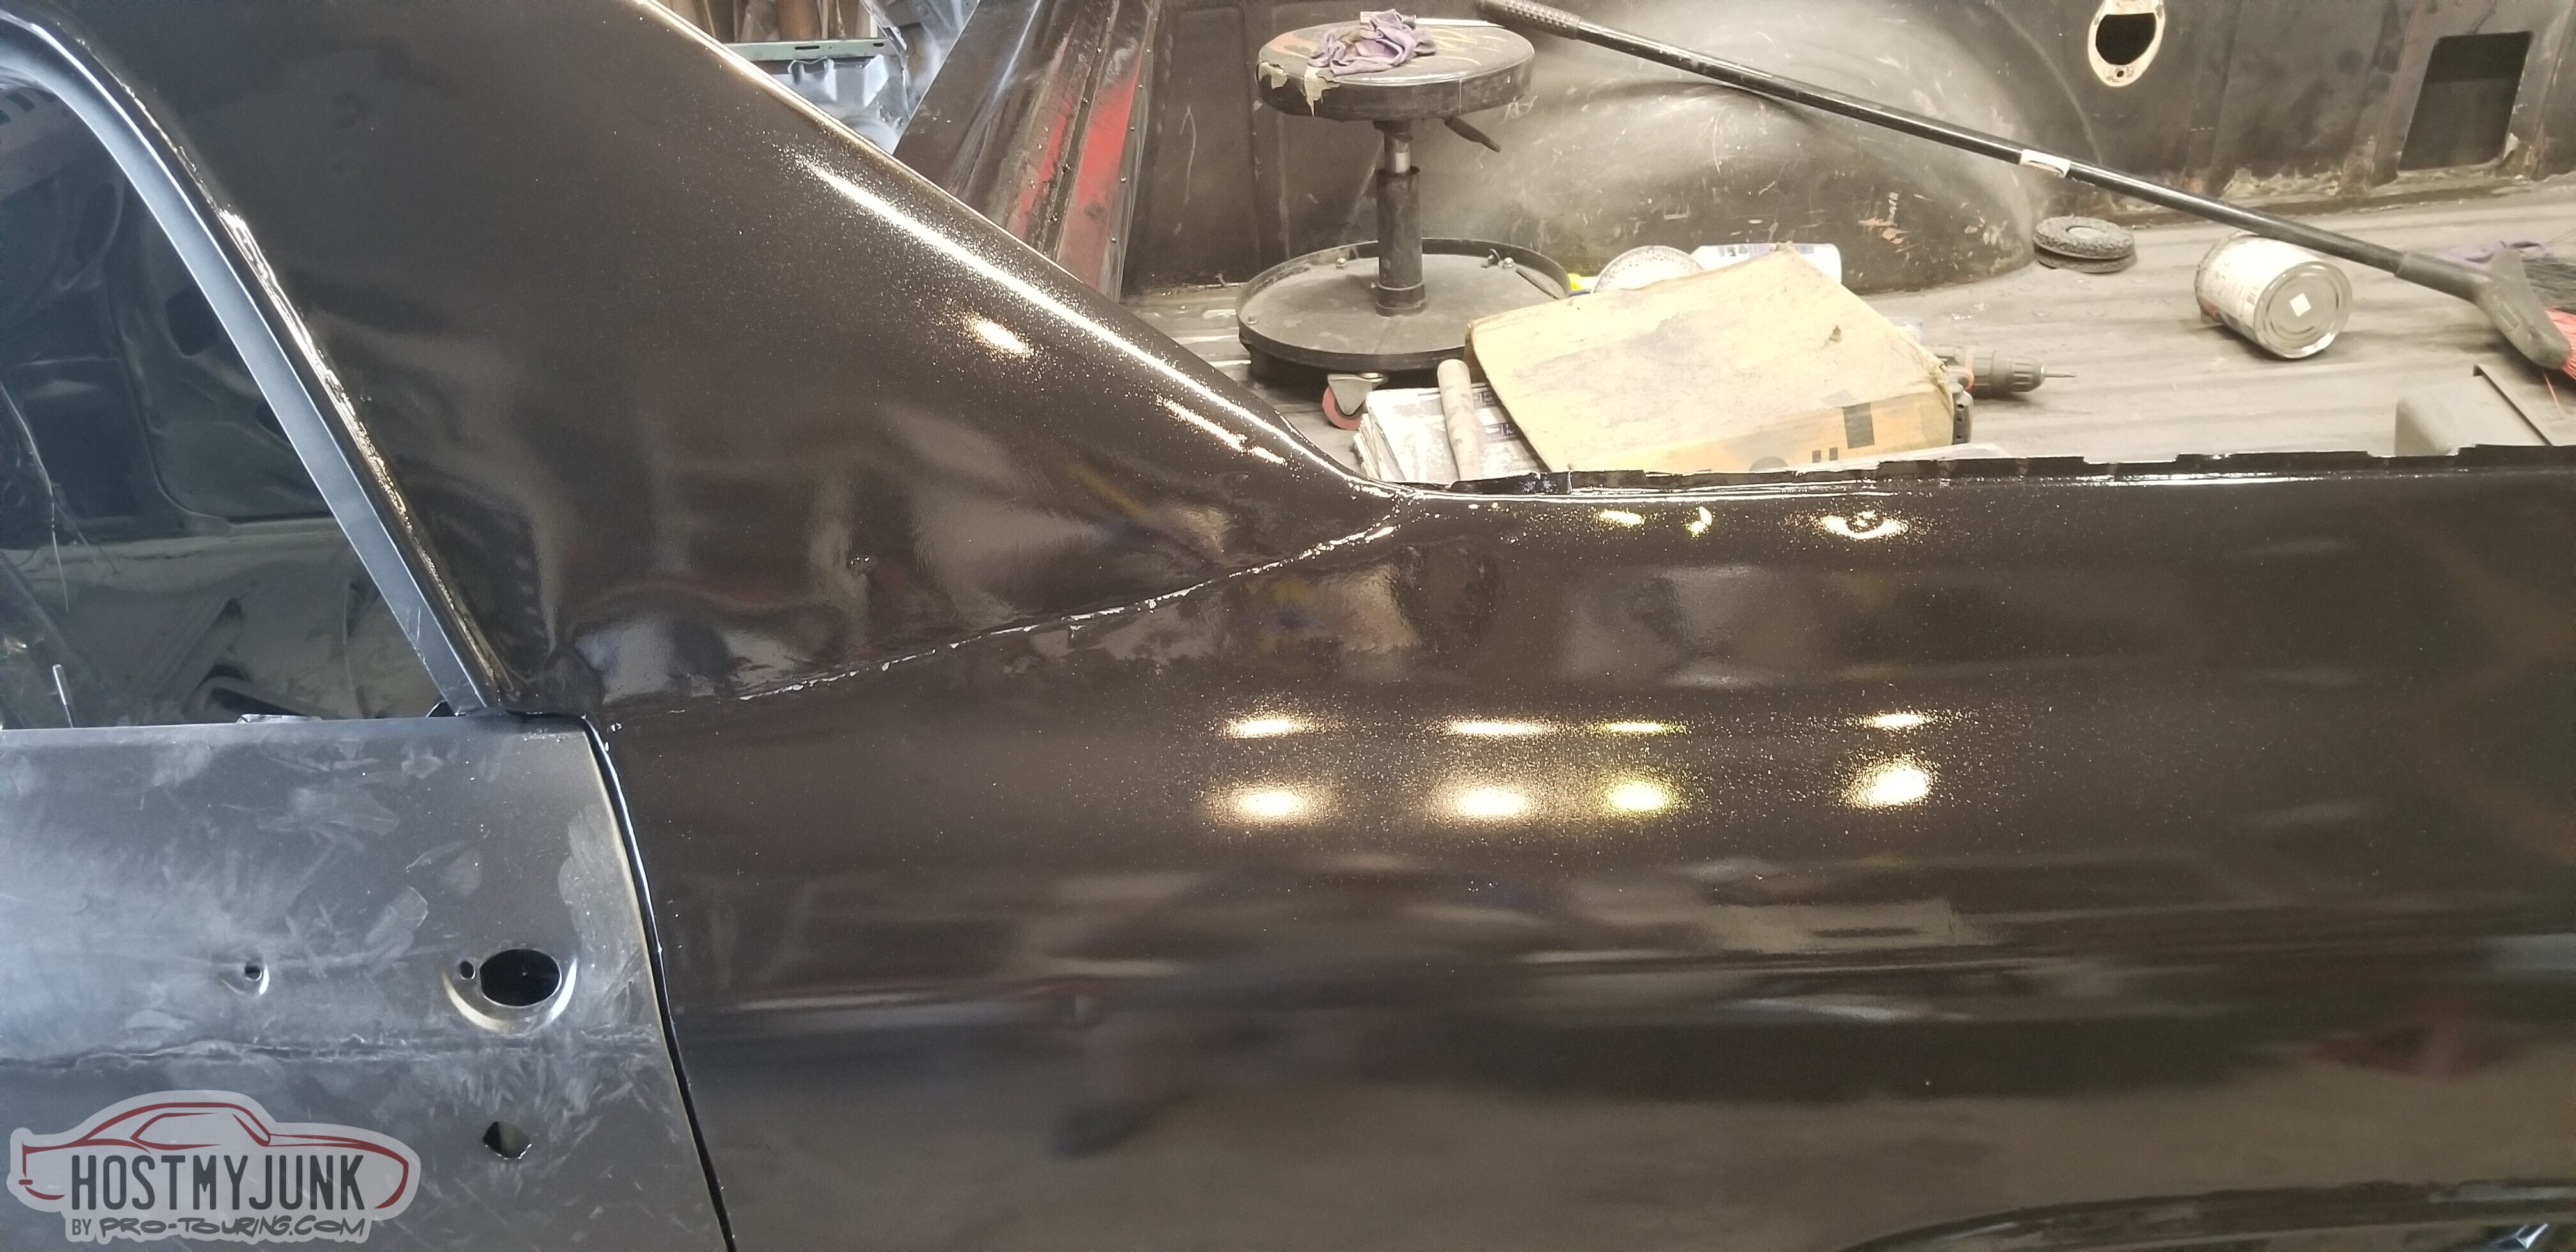
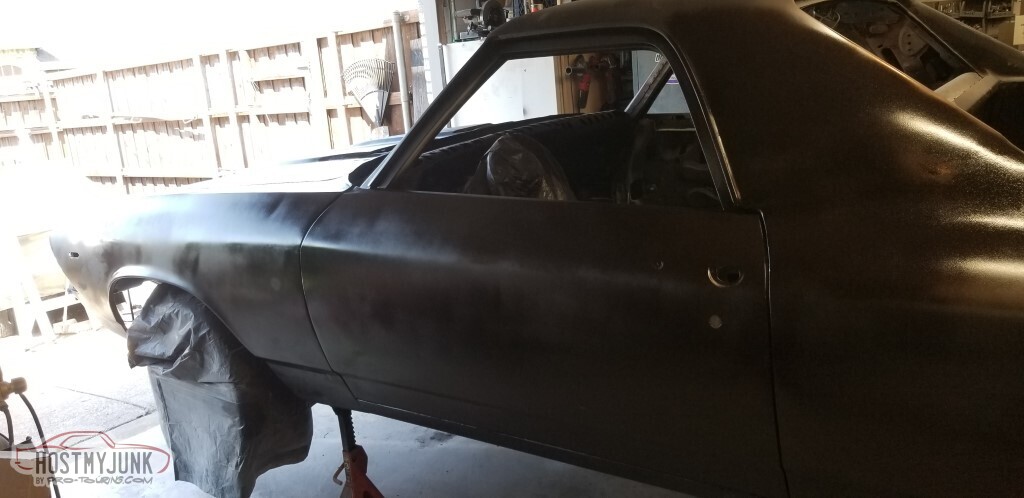
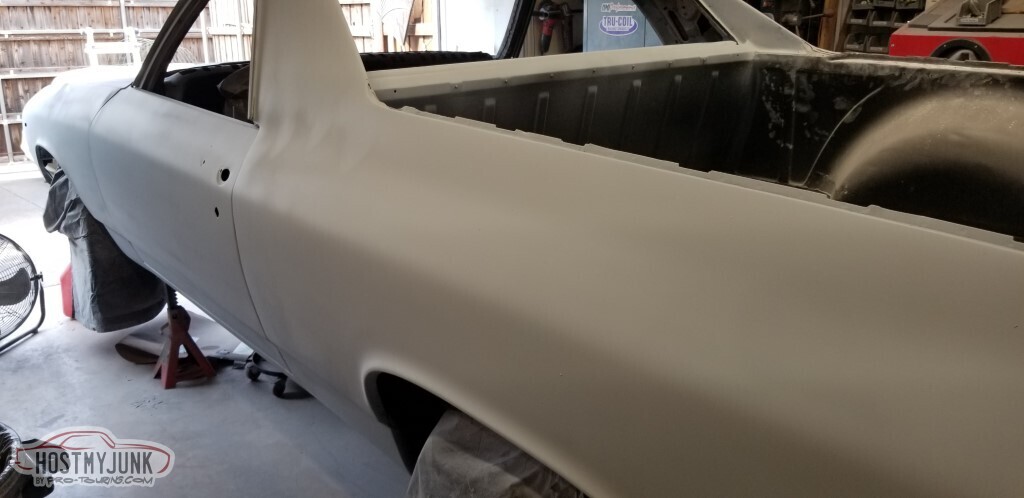
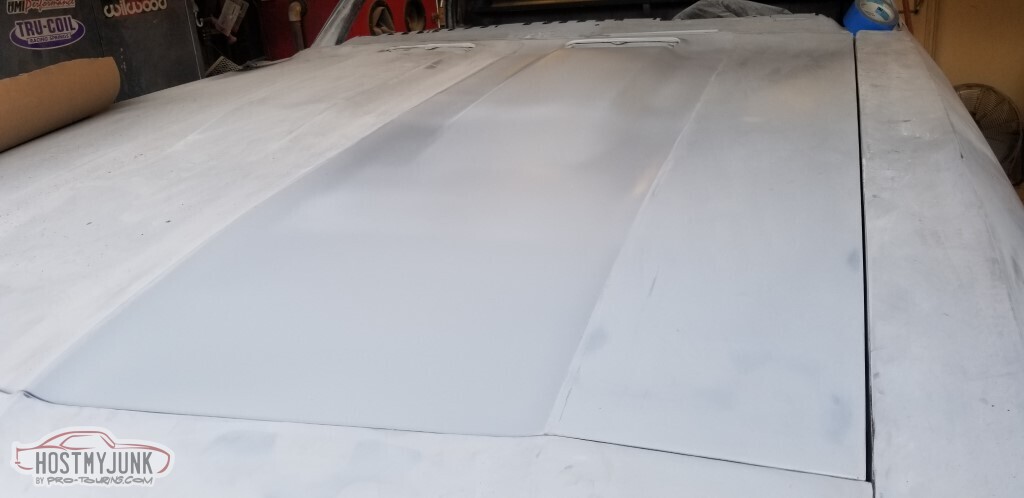
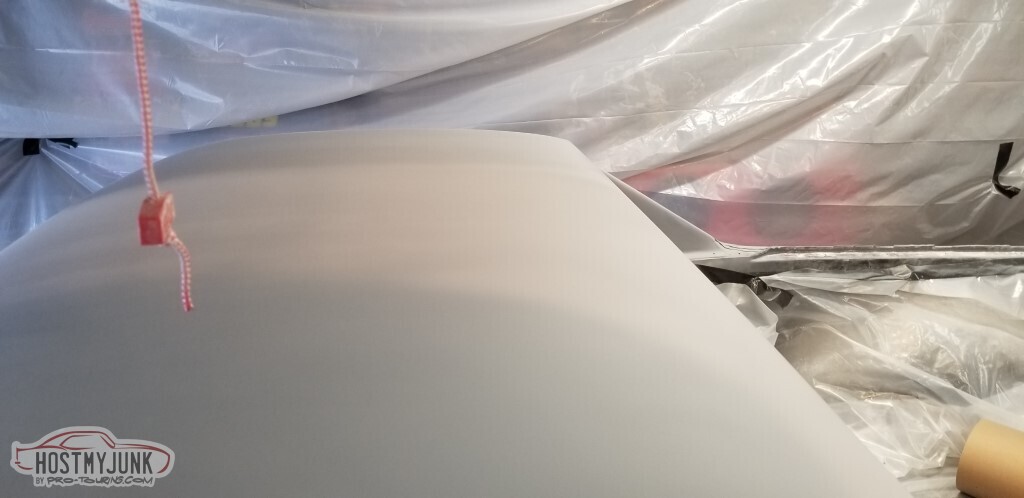
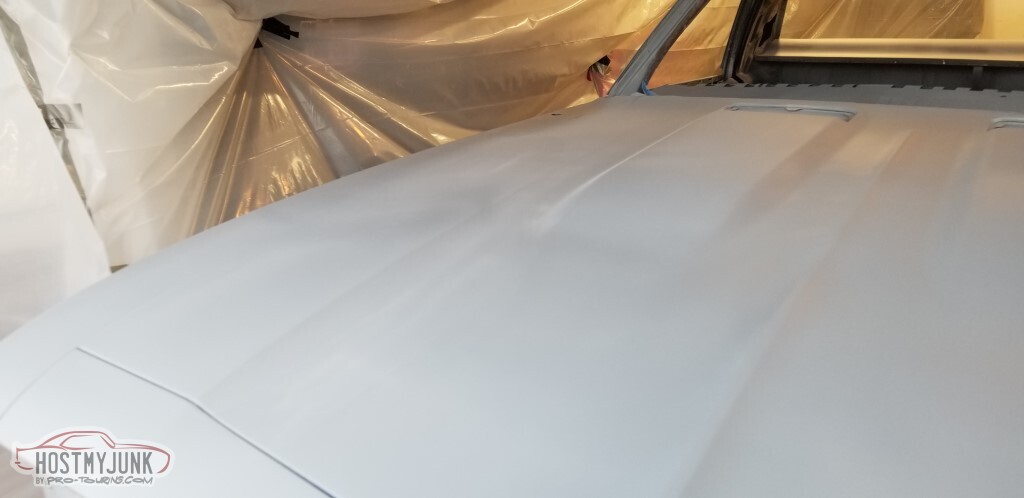
Time to move to high-build primer. This is u-Pol'sd System 20 HS Primer Filler.
Prime, sand, repeat with this one too. Is nice to see it in a solid color again though.

Prime, sand, repeat with this one too.
Prime, sand, repeat with this one too.
Guide coat keeps showing me issues.
Guide coat in progress.
The glaze is u-Pol's Dolphin Glaze. You're supposed to mix the hardener in 50:1; that's hard to measure, this is what happens if you don't put enough.
Internet suggested putting a smile on whatever size blob you make on your pad, that seemed to work better.

Again with more issues shown during the sanding.

More of the same.
Well, at least I didn't buy a new hood.
Resolved: next time, if in doubt, replace the damn panel.
Another coat of the u-Pol
Less issues this time around.
Again, then move from 220 to 320 to 400 grit.
Some burn-through to bare metal, here it's to be expected.
Here on the front of the hood, it is not.
Pass door, expected.
High on the pass bed side, with rust starting, not expected.
Tailgate: not expected.
All in all - not too bad

The internet suggested that the burn-through should be coated with an overly reduced spray of the epoxy, except for this part of the hood, which should get more u-Pol.
Epoxy near the door.

Epoxy on the rear quarter.

Hood, reprimed in that area.
The big brown van brought me a present, that I am not ready to use yet.
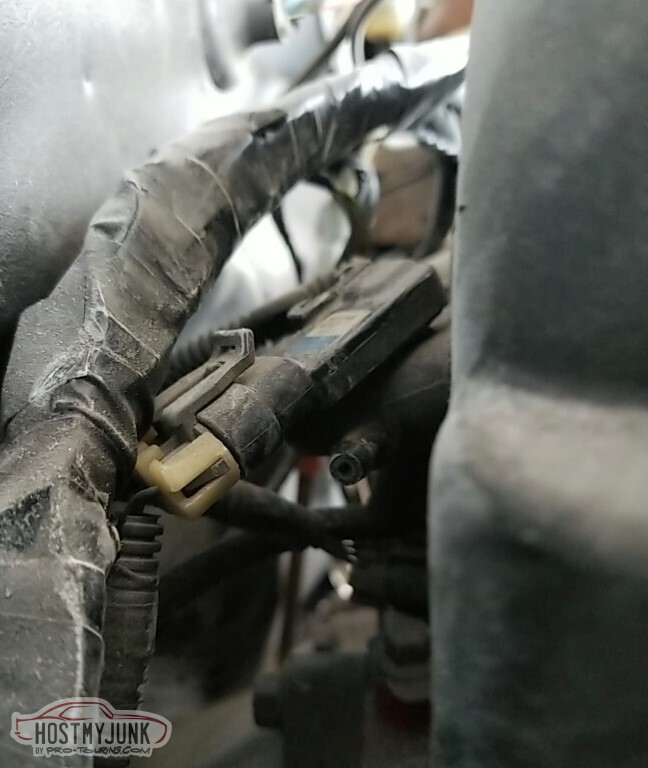
Not sanding related: I've figured I had a vacuum leak, I can't get the idle down where it should be. This is definitely a vacuum leak.
It is, however, apparently not my ONLY vacuum leak. Investigation after paint.
Time to cut in door jambs, hood edges, tailgate edges, and the shiny part of the dash.
It came out really shiny!
Here too.

And on the hood edges. This then prompted another round of 400 grit over the entire car as overspray got *everywhere*.

And that's the status. I got my air drier (from steel camel, as endorsed by Pharraway on youtube), got the 2000/3000/5000/8000 grit sanding disks for the cut and buff, buffing pads to arrive tomorrow or so, and then I just need to build a temporary paint booth to spray this in.
Suspect the correct order of operation is to paint the body and then come back and MASK EVERYTHING before doing the matte finish on the dashboard top - can't sand the matte to clean up any overspray so let's do it last.
Still scared of screwing this up but worst case, I do it again... and as previously mentioned: It's not a show car. It's not supposed to be a show car.
-
3 Weeks Ago #105
-ɹoʇɐɹǝpoW-
- Join Date
- Jul 2002
- Location
- Mesquite, TX
- Posts
- 4,929
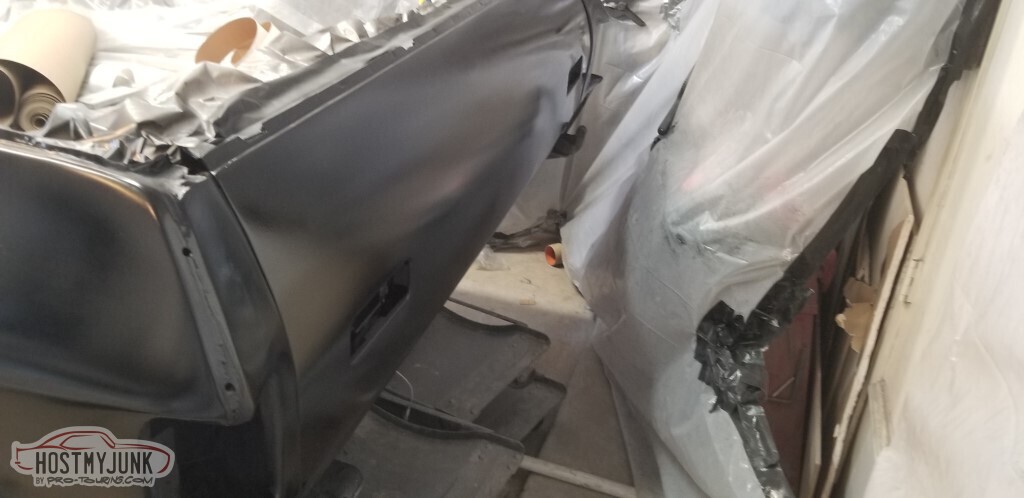
I knew the easiest way to keep dust out of my paint was to close off everything else away from the painting area.
Have to leave the air intake for the water heater, of course.
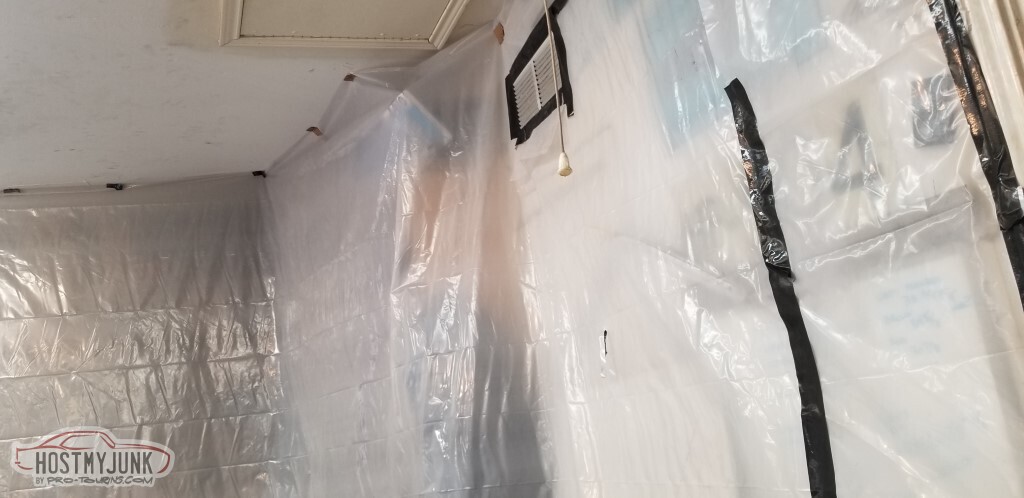
The garage is slightly too small to squeeze past the front of the car when the door is closed, so framed out an extension of a couple of feet.
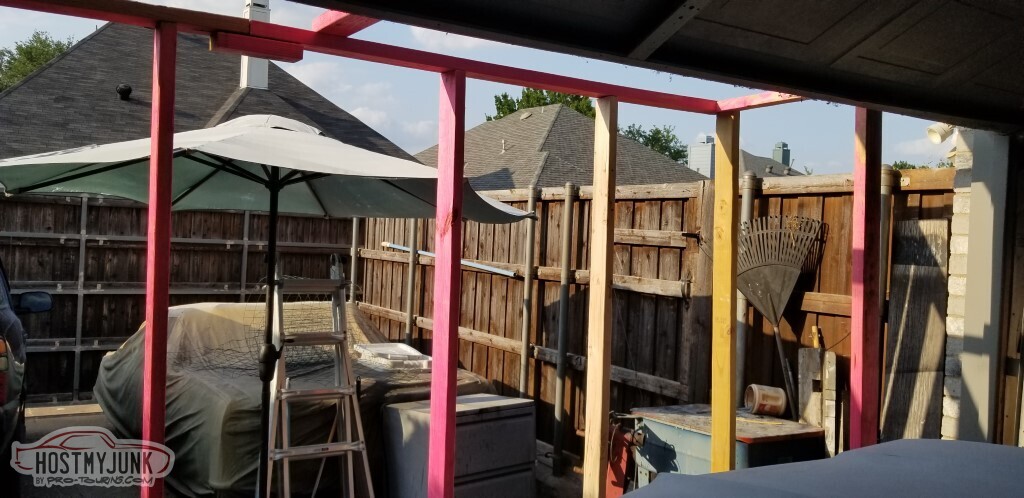
The one screw attaching this extension to the house is in this corner.

Tarped off the rest of the area.

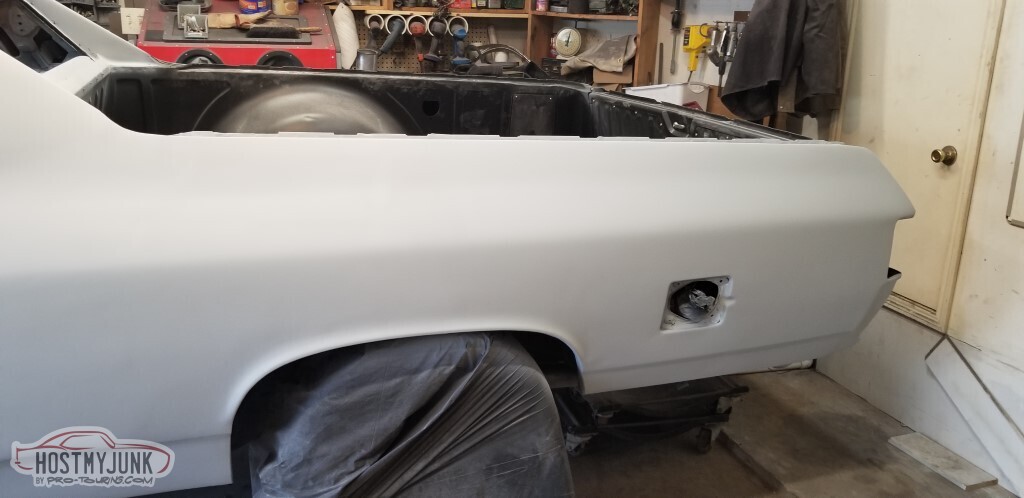
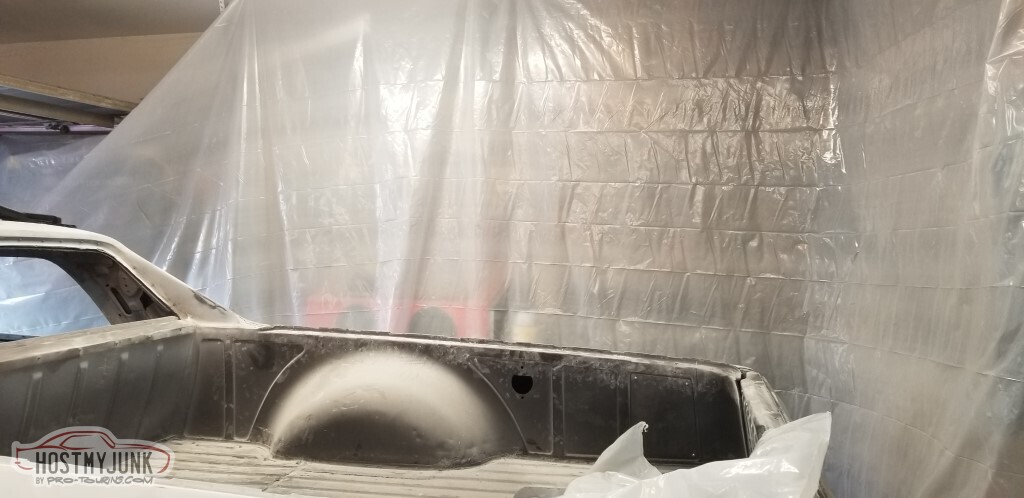
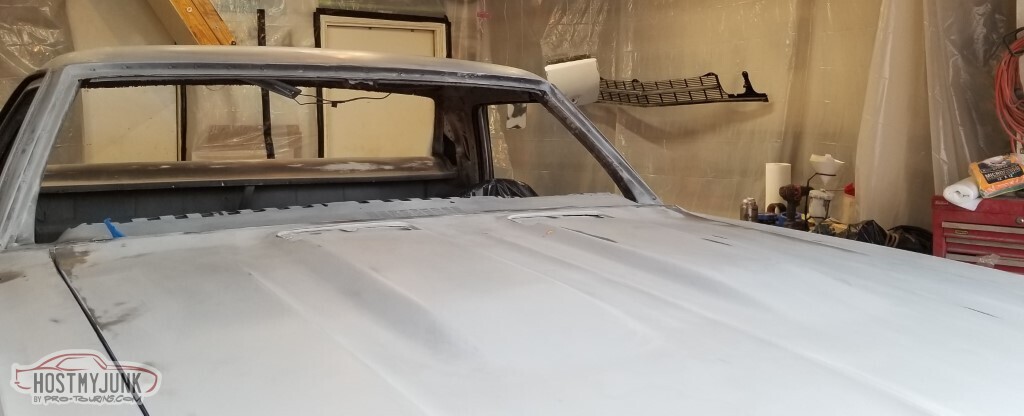
Here's what we're working with. Most of this is the high-build primer; anywhere that it looked like I'd burned through to bare metal got some reduced epoxy primer to seal it.
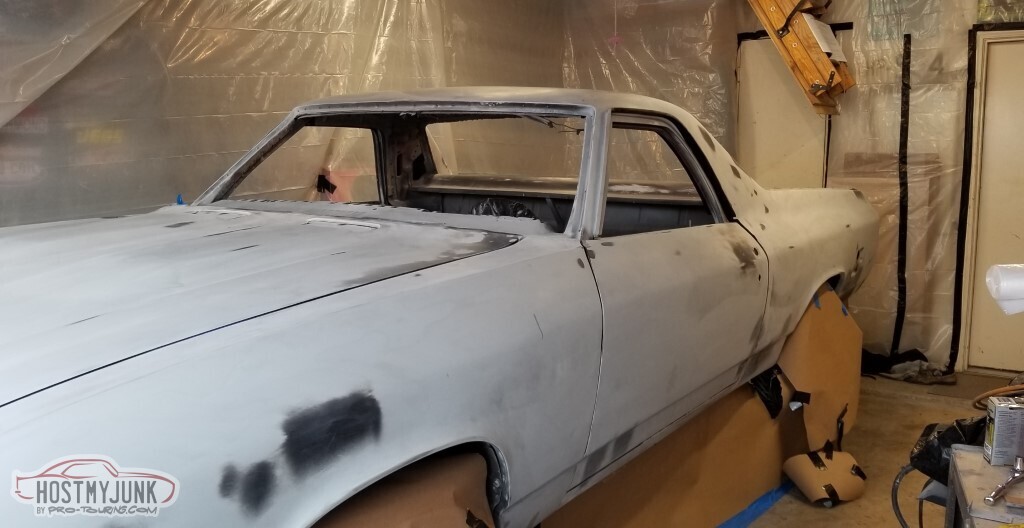
The opening near the fridge wasn't to be closed up until spray-time; the garage door won't close with the plastic in the way there.

 2
2
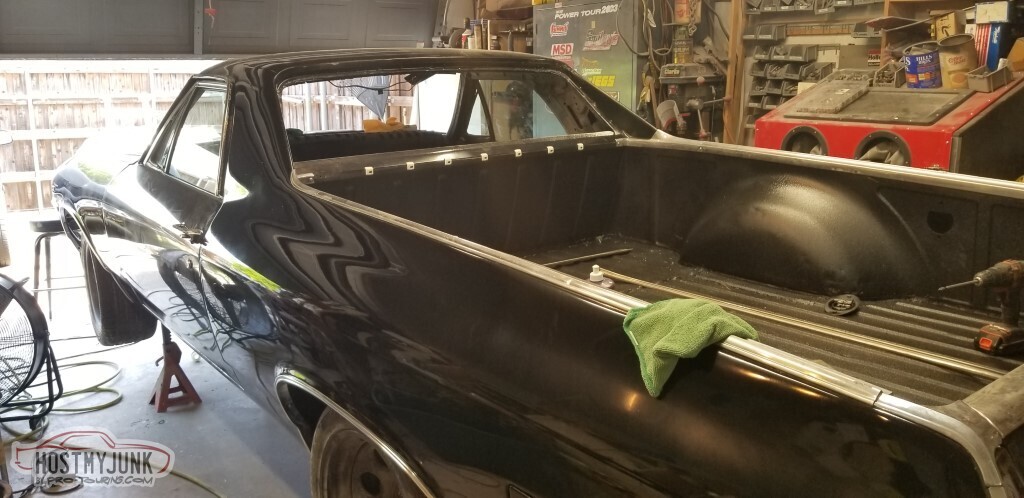
The bed got taped off too, it'll get some sort of spray-in bedliner.

The loose parts got hung from the ceiling.

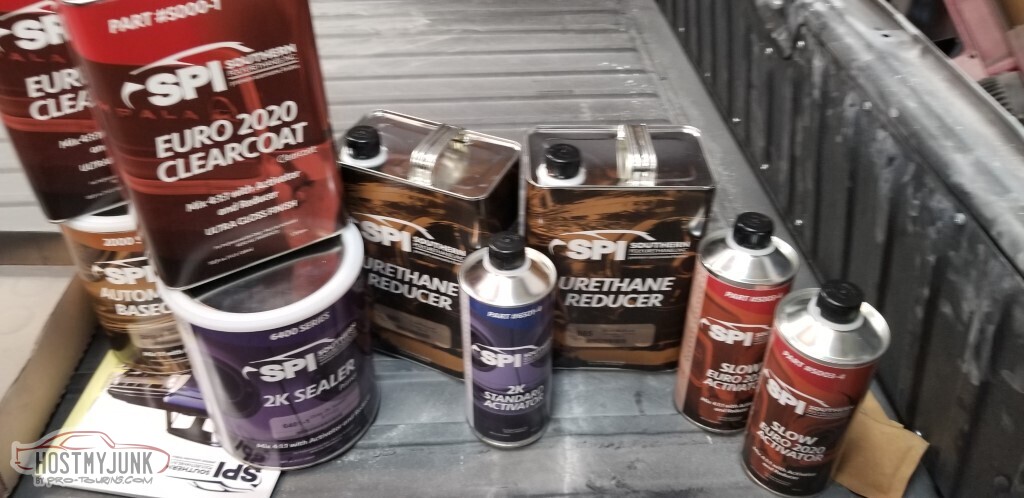
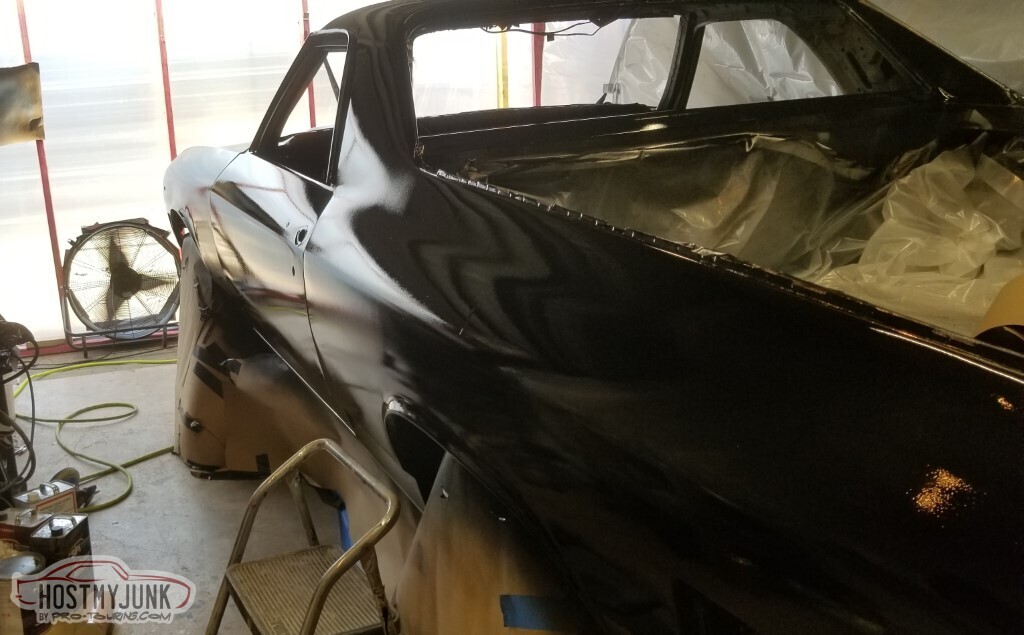
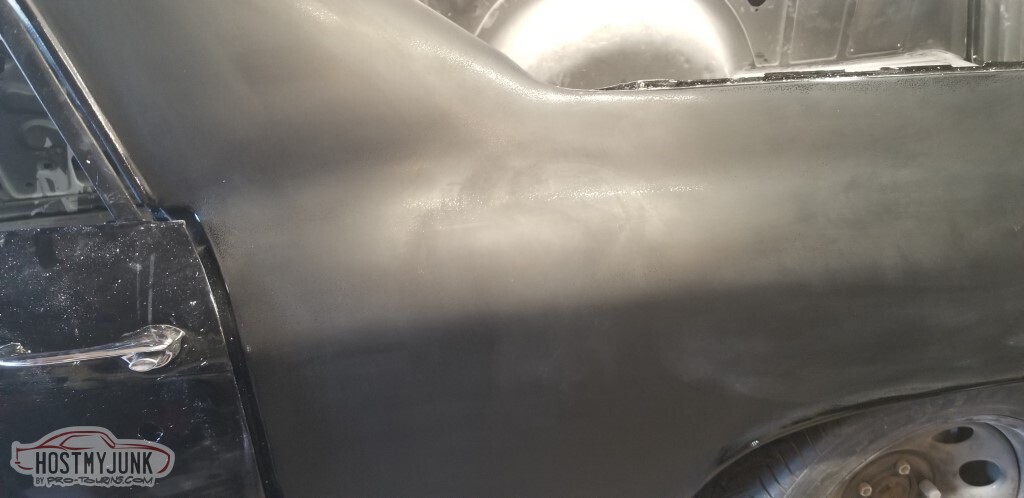
The sealer (SPI) is applied. It's ~102 outside so probably 110 in the garage.
The fans do a good job of pulling overspray out, but not in keeping me cool.
 >
>
Not pictured: I got the sleeve from the bunny suit stuck in the sealer on the pass side rear. Had to quickly fill with glaze and reshoot. Hopefully it's not noticeable.
Then comes the fun part: the basecoat.
3 coats of SPI black.
Laid down smooth.

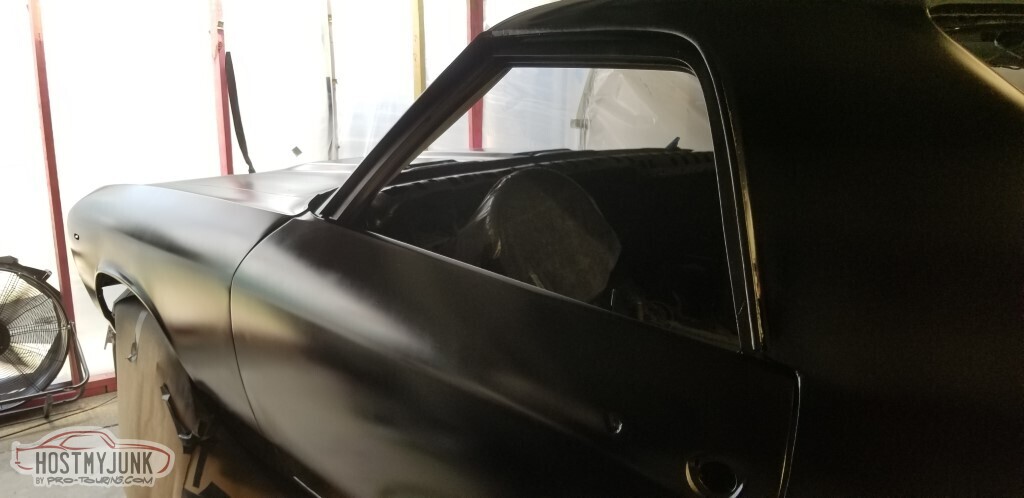
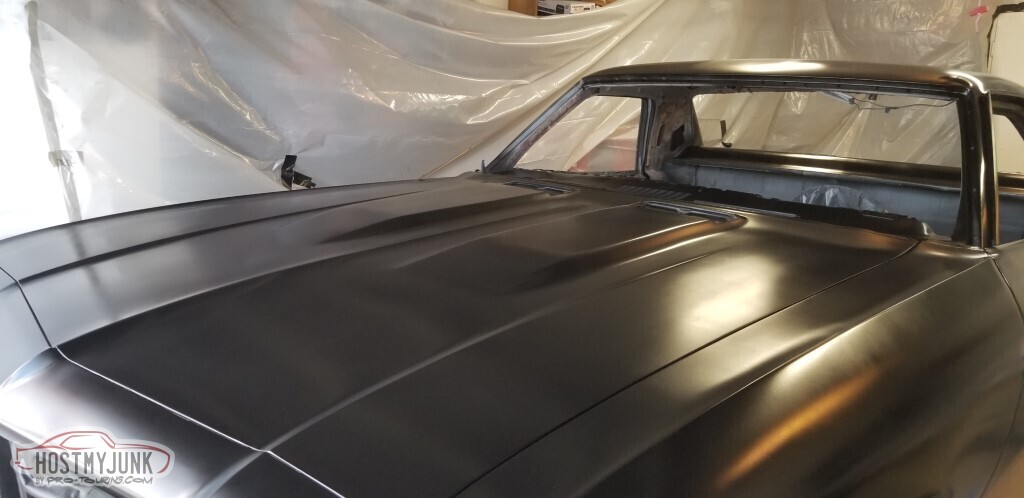
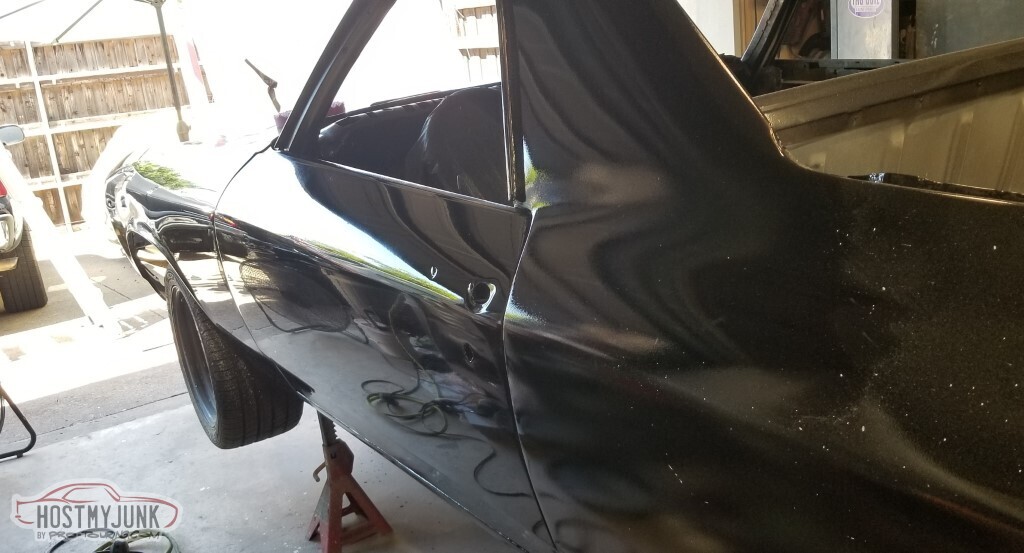
And then, the clear.

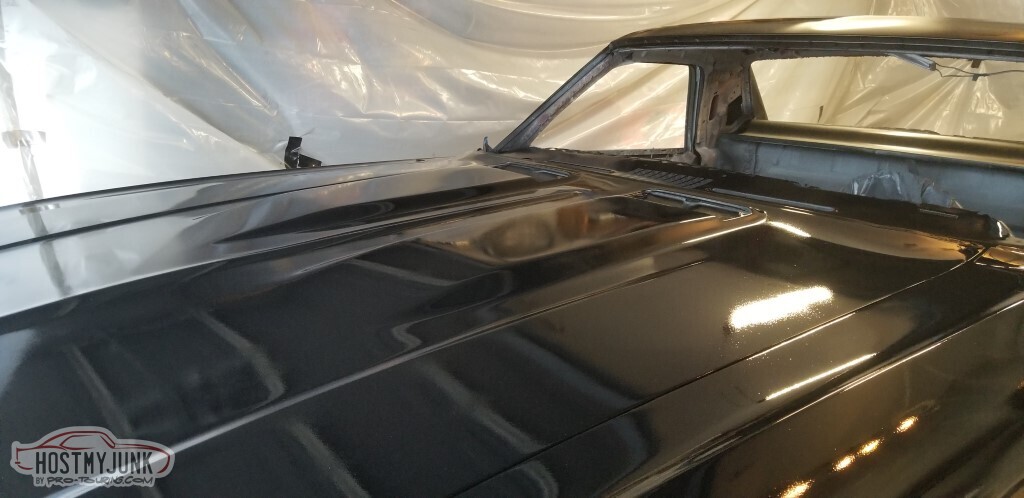

Of course I had a lot of orange peel. It's shiny but it's not flat.
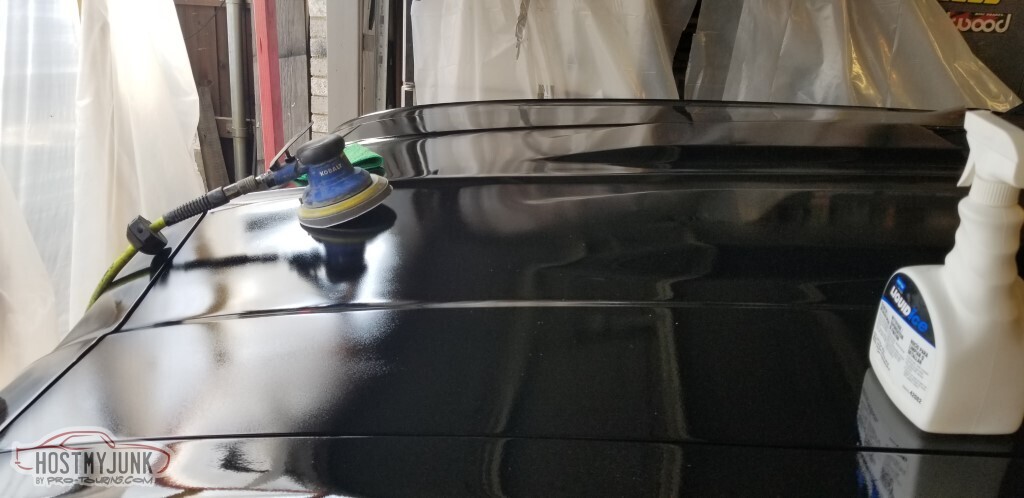
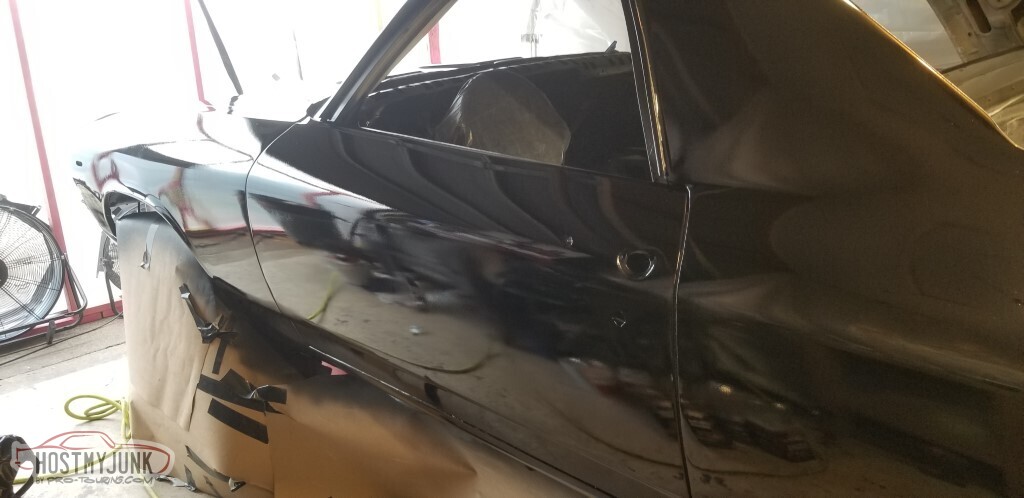
Sand with 2000-3000-5000-8000, now it's flat but not shiny.

And then with some buffing (3M 36060 with their 33037 pad, and then their 06068 polish with a 05733 pad)
n.b.: The 33037 pad on Amazon says it comes two to the bag - it lies; they're individual.

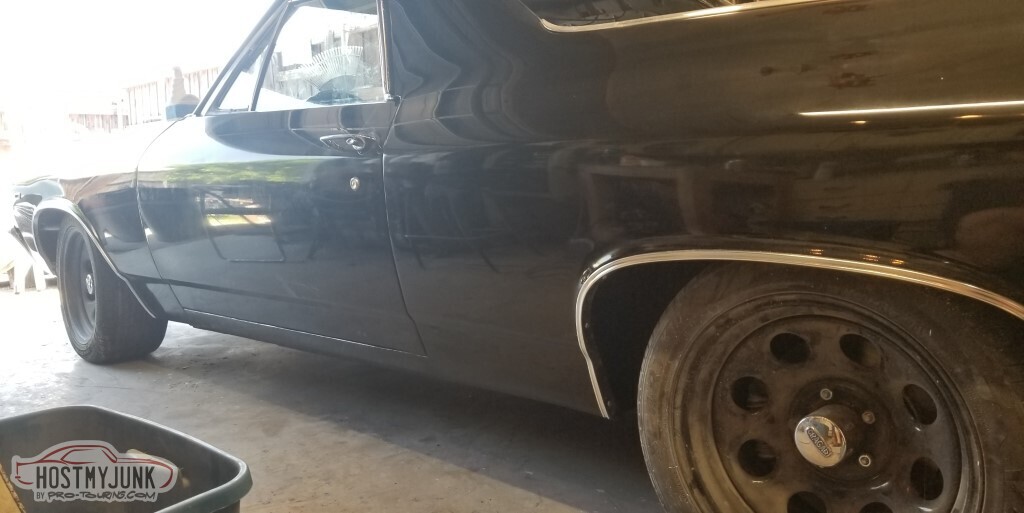
More of the same on the fender.

Door, in progress.
And complete.
At this point, I've run out of 2000 grit sandpaper (I don't wipe it off often enough and get clearcoat buildup that won't come off) so I can assemble the parts that are done and sometime this week I'll make another pilgrimage to Summit.
Probably goes without saying that I'm beyond tickled on how well this came out.
-
3 Weeks Ago #106
-ɹoʇɐɹǝpoW-
- Join Date
- Jul 2002
- Location
- Mesquite, TX
- Posts
- 4,929
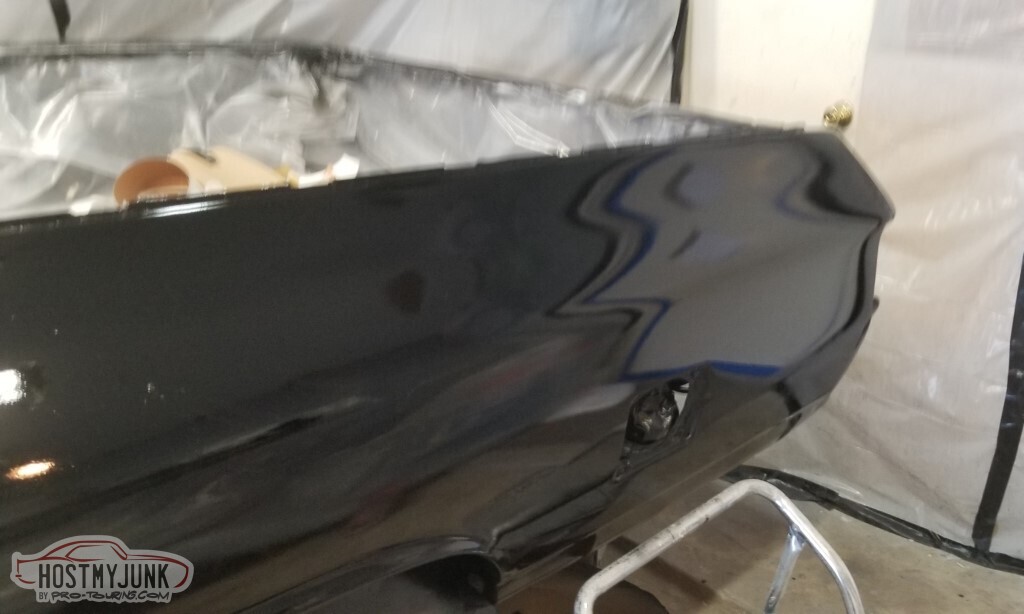
The sanding and buffing and polishing continues with more 2000 grit sandpaper:
Nice and flat
nice and shiny

shiny, all around.
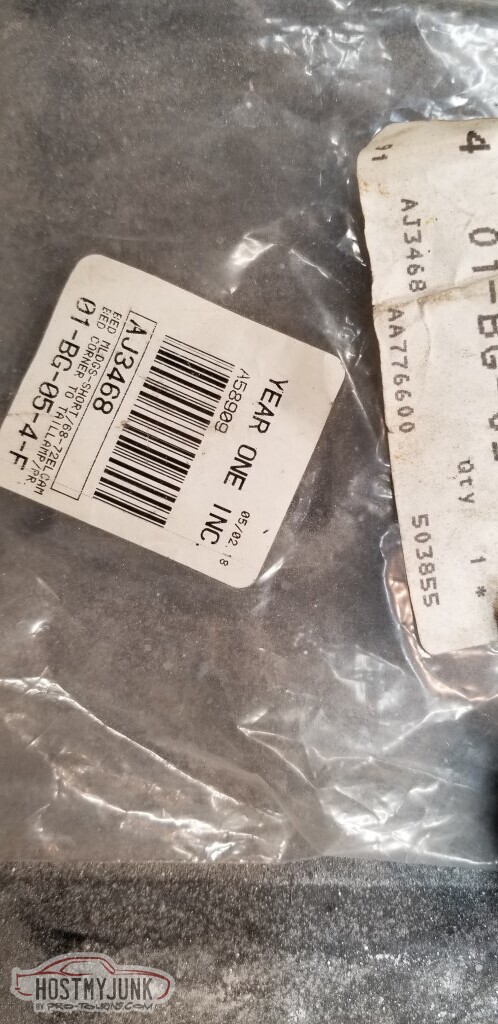
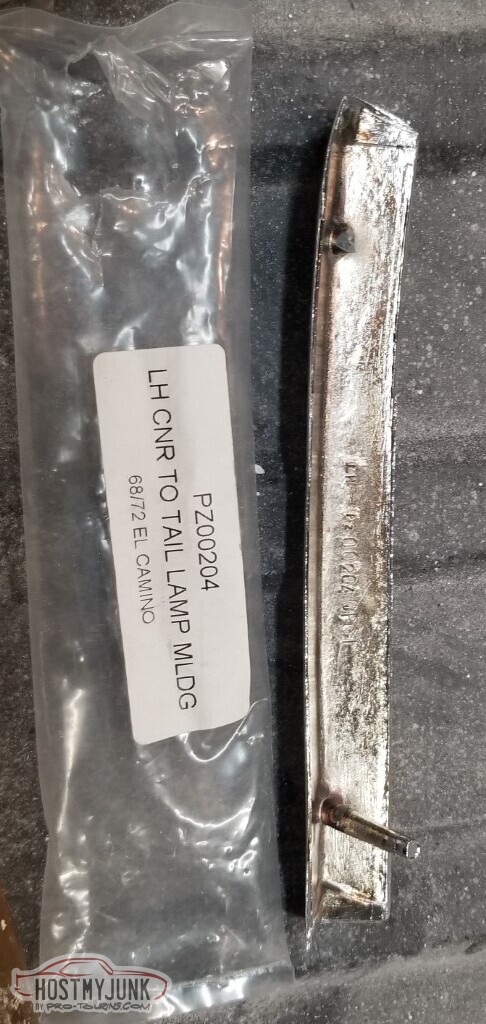
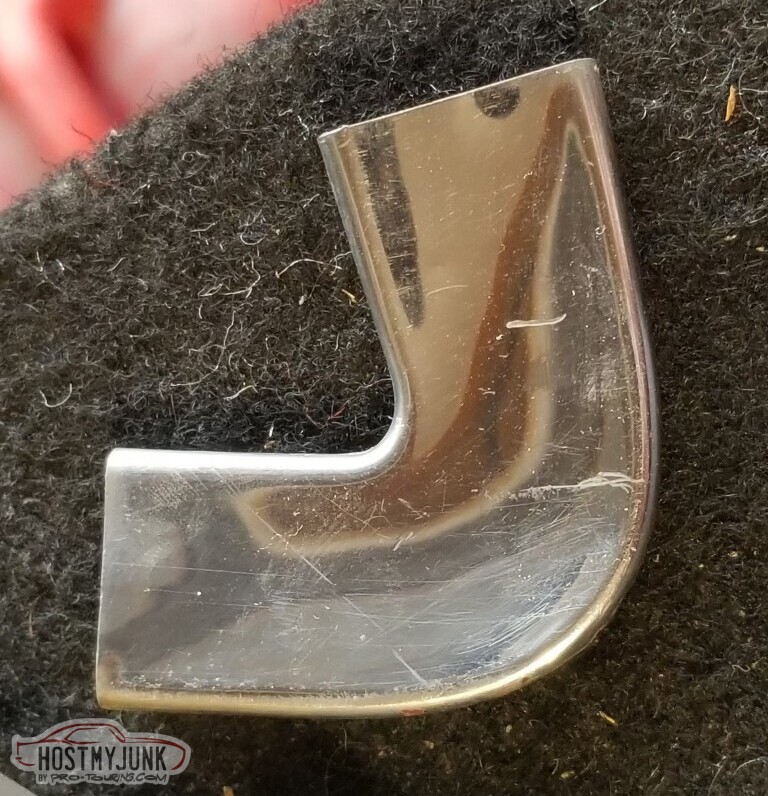
"New" bed corner moldings (I put new in quotes because these sat sealed in the package for probably better than a decade). The chrome here is not good.
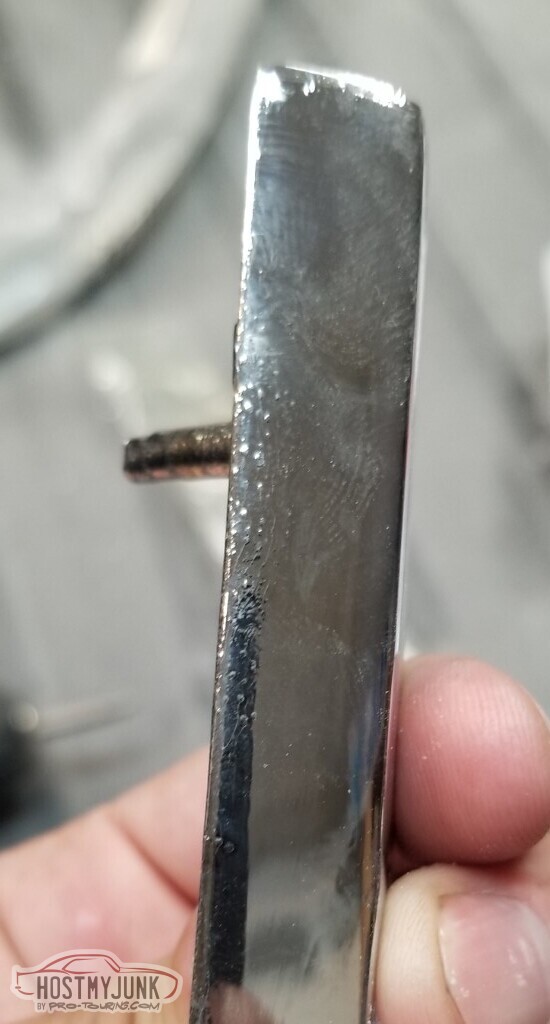
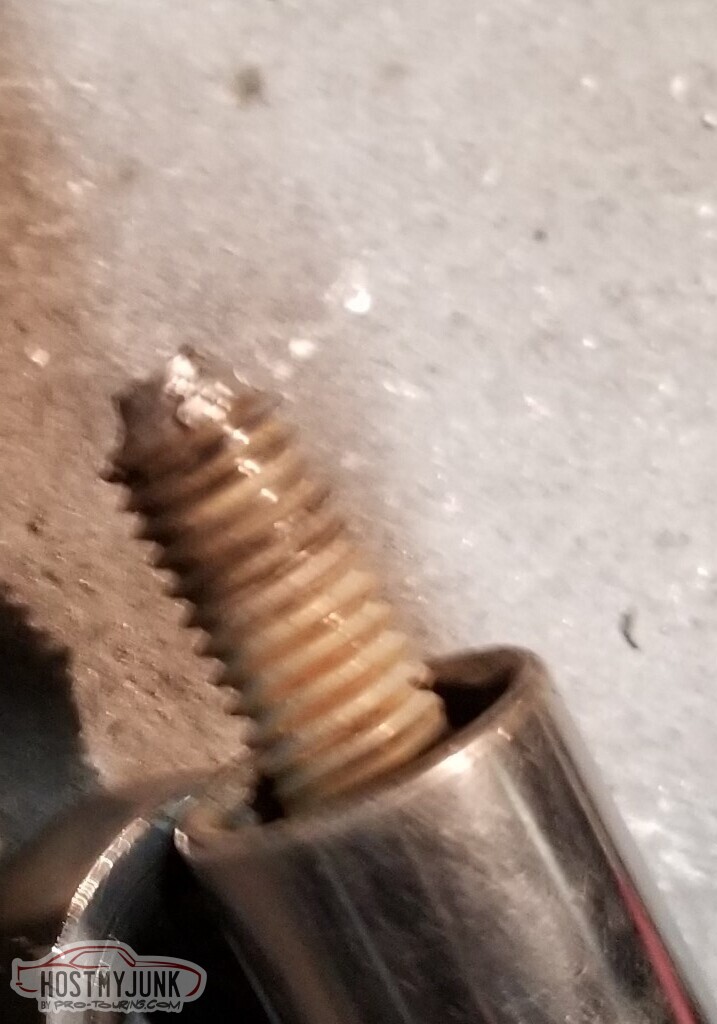
Went to install it anyway. The mounting stud broke before the nut made two complete turns.
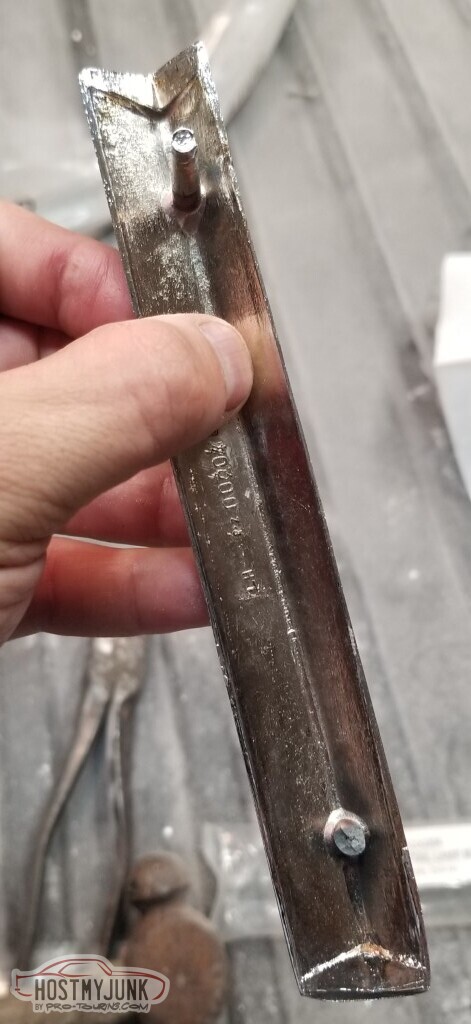
It's a Year One piece. I emailed their customer service but: surprise! No response. Not that I really expected anything beyond "hey, sucks to be you." but I guess this is what one gets for purchasing from Y1. I put the old beat up one on instead. It's rough but at least it survived installation.
Found a few paint defects that needed handled - runs that I couldn't see until things got flat.
Sand with 800-1000-1200-1500-2000 with the Tolecut tiny block (Tolecut Starter Kit - 8-Cut, PSA Sanding Sheets for Nibs, Runs and Imperfections,
SP9738, K800 - K3000, 6 Sheets + 2 Toleblocks - - Amazon.com, no I don't get any referral bonus from that)

More of the same.

Went to install the new door handles ("Restoparts" - OPGI branded) and the rods on the buttons are way too short - the door won't open from the outside (good thing one window was down!)
Comparison - I tried straightening the rods but even if I made them perfectly straight they wouldn't have been long enough.
Put the old buttons in the new handles.
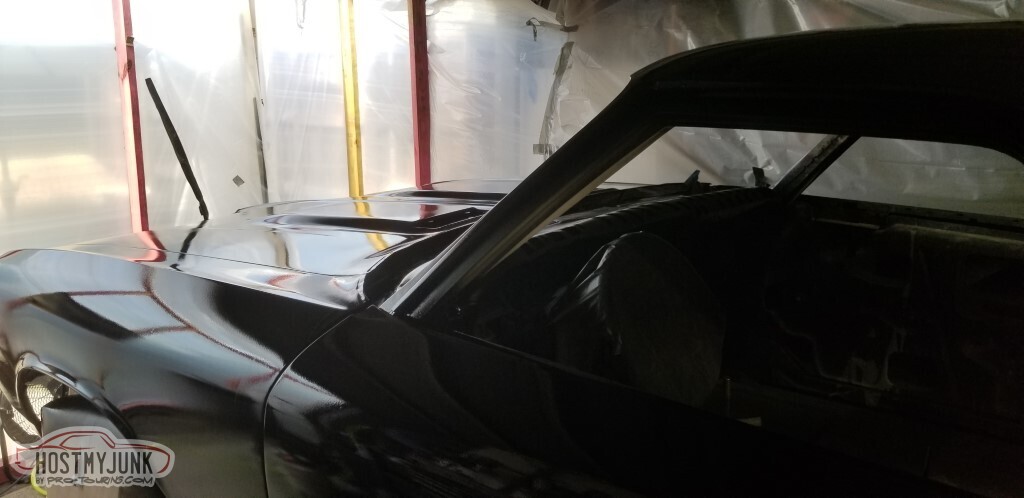
Roof is polished. And dusty.

So much compound landed on the package tray.
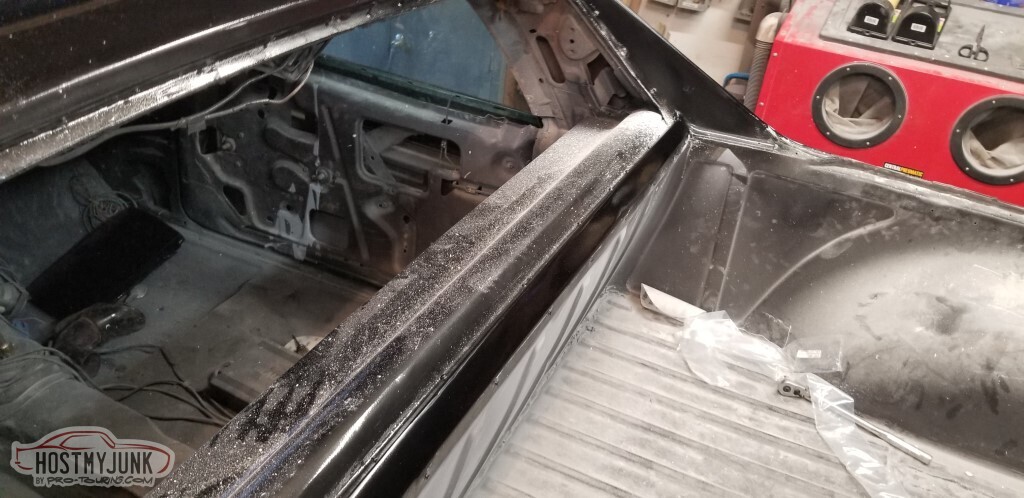
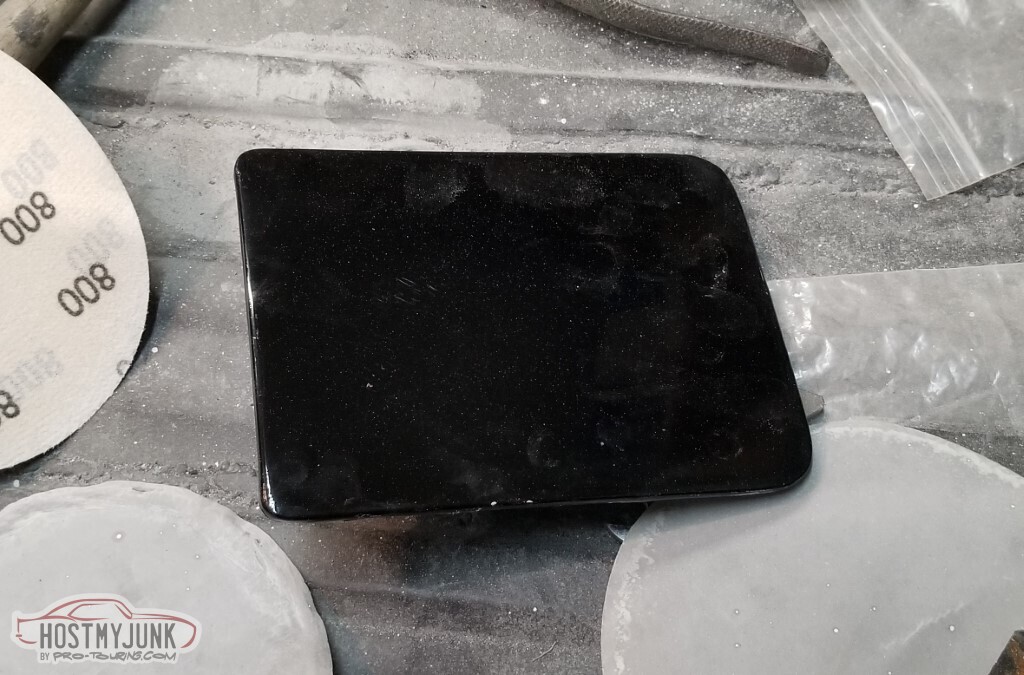
Buffed the gas door too..
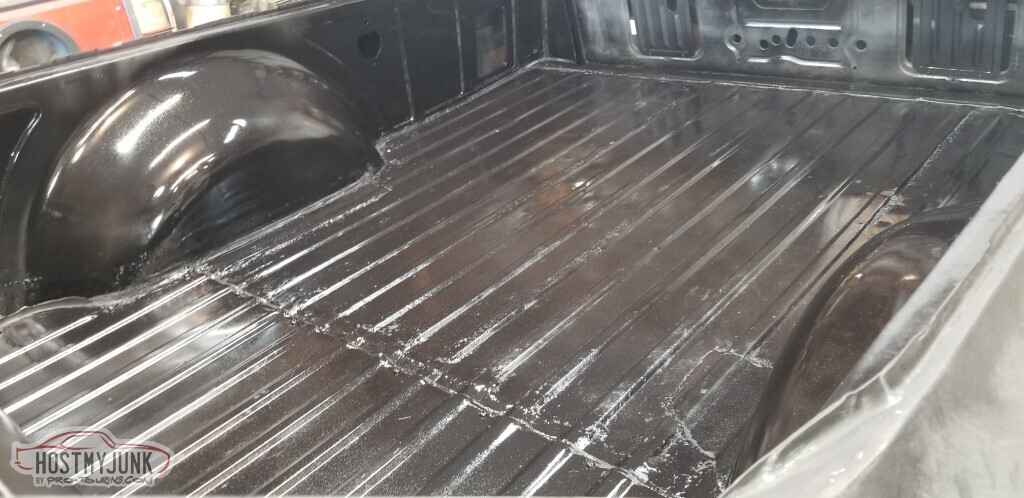
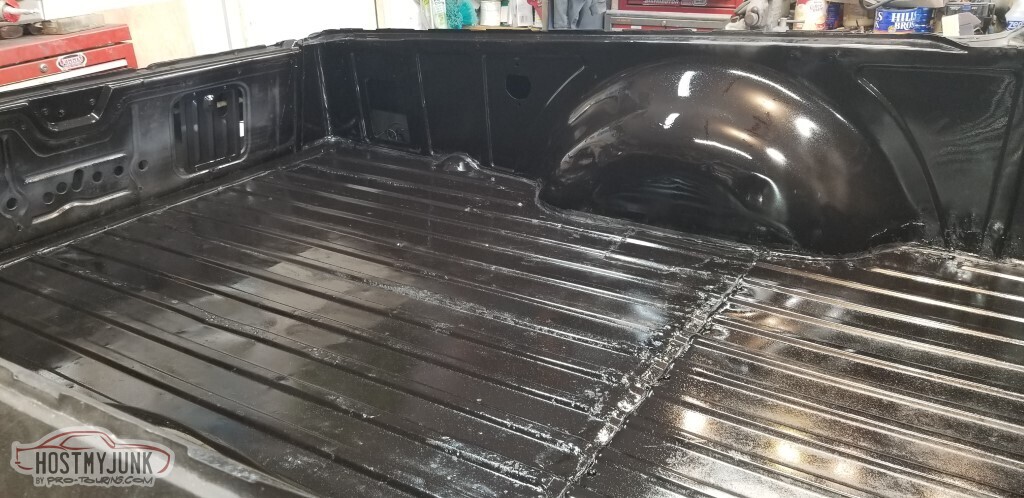
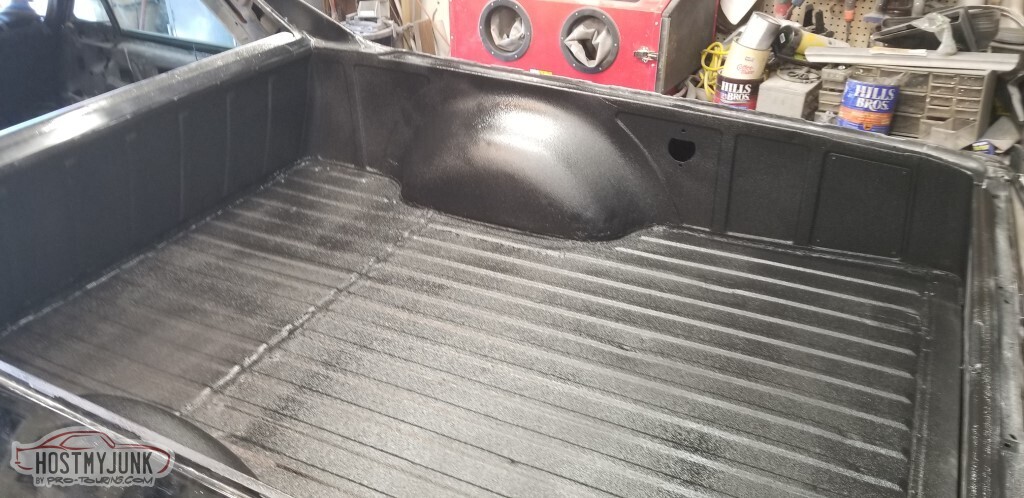
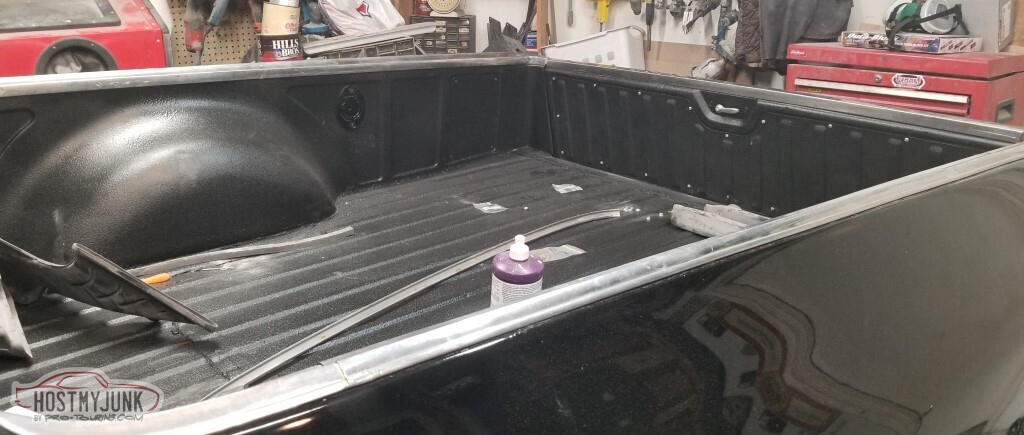
Applied Raptor bedliner. It came out beautiful. Used about 2 1/2 quarts.

With the bedliner sprayed, I can start installing bed trim.
This is the old bed corner molding I was talking about.
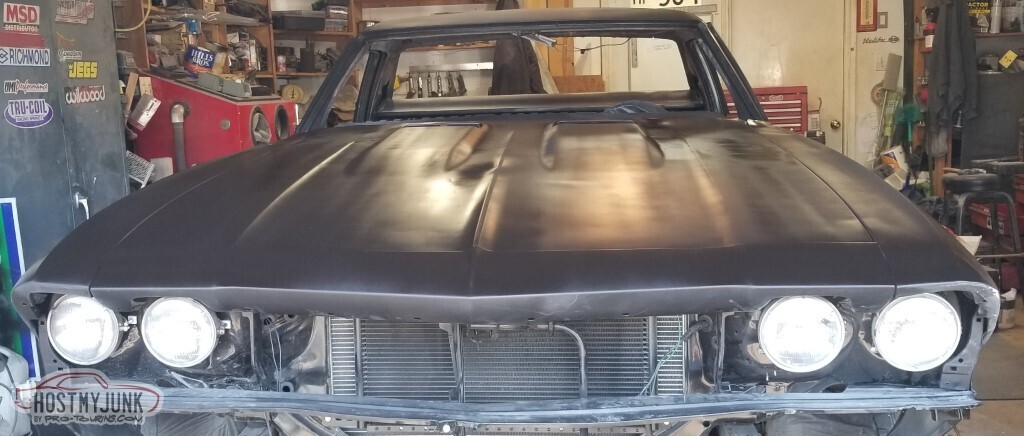
Grill mounted. Dust everywhere.
There is Something Wrong with the driver's side fender at the front - the fender is tweaked a little, preventing the corner trim and the headlight bezel from lining up quite right.

Side marker, wheel trim
Better view of the Raptor

I couldn't finish the doors as I couldn't find the vent window regulators - I searched the drawers, various boxes in the attic.. no luck. Finally I searched in the "wrong" places and found them in a coffee can marked "doors and windows".

Not pictured: Mounted the tailpipes once I got the rear bumper on.
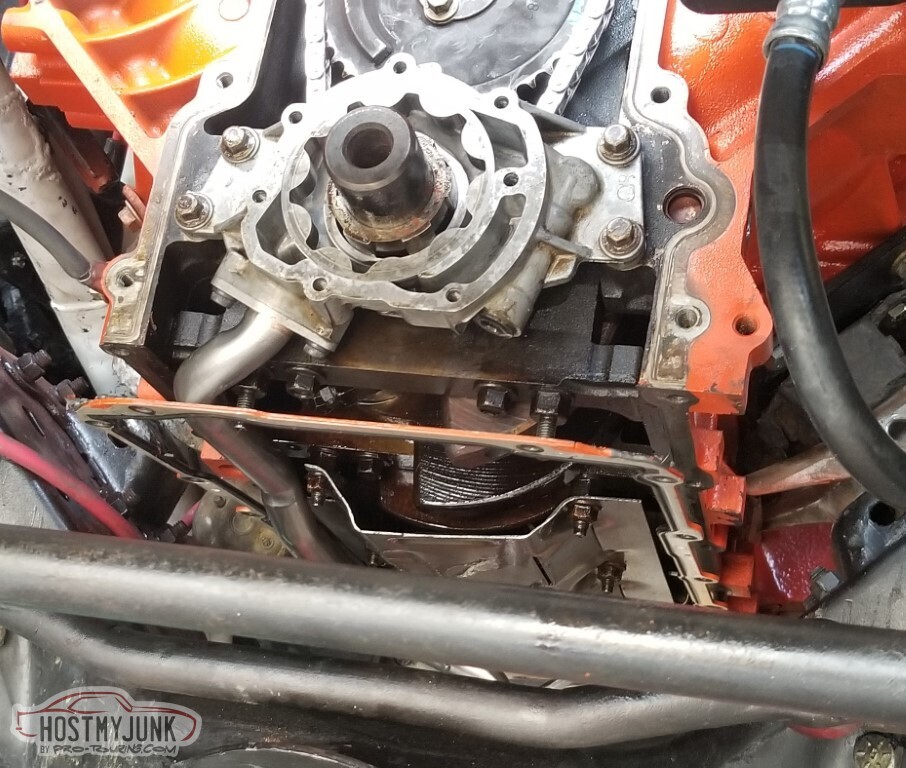
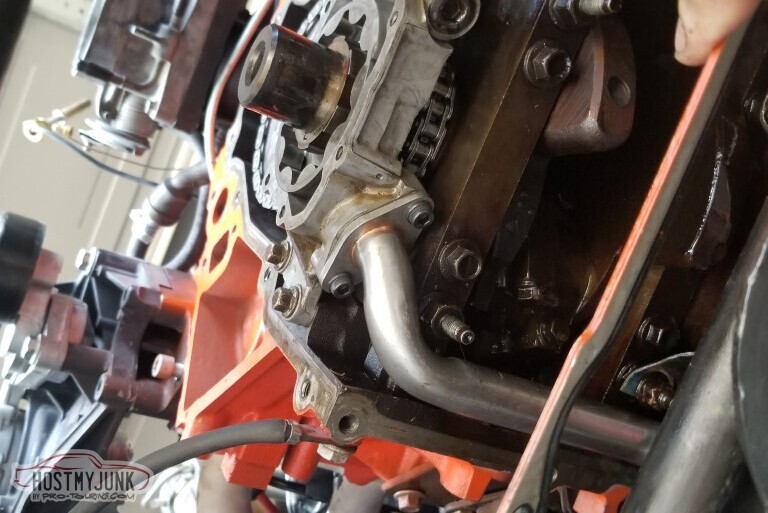
One final task was needed before the car could get back on its wheels - there's a minor oil leak somewhere that manifests as a drip when the vehicle is running.
Added some flourescent dye to the oil, here you see that it's running to the pan - maybe rear main seal?
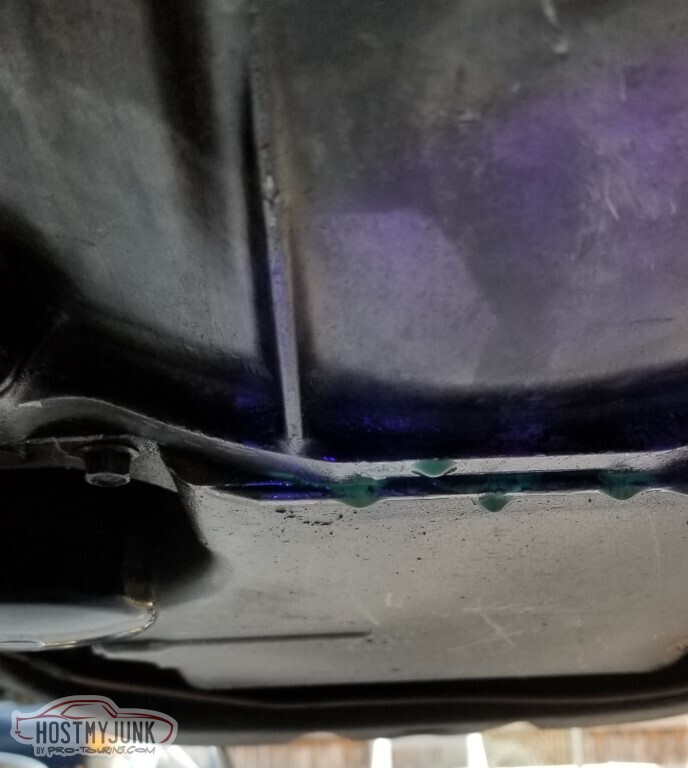
Something from the pan?
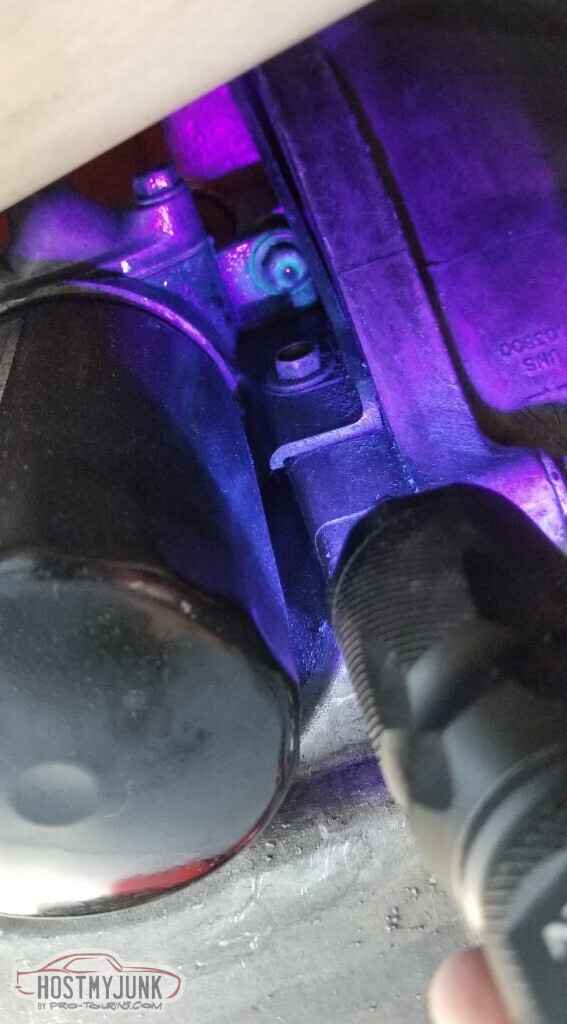
Nope - something spraying near the oil filter. Turns out the fitting for the oil pressure gauge wouldn't tighten down. Replaced the fitting and all was well.

Made a little bit of a mess while the fitting was out.

It does glow pretty well.

Test-fit of the bed front edge trim.

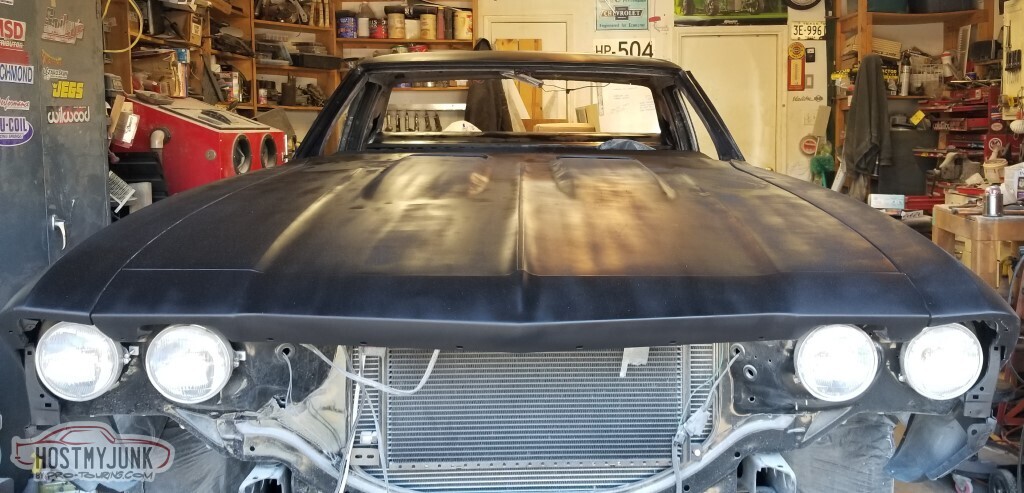
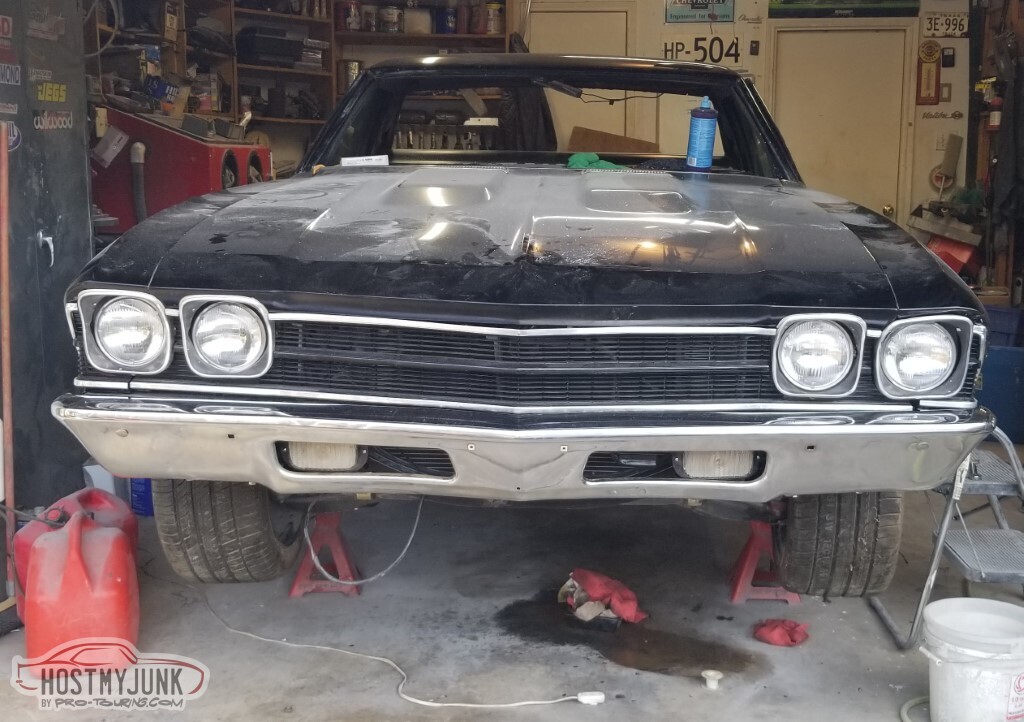
I think I'm mounting this wrong. Can't find the bumper bolts I just bought two days ago so this is only partially mounted... but - it's the first time she's had her face on in years.
Bed moldings installed, hold-down hooks painted and installed.
Note to self: Install the window fuzzies before the window trim. Dammit.

Test start, no drips from the oil pressure line, safe to put her on the ground. The car is very low and looks great in person. The door panels are here, the headliner is here, I've been given approval to go purchase some late model Camaro seats.. this will be driveable soon!
Next task is to try and identify why it's idling at ~2500 rpm. My thought was a rather severe vacuum leak. Hooked up the computer to check IAC position and the like.. over a period of about ten seconds it went from idling high to idling rough to a bang and all the oil falling out of the bottom.
I would like to believe that the rear main seal let go but that doesn't explain the rough nor the bang.
Called it a day here. I'm angry and disgusted and sad. I have to finish some work on the daily driver before I can jack this back up and assess the damage. At least the flourescent dye will help show where the oil came from.

- - - Updated - - -
Hey, maybe it'll be an easy fix!
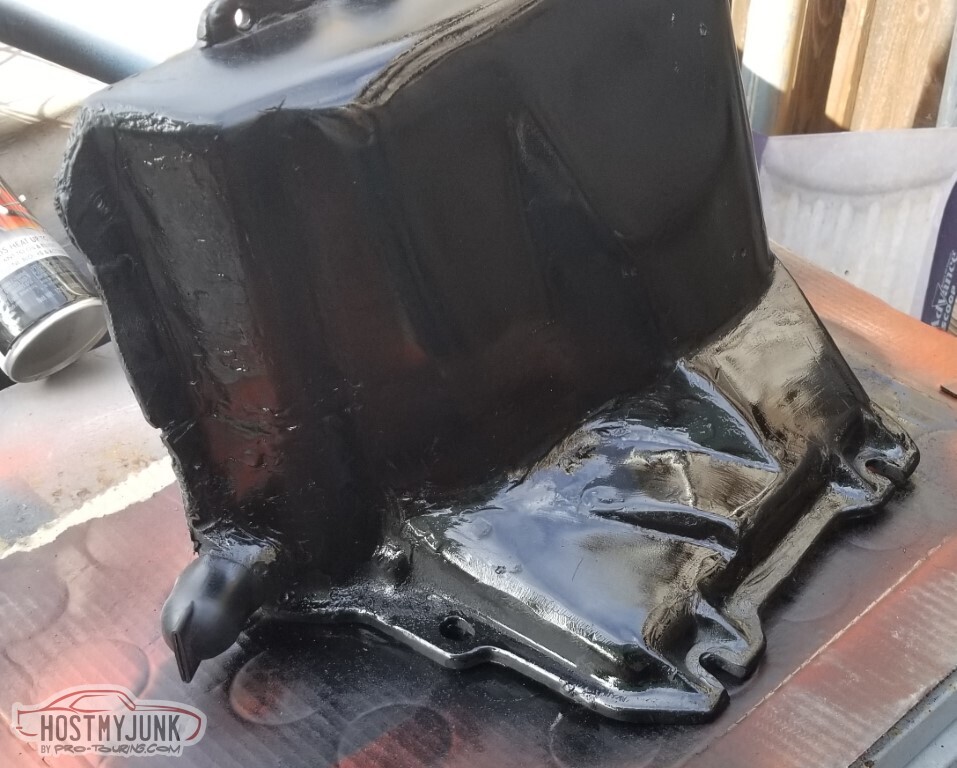
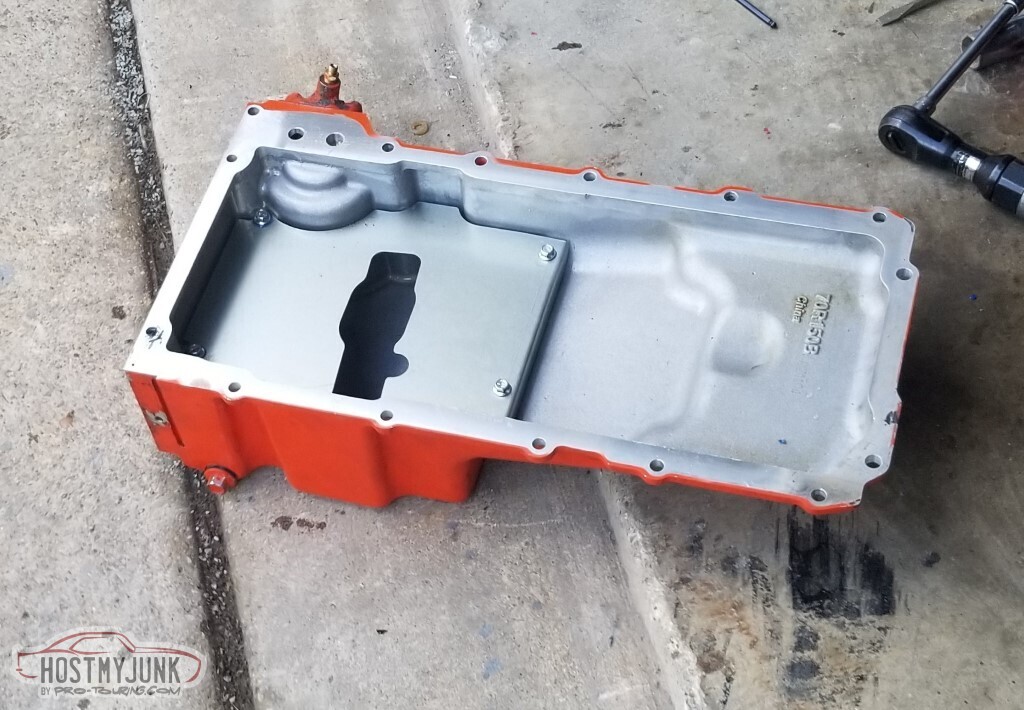
It will not be an easy fix. Whatever came apart broke the cast oilpan.
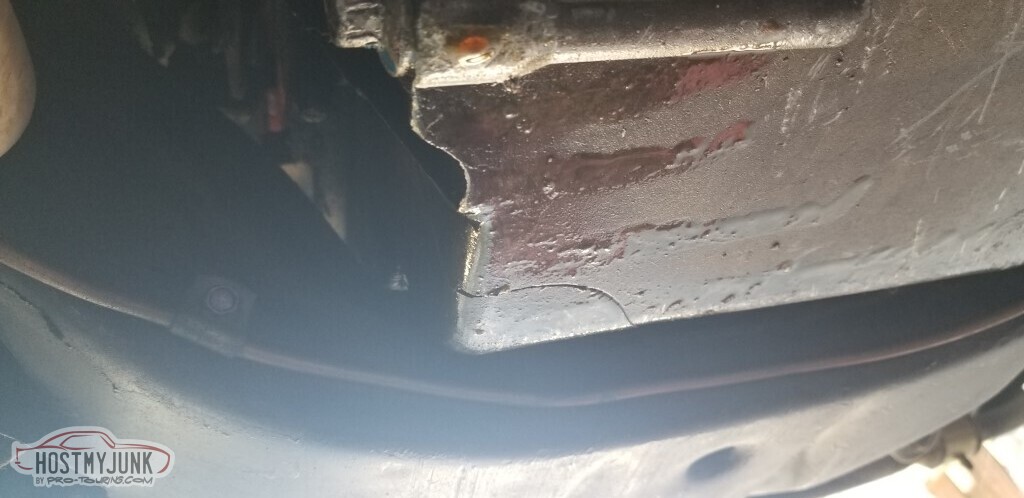
Crack goes all the way up.
Engine comes back out.
Sigh.
-
3 Weeks Ago #107
-ɹoʇɐɹǝpoW-
- Join Date
- Jul 2002
- Location
- Mesquite, TX
- Posts
- 4,929
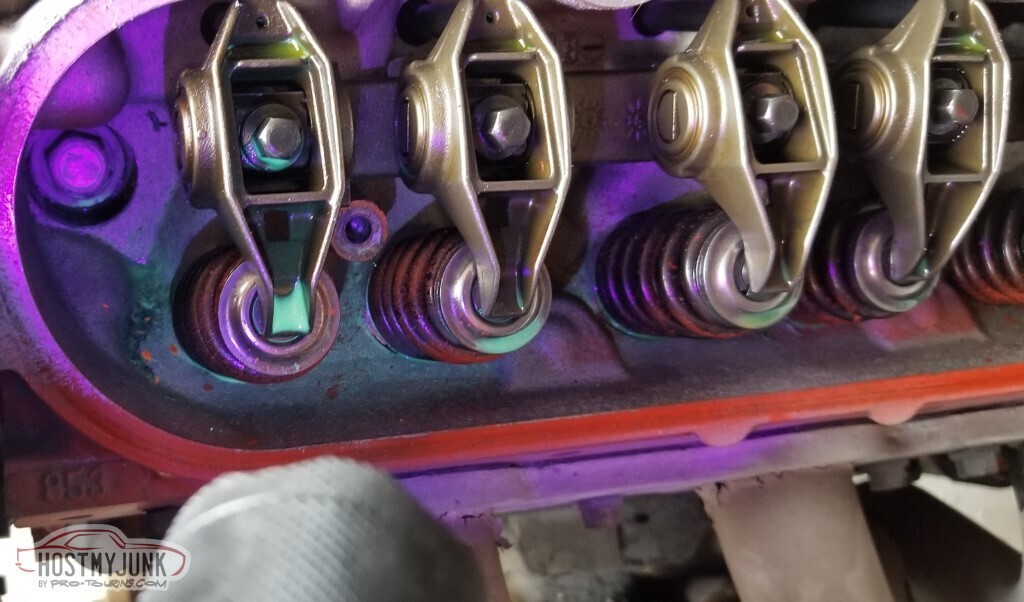
I'd just put the flourescent dye in a couple of days prior, and a question came to mind if I'd screwed up the oiling system during assembly.
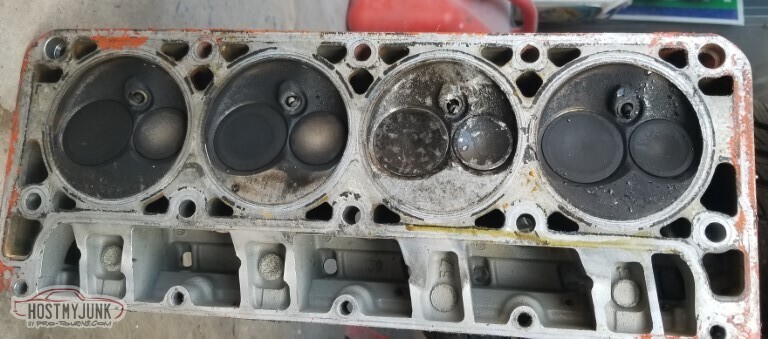
Apparently not, the flourescence is here in this head
 2207310001_tn.jpg"></a>
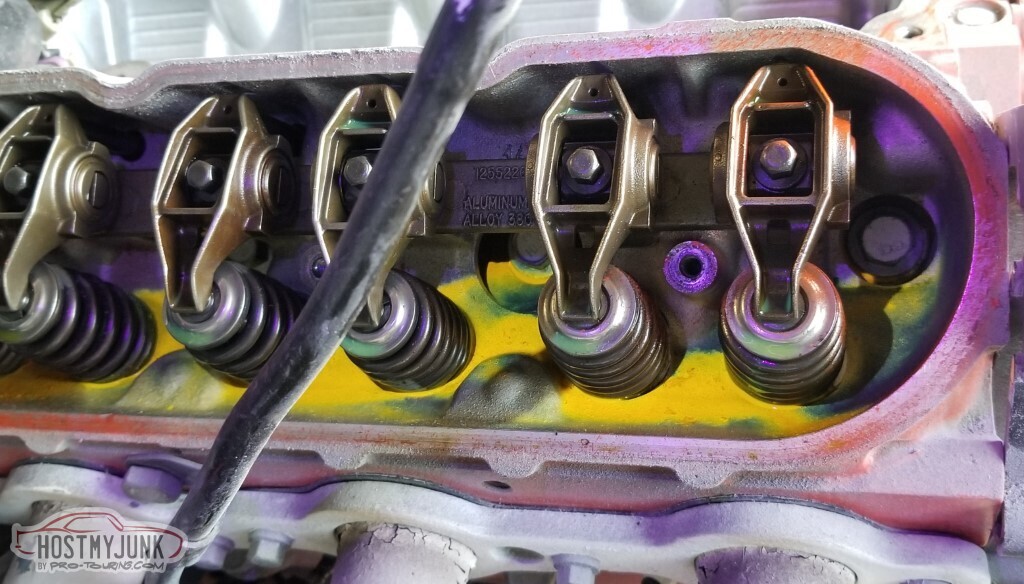
This one too.
 2207310003_tn.jpg"></a>
I really didn't want to pull all this apart.
 2207310002_tn.jpg"></a>
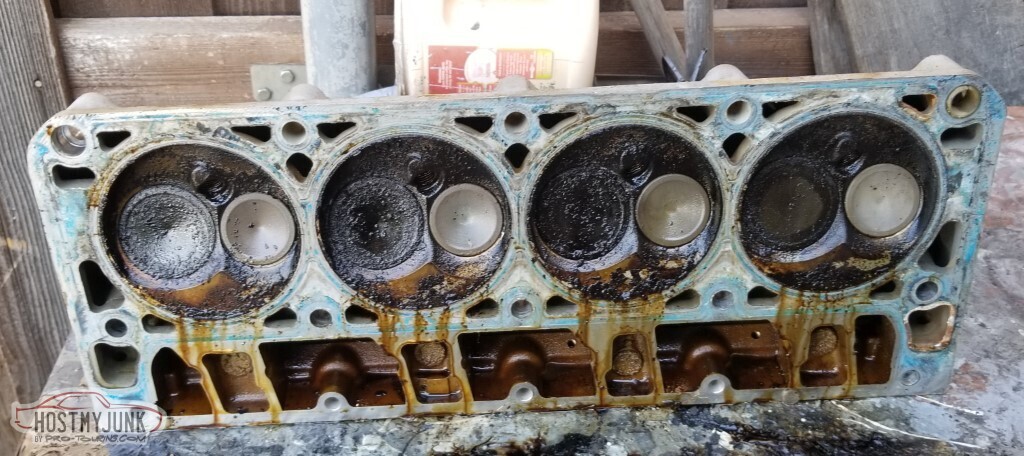
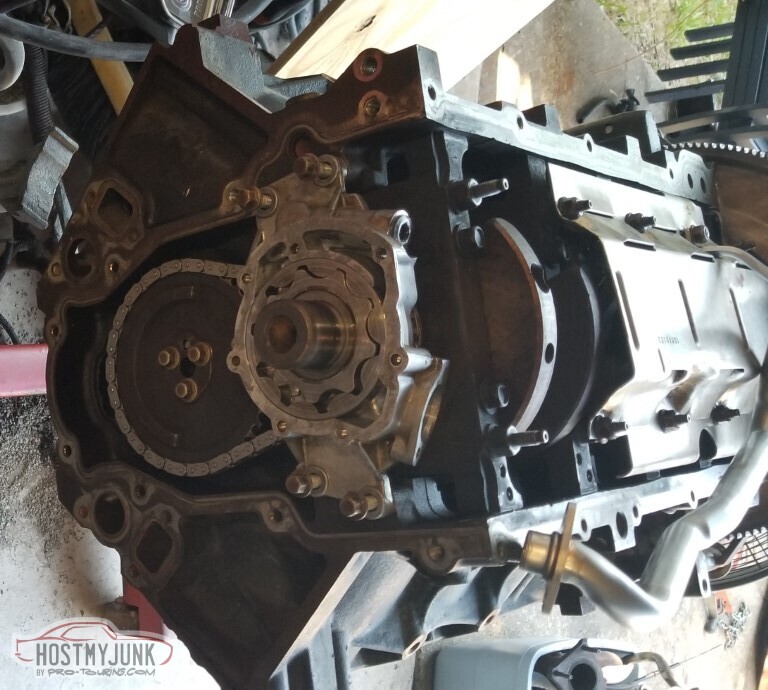
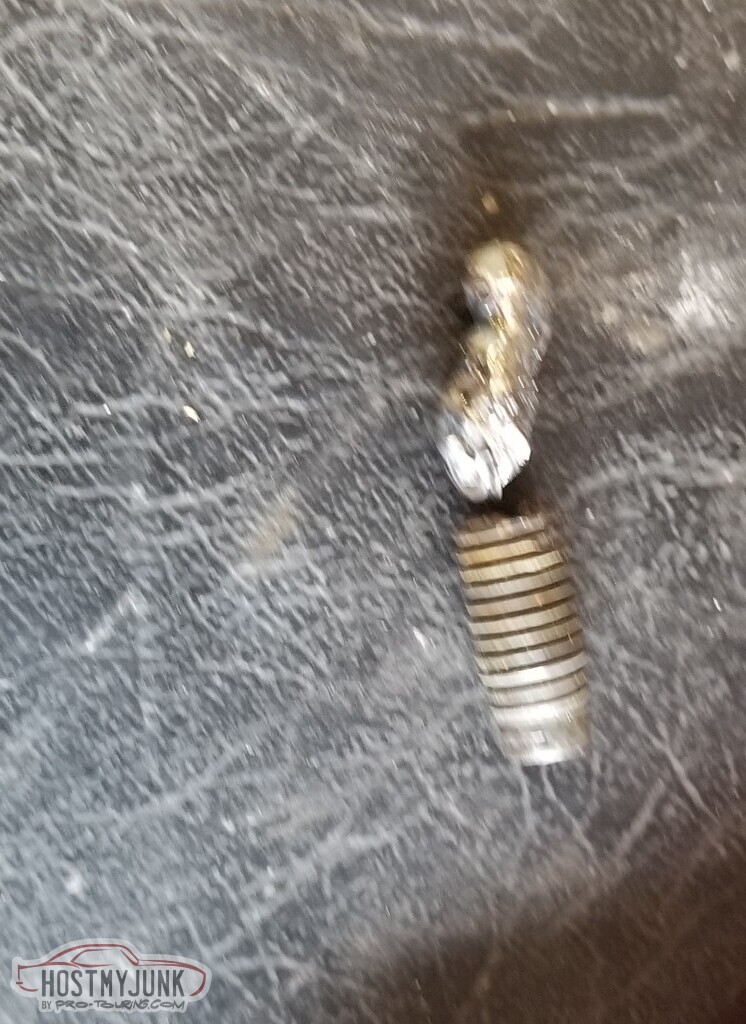
But - the #5 piston is in small chunks and the connecting rod is too.
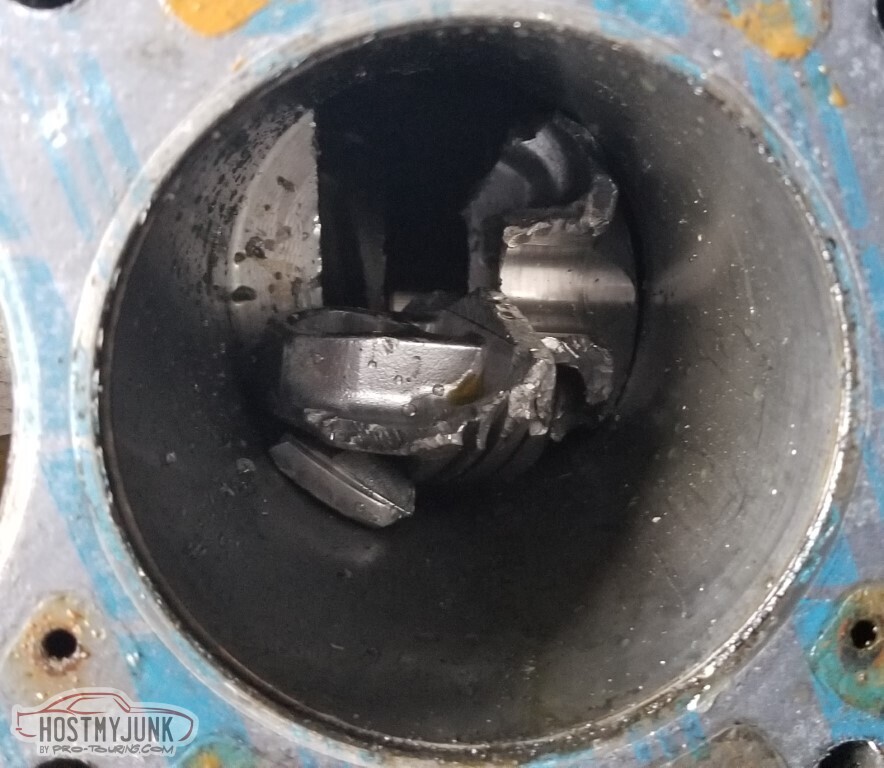
The head took some damage too.
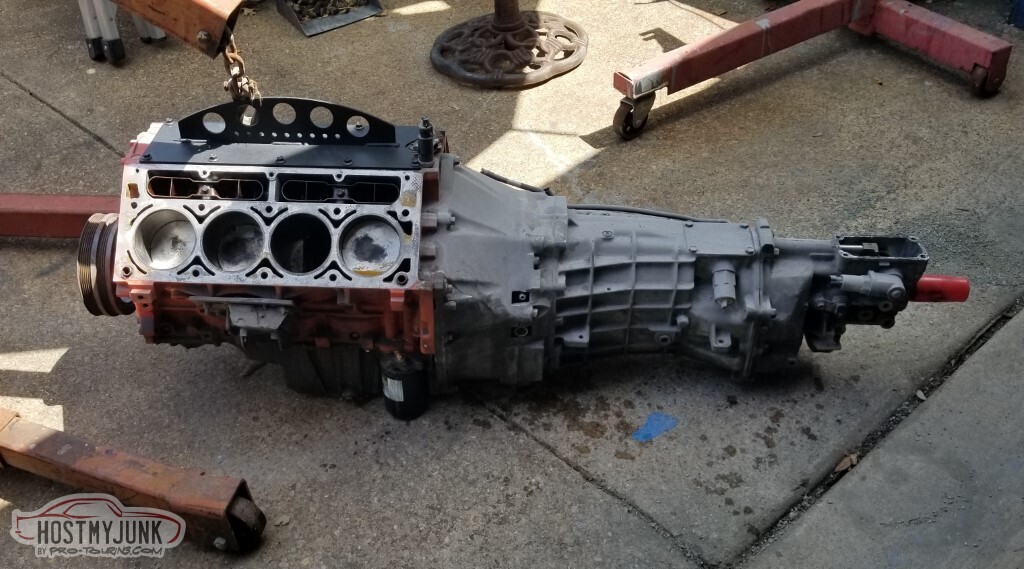
Engine is out.
Bay needs washed.

Oil pan looks to be in better condition than it really is - it's still cracked in about eight places.

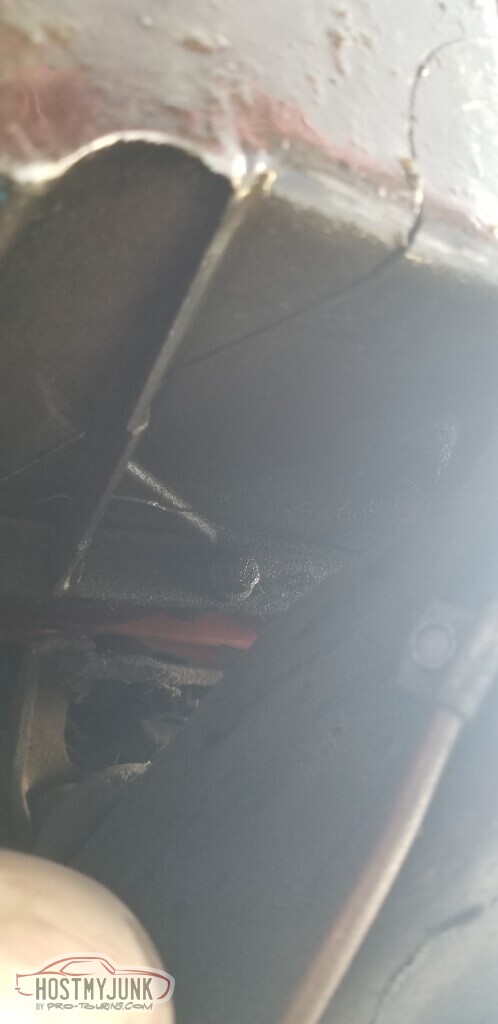
Wrist pin trying to break through the windage tray.

Something came through on this side and I believe this is where the pan broke too.
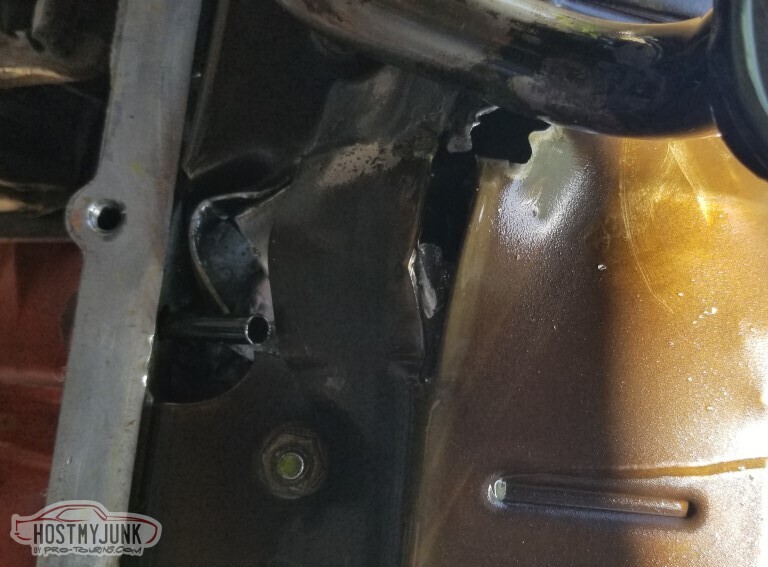
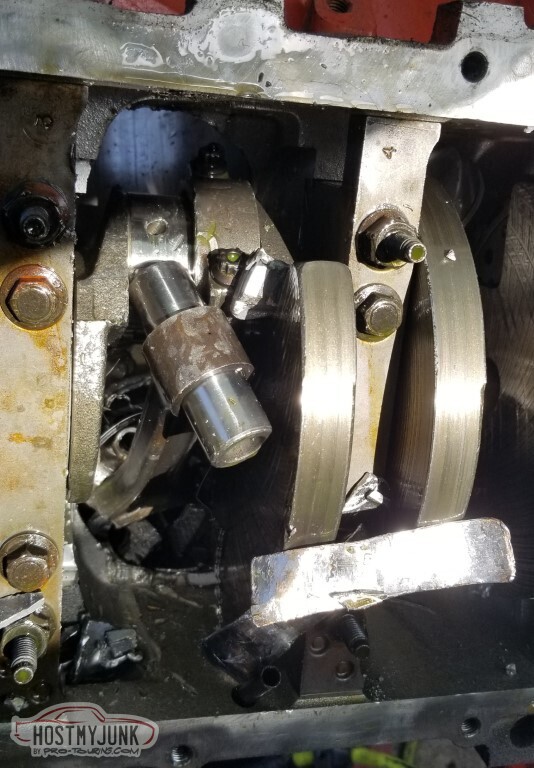
With the windage tray removed, here's the scene.

The bearings have been hammered flat; one of the compression rings was wedged into the counterweight for #6/#7 (and was stopping the engine from turning)
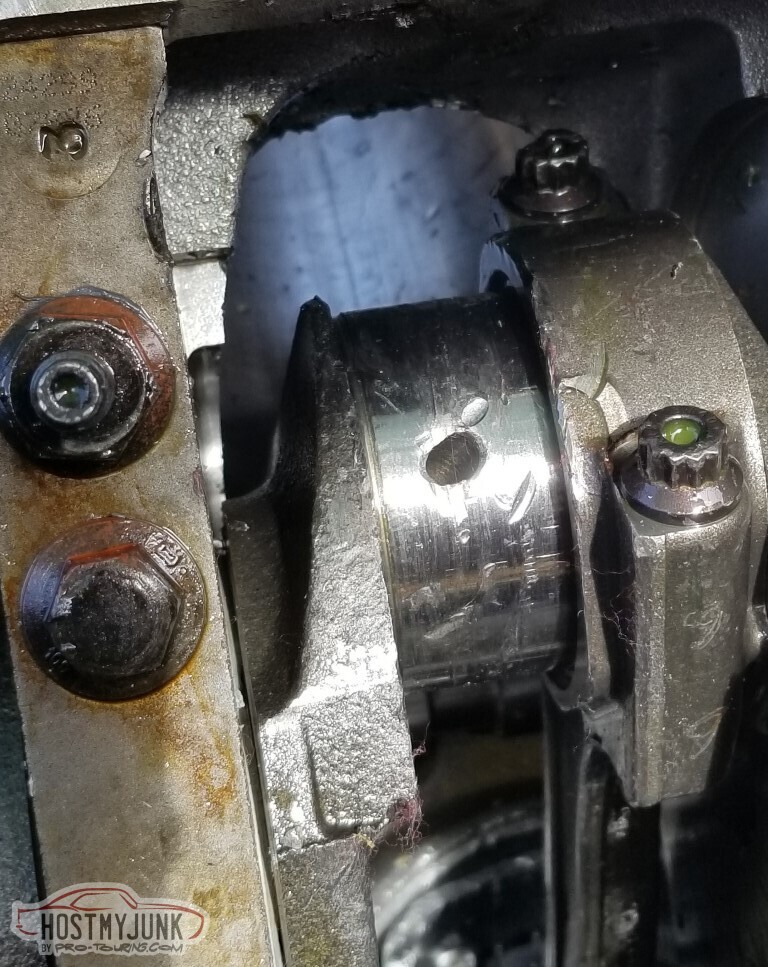
Closeups of the bearing surfaces.

Wrist pin is fine

Crank is not.
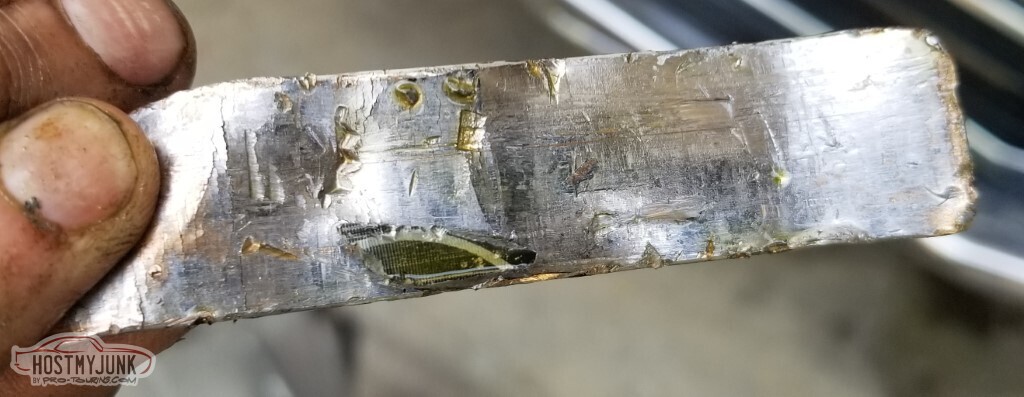
Here's what I found of the big end of the rod. One bolt is loose, one is bent and broken.
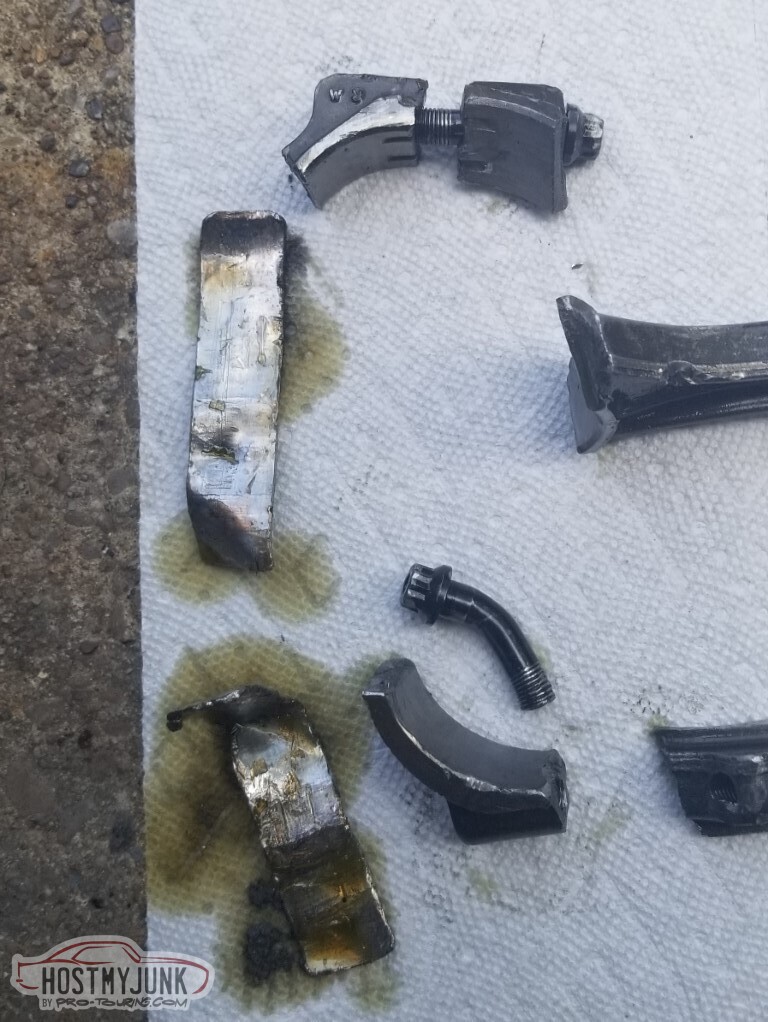
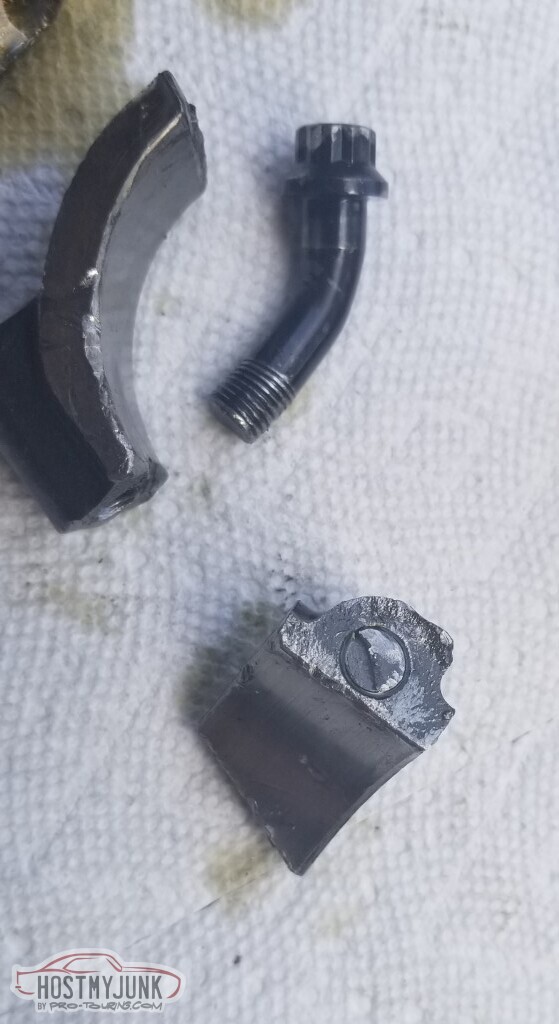
The sleeve is also shot

Maybe easier to see here.
On a happier note - my LQ9 is being delivered tomorrow from the local salvage yard, the cam seems to have come through it mostly okay, a bunch of parts have been ordered from Summit and arriving later this week. Not much in the way of "upgrades" planned for this batch of parts, not even convinced I'm going to tear the new engine all the way down - first thing is a leakdown test.
-
3 Weeks Ago #108
-ɹoʇɐɹǝpoW-
- Join Date
- Jul 2002
- Location
- Mesquite, TX
- Posts
- 4,929
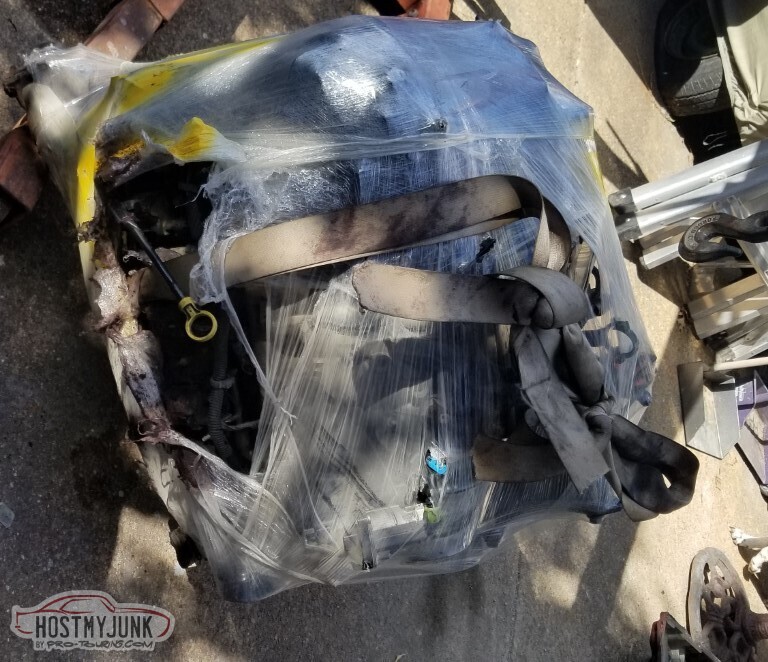
It's like they put a big bow on it for me.
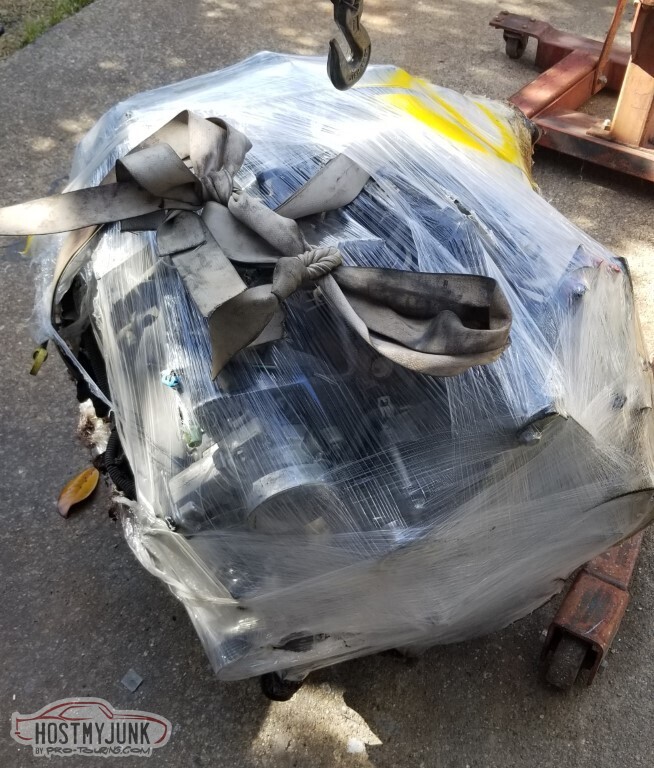
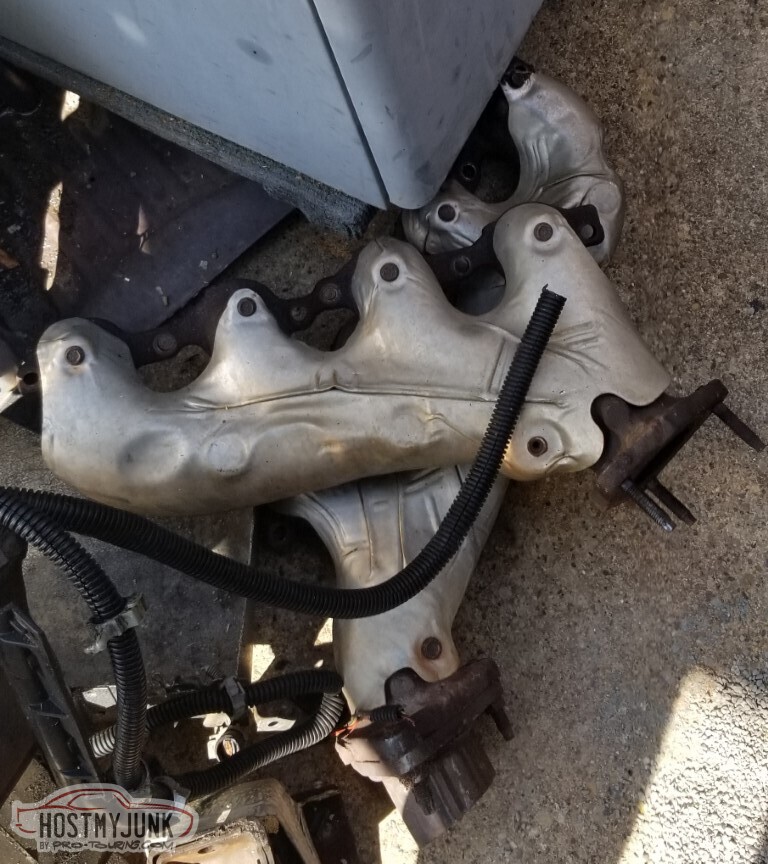
Also that's the seatbelt from the donor vehicle - tied around the exhaust manifolds on both sides.
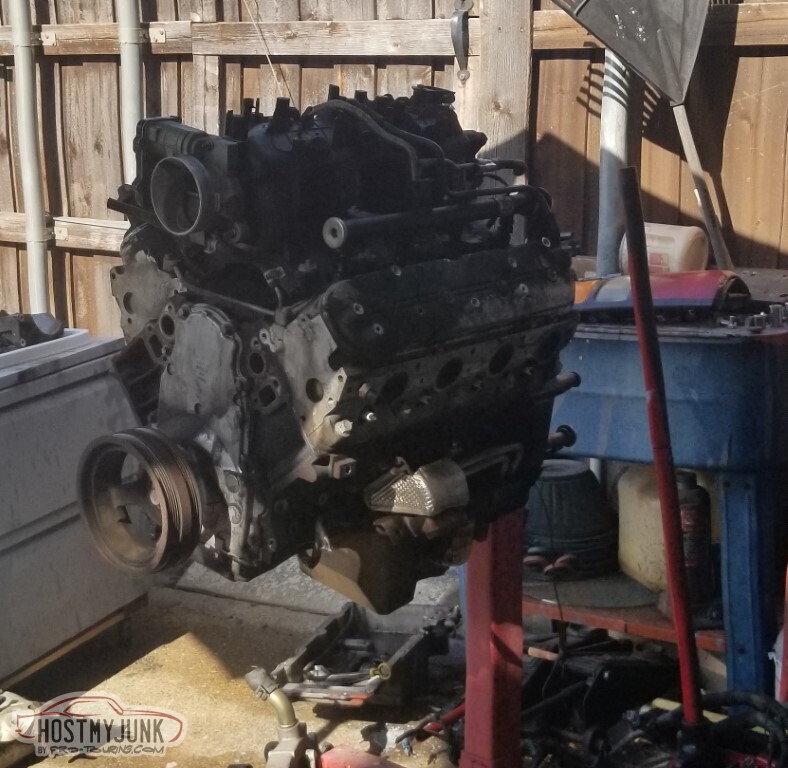
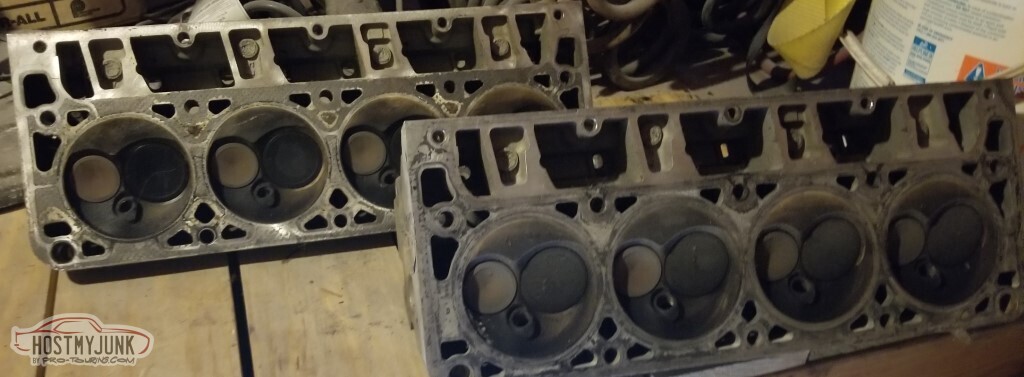
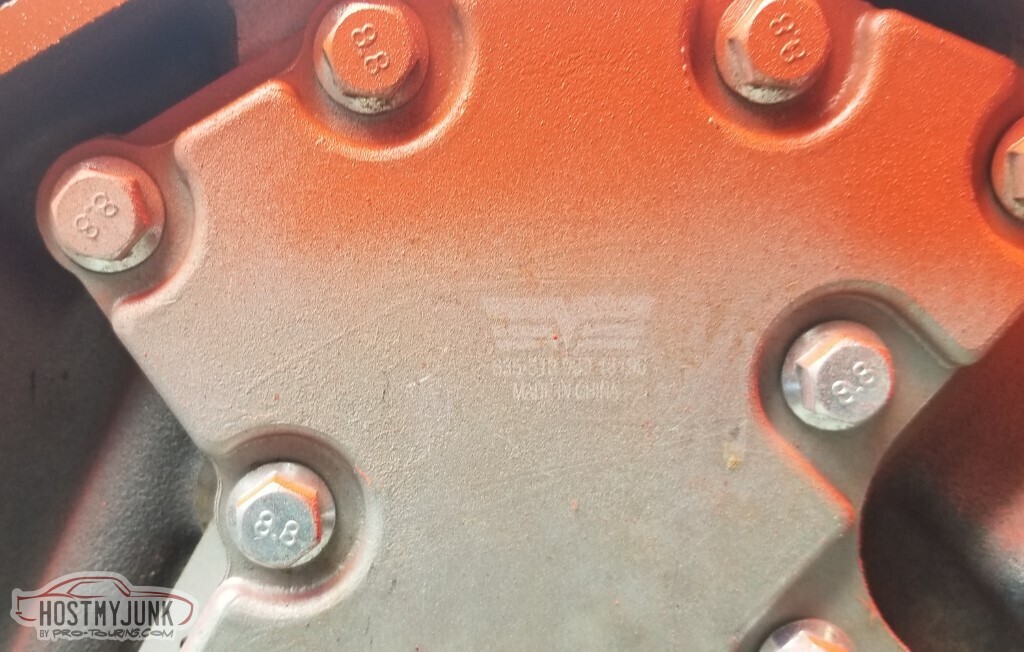
Disassembly in progress. Someone's been in this motor - the front cover is "made in china", the intake gaskets were Fel-Pro, and the rockers were all way too tight.
With the rockers removed, a leakdown test showed a lot of air getting past the valves - ranging from < 10% on cylinders 1 and 3 through 60-70% on the ones towards the back.
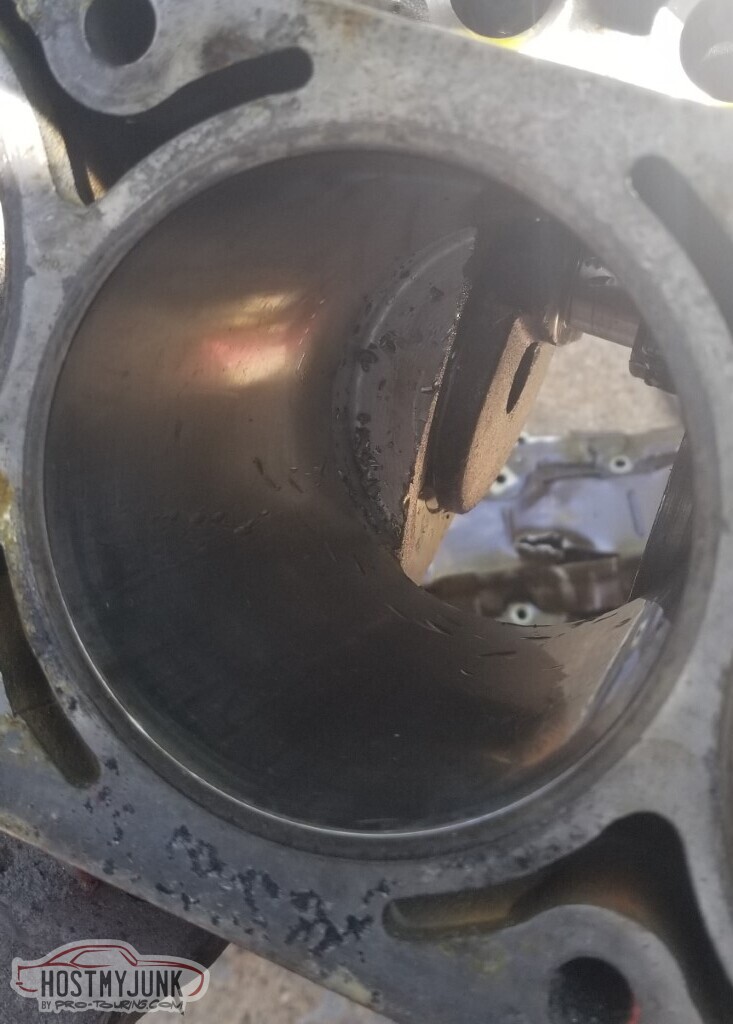
There is no ridge on the cylinder wall, and I would have expected one on a 150k mile engine. Maybe the bottom end is relatively fresh (wouldn't that be nice!)
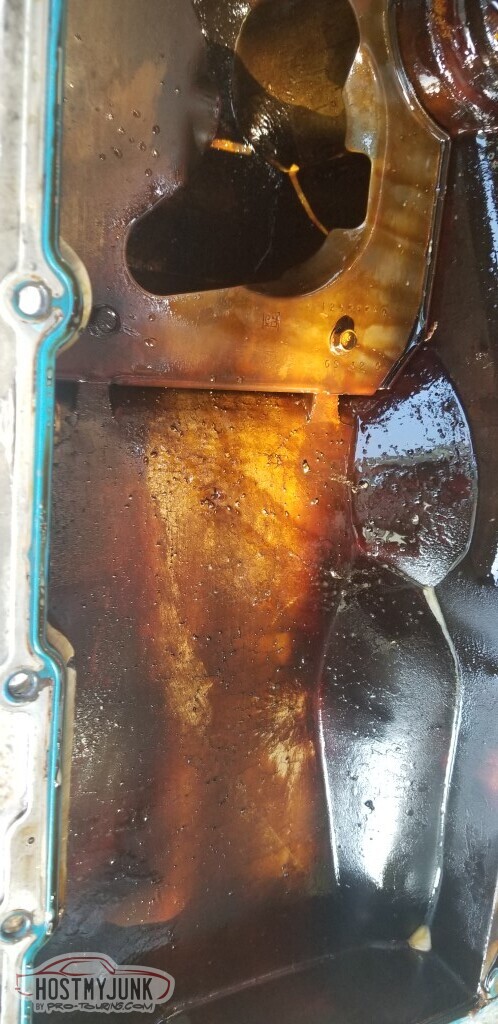
Pan is dirty but not sparkly.

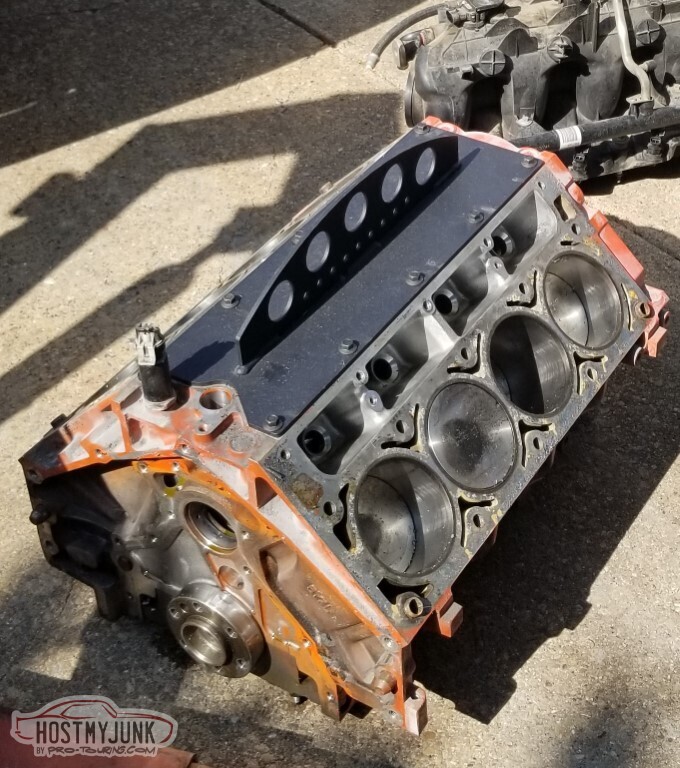
I've got parts I need to get rid of now. Like this block/crank/most of the pistons...
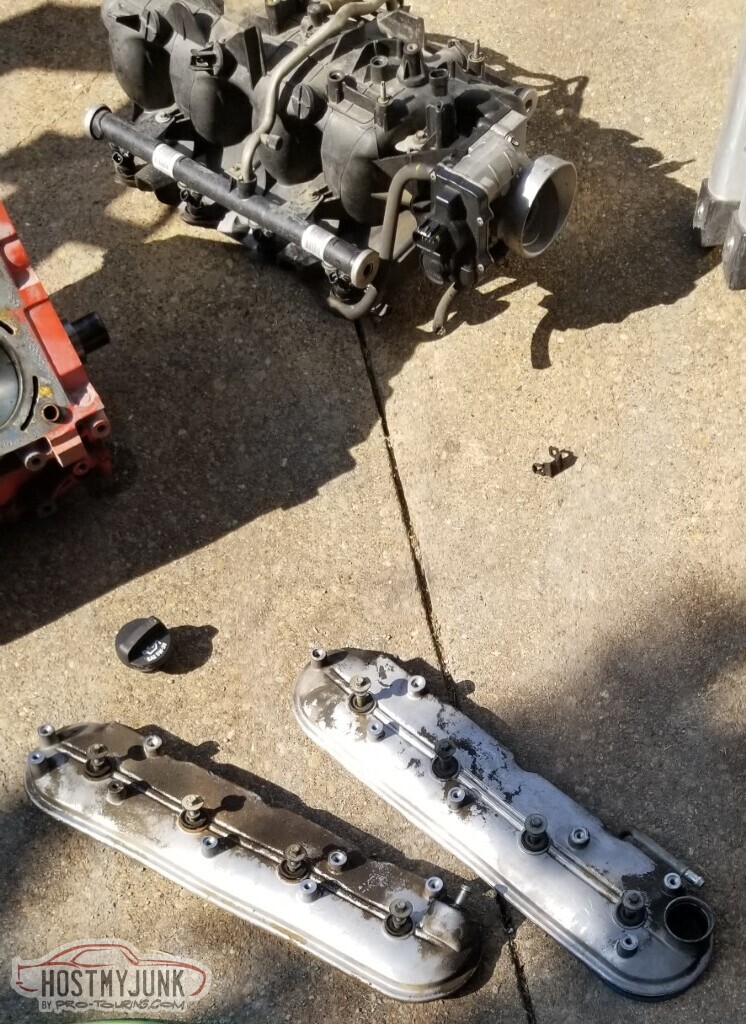
.. truck intake, dbw throttle...
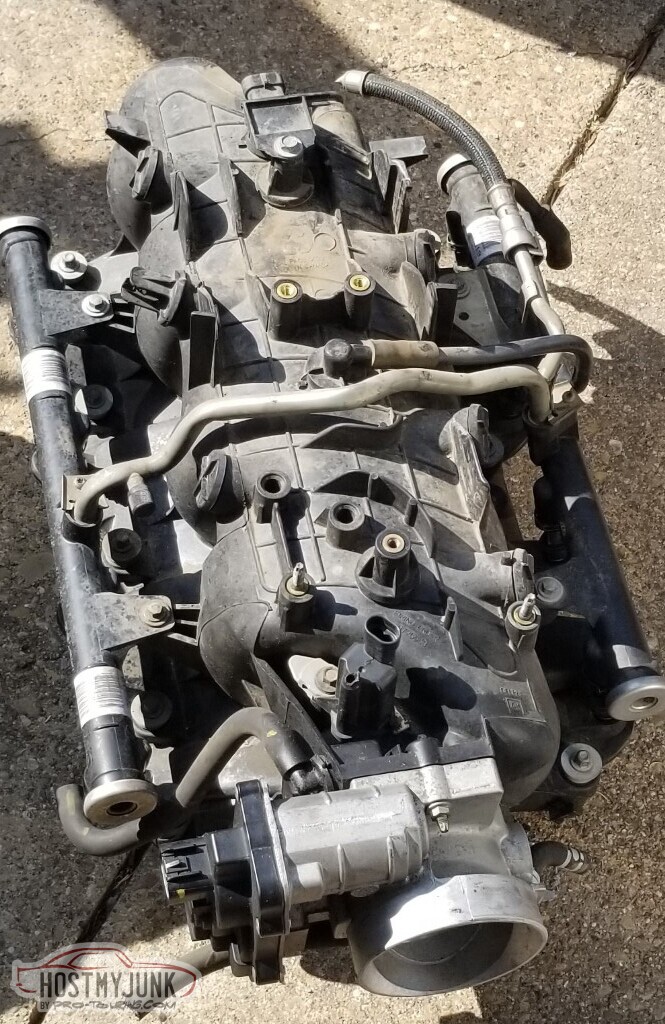
.. exhaust manifolds, ps pump, truck brackets and water pump...
Two sets of 853 heads...
Valve covers, truck coil packs, flexplate, motor mounts... you know, everything.
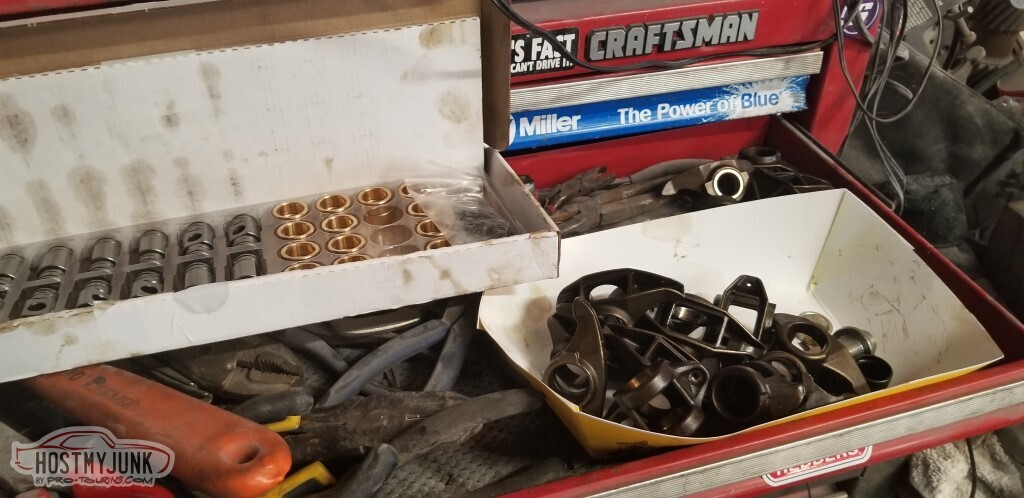
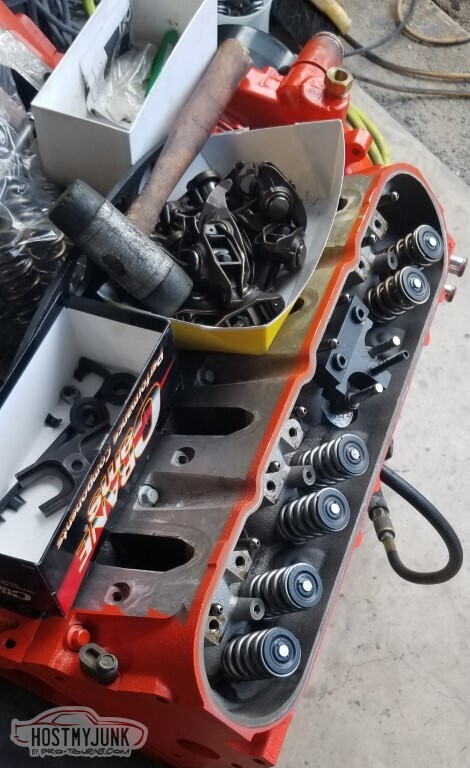
The head bits I'm keeping.
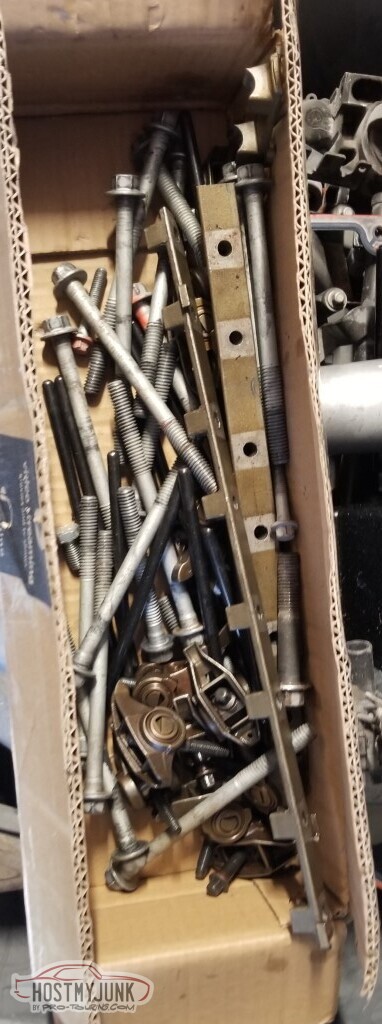
Going to update the trunnions and use them. This had been on the to-do list anyway.
I lost track of which shims went where on the McLeod clutch.

LA Awesome cleaner melts carbon.

Maybe multiple applications and a brush helps.
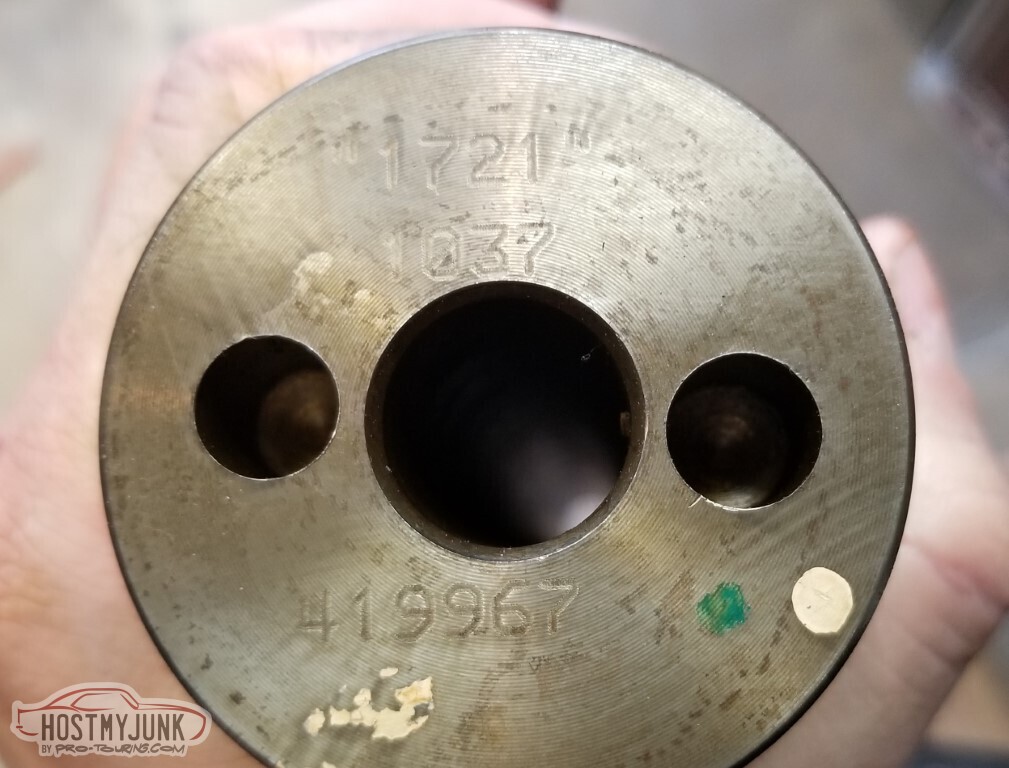
Is this a GM cam? The "1721" in quotes makes me think no, but searching on the numbers didn't help any.
The actual stamped values are:
"1721"
1237
419967
Holley's 302-1 oil pan is actually *really* similar in shape to the stock F-body pan.
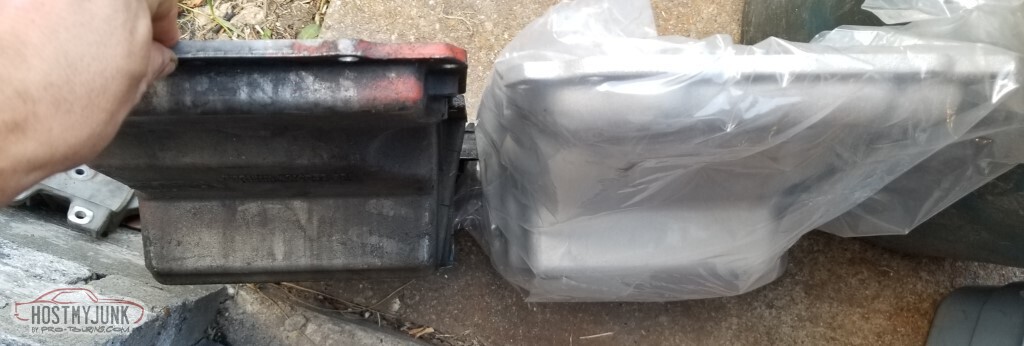
Looks like maybe it gives a little more clearance to the back edge of the crossmember?

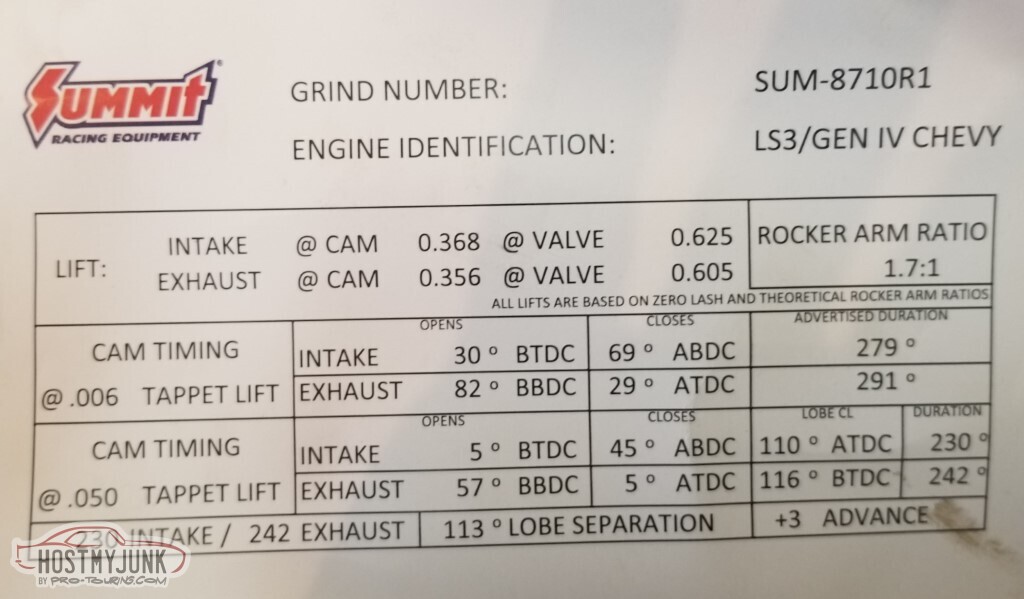
Got a new cam. This one is much more aggressive. Conveniently, the directions suggested the trunnion update I was already doing.
Not pictured, and I don't know why, is my tearing down the heads to replace the seals/springs and lap the valves. I think most of the air leaking past the valves was due to the carbon buildup though. New valve springs/seals/keepers/retainers, head, header, and oil pan gaskets should arrive tomorrow. At that point my shopping list consists of a pilot bearing, and a spark plug to replace the one beaten to death by the piston.
-
3 Weeks Ago #109
-ɹoʇɐɹǝpoW-
- Join Date
- Jul 2002
- Location
- Mesquite, TX
- Posts
- 4,929
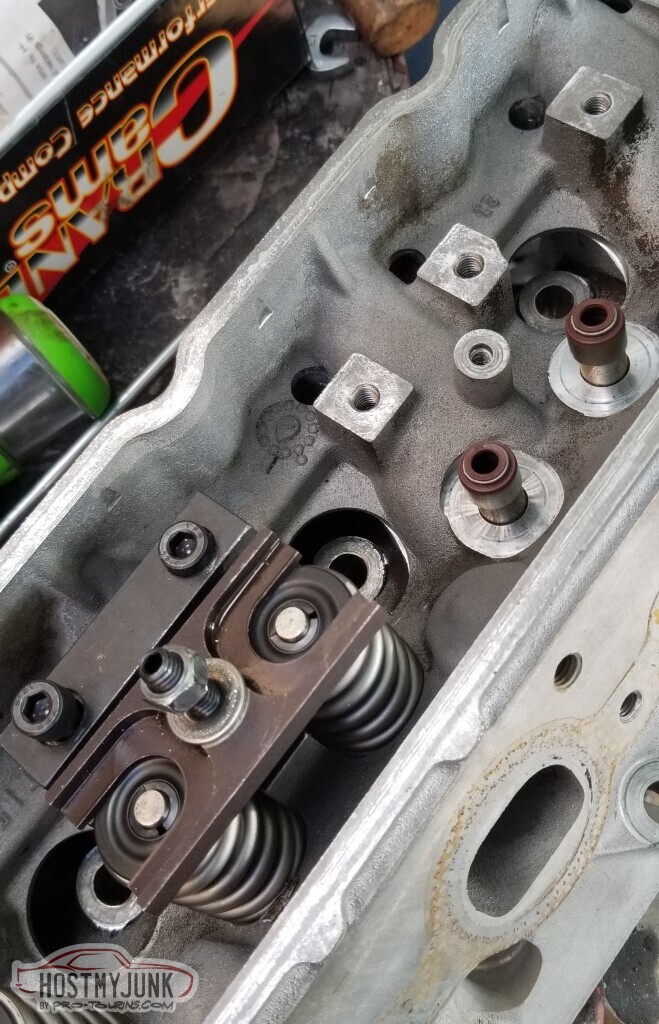
Heads - need at least a valve seal cleanup (compound and lapping suction stick thing) and probably new seals.

I put the new seals that came with the valves on with a mallet. This was not the correct way. About half of them the little seal-springs got tweaked.

Installed the new springs. They're "Summit Racing Dual Valve Spring Upgrade Kits for GM LS SME-174003" and came with the retainers, locks, seals, and springs. I only lost two retainers!
Assembled.
Not pictured: I tore them back apart and replaced the seals using the correct tool. I'm pretty sure at some point I mentioned finding a box of parts of unknown origin that included two sets of GM-branded LS exhaust seals (but I can't find a reference now), those seals got used.

The cam retainer plate had a built-in gasket that was coming apart, so it was time to replace it. I bought a new one, threw the old one away, and bolted it together.
The engine wouldn't spin.
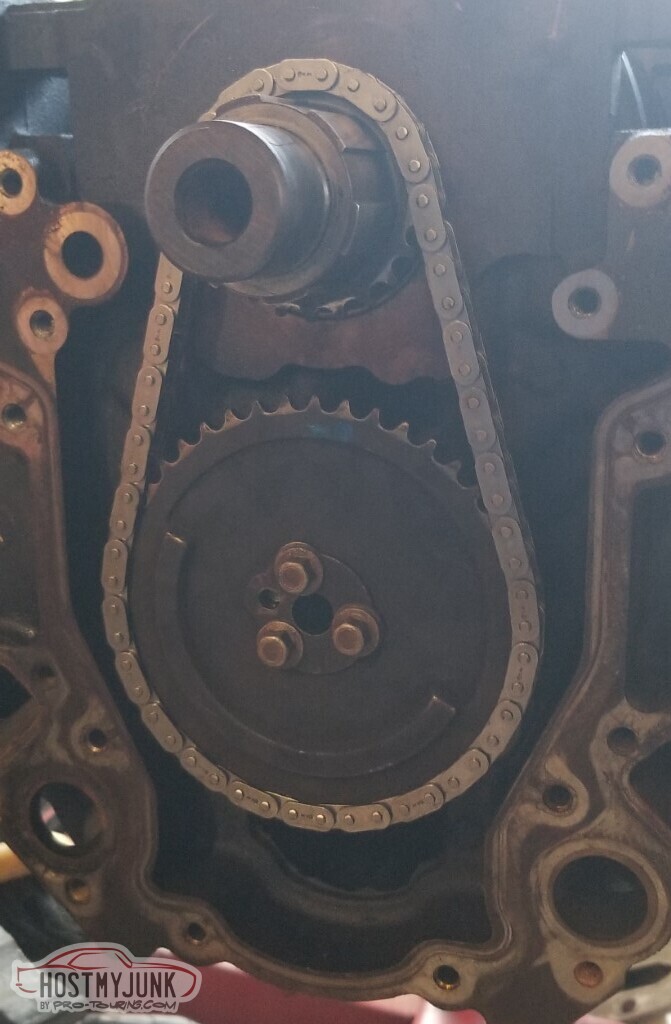
Since the cam is recessed slightly from the plate, putting the gear on would bind it up.

So I went to go take a micrometer to everything.. took the plate off to measure, then was going to pull the cam out to compare the face depth thing against the cam that came out.. and the original plate was also in place, making it all bind up. What did I throw away?

With that sorted, I could put the pump together.
The Holley swap pan uses PF48 filters instead of PF46.

While I'm at it: a) this engine is ~100 pounds heavier than the old one, and b) I'm a little lower in the front than I'd prefer (~3" to to the crossmember). The springs are on adjusters, so easy enough to change.
The springs are 750lb, and if memory serves, the ratio of spring height to ride height is .5 to 1 (half an inch of spring height change means 1 inch of ride height).
Added 1/8" for the added 100 lbs, and also 1/2" to raise the front an inch.
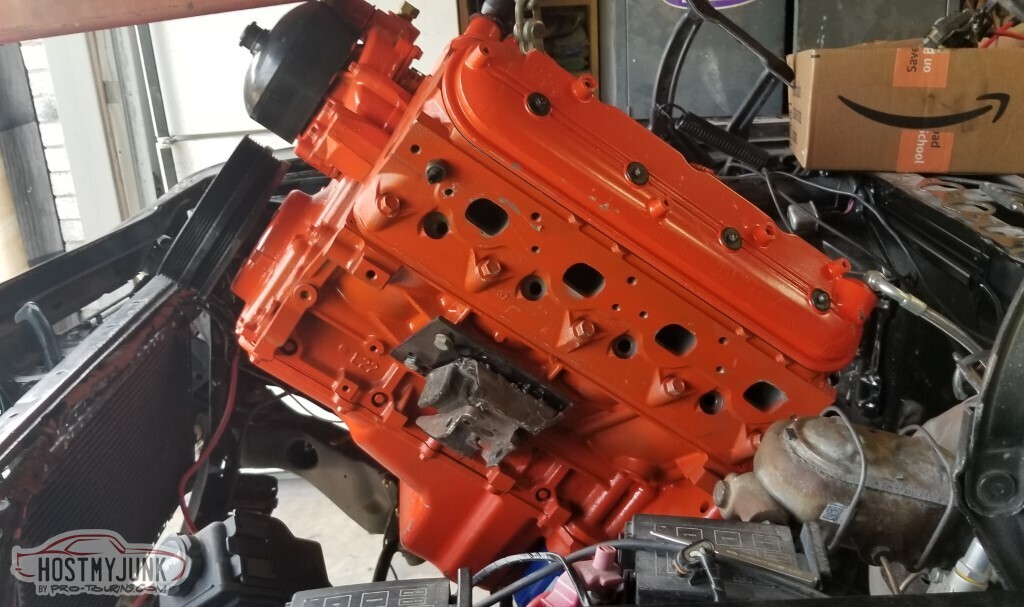
Again with yet another set of head bolts.

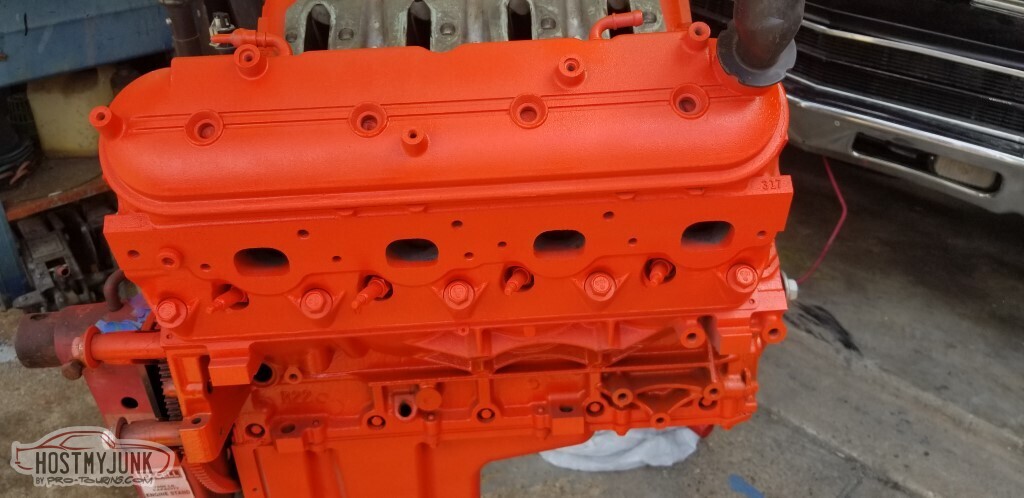
Orange is the appropriate color. Not least because the water pump is already orange.
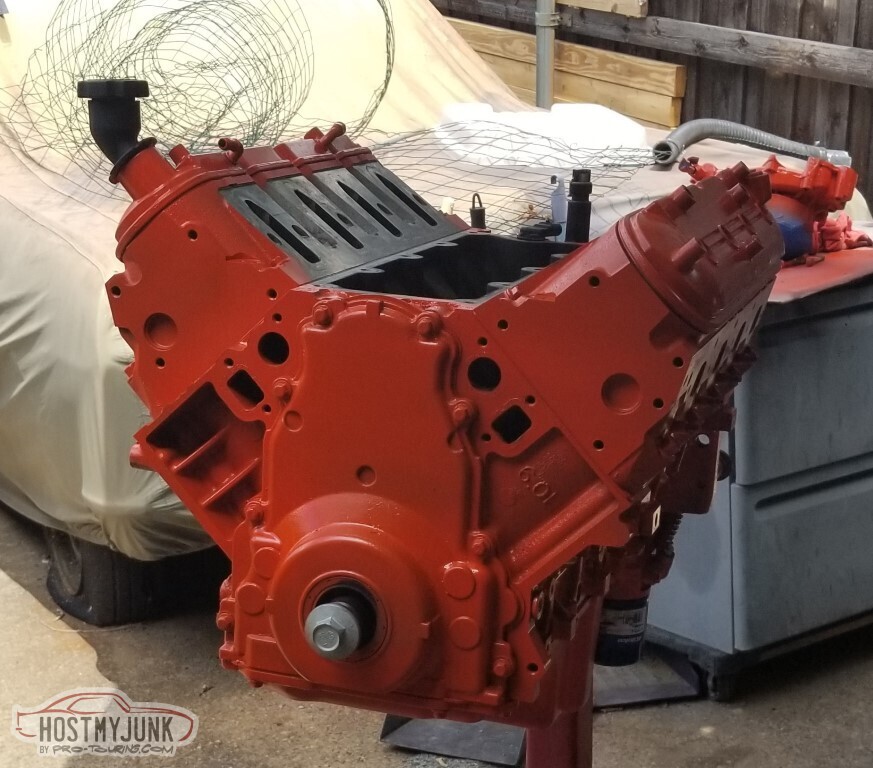
I sprayed a coat of the SPI epoxy sealer before the orange, so hopefully it'll hold up better.
These are the donor motor's plugs.
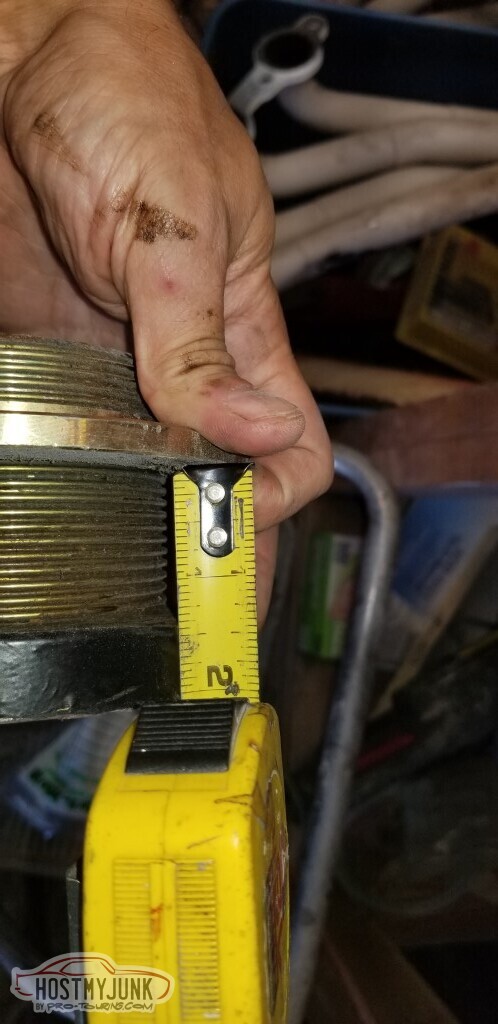
I am not quite sure what has happened to this motor. Both the front and rear plates are non-stock, but the bores still measure out at 4". The rocker arms were torqued way down for some reason.
Pilot bearing installed.
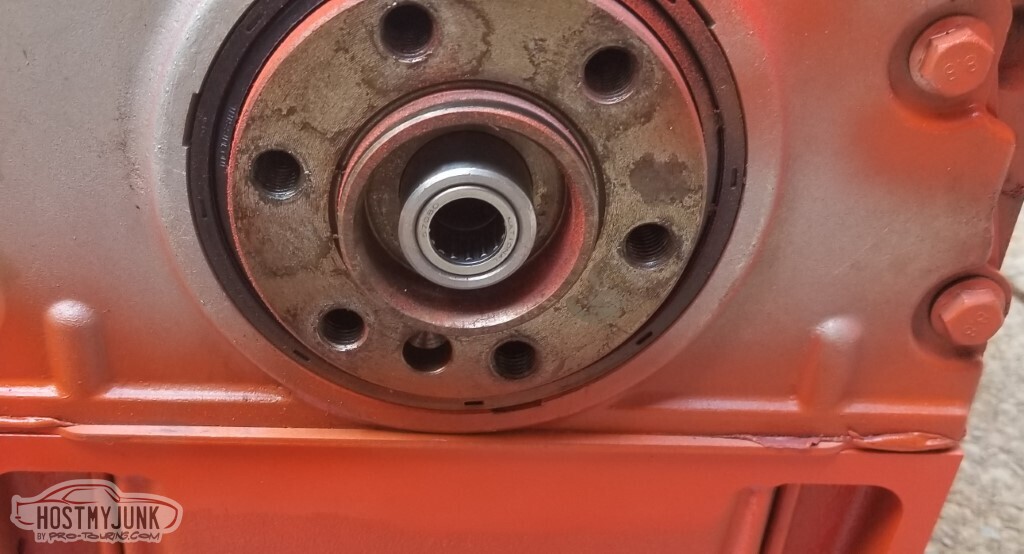
Just like back in post 23 https://www.pro-touring.com/threads/...58#post1358458, I had all sorts of trouble getting the clutch to align. I think this was disassemble-and-reassemble number four.
Eventually, of course, I was successful. I came about this close to having the original flywheel surfaced and ditching the dual-disk. I think I spent about 7 hours in total trying to get things to line up.
And then I noticed something:
The cam card (pictured last update) says 0.625" lift on the intake and 0.605" on the exhaust.
The Summit springs say coil bind at 0.600".
Sigh.
New springs. The new ones are Trick Flow and support up to 0.660" if I want to get fancier.
Successfully swapped them out on the engine without pulling the heads.
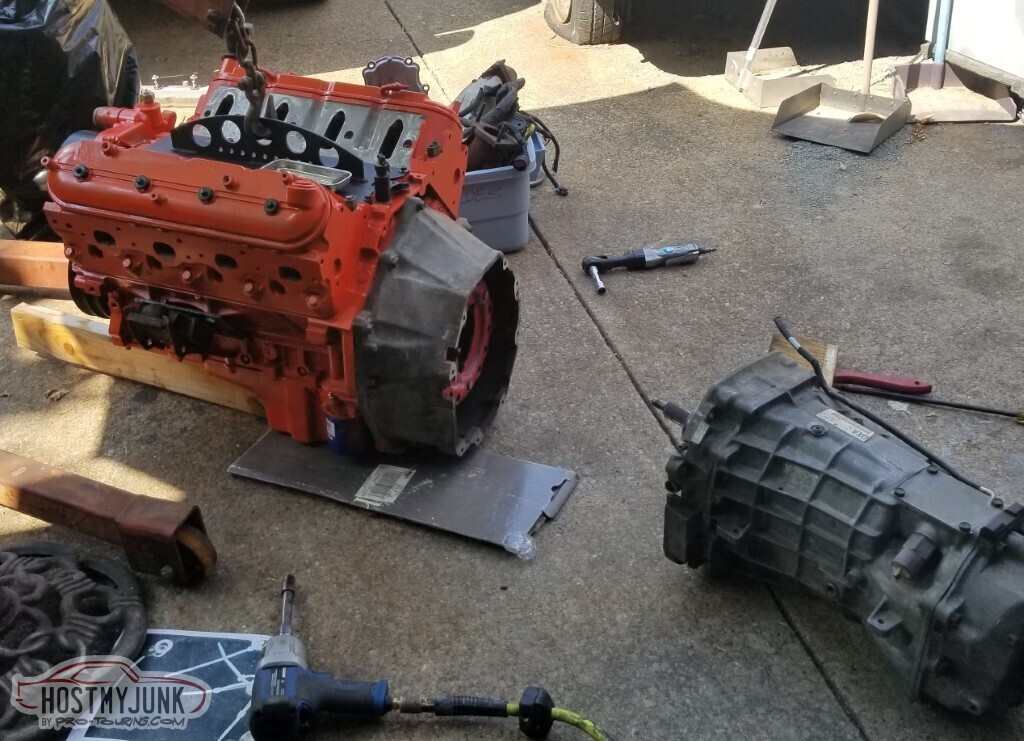
And then it was time to put the engine in!

And then it didn't line up. No matter how hard I tried, I couldn't get it to go far enough back.

It broke my fancy AC box that I made.
And the coolant temp sender. And the oil pressure sender. And dented the fuel line. And and and and. Sigh/
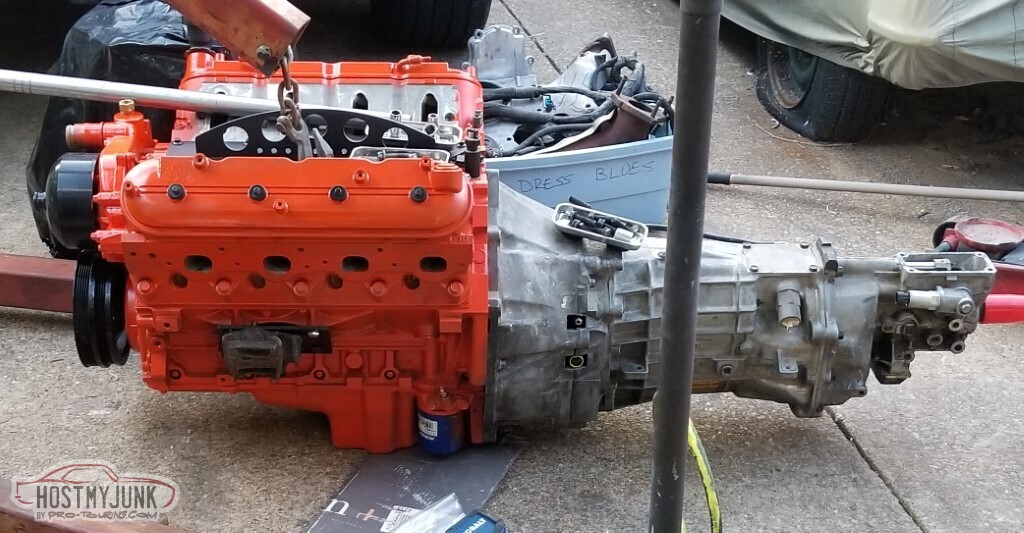
Then I compared what I was seeing with the pic of the old motor out.. well, carp. I put the mounts on the correct sides, but upside down - so it was putting the mount much further forward on the engine than it was meant to be.
Corrected, and mounted.
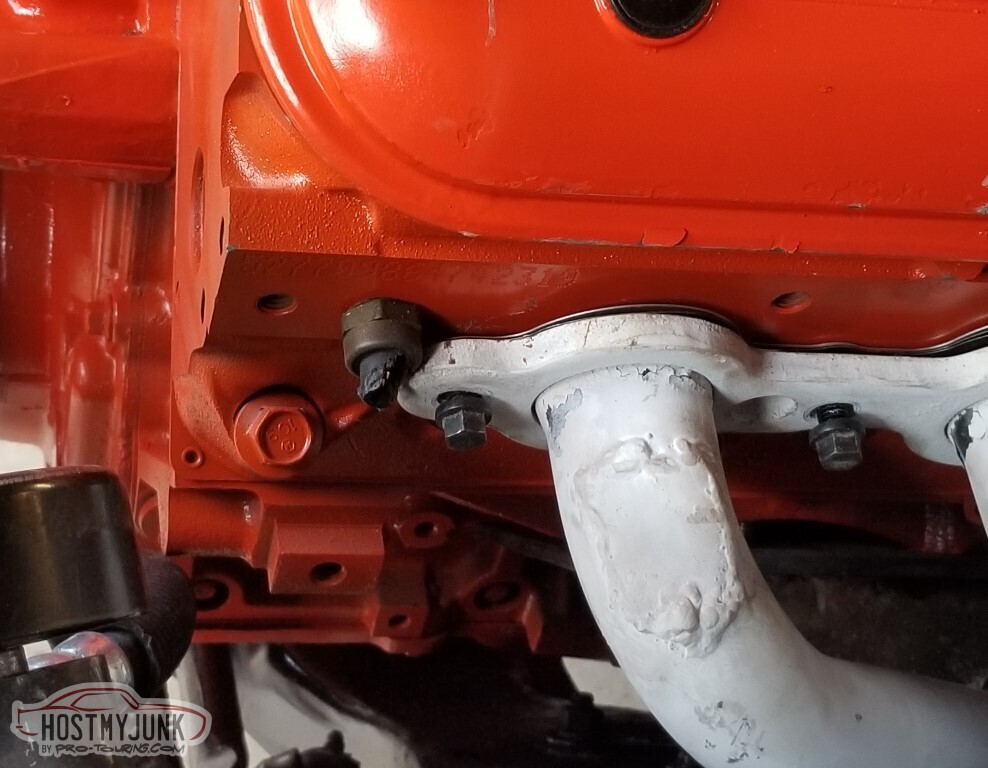
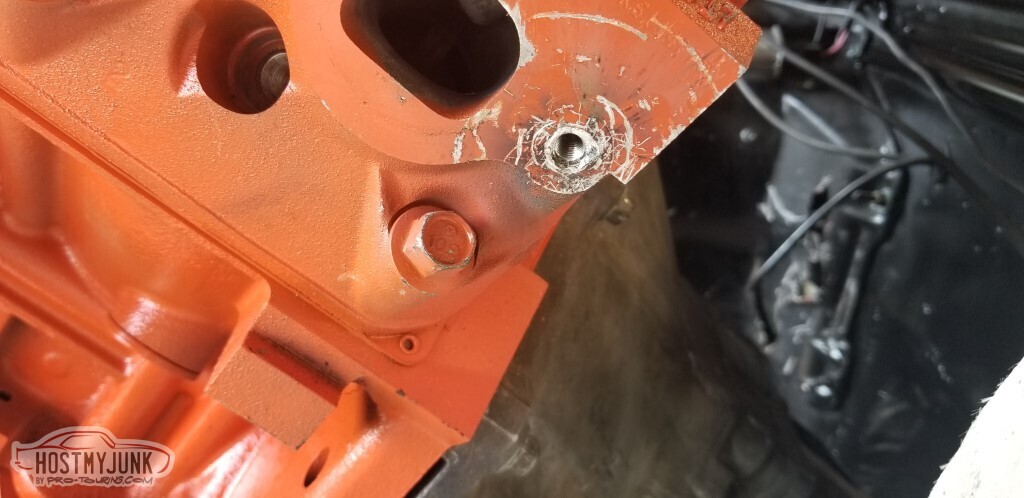
As you can see above, I started putting the headers on (and everything else).. but I couldn't get the backmost bolt on the driver's side to start. Took a mirror-on-a-stick to it... and yeah, as one would expect, it's a broken bolt in that hole, because of course it is.

With a welder and vice grips, I was able to get the bolt out. Only scratched the paint up a little. Also you can see the damage to the AC box in the background.
AC box must be fixed before I go forward.

It's not perfect (the bottom edge never was) but it'll do.
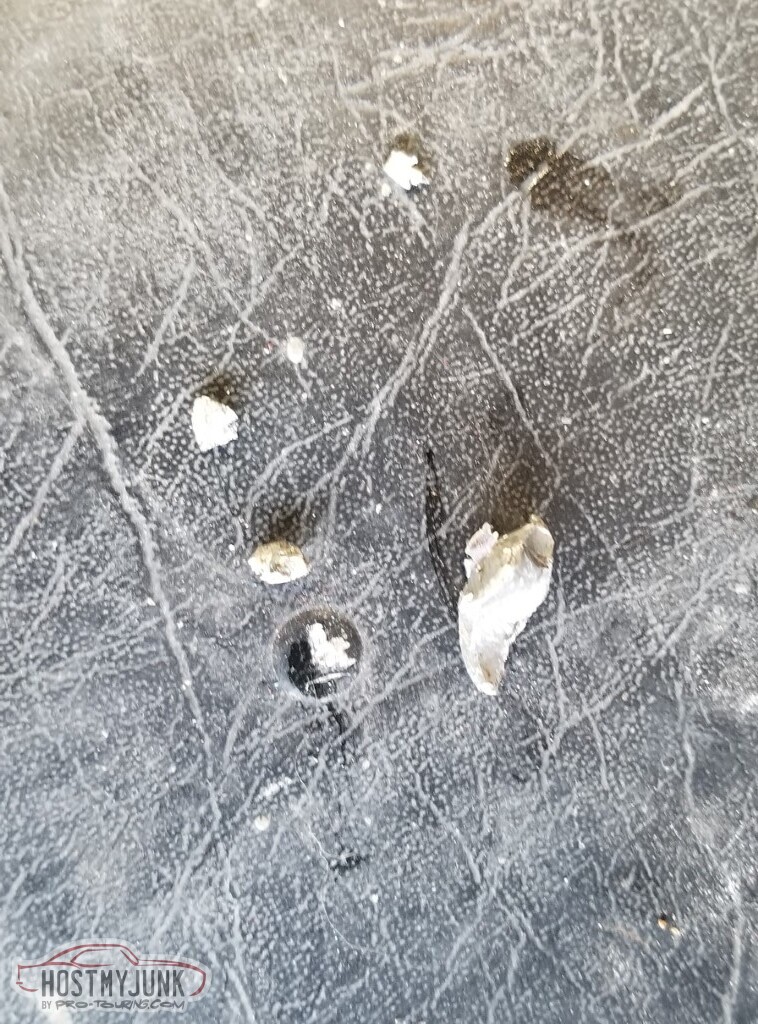
I cleaned the intake. When I shook it it would rattle, and with enough shaking I was able to get these chunks of piston out of it. Glad I looked!
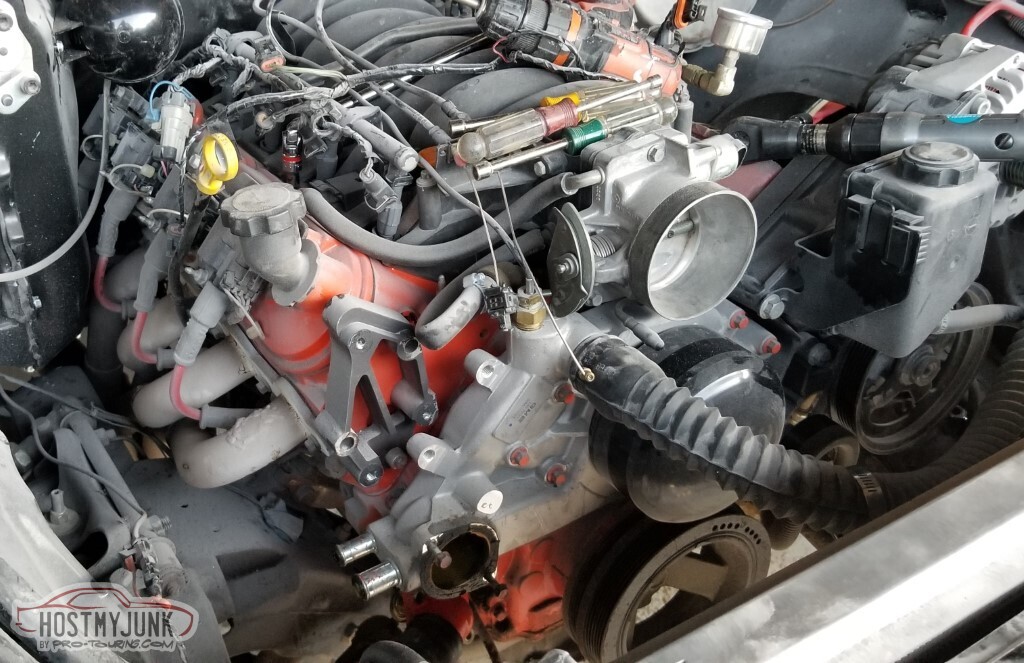
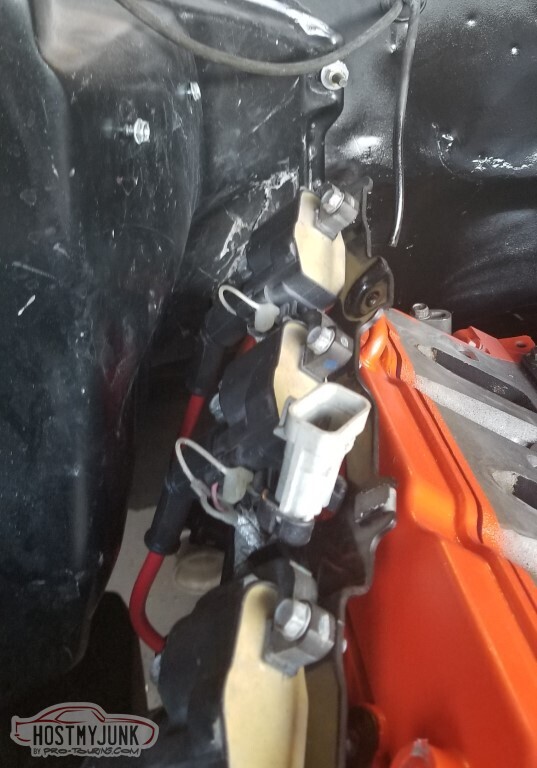
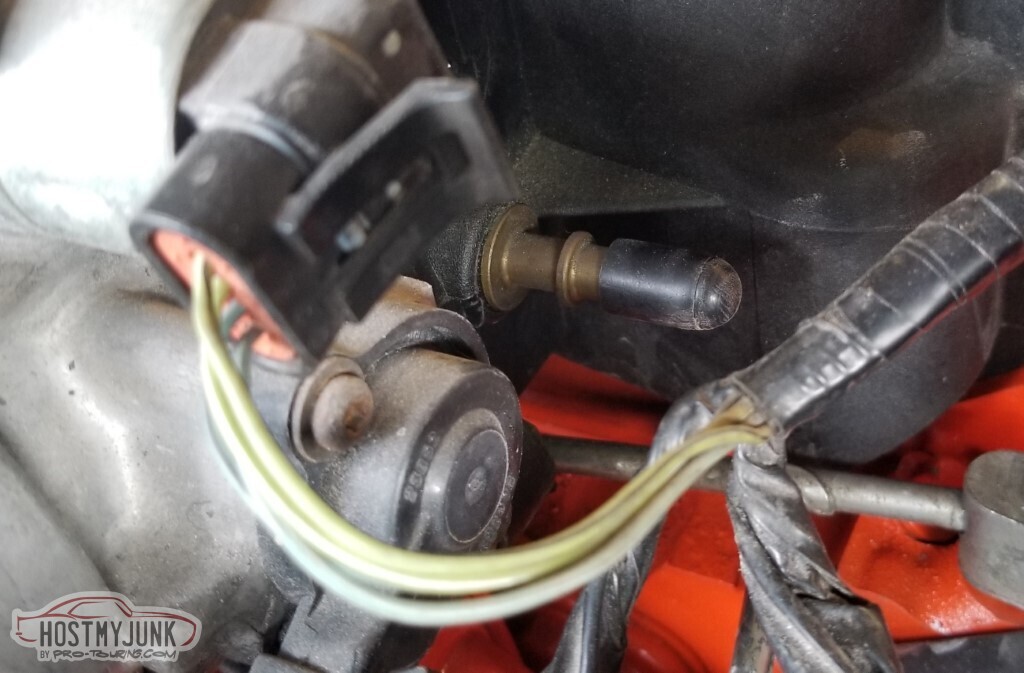
I'd started the cleaning with the intent of replacing the gaskets and injector o-rings to try and track down the vacuum leak.
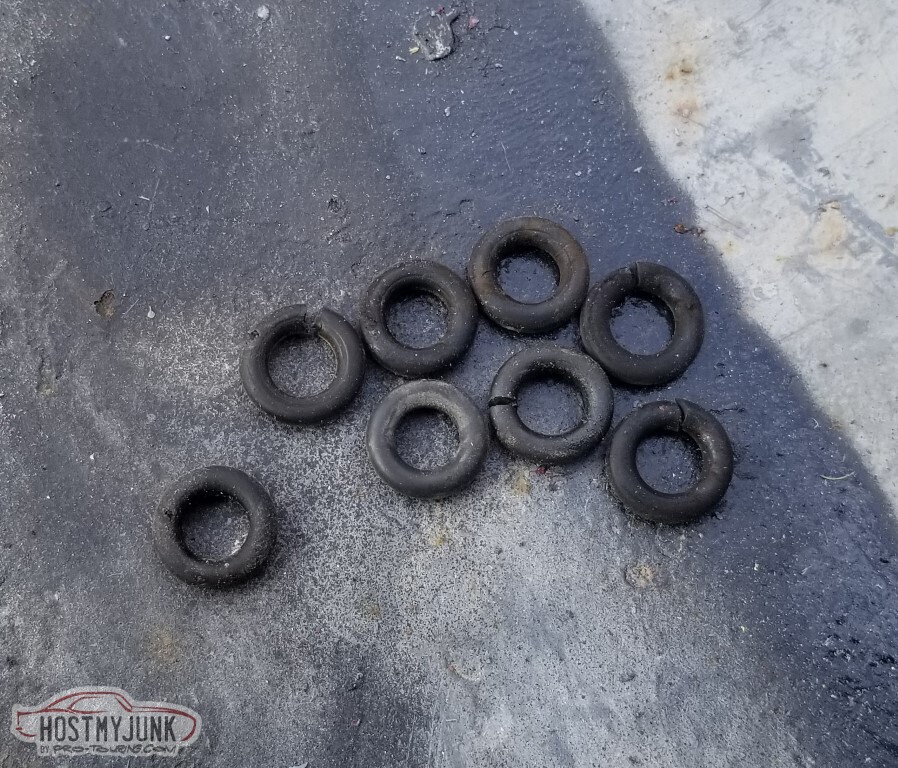
I actually found the leak when I was looking at the intake though. This port (circled) is open to the intake, and was not plugged.
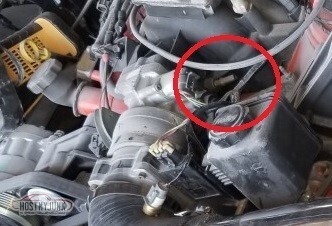
Yeah, that's not going to be a problem now.
Re-assembly continues. Ran out of daylight but it's close to fluids and first start. I am not quite sure why the wiring is so haphazard now; something is taking up slack I had before.
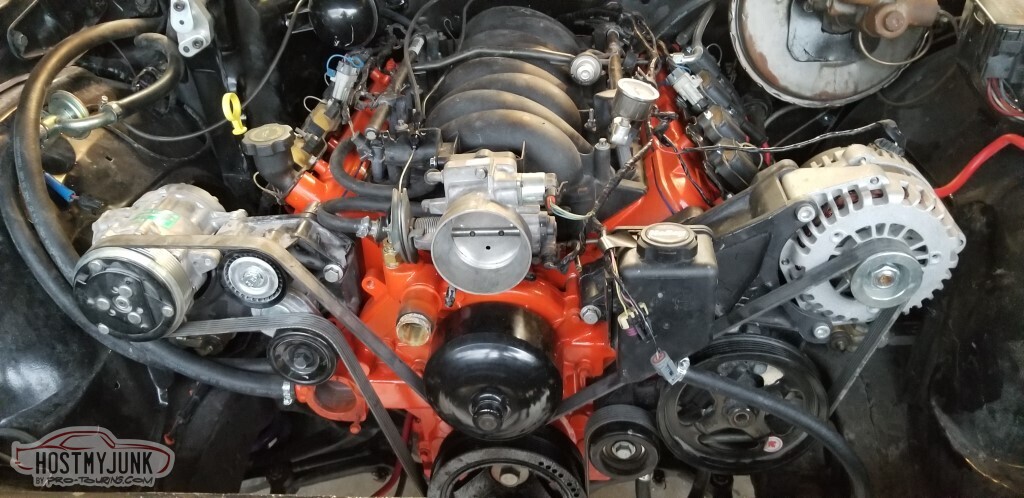
Hopefully there's not any more dumb. I think I've hit my quota here.
-
3 Weeks Ago #110
-ɹoʇɐɹǝpoW-
- Join Date
- Jul 2002
- Location
- Mesquite, TX
- Posts
- 4,929
<Three months pass>
Issue 1: Assembled the motor, pulled the fuel pump relay and spun the motor to get a pre-lube on it.. no oil pressure. (this whole oil pressure saga can be read here if you like)

Assuming I did something wrong here. Also - a hearty "f. u." to the folks at Holley who decided allen-head cap screws were the right thing to attach their pickup to the pump - you Can Not get these out with the pan in place.
Initial assumption was that I pinched or forgot the o-ring here, so needed to disconnect the pickup.

If you unbolt the motor mounts and lift with the hoist, you can get the pan off. Or at least I could; your mounts and crossmember will probably be in different places than mine.
Pickup was fine. Verified that there's no trash clogging the mesh on the other end of the pickup, nope.
Bolted it back together, still no pressure.
Poured a cup or so of oil directly into the driver's side gallery to prime the pump, still no pressure.
Swapped from the Escalade pump back to my pump that had been on the LS1, still no pressure.
Suggestion came in: Raise the back of the car as high as possible and overfill the oil.
Bam. We have pressure.
Next up: I was idling high with the LS, and now again with this one I'm having the EXACT SAME ISSUE.
This one is also chronicled here for the full detail
I started with the whole vacuum leak thing, and waggled an unlit propane torch around everyting while idling, looking for something to change. Nothing did.
An initial capture with EFILive (because that's what I have) showed the IAC gradually moving to zero. Here at 310 and I'm idling at about 814 rpm.

278, about 15 seconds later. RPM is up to 1500

IAC goes to zero, RPM goes up to 2200.

It just doesn't get better; RPM now up to 2486.
I could hear a sucking sound as the IAC closed and the RPM went up. Don't know what that was about.
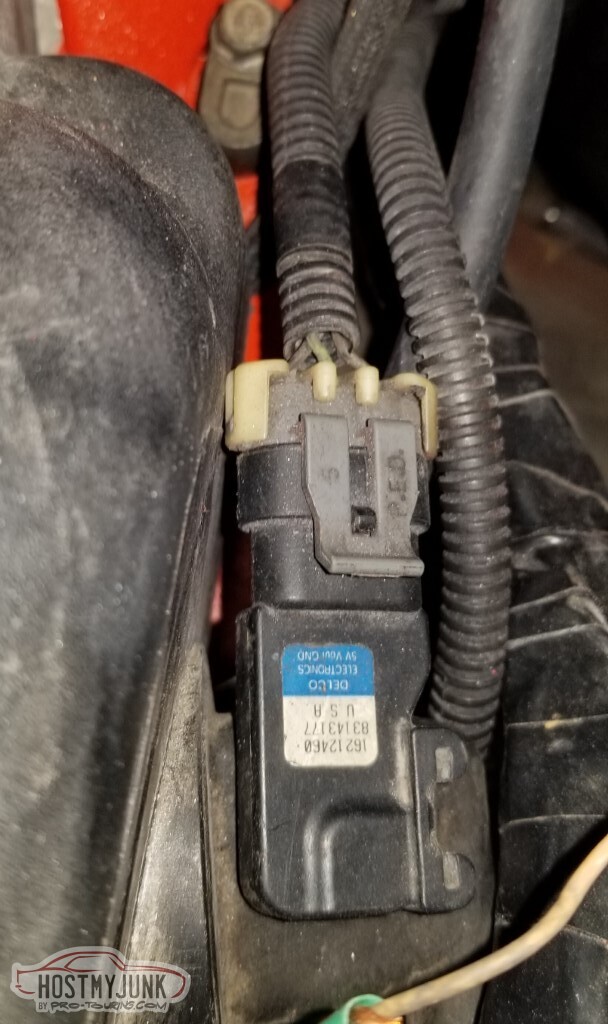
Did notice something odd though: my MAP was consistently 1.5PSI through this (and also if I turned the car off). Let's troubleshoot that.

Well, certainly looks like I didn't forget to put the MAP sensor in.
Step 1: Throw money at it (bought a new sensor). No change.
Verify the wires. Access is very limited. 12v is 12v and ground is ground, no issues there.
The signal wire, however, shows an open.
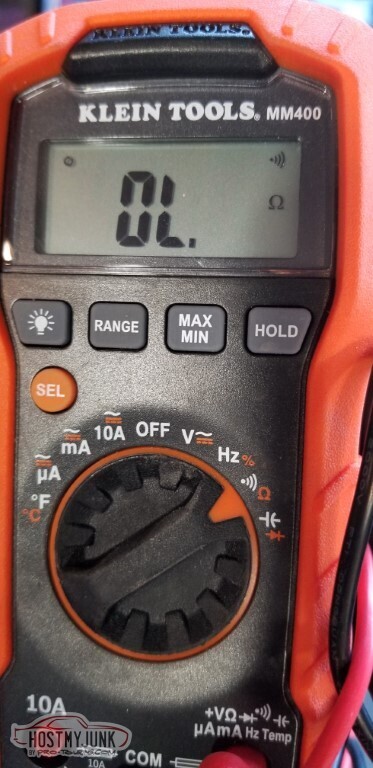
Oh. That would explain it.
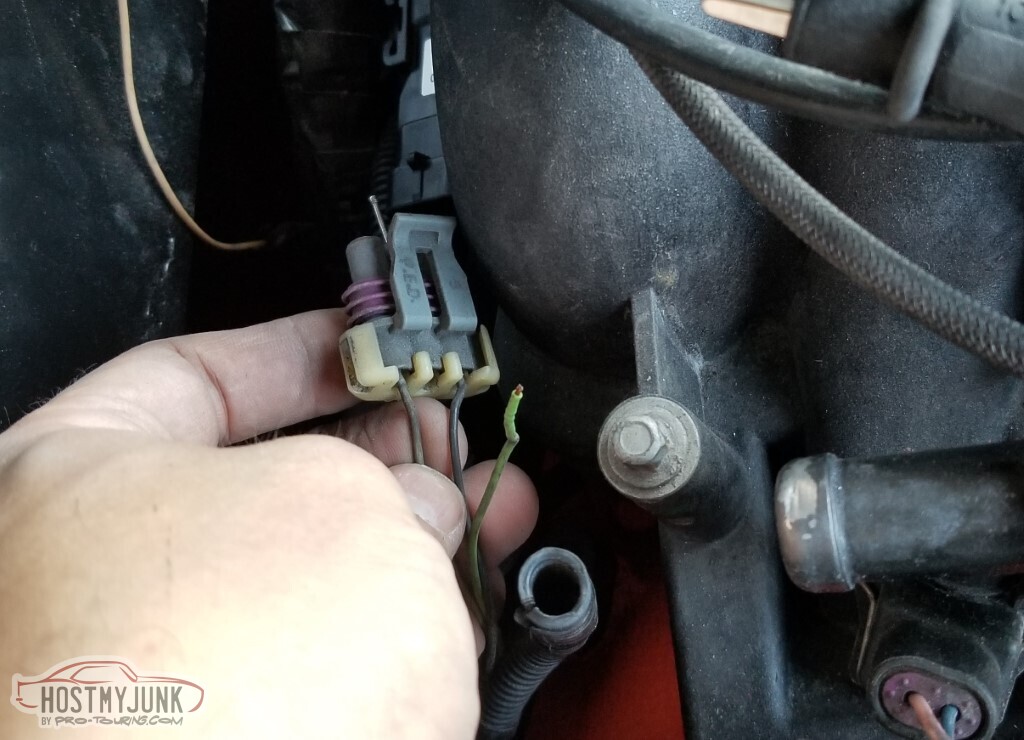
Replaced the connector.
Well, MAP values are more realistic now, at least. I'm still at 2129 RPM and IAC at zero, but MAP is right. So next up is to validate the wires going to the IAC (sorry, you get no pics here).
Verified the four grounds for the ECU.
On the IAC: Pins 77, 78, and 79 to three of the four IAC pins showed between 0.7 and 0.9 ohms. Pin 76 (IAC Coil B High) didn't even have a wire in it.
Found that missing wire in pin 76, and now everything idles correctly. The sucking sound is gone too.
Still running rich though.

Here a family member had a medical issue and I didn't spend much time in the garage for a month or so.
There's not much left to do. Interior is next up, because almost everything remaining is there.
Mounted the trim bit above the glovebox.
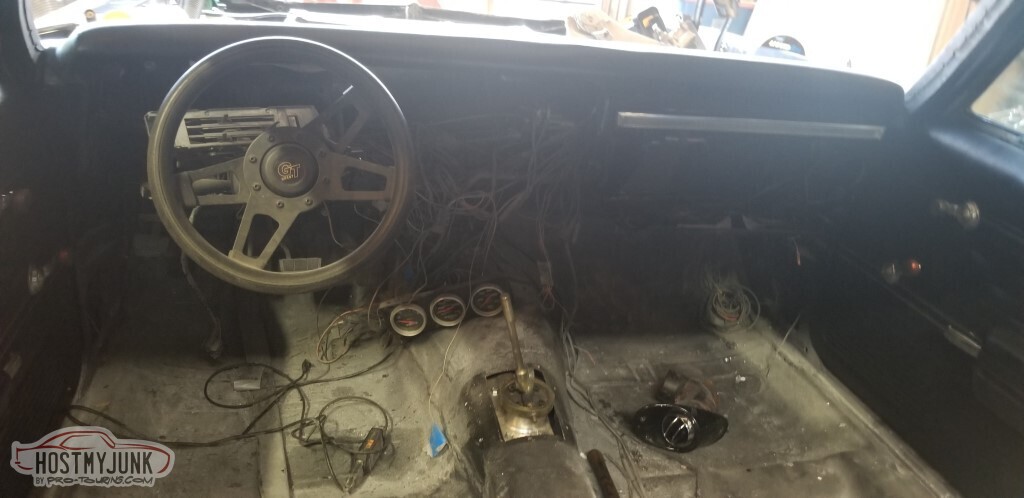
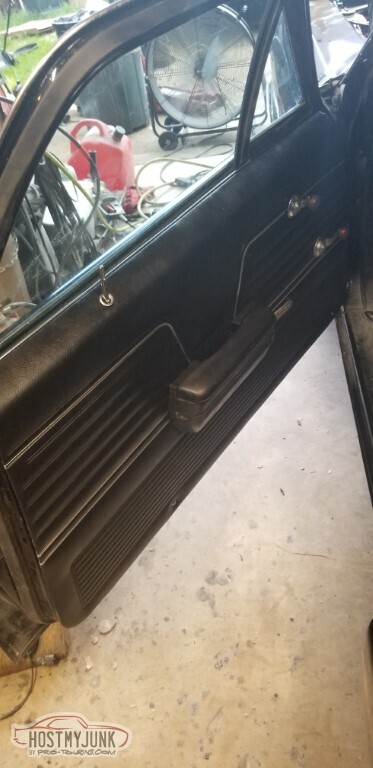
Mounted door panels.
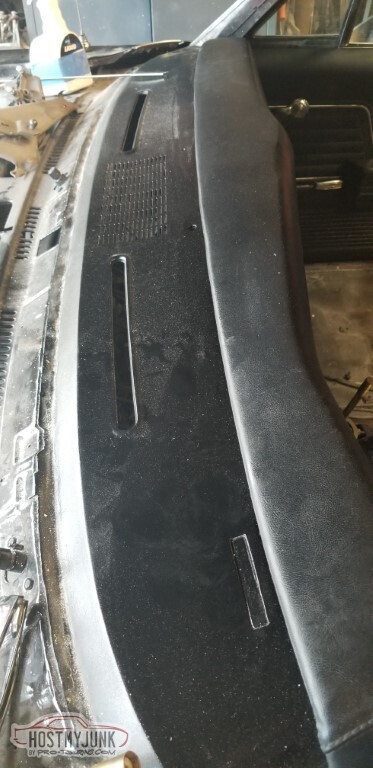
Mounted the dash pad. You can see the holes for the light sensor and the LED - I'd broken the LED trying to get it to fit (the paint closed the hole up a little).
I had to resolder the LED to the carrier to get it to work again, and also open up the hole a little.
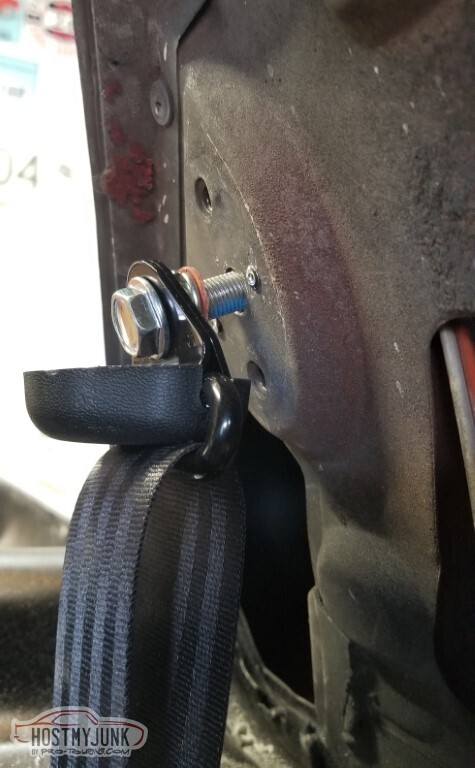
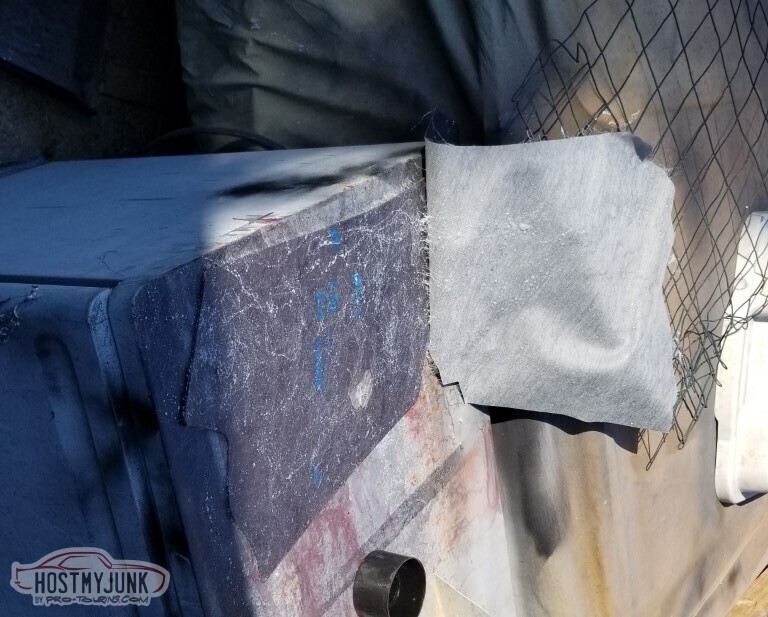
I'd bought shoulder belts years ago when Pep Boys stopped selling parts and put everything on clearance. Wasn't sure how I was going to mount them, I ended up taking some 3/16" plate and drilling/tapping for the bolt, and popriveting it in behind this bulge. The bulge is for the factory shoulder harness so should be beefy enough.
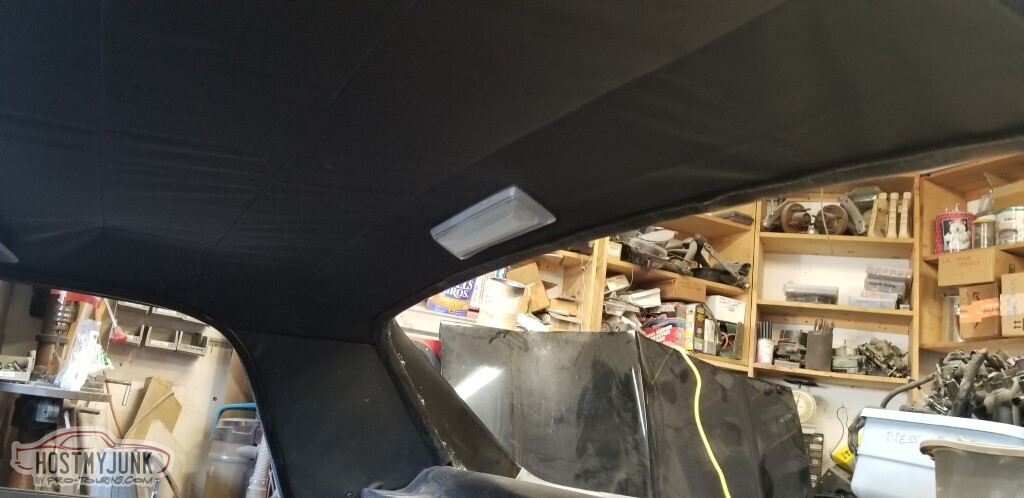
Headliner material goes on the sailpanels.
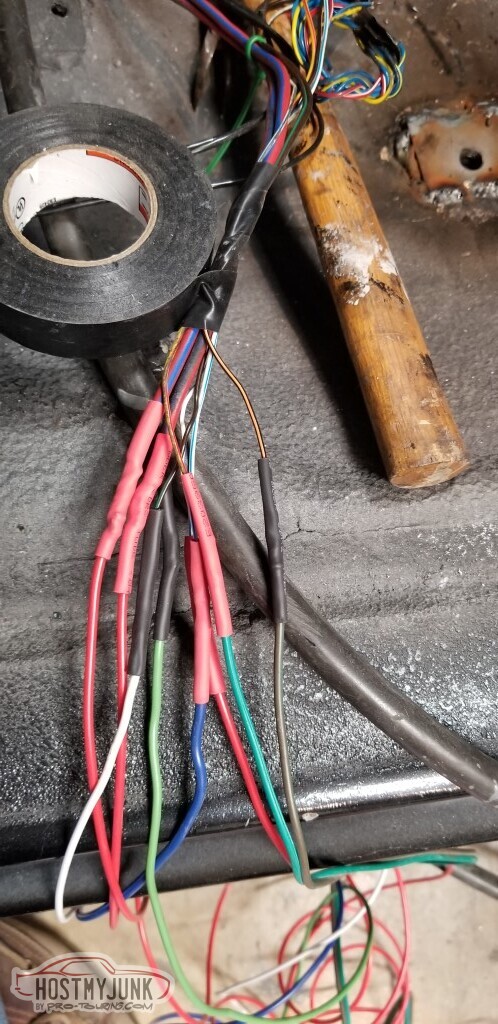
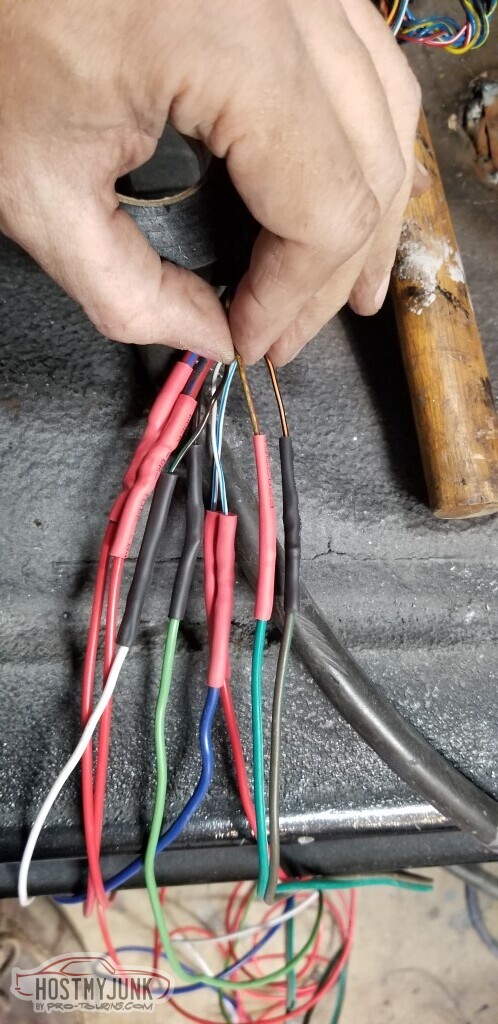
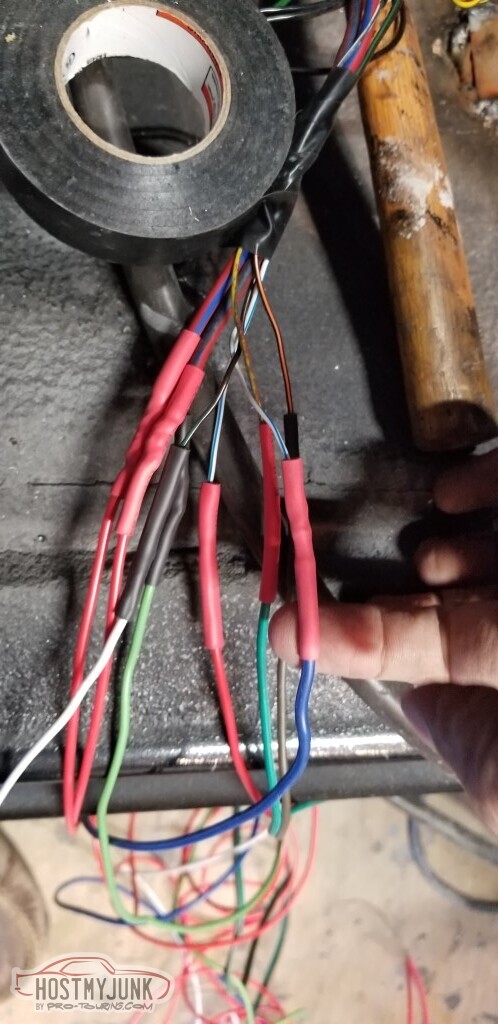
A bit of work on the wiring, trying to get it straight. It's still a mess.
Replaced the LEDs in the dash with some that are made for cars - they've got arrows and check-engine lights and highbeam indicators and the like.
Looks like my dash ground and the BCM ground are not the same ground though; the turn indicators are glowing.

Speedometer shows zero miles (which is accurate)

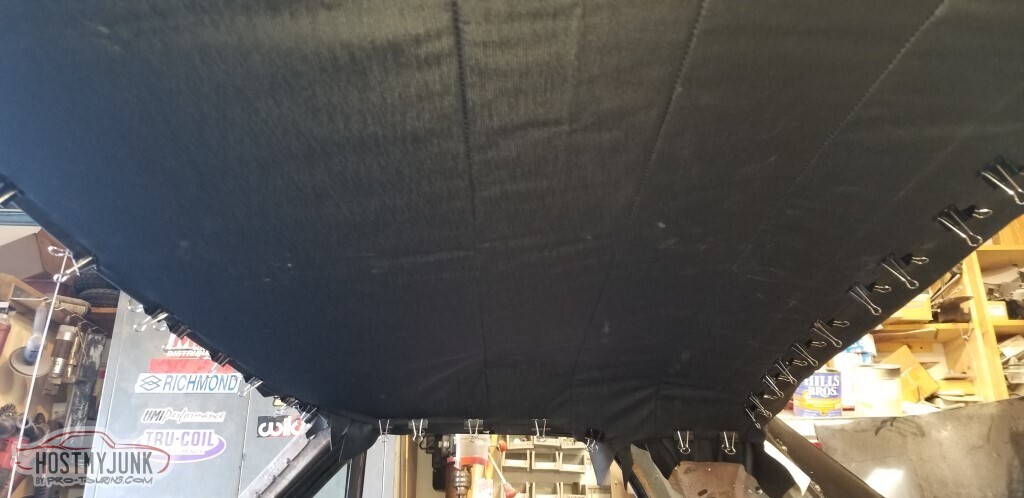
Time to move on to the headliner. Gulp.
Rods installed into the sleeves. Harder than expected.

I probably should have worked a little longer at stretching the headliner. Hopefully the wrinkles will work themselves out.
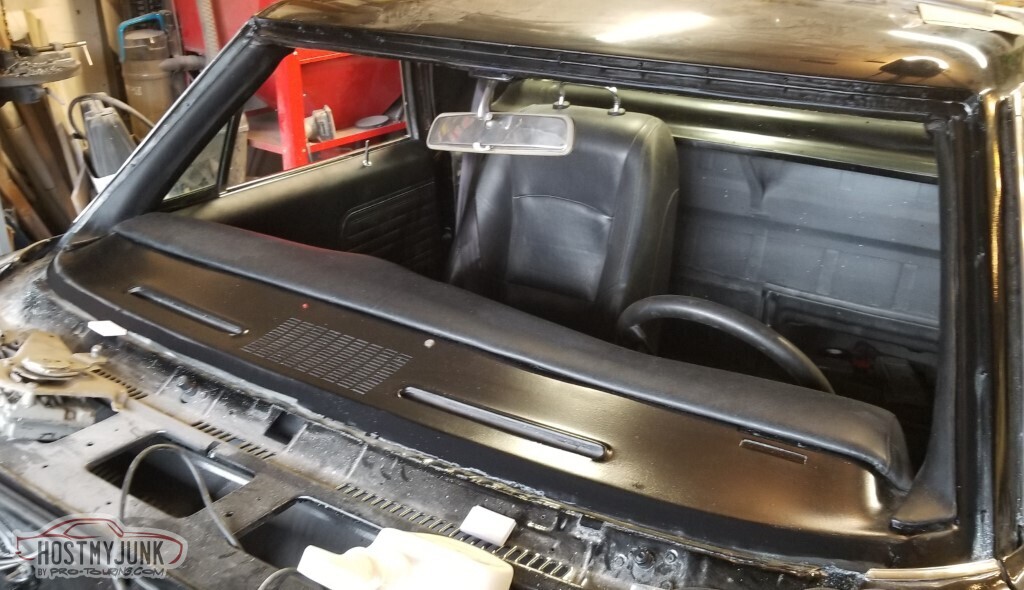
Visors, rear-view, pinchweld trim installed.<br><br>Not pictured: I painted the pinchweld trim.
Visors are new.
[IMG]https://j.hmjimg.com/2024/04/19/2212030026.jpg[/IMG
Starting to look like an interior.

This will do.

Dash is assembled, except for the AC controls (which I have to do in place).
It's going to be very crowded in there.
I need to get seats (she's approved late model Camaro seats), windshield, and carpet.
The exterior door locks are very hard to turn so I need to pull the door panels off and see what's going on there. Also still need to install the wiper motor (which I'll do once there's a windshield).Last edited by derekf; 3 Weeks Ago at 10:48 AM.
-
3 Weeks Ago #111
-ɹoʇɐɹǝpoW-
- Join Date
- Jul 2002
- Location
- Mesquite, TX
- Posts
- 4,929
Dome light installed. I'm hoping a lot of these wrinkles work their way out once the car is outside.
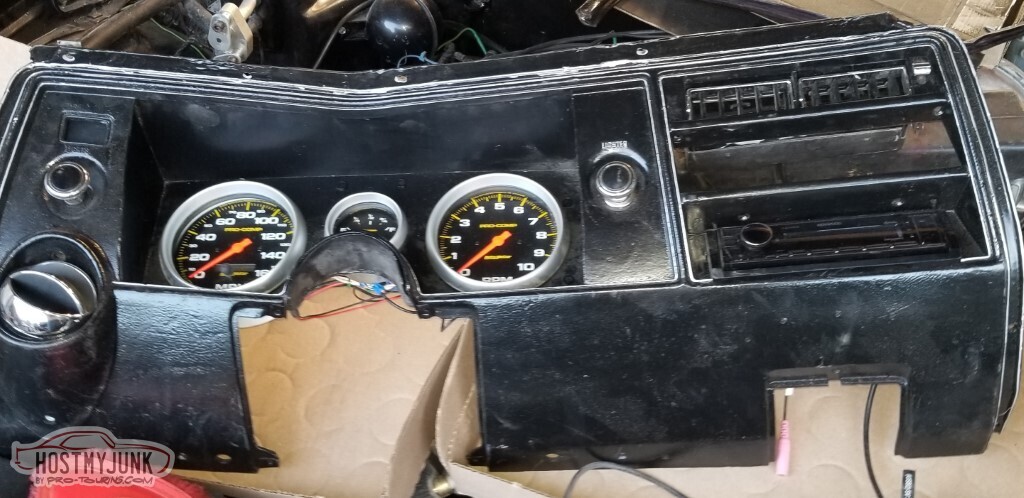
Dash is mounted. This was a pain - there's a lot more behind there than there was in the factory layout.. but it is done.
And really really dusty.
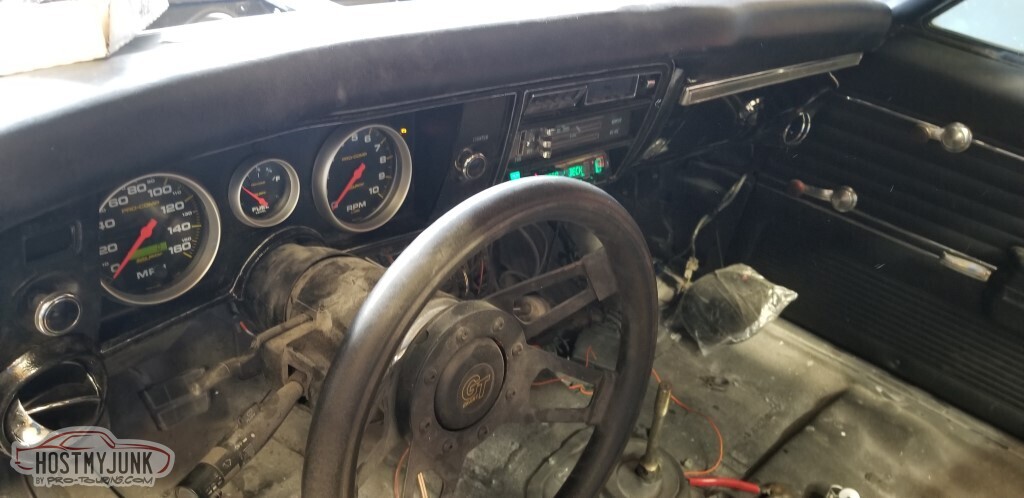
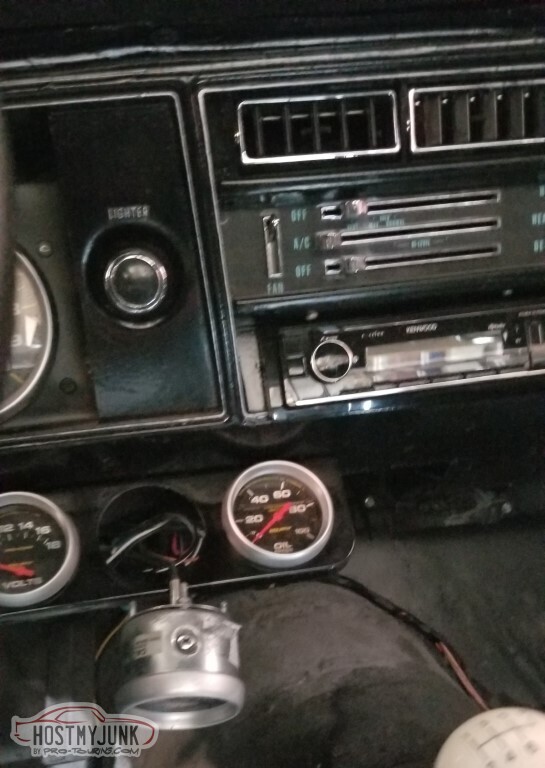
With the dash installed, it's time to verify functionality:
- Cigarette lighter: works
- Tachometer: works
- Speedometer: assume works
- Fuel gauge: works, and says I'm almost empty (probably accurate at that point)
- Stereo: Works
- AC controls: All the fan settings work; can't test the AC part until I have an AC to control.
- Ancillary gauges: work, I've lost some of the fluid from the fluid-filled gauges and will need to add some.
- Instrument panel lighting: does NOT work
- Parking lights (via headlight knob, DRL off): do NOT work
- Parking lights (via DRL): do NOT work
- Driver's side turn signal/brake light: does NOT work
- Headlights, both via switch and via DRL: work
- DRL disable with parking brake on: yes
- Turn signal, hazards: as noted above, otherwise work
- Reverse lights: work
- Dome light: both via HL knob and door opening: work
- Dinger with lights on and door open or key in and door open: works
So:
- HL switch doesn't turn on park lights with key off or on
- HL switch doesn't enable dashboard lights with key off or on
- DRL doesn't enable park or dashboard (even if it's dark)
- Driver's taillight doesn't work
Started with pulling the appropriate fuses to verify they're good.
Fuse H/G2, Tail Lps is good
Fuse H/G3, Gauges, also good
Fuse E/F5 (IP Lps) gets 3.2v for some reason.
Next up - pulling the headlight switch out and tracing through what I expect to happen and what is happening.
(circuit numbers match the 2000 F-body circuit numbers):
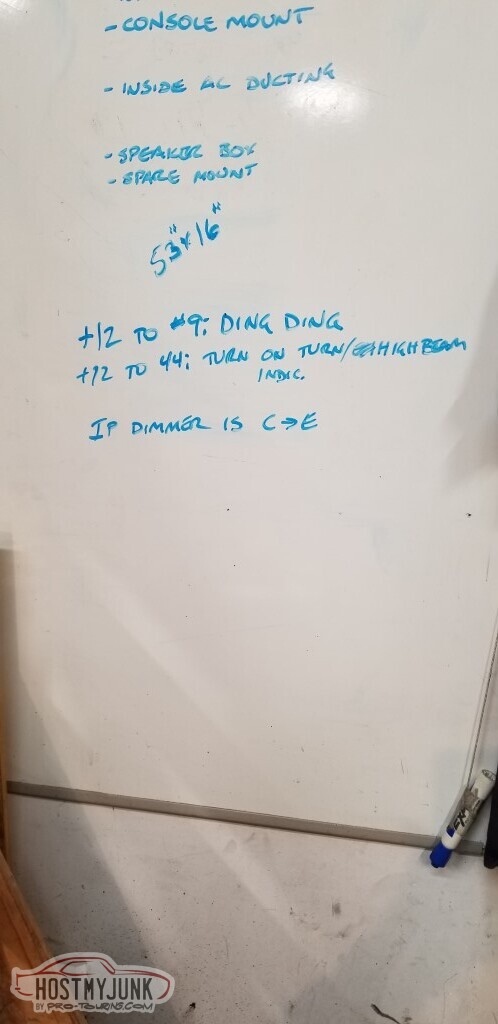
#9 is park lamp feed enable, providing +12v there turns on the parking lamps (and the ding-ding-ding)
#44 is IP light fuse input, giving +12v there turns on both turn signal indicators and the high beam indicator

So in my application (the malformed hybrid of a 69 El Camino and a 2000 Camaro):
A: Connect to ground to enable dome lamp
B: This is the main power-in to the switch.
C: This is #44, the dash light output. This goes through the dimmer rheostat.
D: (not connected)
E: This is #9, the park light feed. It's internally connected to D but that doesn't do anything since D gets no wire.
F: Headlamps out. With the switch pulled all the way out, this connects to B.
G: (not connected)
H: This is #240, "Fused Input Feed". When the park lights are on (switch in first or second position), it's connected to E and to then to C via the dimmer
This required some thought. Moved on to the driver's taillight. Bulb was obviously burned out. Replaced, still no joy.
Next day, more investigation: Pin B is constant power. Pin H is switched power.... so with ignition off, that explains why no power goes to E and C. Routed the power going to pin B to both B and H. Now the switch does enable park lights and dash lights.
The driver's taillight has the park light but not brake.
Dash still has the turn/high beam lights on now, and when I enable park lights the tach/speedo/fuel gauge basically turn off. Check the ground: it's not connected. Fixed, and that took care of both the dash light issues AND the driver's taillight (don't ask why, I don't know).
Passenger front park light doesn't flash with flashers. Pin was working free from connector, fixed.
Remaining issue: DRL is not enabling parking lights or IP lights even when it's dark out.

Confirmed that there is no output on pin C1-H (#9). Did not think to verify that there was +12 on pin C1-A, circuit #240. Instead decided that it must be a bad DRL module and went to my local salvage yard to get a replacement. Replacement has the same behavior. Next step: actually check #240, since it pretty much has to be the issue.
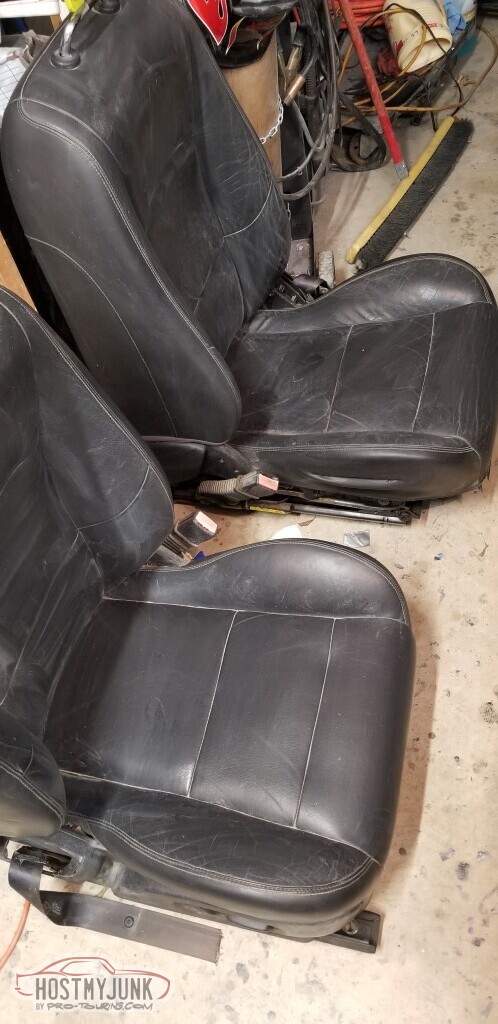
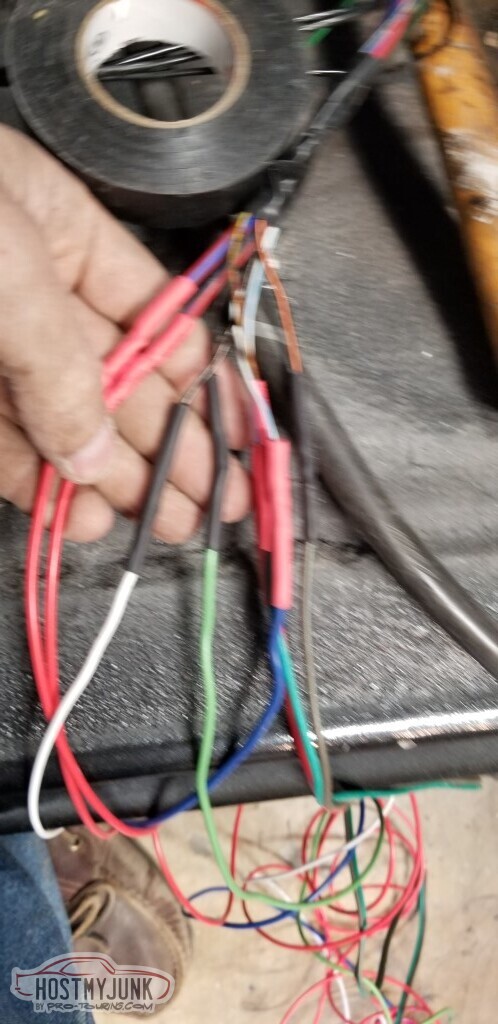
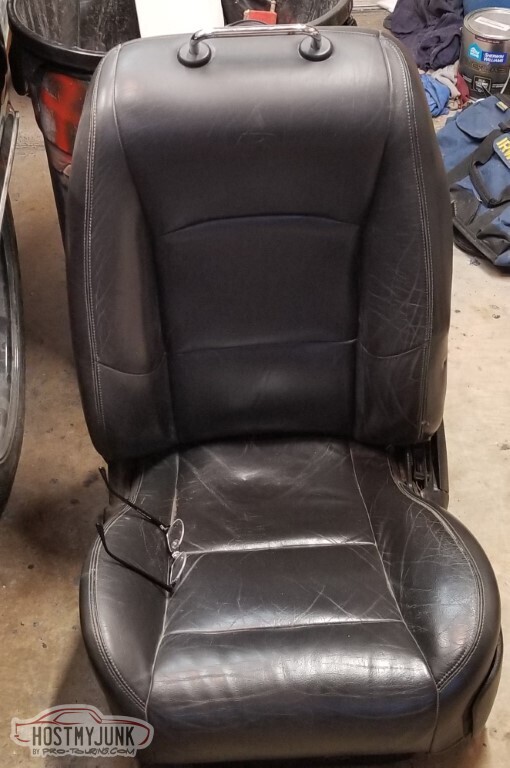
While I was making my way back to the donor for the new DRL module, I came across this "Jaguar S-Type R" (their high-end model for that year) with seats that looked to be in decent shape (remember that I need seats and glass to be a functional car)
I asked while paying for my DRL what they'd want for the seats: $150 for the pair. Well hell. Went home, grabbed tools, and when I started pulling them I noticed seat heater switches on the dash... bonus!
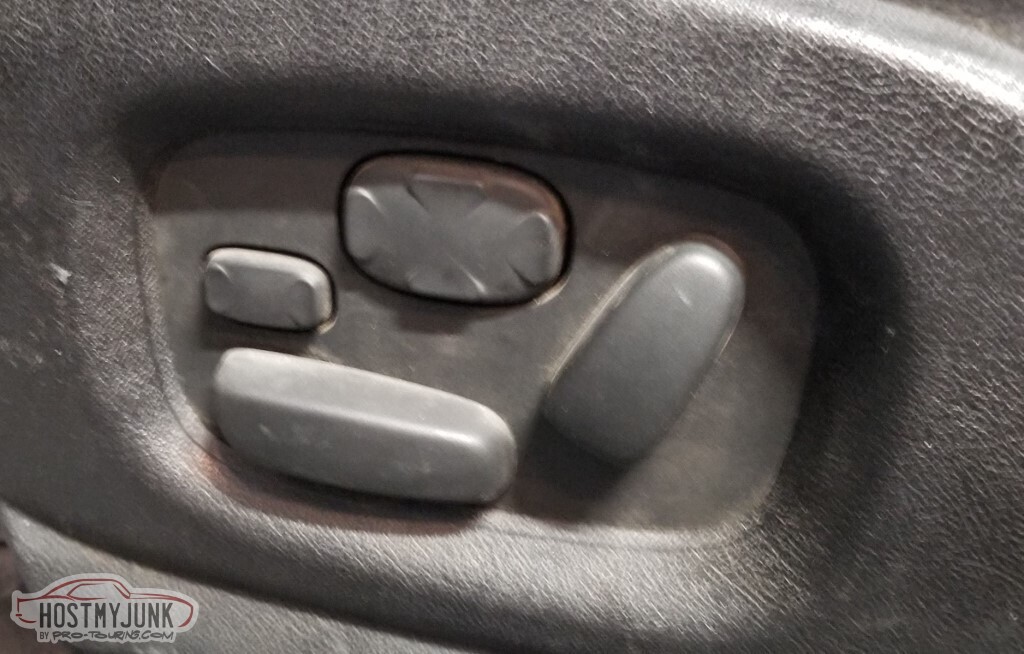
Pretty sure these are the 16-way movement seats.
I found a schematic online that reads like I can just give power and they'll work. I have a fear of just doing so though, I do not want to trigger the airbags.
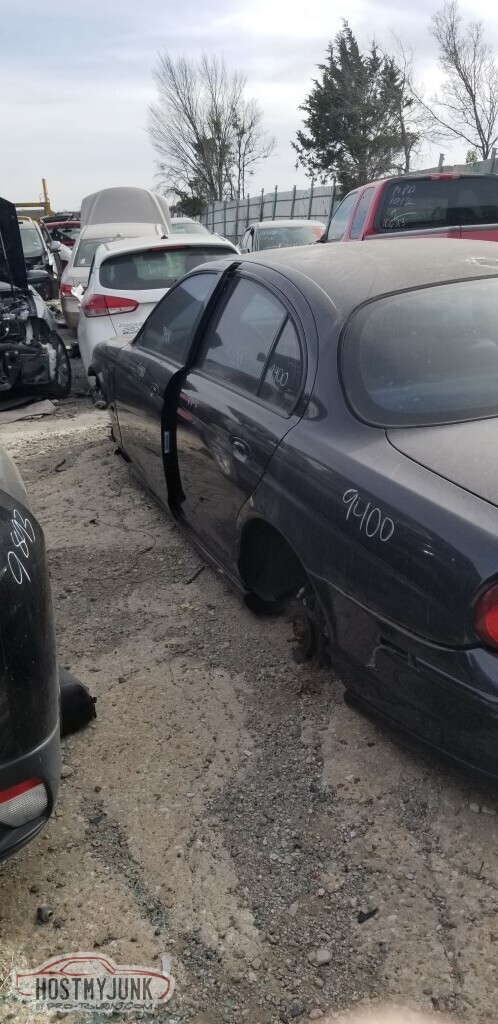
They are extremely dirty.
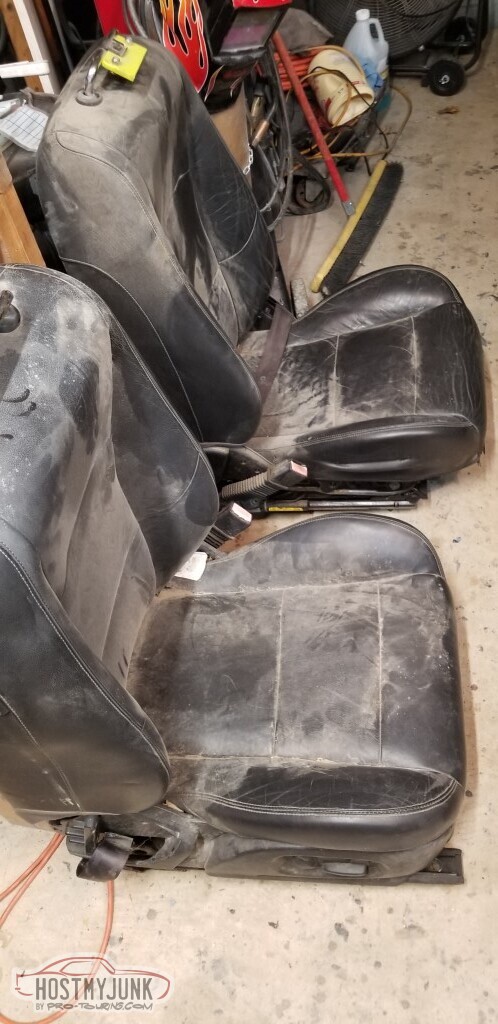
First pass with a damp cloth helped quite a bit, and several more passes to come as well.
Need to remove the remains of the seatbelts, figure out mounting, and get them wired up. Did get a long stretch of the wire from past the connector so once I get rid of the airbag wires it should all work great.
I suspect they'll get powered by the switched power that no longer is used by the headlight switch.
I am *relatively* sure that the "Driver Seat Control Module" is attached to the seat. I won't get the memory since that's in the door but I don't really need it - I should be the only driver of this vehicle.
They may also be the 10-way but the wiring is similar on that diagram.
Seat heaters look to just take momentary switch as input, and light up one of two LEDs as output - no CAN or SCP bus required.

I'm excited to get the seats in. Soon I'll need to order carpet too.
-
3 Weeks Ago #112
-ɹoʇɐɹǝpoW-
- Join Date
- Jul 2002
- Location
- Mesquite, TX
- Posts
- 4,929
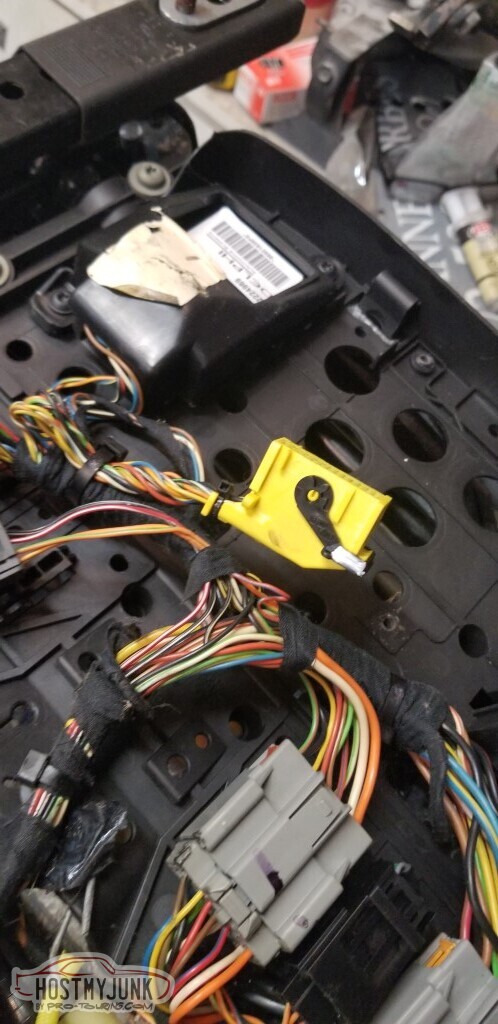
The upper two connectors are the relevant ones. The power requirements are high for the seats, so the grey connector at the top is just power for the motors.

This connected to the airbag controller. Certainly don't need that!
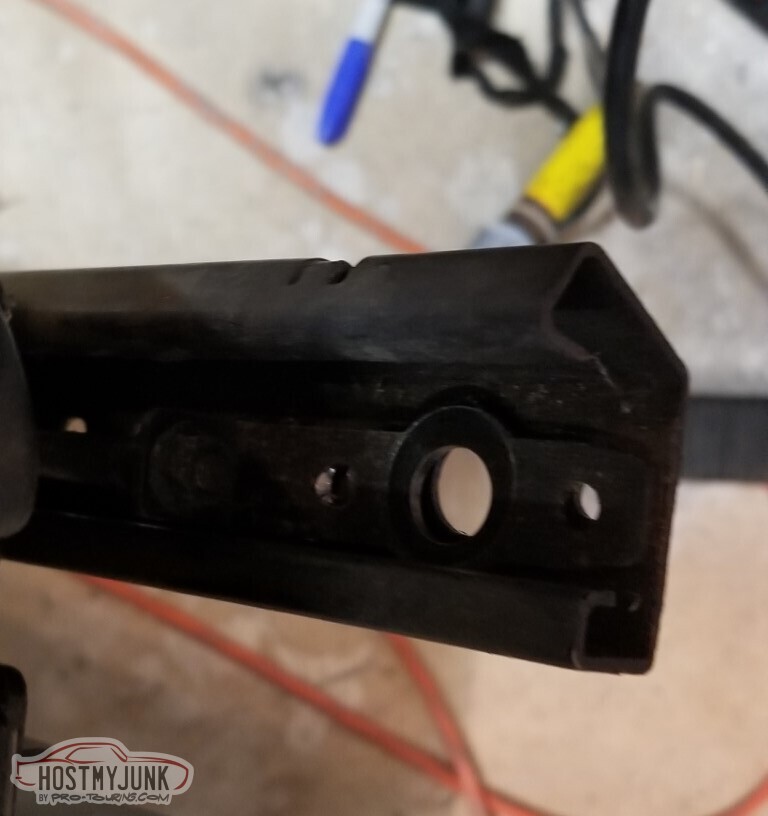
The front of the rails had this pin that located into the floor of the donor.
Hard to tell, but the plate with the pin is just riveted in here.
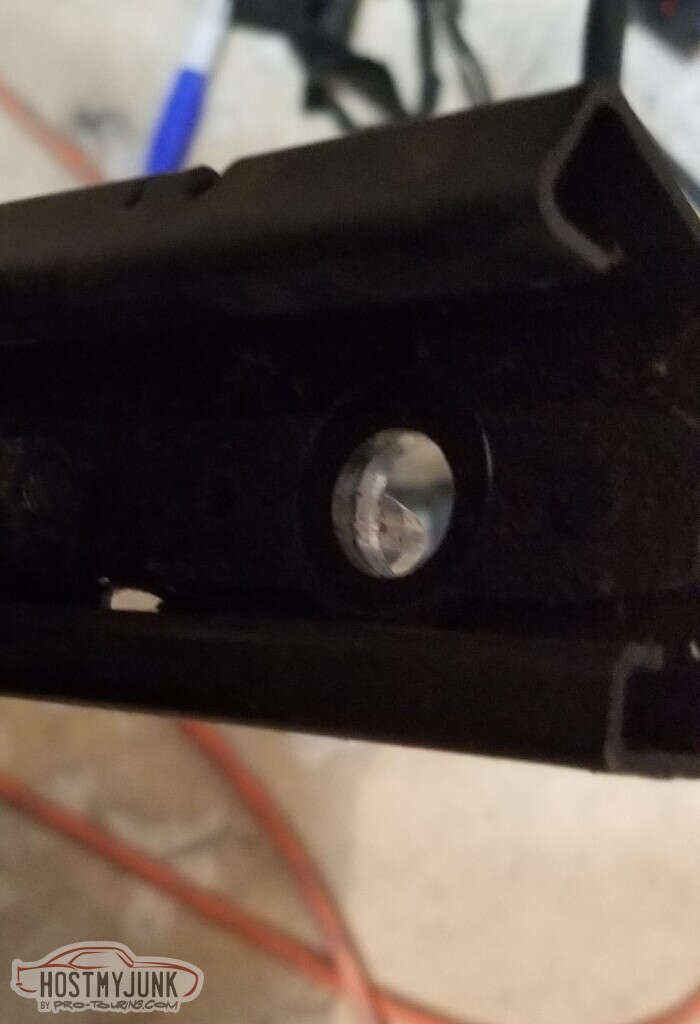
A drill will fix that.
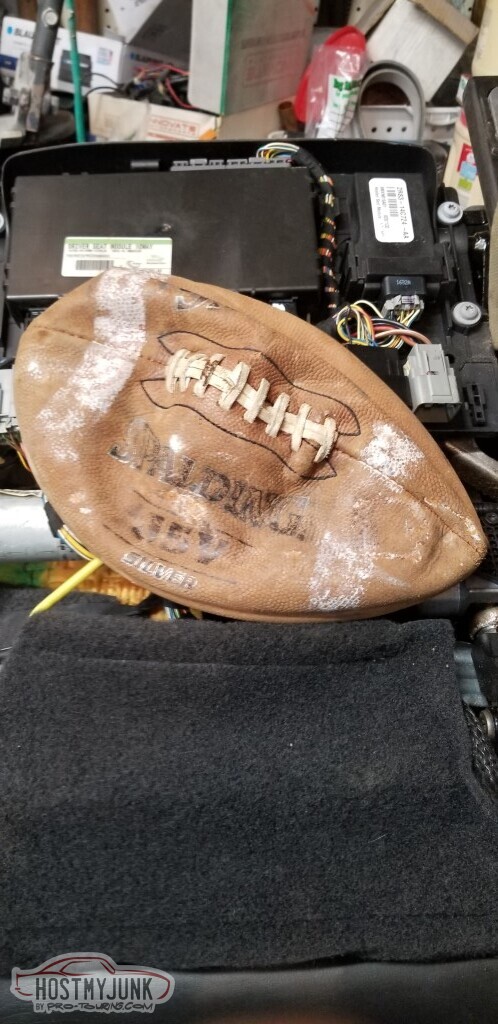
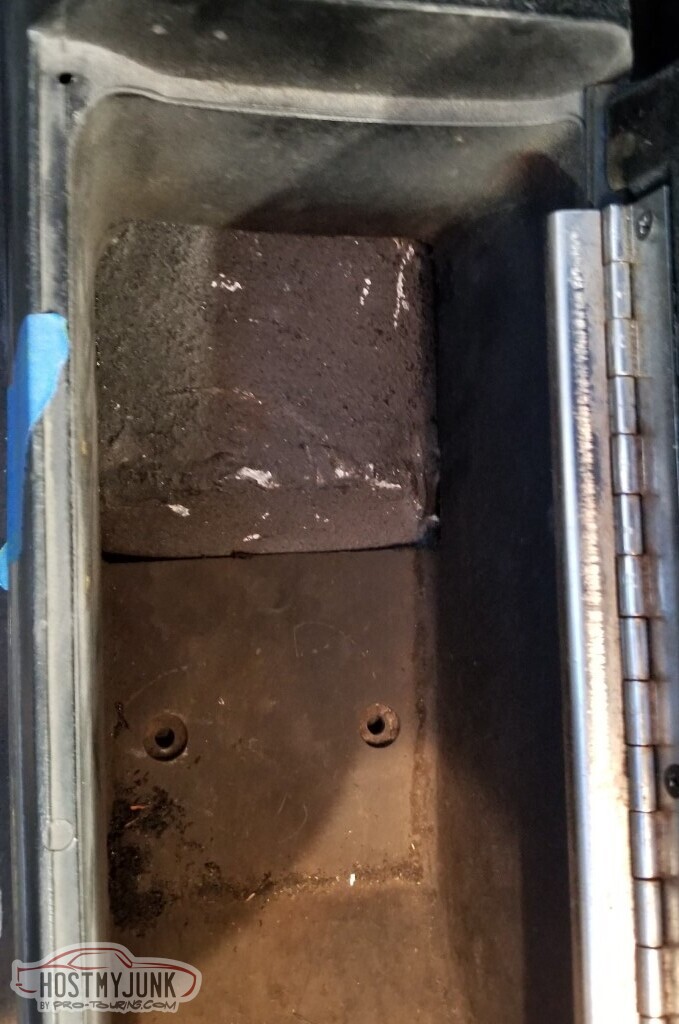
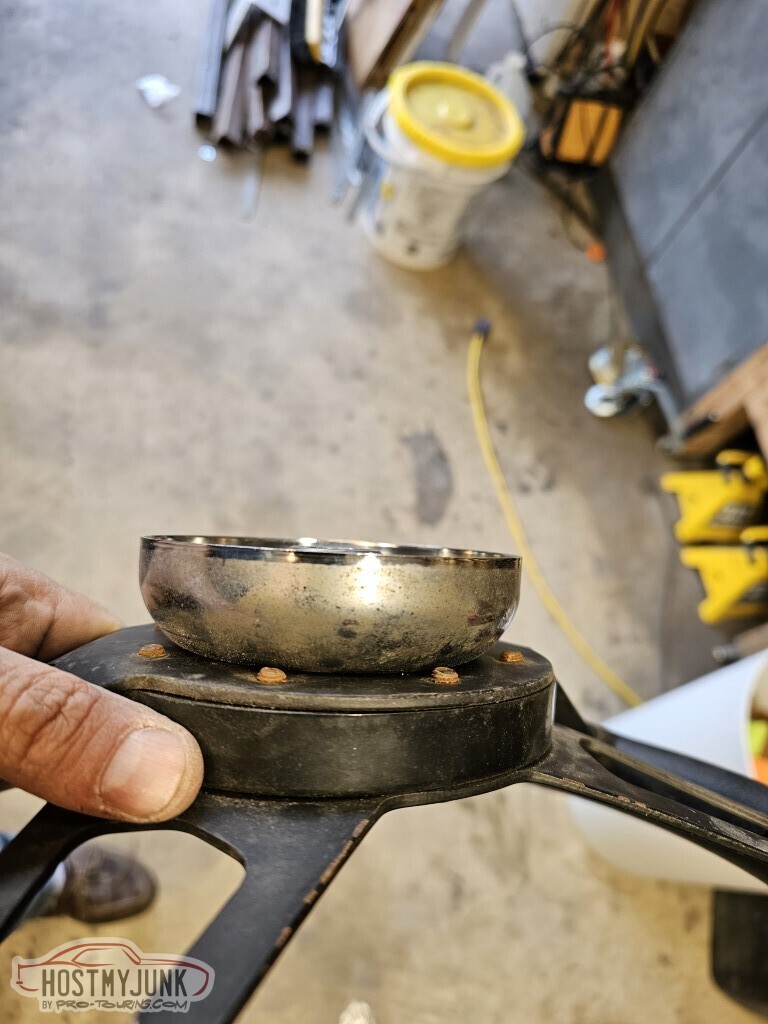
In cleaning up the seats, I found this football shoved up in the mechanism on the driver's side - whether it served a purpose or just got caught, I don't know.
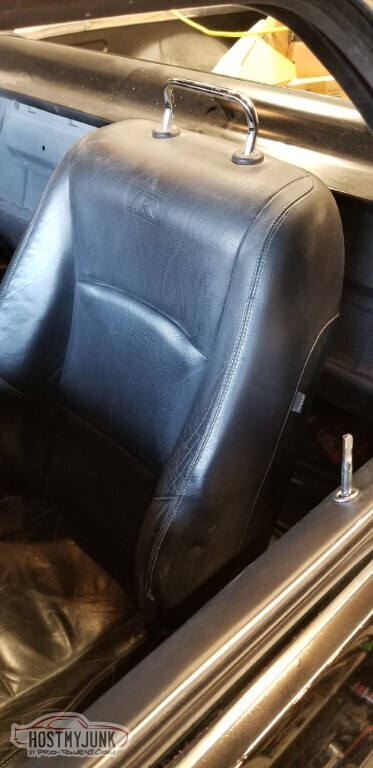
These are seriously configurable seats.
Making mounts
Images more for my benefit than for yours.
The headrests are "power"; someone tried - and failed - to remove them at the yard and just accomplished tearing up the covers. The chrome bar looks good enough, and can be raised/lowered.
Ancillary fusebox for the seats. Two 30 amp fuses, a 10 and a 15.
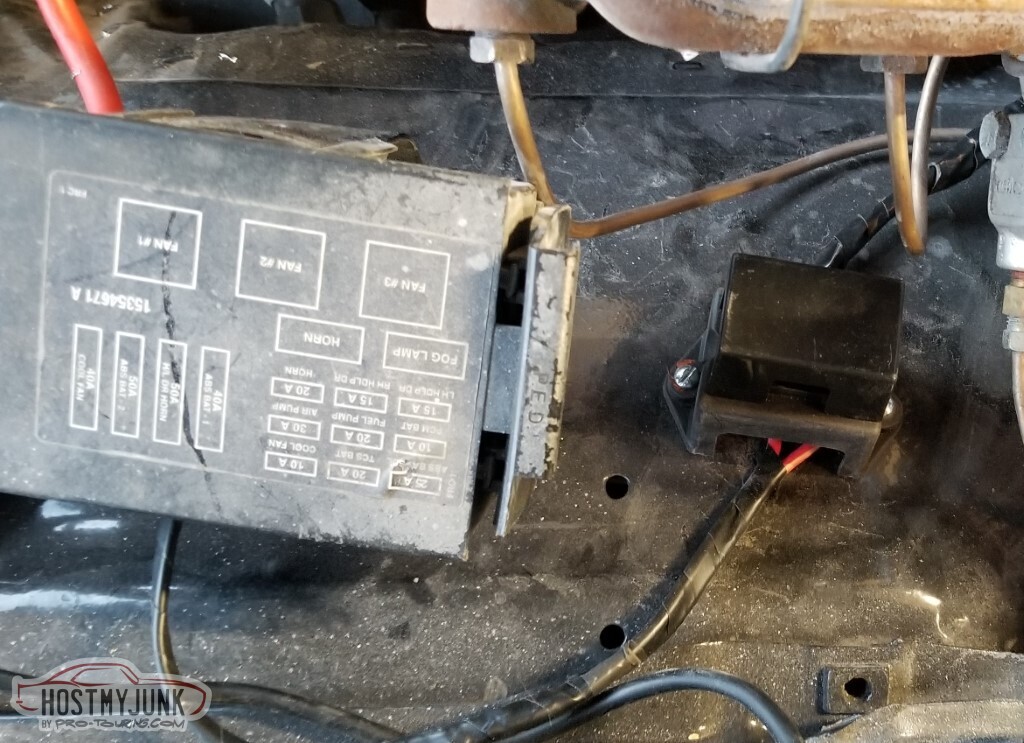
Wires routed.

Mounts for the pass side.
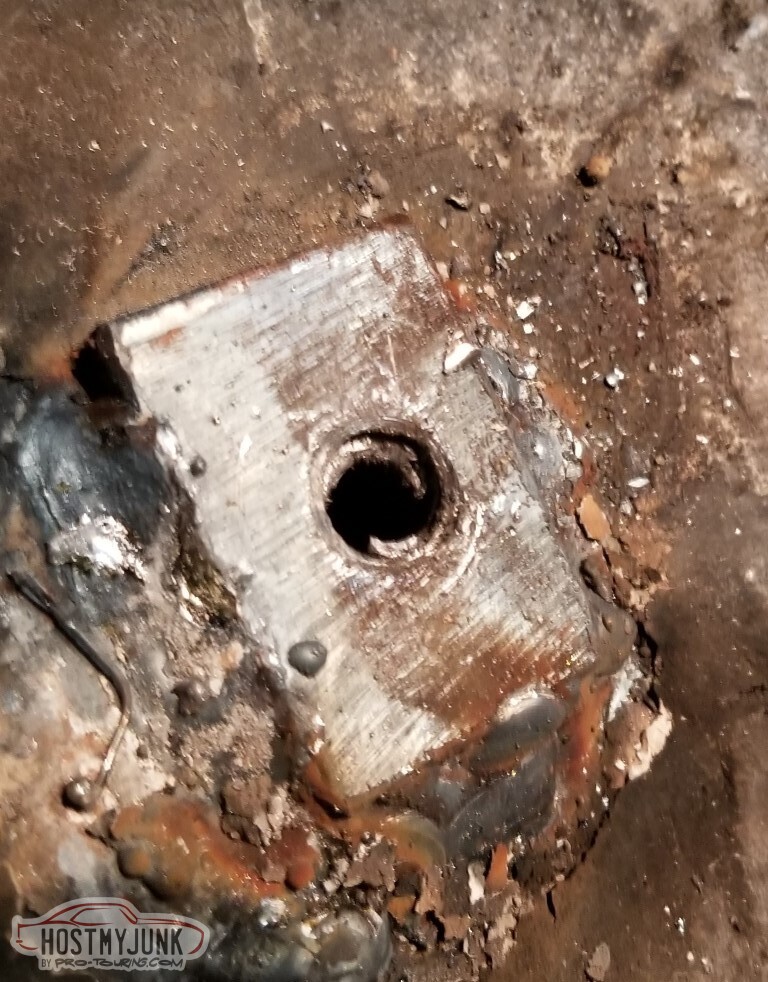
Put the bolt in to give the ground clamp something to clamp to.. but in this case, the bolt welded itself to the mount.
Here's the missing threads. A drill and a tap took care of this easily enough.
Made brackets for the retractors for the seatbelts... tried something new; these are "blued" like a gun.
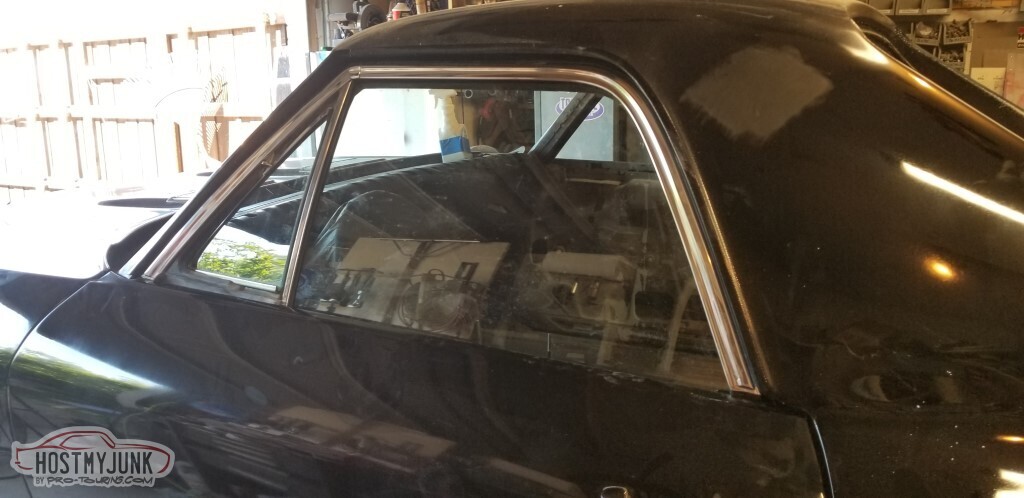
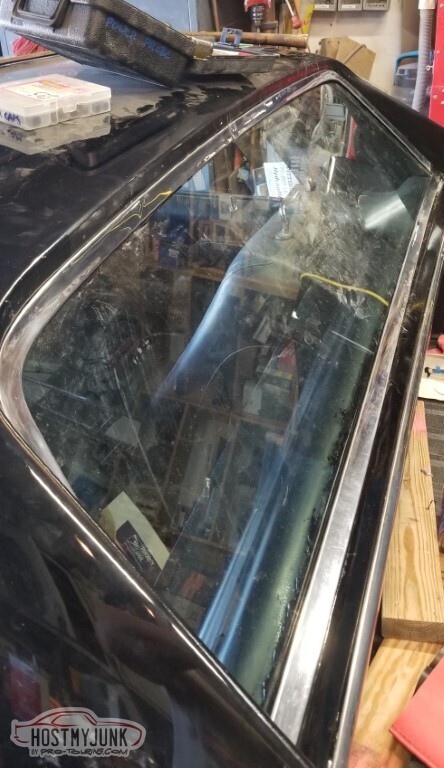
Brought the rear window down from the attic. Lots of tint to scrape.

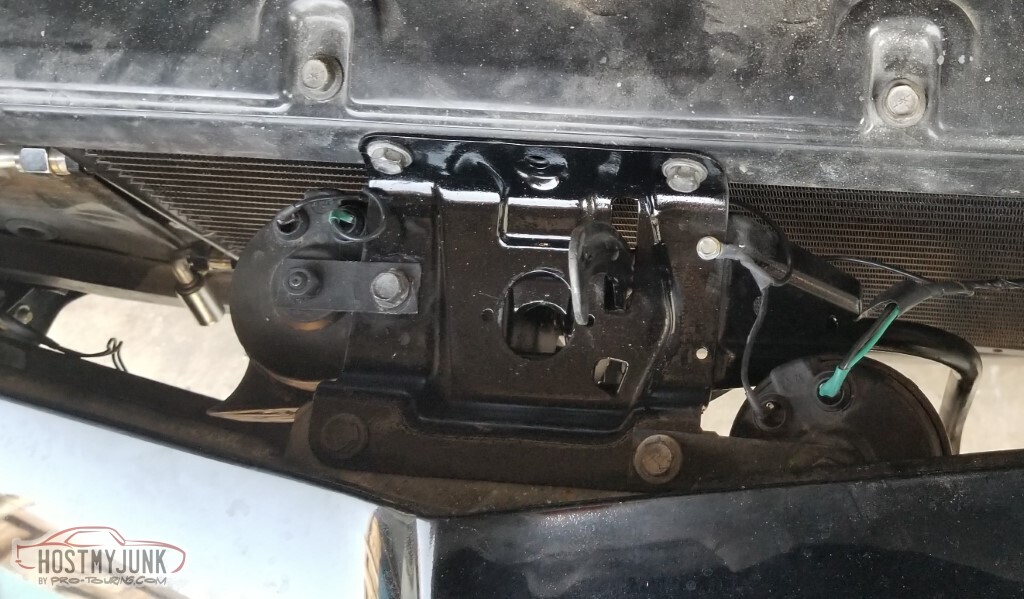
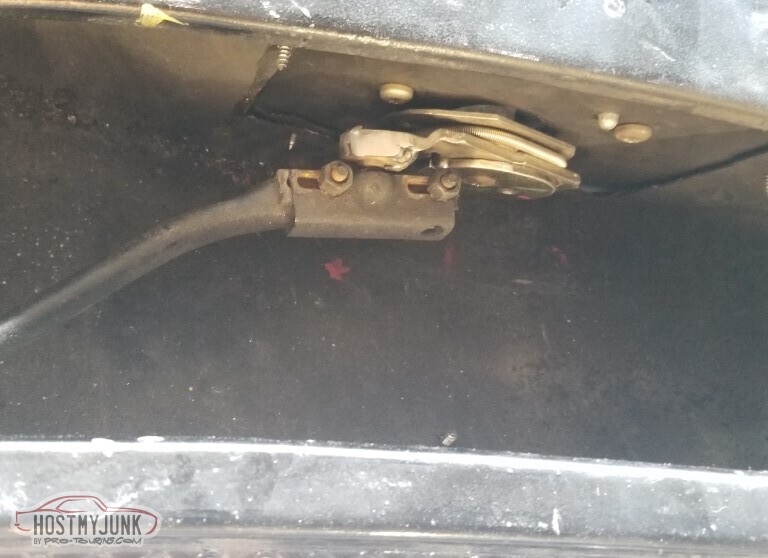
The doors are abnormally hard to open - by which I mean there's enough tension on the striker that I can't press the button hard enough to open the door; I have to use the inside handle.
This thread on El Camino Central includes a discussion on when they're backwards or not - with adherents on both sides of the aisle. There's a linked video from Steele Rubber, though, that says this is wrong.
Sigh. Tear these free, clean the adhesive out, order new ones.
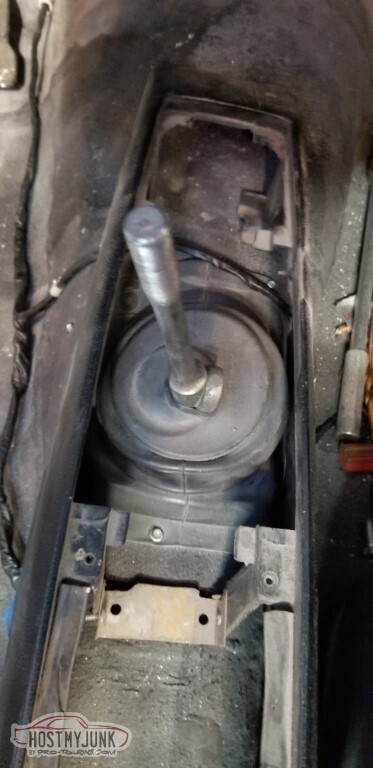
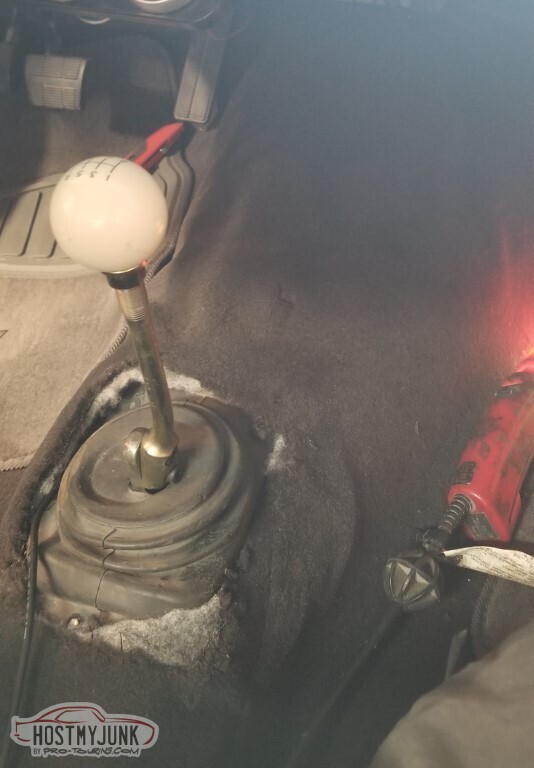
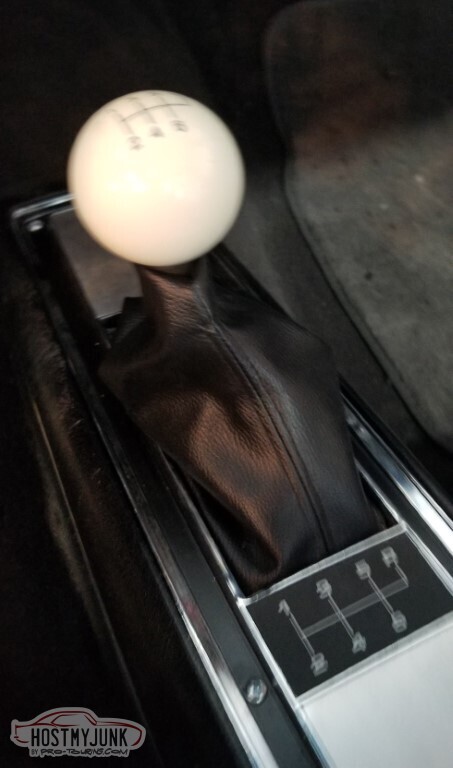
Test fit of console with 4spd lid. The angle of the shifter handle is going to be a problem - that is indeed hitting the edge of the console.
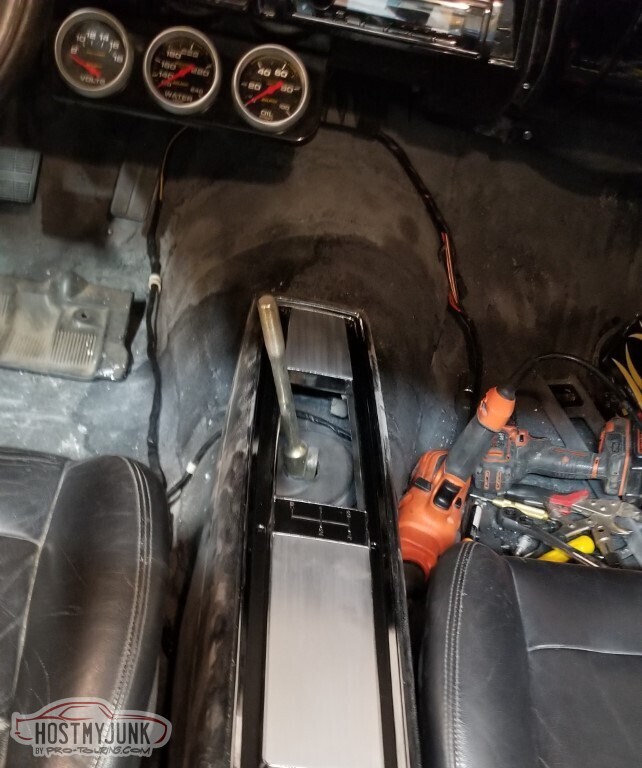
Here's how far forward it'll sit.

After some additional cleaning (and removed for console work)
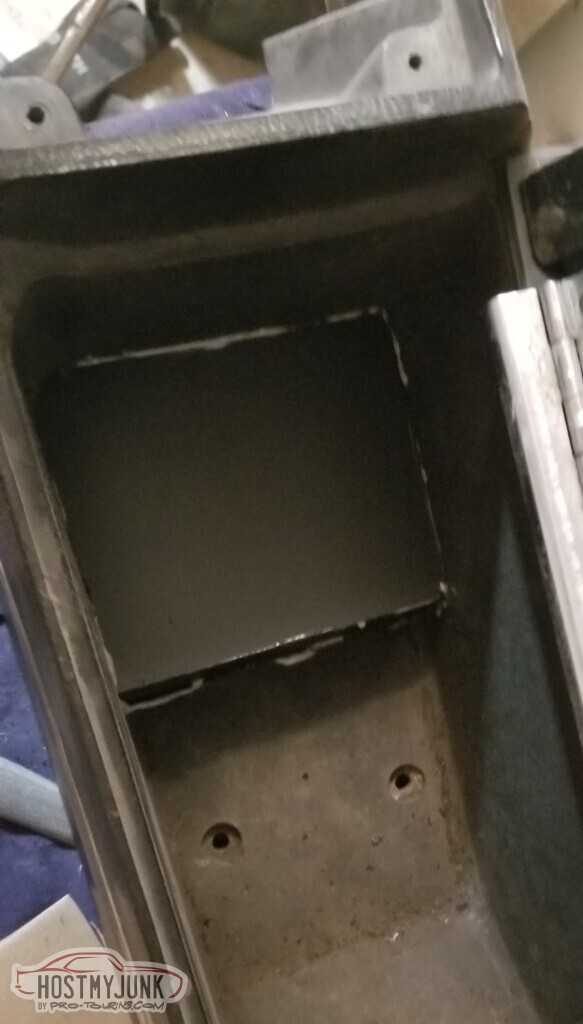
The profile of the tunnel is not what it once was.
Because of this, I need to cut part of the storage area away from the console.
Maybe can't see it - but I put a washer between the bottom bolt and the shifter, hopefully that helps the angle.
Rear window cleaned and ready for glue.
Side note: I destroyed two caulking guns trying to dispense 3M Windo-Weld. I got it done but I sure wasn't doing anything else with that forearm for the rest of the day.

I didn't like the way it fit into the rear window channel - too much gap here, etc. Forced better connection with a strap, probably not the best idea.
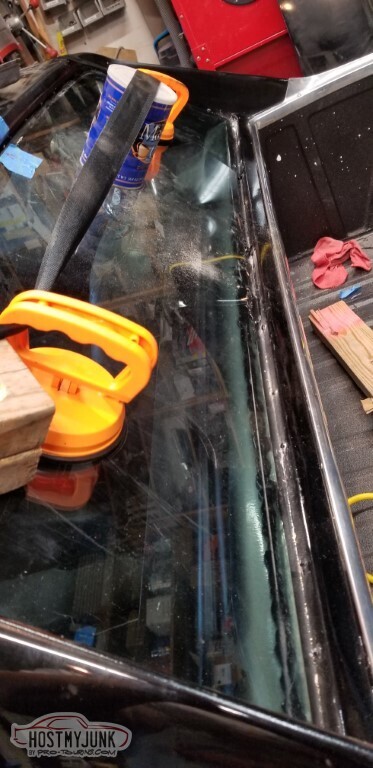
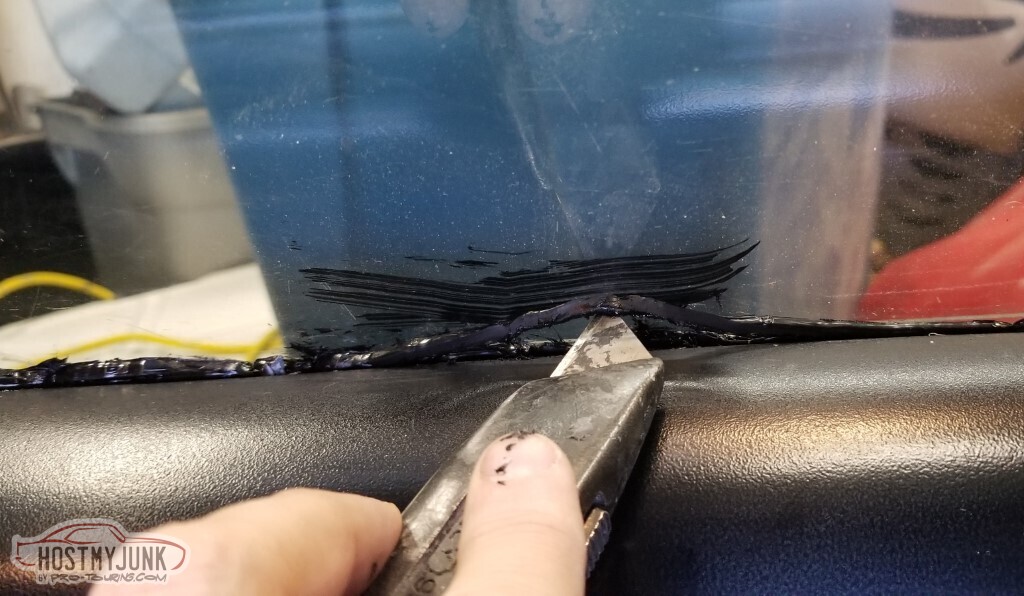
Put the glue too high on the window at the bottom, now I have to clean this up.
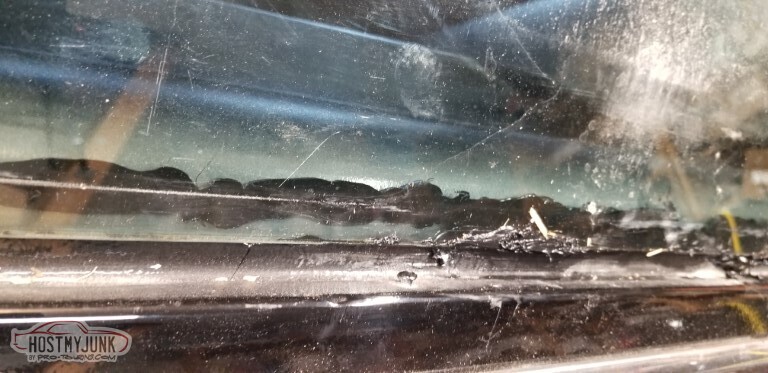
It's a mess that I really can't do anythng with until it's drier.
If you look really hard, you'll notice that I'm missing the trim at the far bottom corner. I know I own it, but I don't know where I've put it.
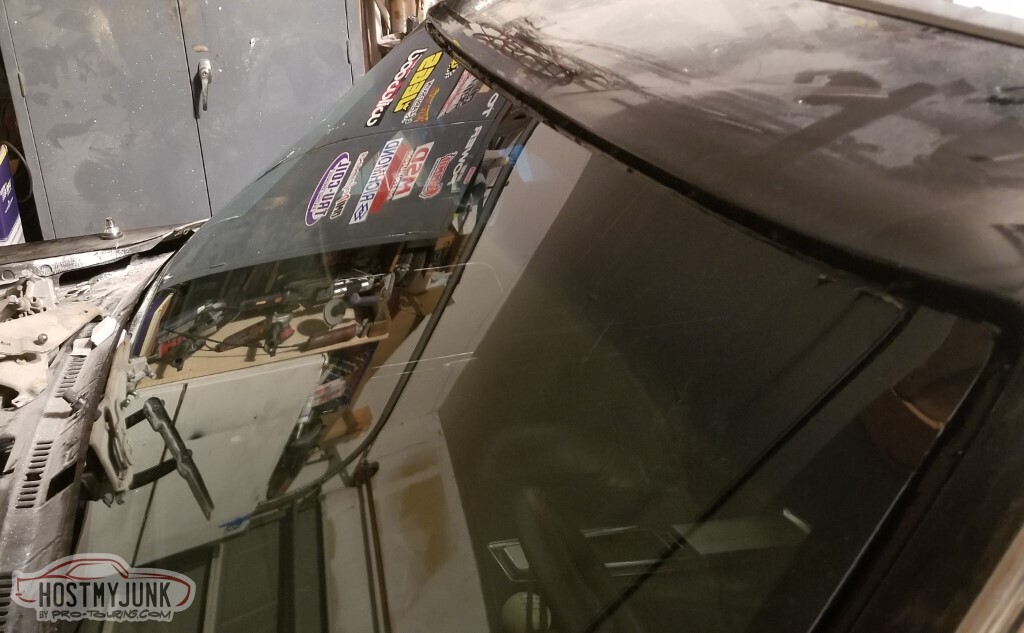
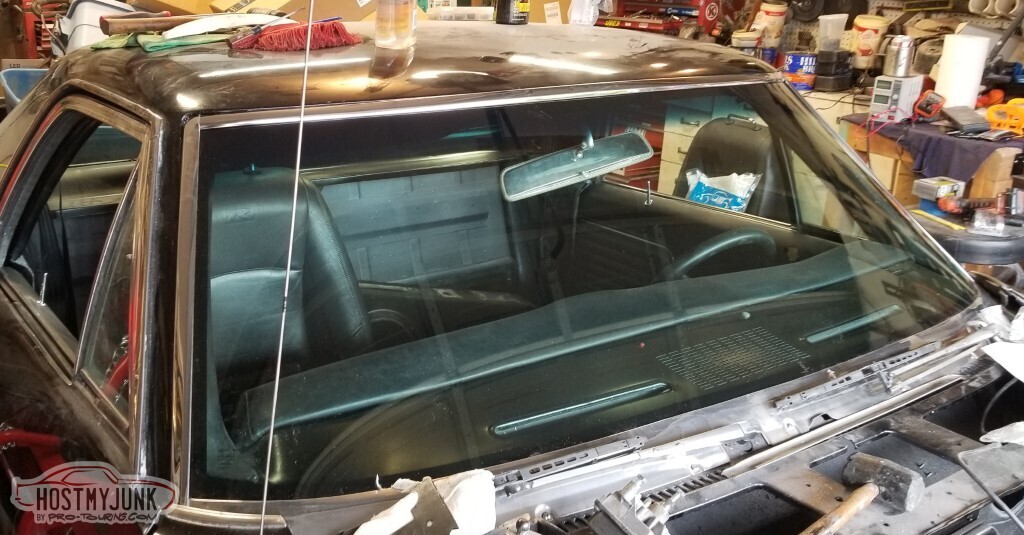
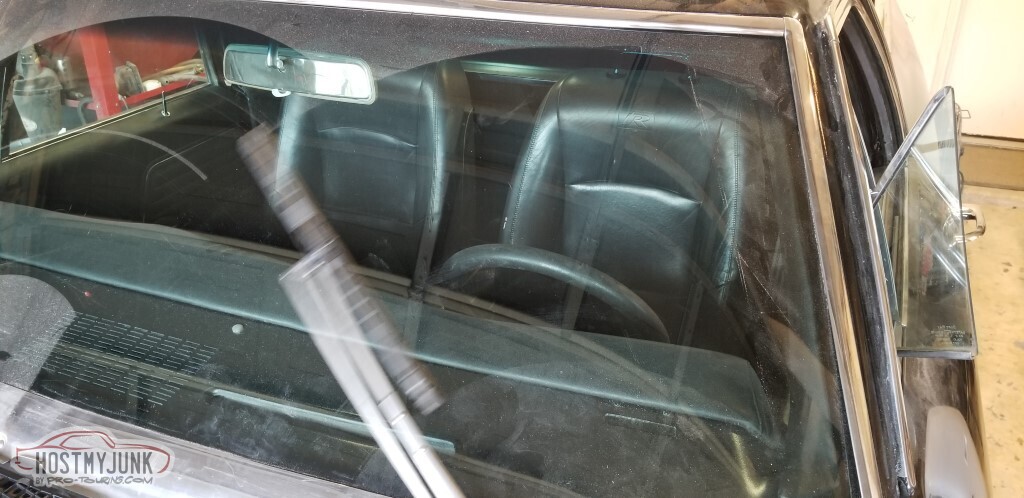
And then came the windshield guy. Here he's scuffed the windshield channel and applied the glass-primer.
 2303070034_tn.jpg"></a>
Shiny! I was surprised that they ordered this the night before (they didn't ping me until COB the afternoon prior to ask if I needed the antenna embedded or not).
The glass is from Fuyao, who I'd never heard of, but apparently is one of the biggest.
Absolutely disappointed with Safelite and Auto Glass Now - both let me go through the online quote process - even had drop-down options for the year - but after they quoted and got me to a live person, both announced that "they don't do cars over 25 years old."... then why on earth is it even an option to get a quote?
Glass Doctor, on the other hand, was a joy to work with.

He's priming the glass too
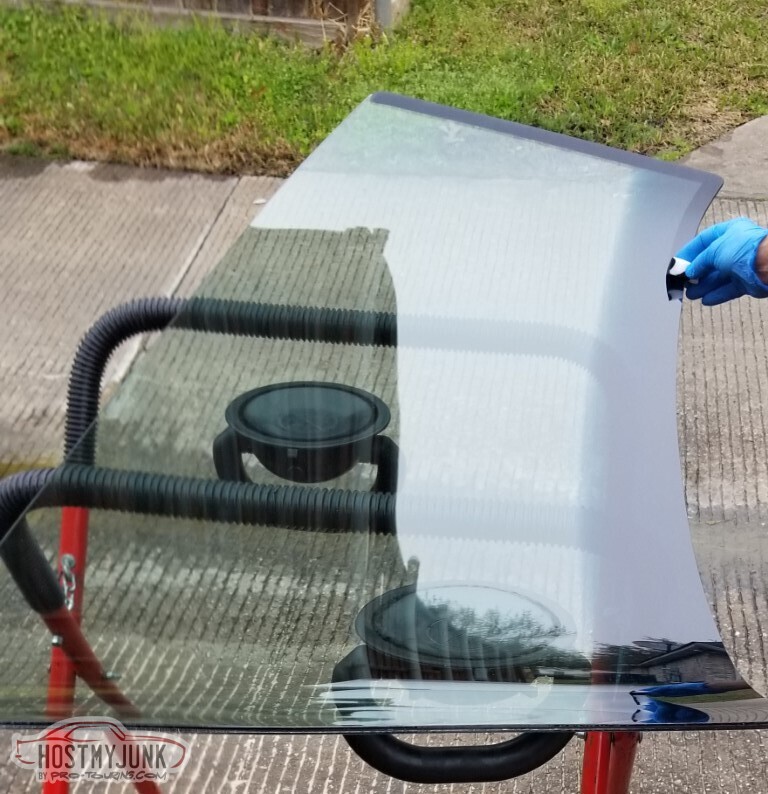
Shiny!
Along the same line as the missing trim for the back - I found the top and pass stainless, not the driver nor the big bottom piece. I own these too, and I'm sure I put the bottom somewhere clever.
The new weatherstrip is mounted in the other direction and the door is still impossible to open.
More work required.
Retractor is mounted.
Minor miscalculation: the retractor mount needs to go directly above the frame rail here. I made a plate to go underneath to receive the bolt... but there's only about 3/8" clearance there, I can't push the plate into position. Got this one in place with luck, got it pop-riveted in place, so it should be good but what a pain!
First pass on the cutout area in the storage.
Still needs work.
Still shiny!
Had hand surgery Monday so probably a few weeks before next update. Hopefully between here and there I'll find the missing trim.
Oh! The carpet is here too, just need to get the console and the other retractor mount done before I'm ready to start on that.
-
3 Weeks Ago #113
-ɹoʇɐɹǝpoW-
- Join Date
- Jul 2002
- Location
- Mesquite, TX
- Posts
- 4,929
My hand has healed up nicely, thanks for asking.
Found the big stainless trim in the attic, which counts as "clever" since it was definitely not in the part of the attic I would have expected.
Also found the missing corner bit for the back window buried on the workbench. This wasn't clever at all, just unfortunate.
Ordered new windshield trim from Summit. First set arrived damaged (long one was bent in half, two short ones were missing), second set as pictured.
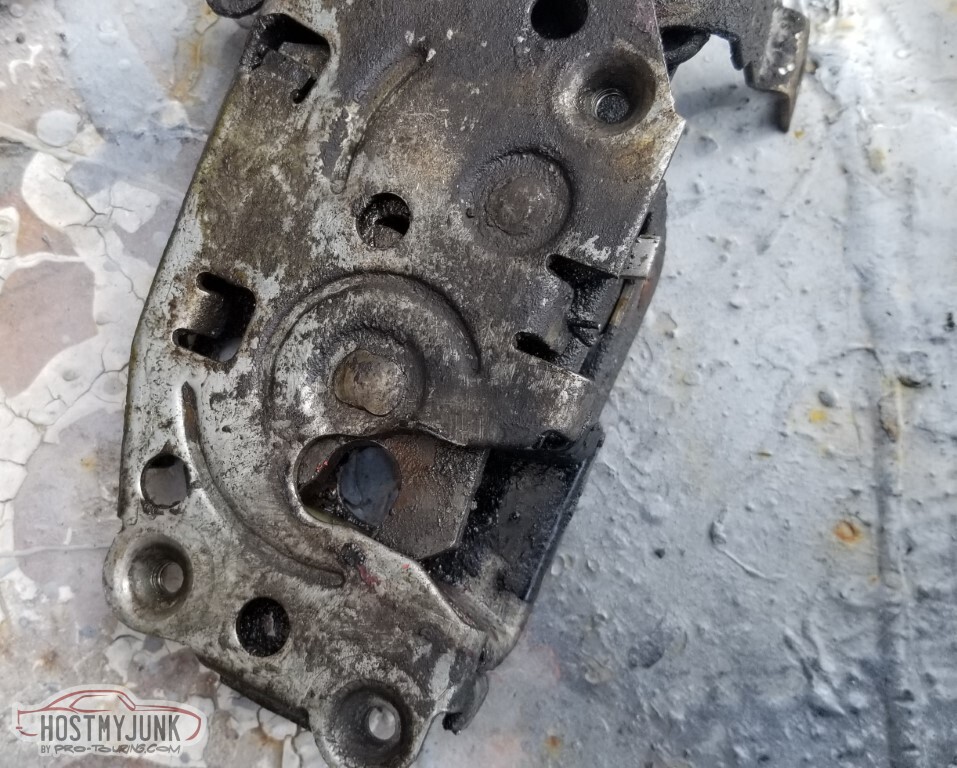
Got weatherstrip from another company. Removed the old weatherstrip, and the door is still really hard to open. I see that 50 years of use has taken its toll on the latch here.

After a cleanup and lubrication pass, it works much better now. New weatherstrip installed.
Pass door is still a little tough. May pull that latch out and do the same to it.
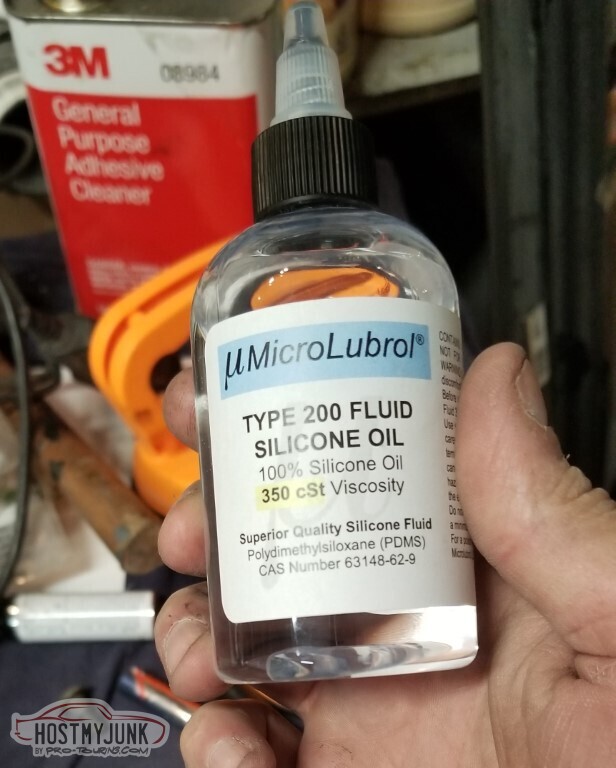
The liquid filled gauges have leaked from the vent screw. I'm sure they're fine, but I don't like the half-full look.
Per Autometer, "350CS liquid silicone" is the fluid. You can't get it from them, but you can find it on Amazon.
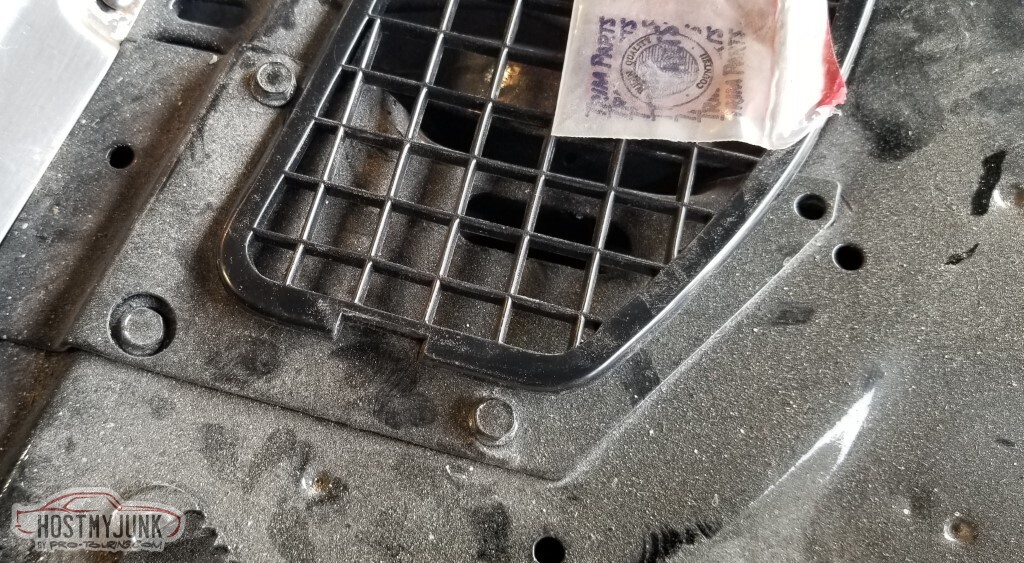
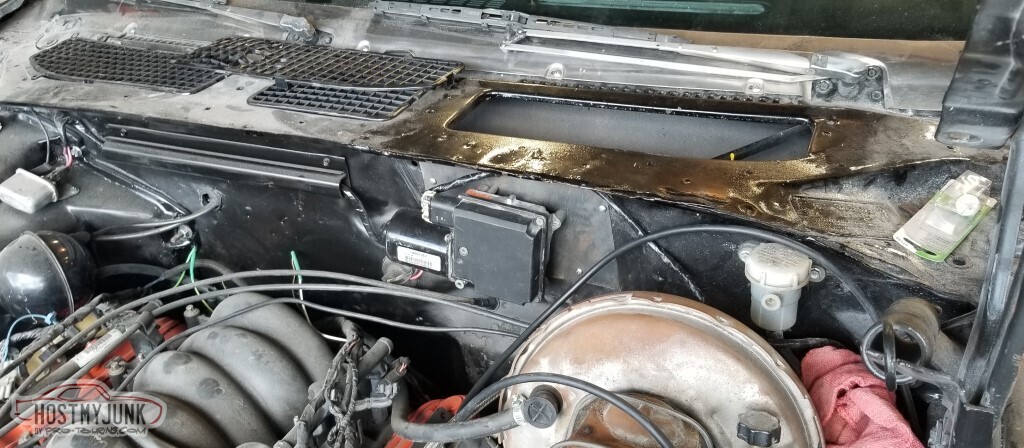
This is the Trim Parts cowl grille set. It apparently isn't quite made for my 69 El Camino - suspect it's for the ones that don't have the flap-thing in the cowl.
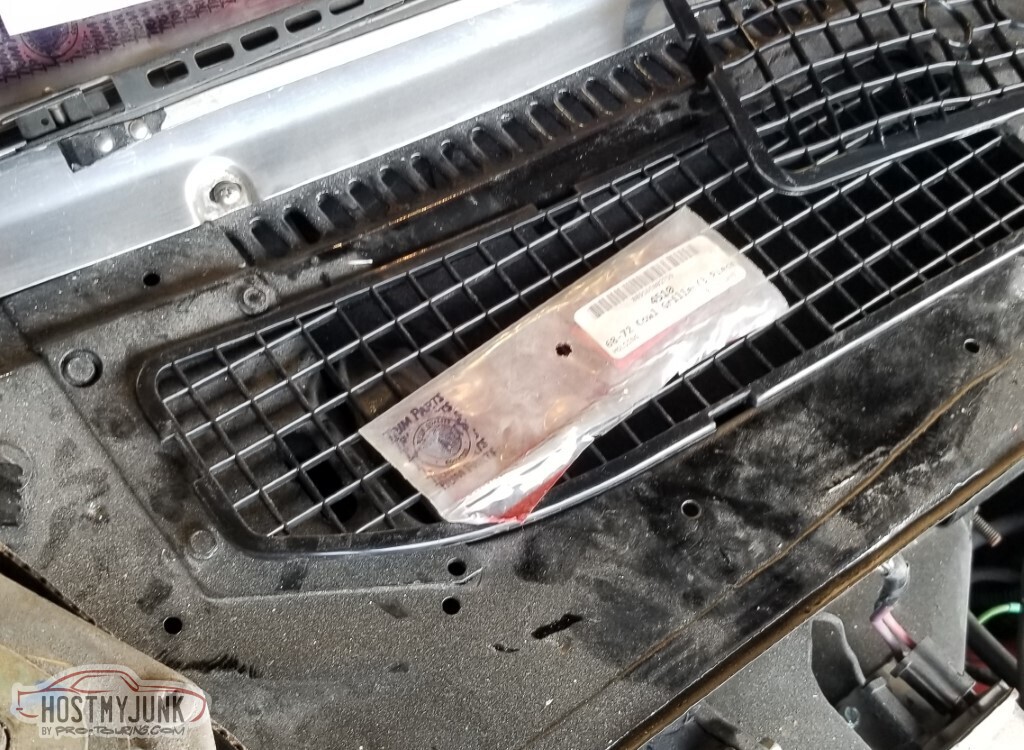
Simple enough to work around though: cut the tab off on this end.
The 4 speed shift indicator is pretty, but it's wrong, and I have a replacement.
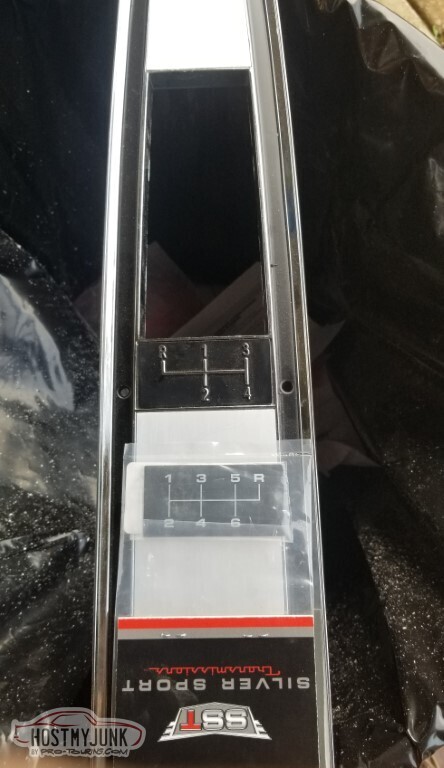
Now it's pretty and correct.

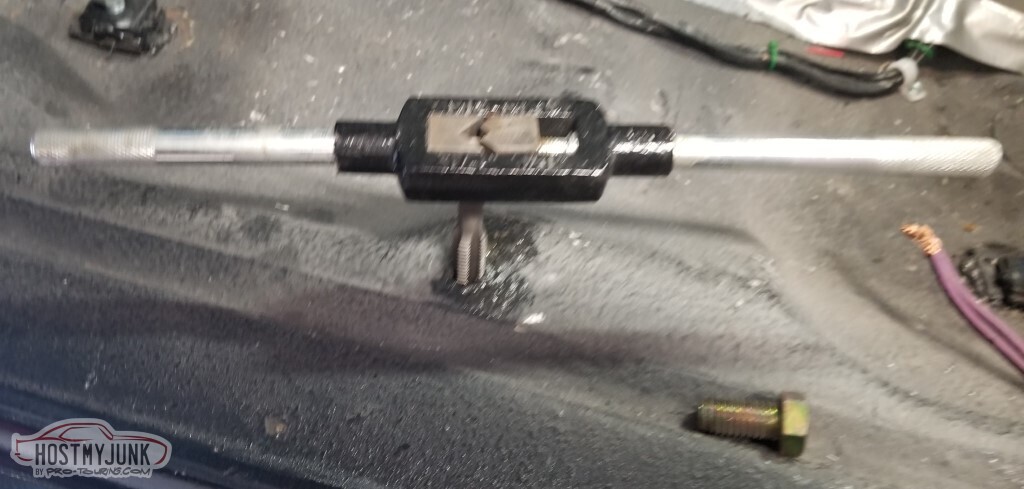
The seat belt bolts are all 7/16" coarse.. except for this factory hole on the driver's side, it was stripped out. Tapped for 1/2".
Not pictured:- Pass side seat retractor mount created and installed.
- The steering column had gotten a little tweaked when I dropped it to install the dash with the net result that the high beam switch didn't quite have enough travel, corrected (surprisingly, the screws holding the switch to the Camaro column were 5/16" and not metric)
- The first weatherstrip folks pointed me at this Youtube video for which direction the weatherstrip should go. The new weatherstrip has green and red pins to tell you which side is which, and they disagree with that video... so I'm wrong regardless.
- The wiring for the speakerbox is done and the box has been tested. It doesn't sound very good but I suspect that with tuning the equalizer, it'll get better.
- I need to find the original wiper motor - not only do I need the ball from it, but I also would like to verify where the park position for it was.
The remaining to-do list, near as I can tell, is short:- Install carpet
- Install the seats
- Cut the carpet for the back wall of the cab and have edging put on it
- Install the later model wiper motor
- Shim the front calipers since apparently they're not quite right (hoping it's a "shim" thing, at least)
- Figure out the correct shifter handle since the angle is still too far with this one
- Install side mirrors
I've probably missed something, but it's really not a long list.
-
3 Weeks Ago #114
-ɹoʇɐɹǝpoW-
- Join Date
- Jul 2002
- Location
- Mesquite, TX
- Posts
- 4,929
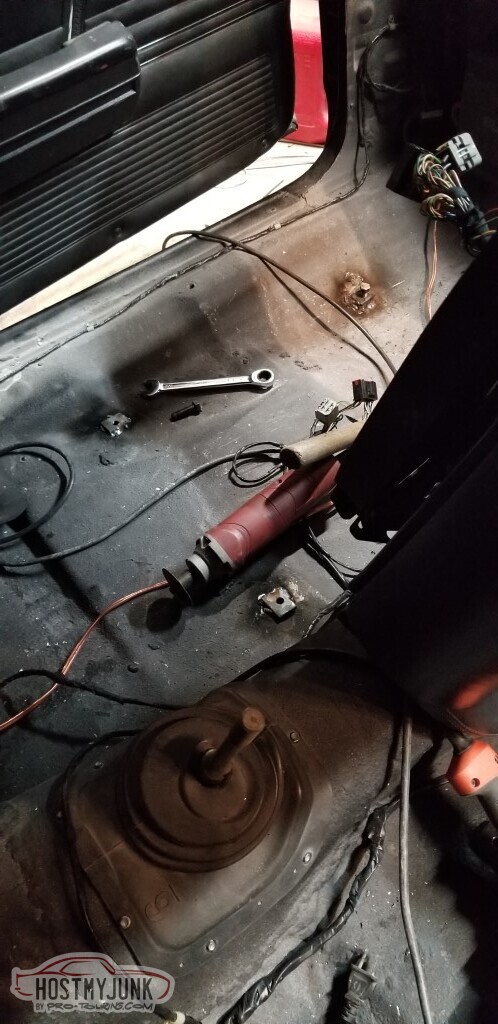
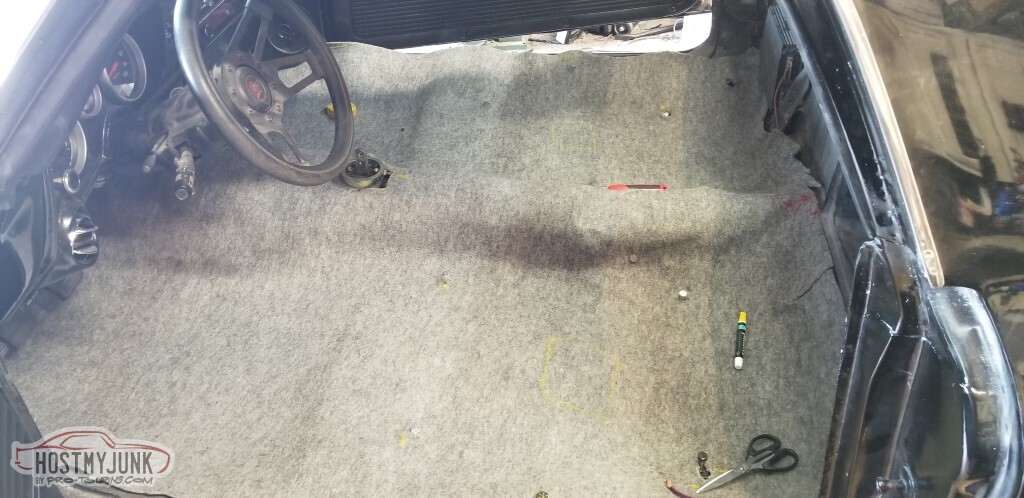
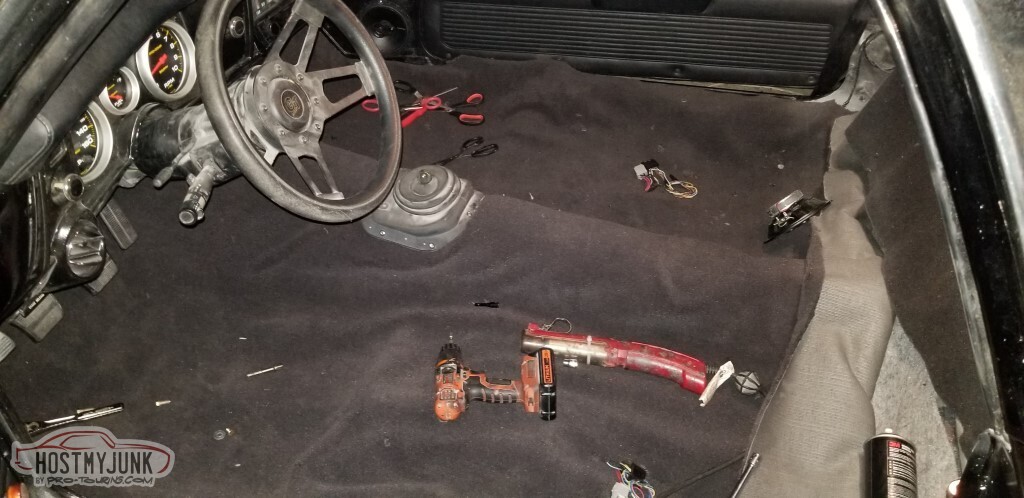
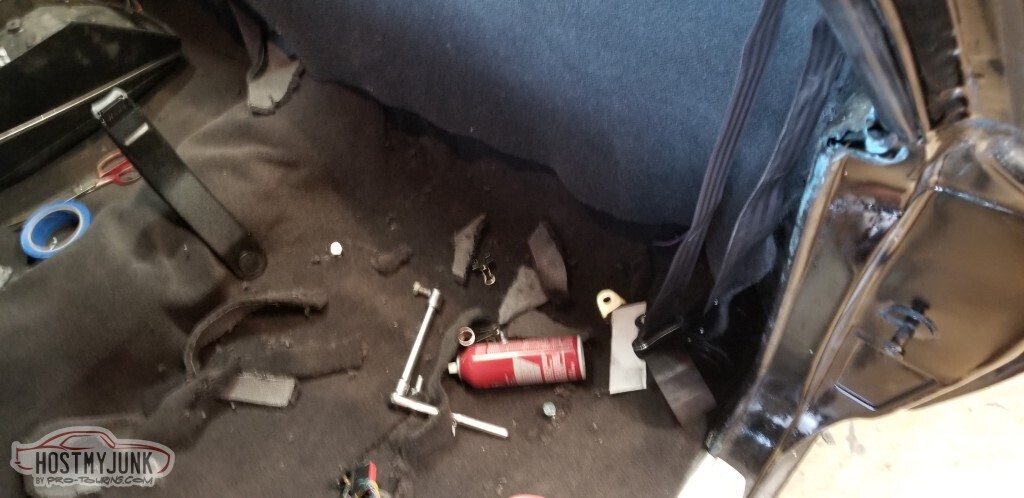
The to-do list shrinks. Next up: Carpet, so I can put in seats and console and figure out the shifter and side mirror locations.
It did not come out nearly as well as I would have liked.
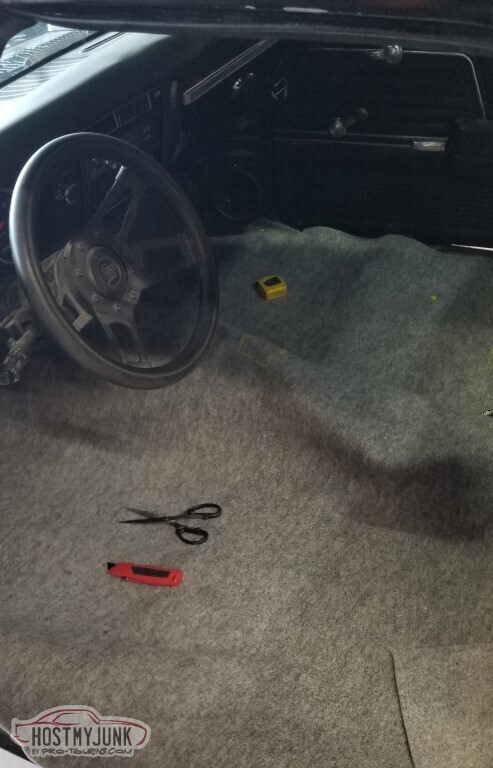
Started with the padding. I figured this could be a useful pattern for the carpet (n.b.: It's not).
What I should have done is use it as a pattern, then cut away where the high points are and where cables need to run.
Also I should have put a lot more effort into making sure the transmission tunnel was smooth.
Here I got the padding "cut to fit".
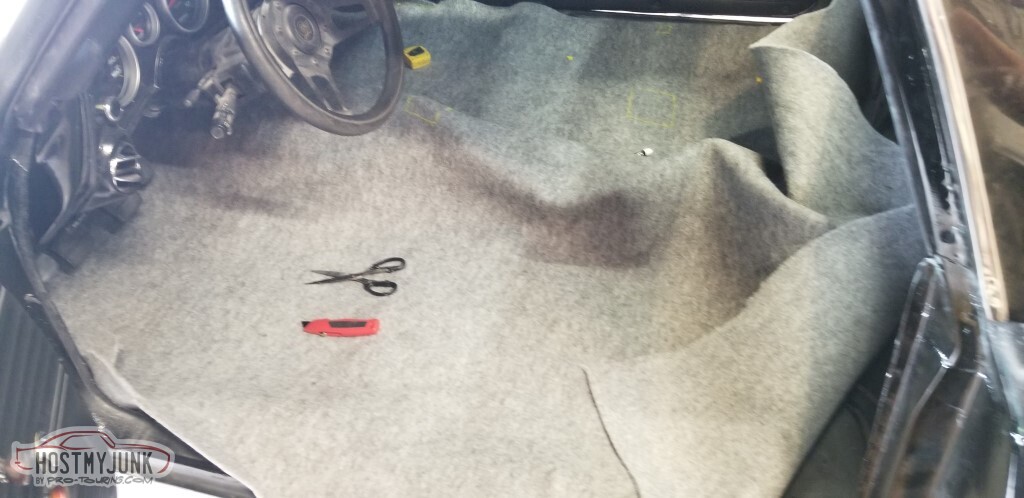
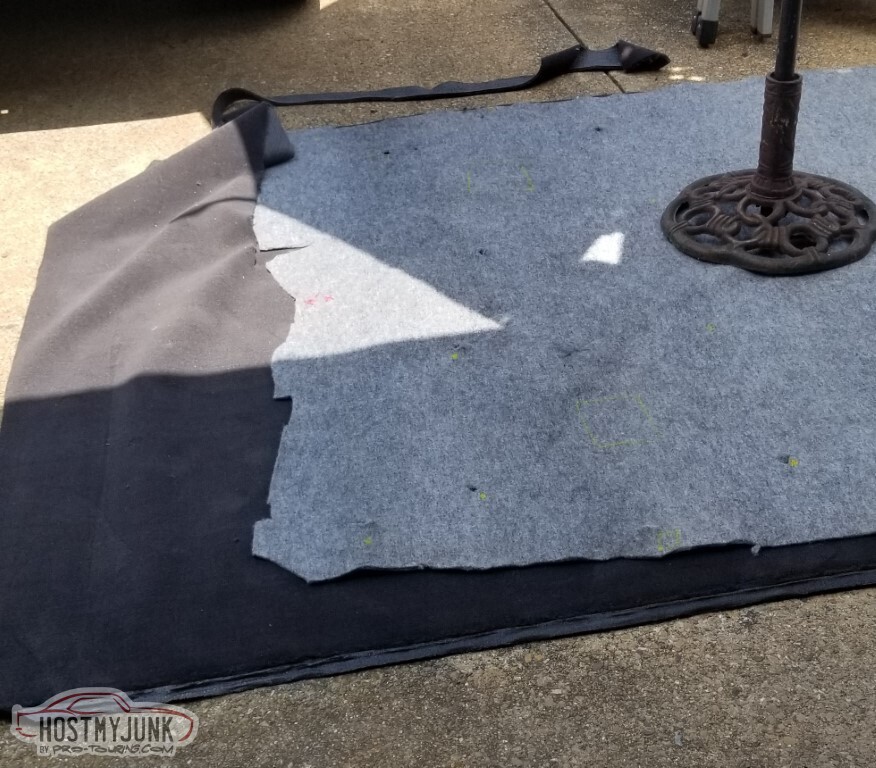
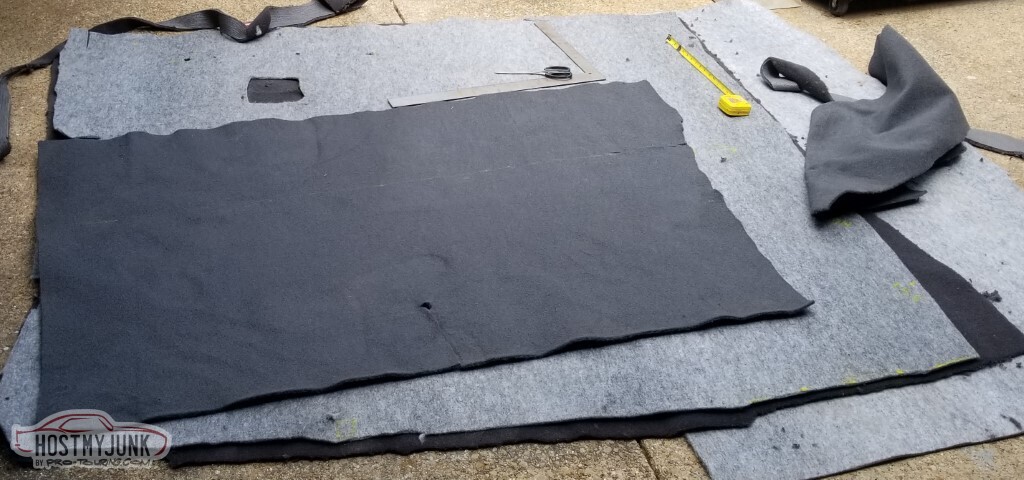
Carpet is ready.

Cut using the pattern. Cut slightly oversize so we're not short anywhere (foreshadowing!)

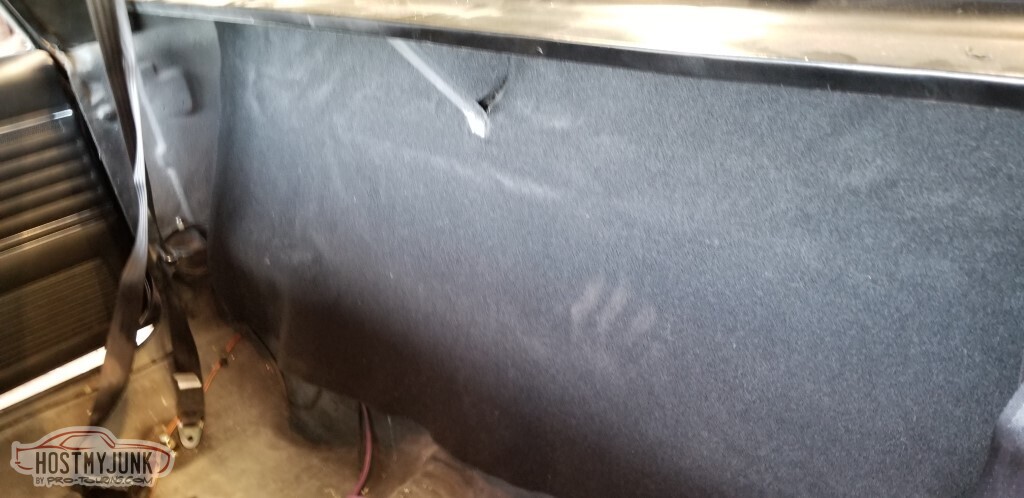
This is the carpet for the back wall. My plan had been to drape it from the front edge of the package tray.
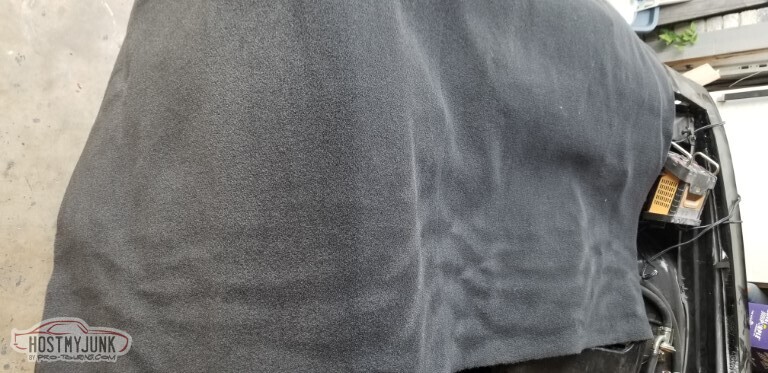
The scissors I was using were horrible but I eventually made it through.
Back wall carpet cut to fit.
New plan: spray adhesive (3M Super 77) and we'll directly attach the carpet to these reinforcements.
Doesn't look too bad.
Initial fit of the carpet.
The shifter cover needs to be *under* the carpet, it extends on the driver's side a couple of inches lower than the side of the console. That would be unsightly.
The carpet, surprisingly enough, is about an inch shorter here than I would prefer.
Finally a chance to clean the sills up and mount them. Interior trim too.
Really would prefer to find a new set of the rear corner panels - the black paint is already wearing off on the edges and they're so thin.
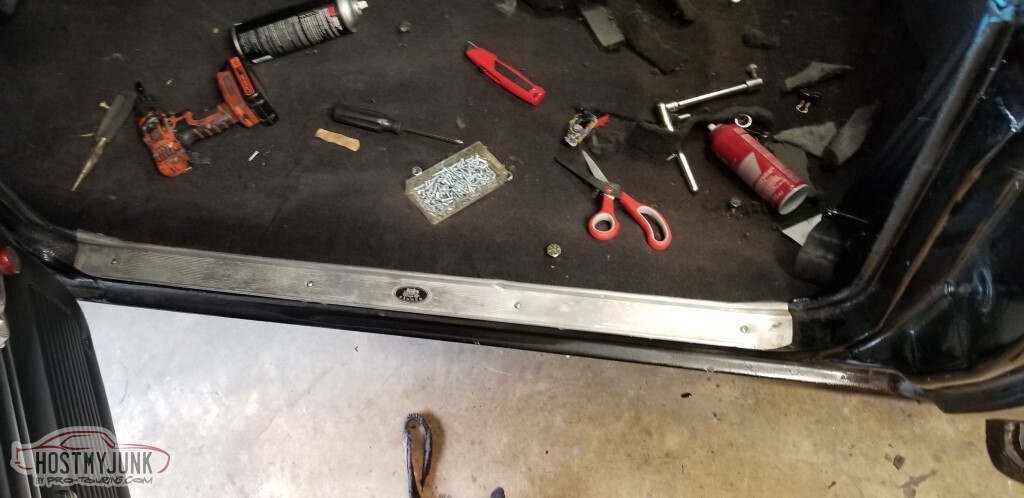
You can see on the tunnel that low spot at the end. That really doesn't look good here.
With the seats in it's not so noticeable. I'd figured that I'd use the old Kicker speaker box and it'd cover that... she says no, it's too big. I'll need to get a couple of smaller boxes.
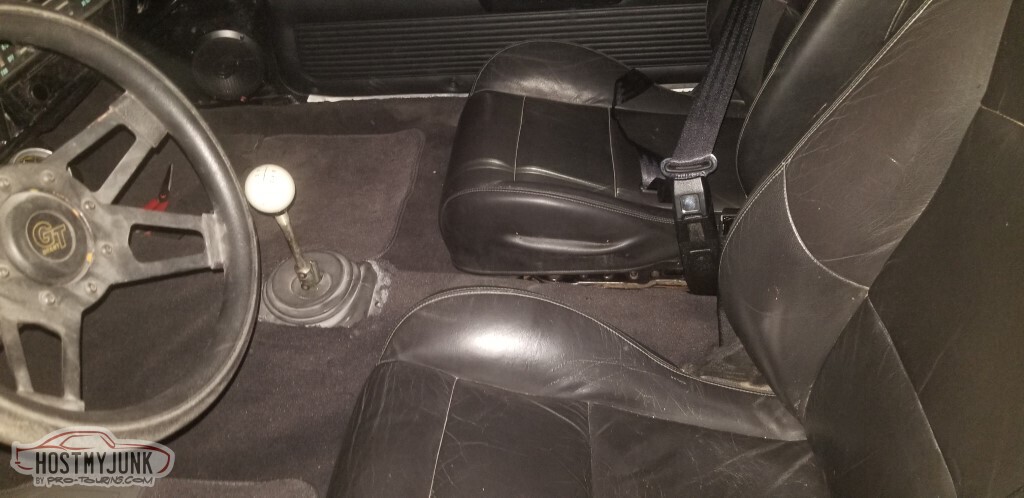
Here's what it looks like with the console in.
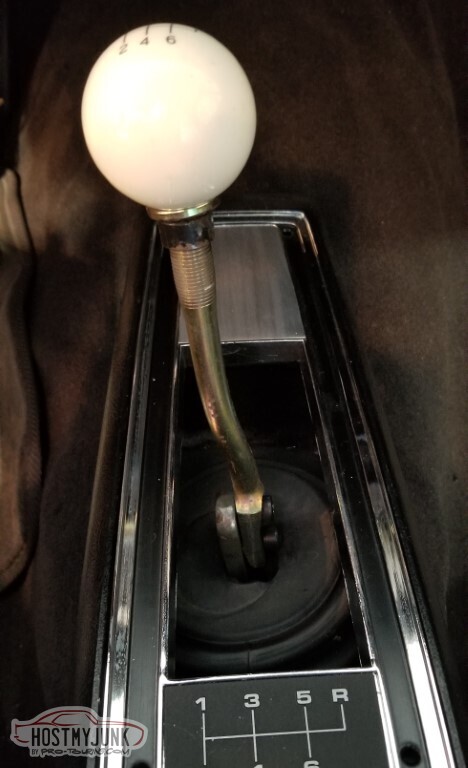
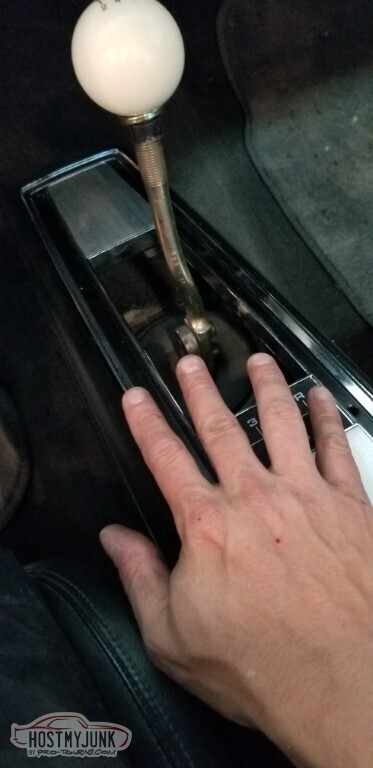
The shifter handle that came with that "Pro 5.0" shifter is offset like 15 degrees to the driver's side which means that it hits the console lid going into first and second.
I bent it as much as I could, which isn't enough.
Figured I'd try it on the other side of the shifter, maybe that would free up some room. Nope, now it can't go into reverse.
5th/6th is right against the edge.
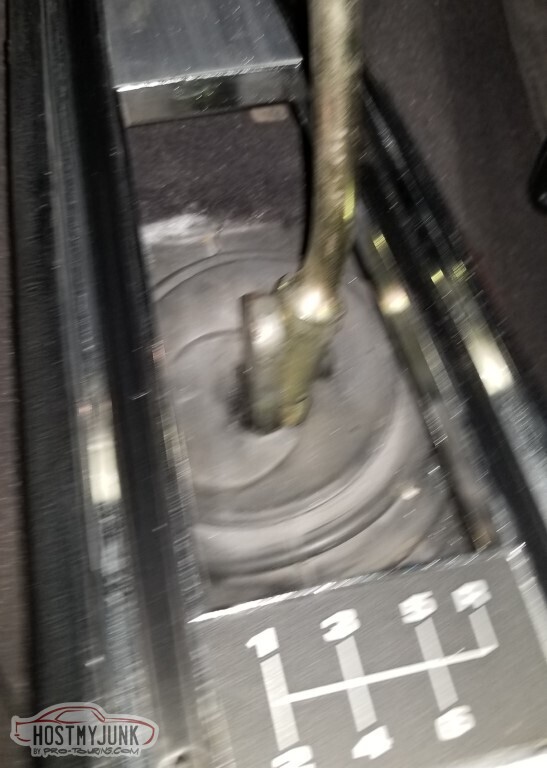
I'm pretty sure this is in 3rd.
Better view of the bend to the arm.
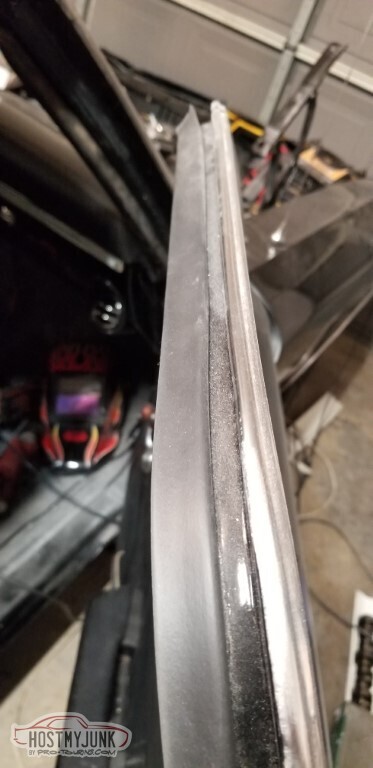
I'm not pleased at all with how the carpet turned out. Here's where I needed to cut a slit for clearance. I think maybe I need oversized floor mats.
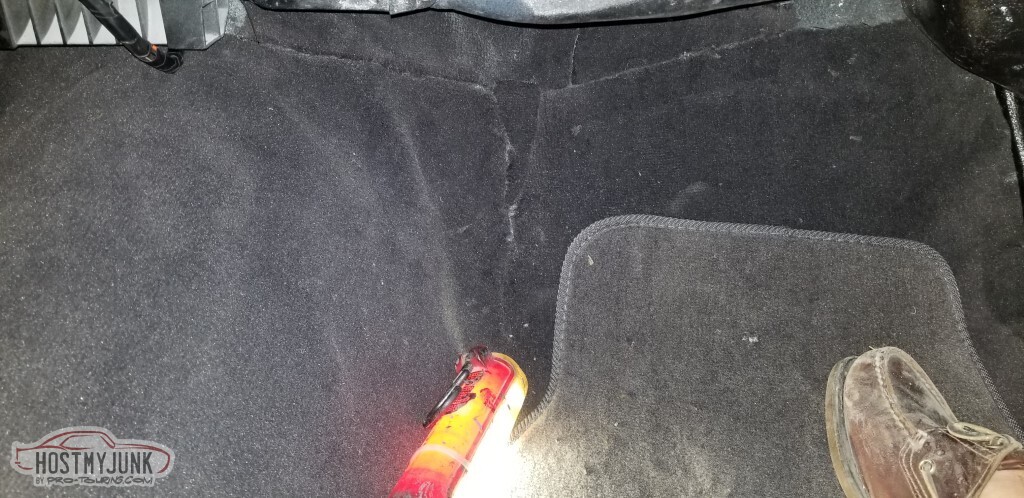
Perhaps it'll work itself out.
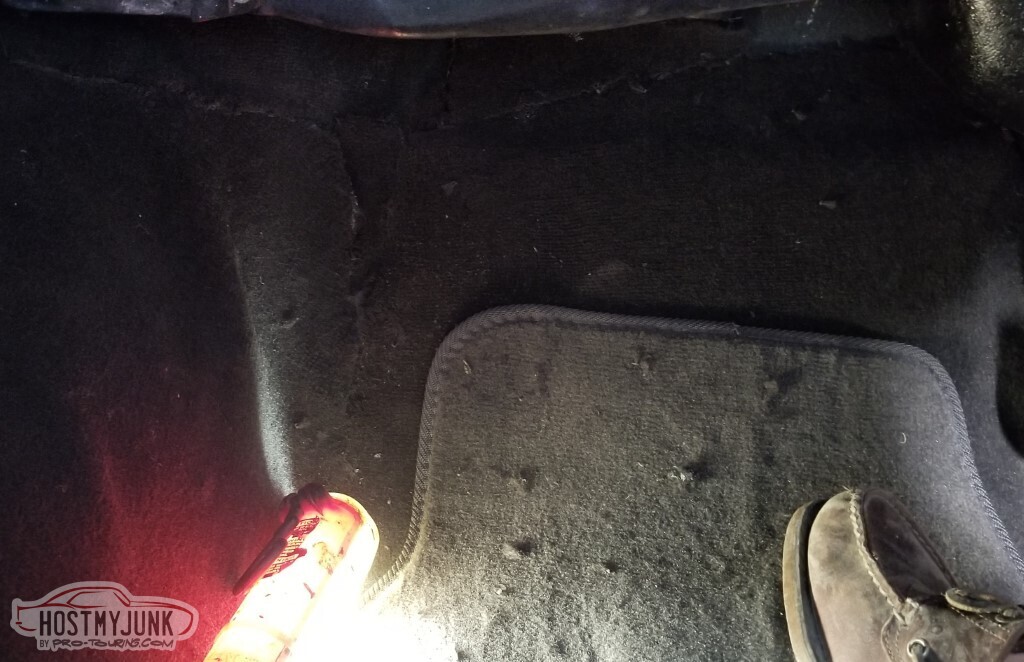
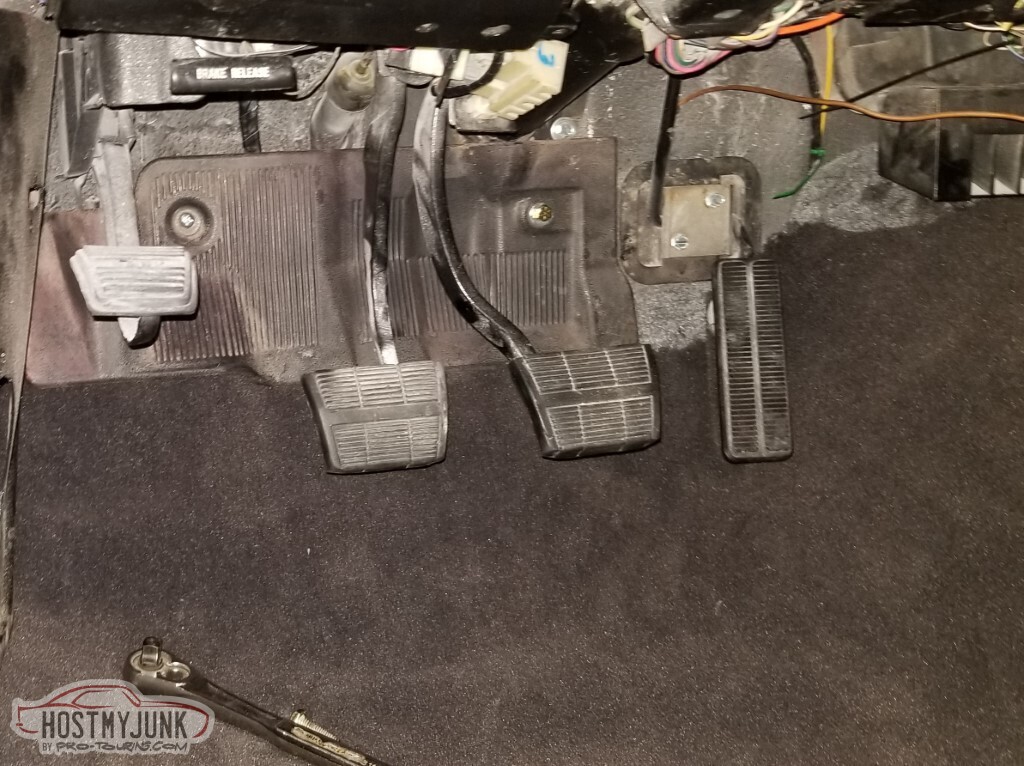
And then I found more issues.</p>
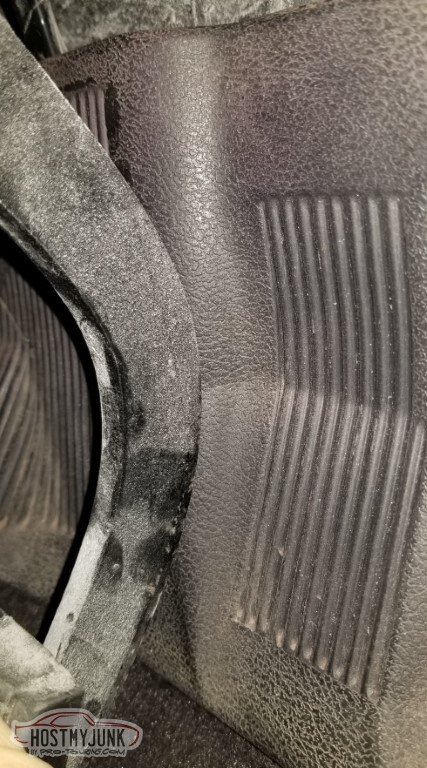
This is the clutch pedal, hitting the plastic carpet-guard-thing.
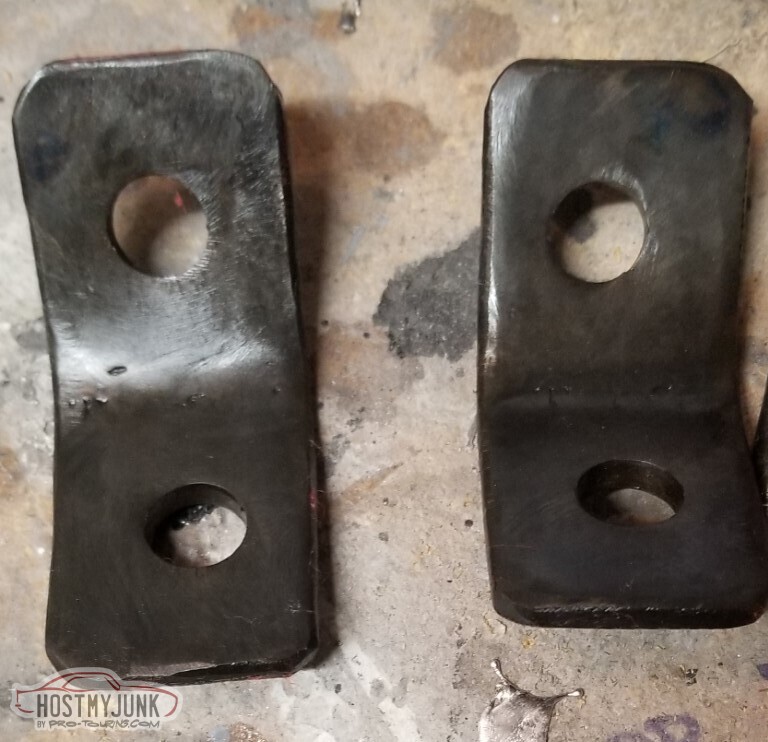
The clutch pedal isn't from a Chevelle, it's from a Camaro. Apparently they're not the same.
I can't tell yet just how much clearance I've lost here, or whether it prevents the clutch from fully disengaging.
Internet says this is the Chevelle pedal.
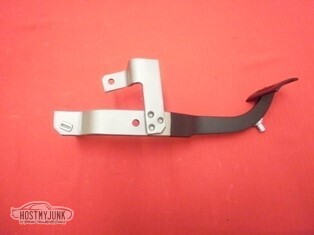
For comparison, this is also what the Internet thinks a 69 Camaro clutch pedal looks like.

I assume my answer will be to grind/cut some of that bend away. I may then have to reinforce the remaining part of the arm.
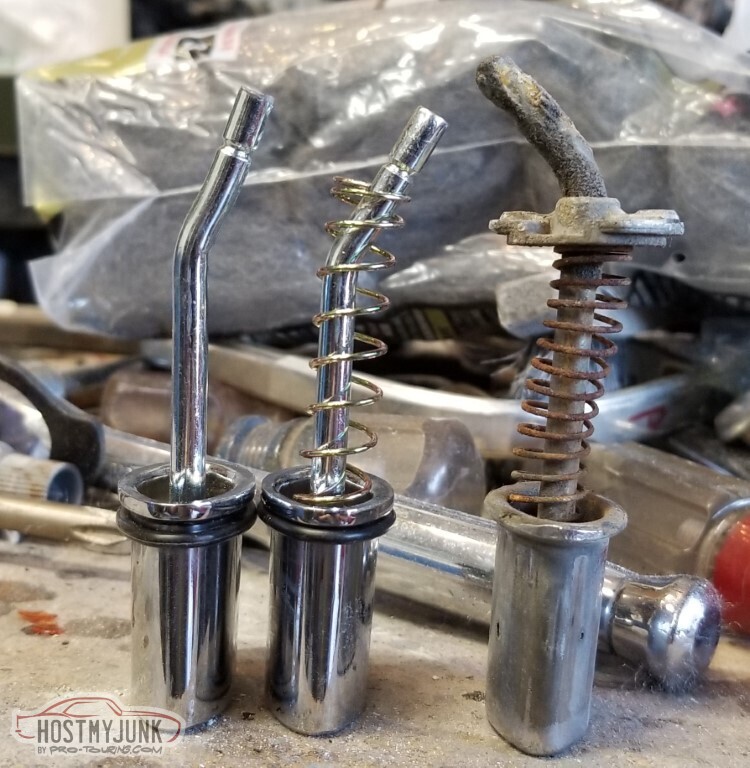
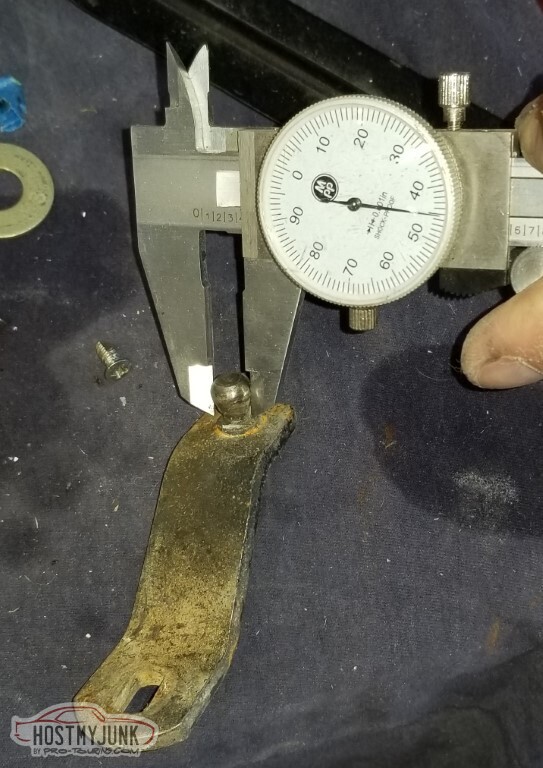
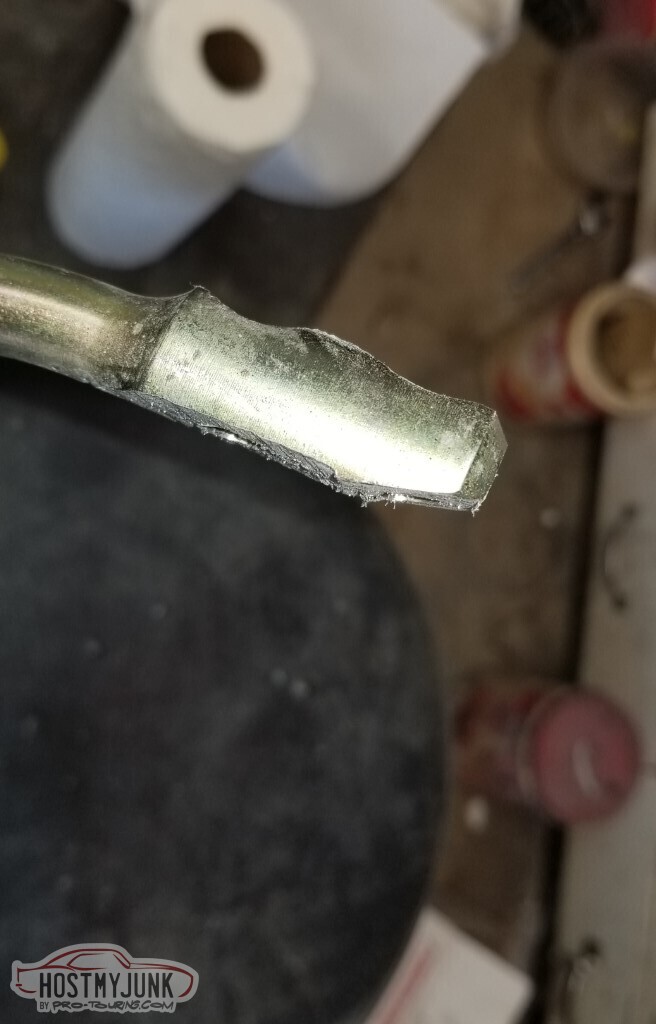
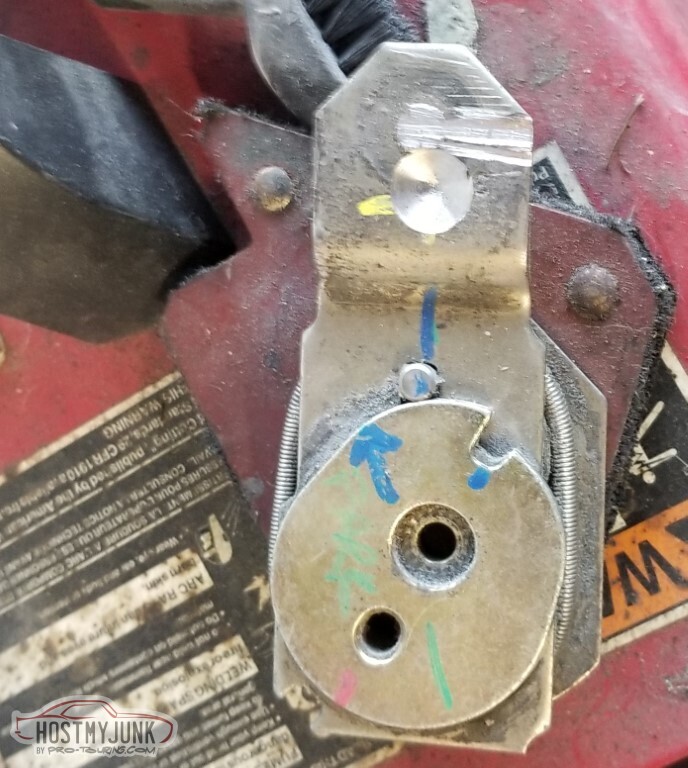
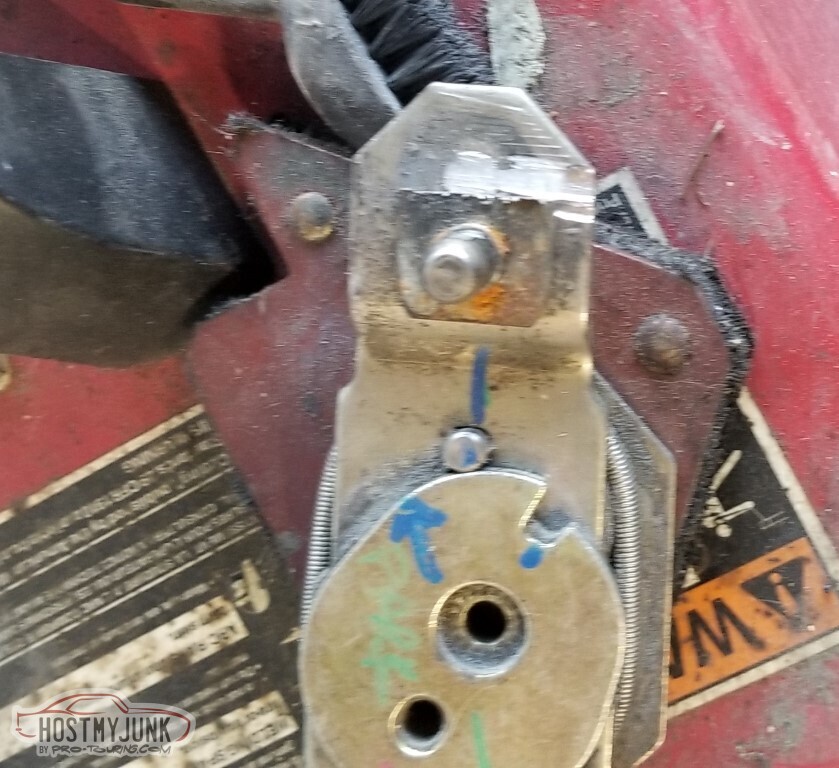
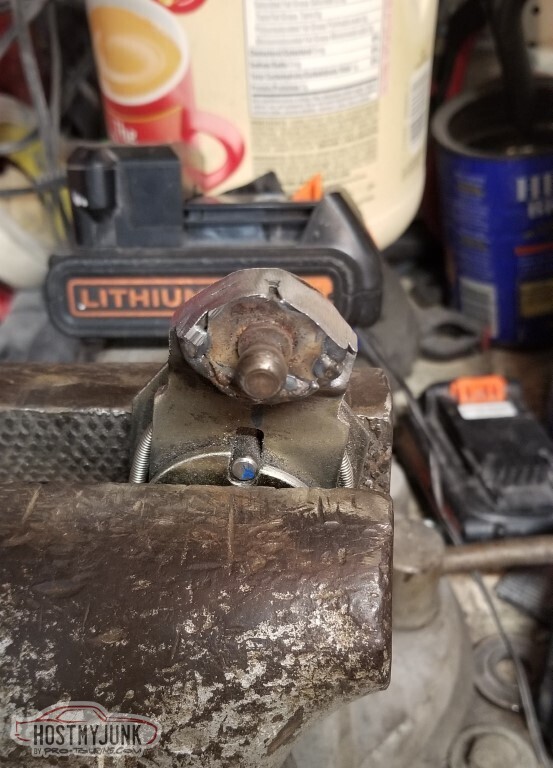
This is the wiper arm. The ball stud is not apparently removable.
I'll need to find a 0.445" ball stud that I can attach to the new wiper motor or come up with an alternate linkage.
David Sloan had an idea on this PT thread that may be my destination.
I found more likely issues:
- I do not have a door lock switch. This will make reprogramming new keyfobs difficult. I *think* I left a connector in place for them but couldn't tell you where it is.
- Pass door latch is still argumentative
- This carpet is most likely temporary - I don't like it, she won't like it.
- The shifter handle would likely be a no-brainer to replace but the Hurst ones are like $100.
- I started down the road of getting the lines for the AC. Vintage Air had a kit, but they don't have adapters to connect to the coil nor do they have provision for the orifice tube the Camaro system is looking for.
-
3 Weeks Ago #115
-ɹoʇɐɹǝpoW-
- Join Date
- Jul 2002
- Location
- Mesquite, TX
- Posts
- 4,929
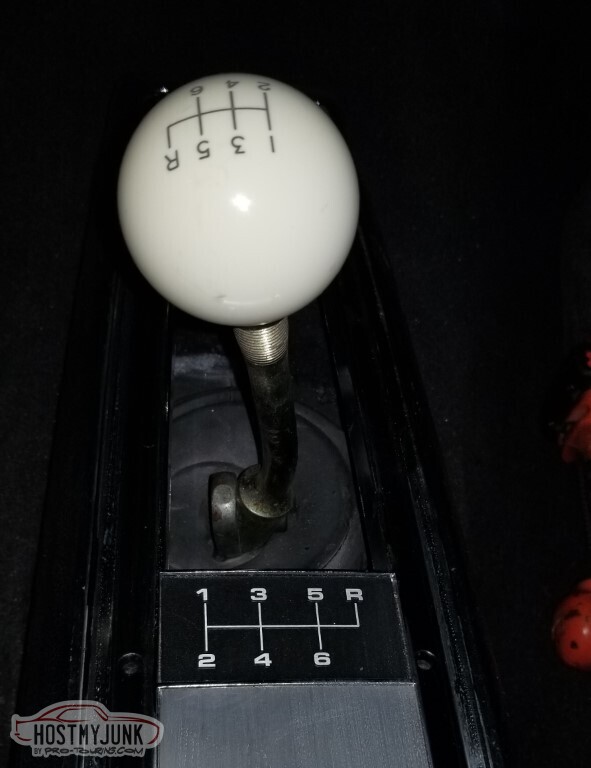
The saga of the shift knob<p>
I tried removing the 15 degree built-in slant:
Alternate view
With this, and some additional bending, I think we're close.

Second gear, plenty of clearance
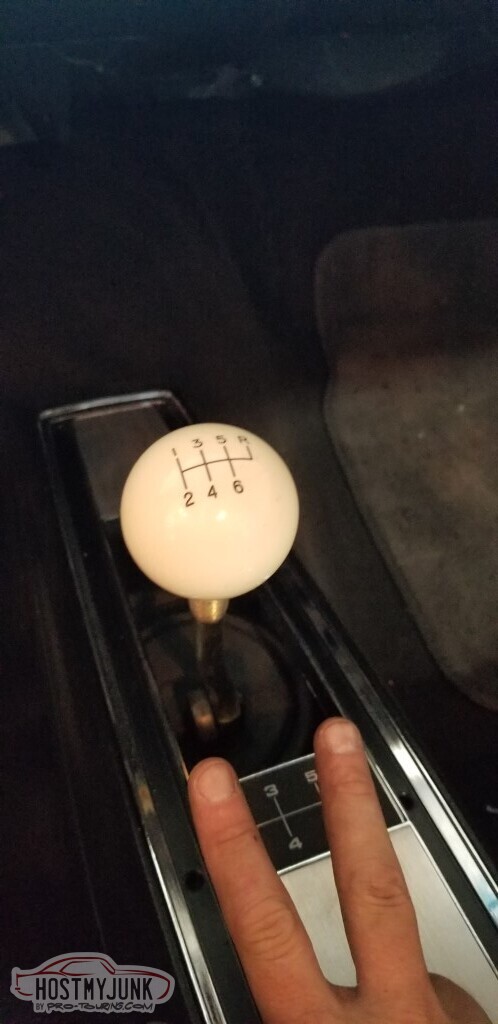
Fifth gear, also plenty.
Bent the handle a little bit back towards me as well.
Bought a cheap shifter boot off Amazon and adapted it:
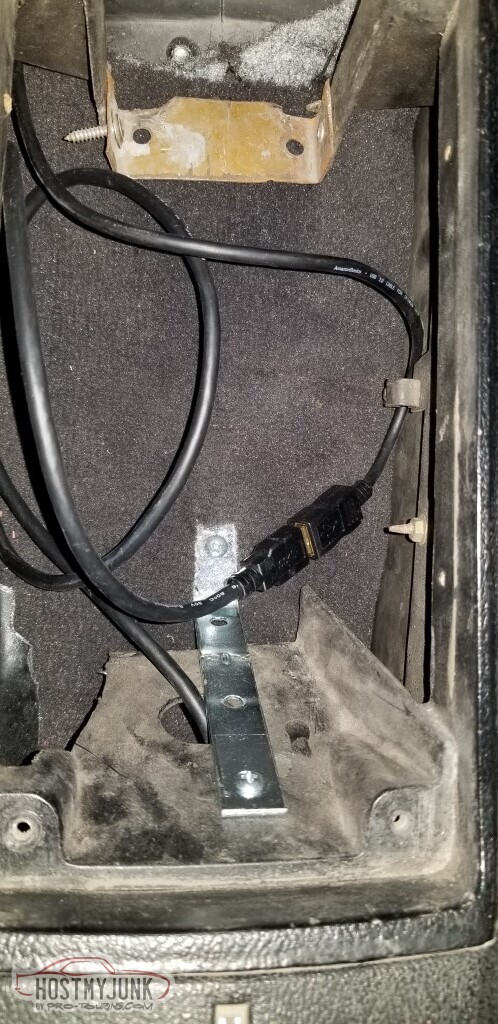
Before buttoning it all up, connected the USB port in the console to the radio
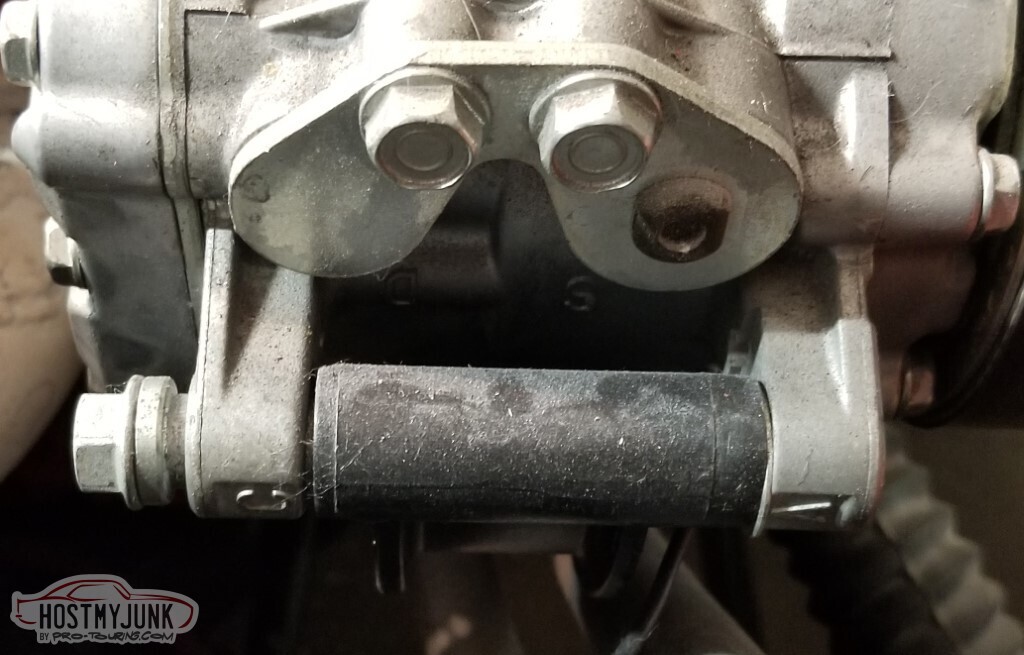
The saga of the air conditioning:
As previously mentioned: I need to get these ports (Sanden SD7) adapted to these ports (2000 Trans Am).
Vintage Air told me that my only real option was to return to stock GM or use their complete kit.
Neither option were acceptable.
Challenge one: Nobody (that I could find) makes the adapters to connect standard hoses to this.
I'd thought to just use AN hoses but the internet says the freon will permeate the shell and leak out.
I do have the old lines, I can use those. I'd thought to weld on the correct ends, except that my welds would be horrible and probably leak.
I'd come up with a plan where I would modify a GM drier, but I'd have to do that every time I replaced it.
An epiphany occurred: I can't use AN *hoses* but I can use AN *fittings*, they're not permeable
I bought the Vintage Air drier kit that comes with a drier and a bunch of beadlock hose ends (and I bought a crimper)
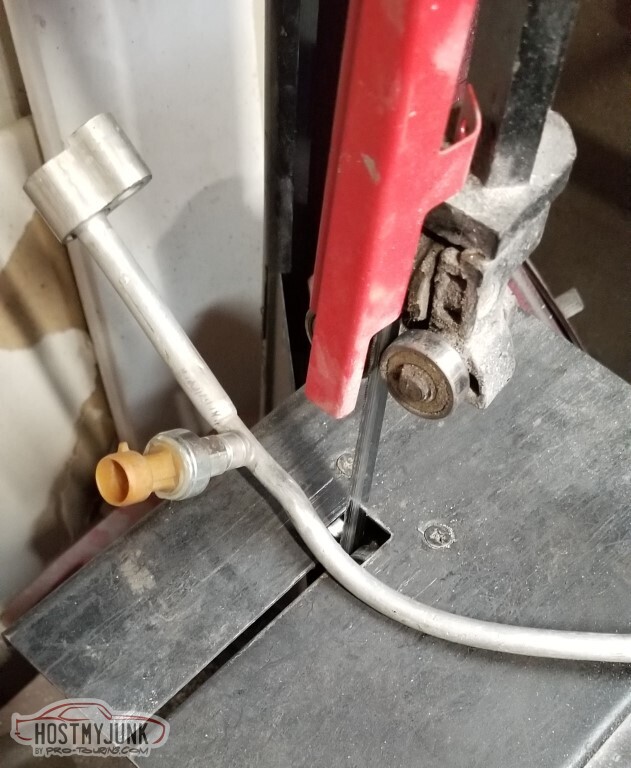
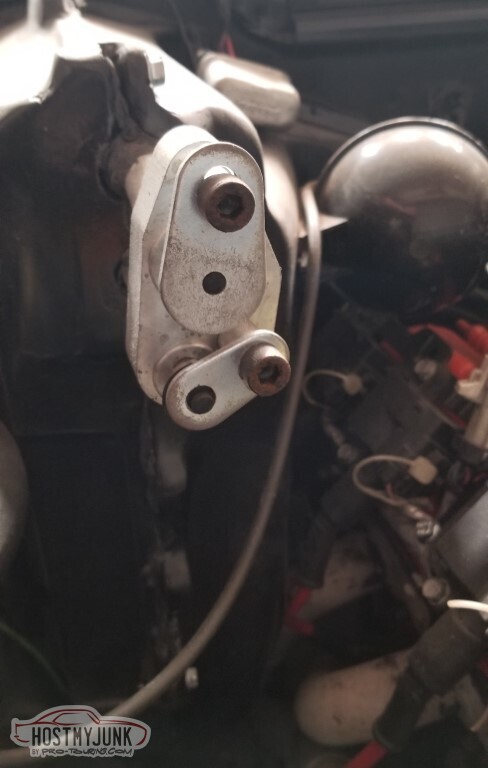
Let's modify the existing lines! This holds the trinary switch and the orifice tube, I need both of those. Cut after the switch mount.
The line here is .375" - 6-AN size.
Flared it, and now it's a 6-AN port.
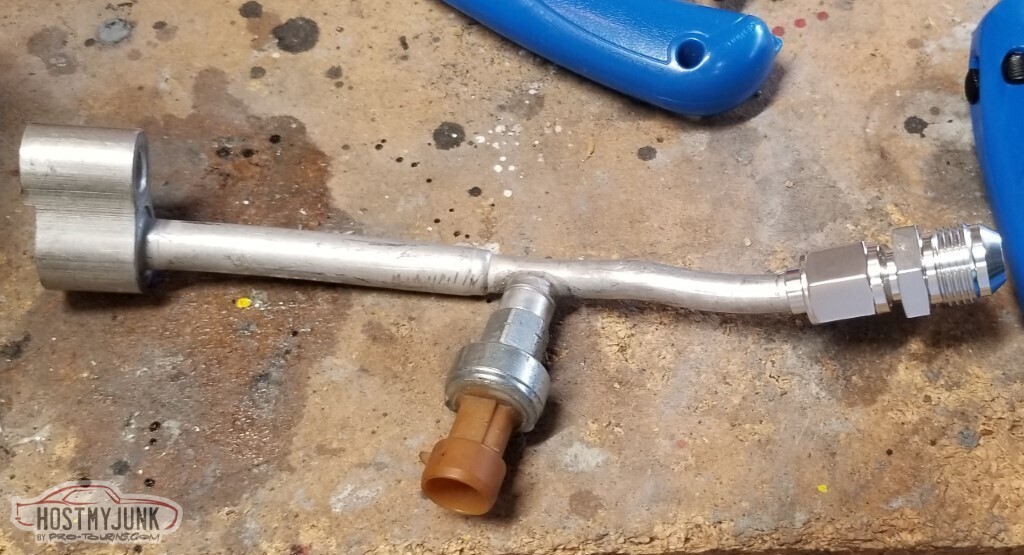
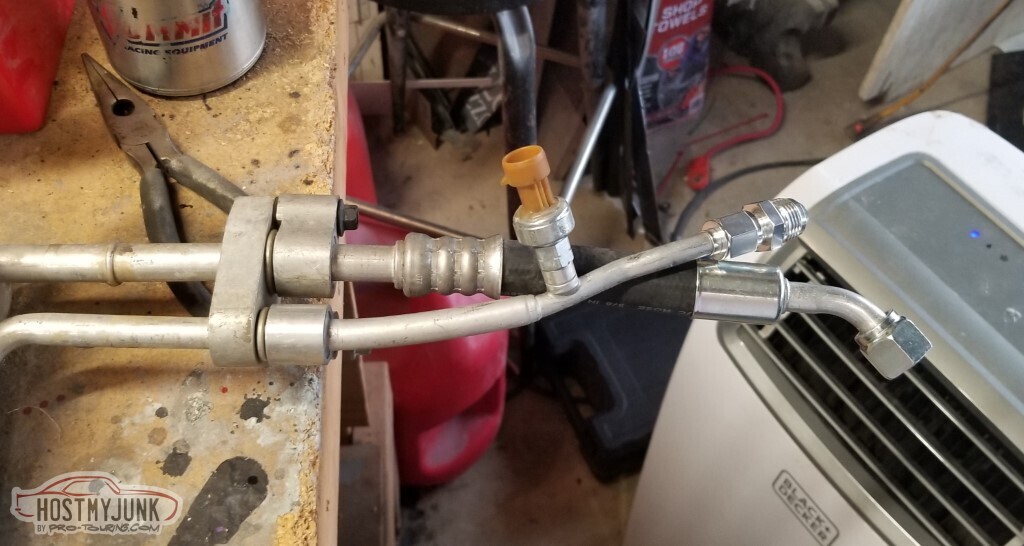
The #8 hose from the coil needs to go to a #6 AC port for the drier. There are more places than I'd like in this process where I need to adapt sizes - the AN fitting at the trinary switch won't actually be used there; that'd be the #10 hose from the compressor that goes there. The 8AN->6AN adapter threaded in will actually go on the beadlock fitting on the hose there.
That hose is the old hose from the original drier.
I don't really like the way the straight fittings fit on the condensor, I'll have to use angled and figure out how I want to run them.
More importantly here - my condensor is upside down. The small port should be on the bottom, says the internet.
Here as well, the port on the condensor is a #8 and I'll have to neck it down to a #6 before it gets to the drier.

Angled fittings fit better but it's still upside down.

Removed, before swapping brackets around. This was more for my reference than for yours. As previously mounted, the top pass side corner is bottom left (old front edge is down)

With the mounts swapped around

Repainted the hood latch while I was at it. It got stuff on it.
More to come on this, more beadlock fittings arrive this week.<p></p>
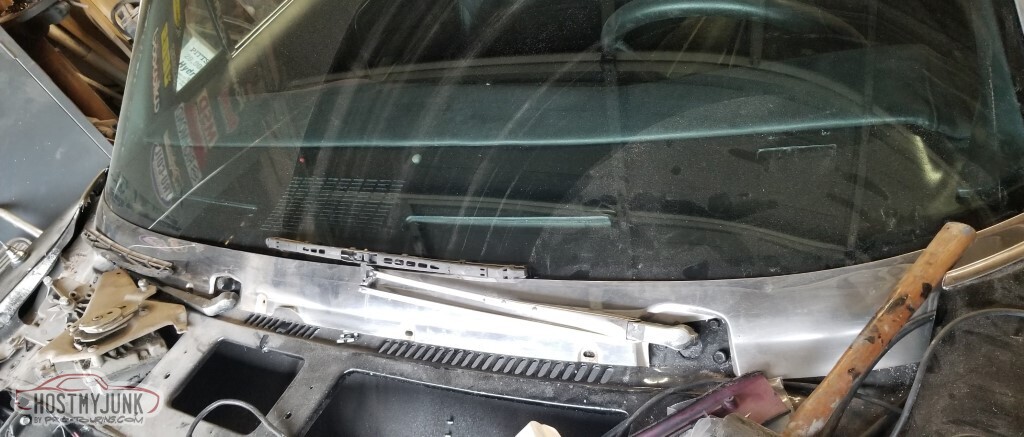
The (ongoing) saga of the windshield wipers:
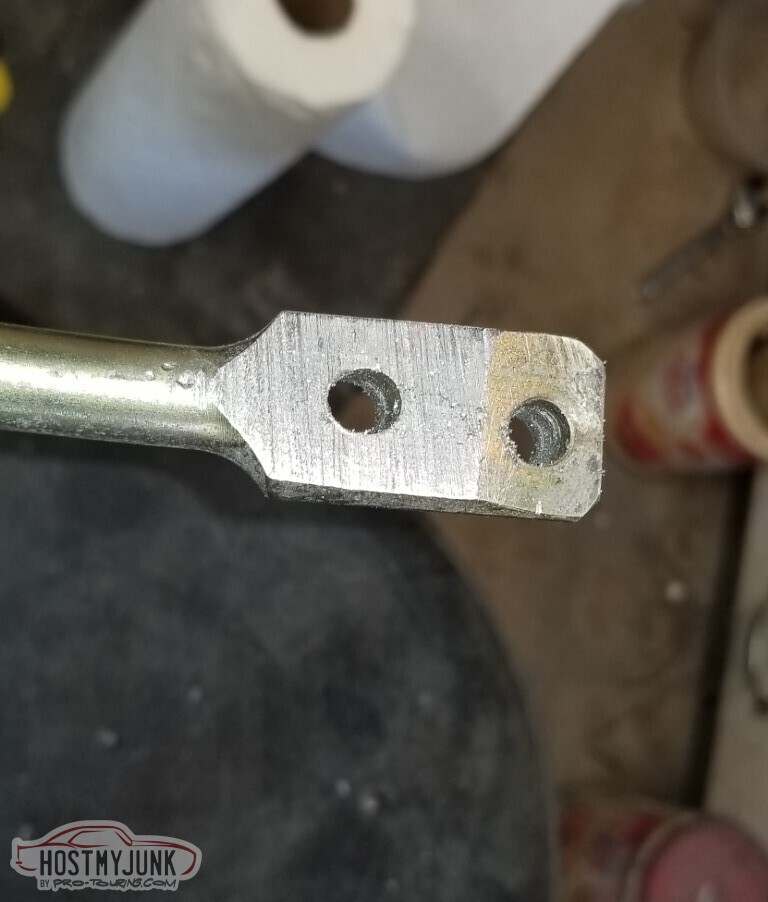
Notched where the ball needs to be based on the length of the stock wiper arm
Ready to run a low-quality bead.
Needed to clean up the edges so it didn't hit the inside of the cowl.
Mounted (inside view). This is the parked location.
Mounted (outside view)
They work (action shot). I did not put a stop for the park mechanism in there, it already goes back to the correct place.
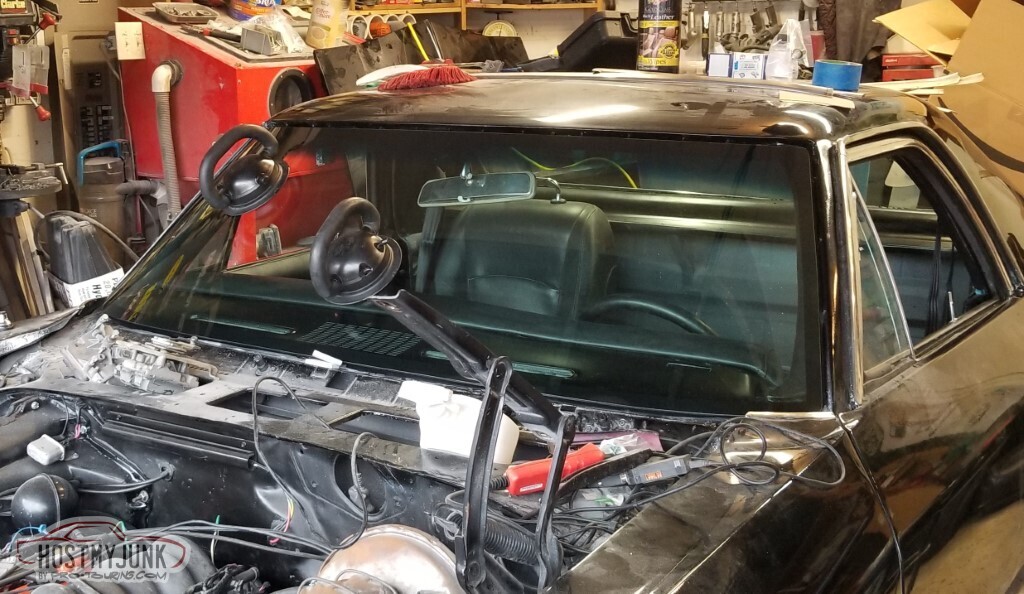
So far as I know, wipers are done.
With the wipers done, I could put the hood back on.
Other things:
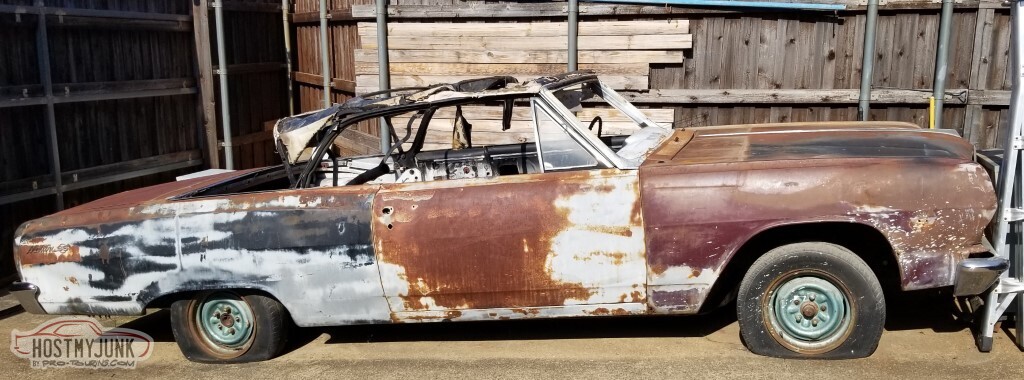
The Chevelle has been uncovered and is (im)patiently waiting its turn in the garage.
 2308200031_tn.jpg"></a>
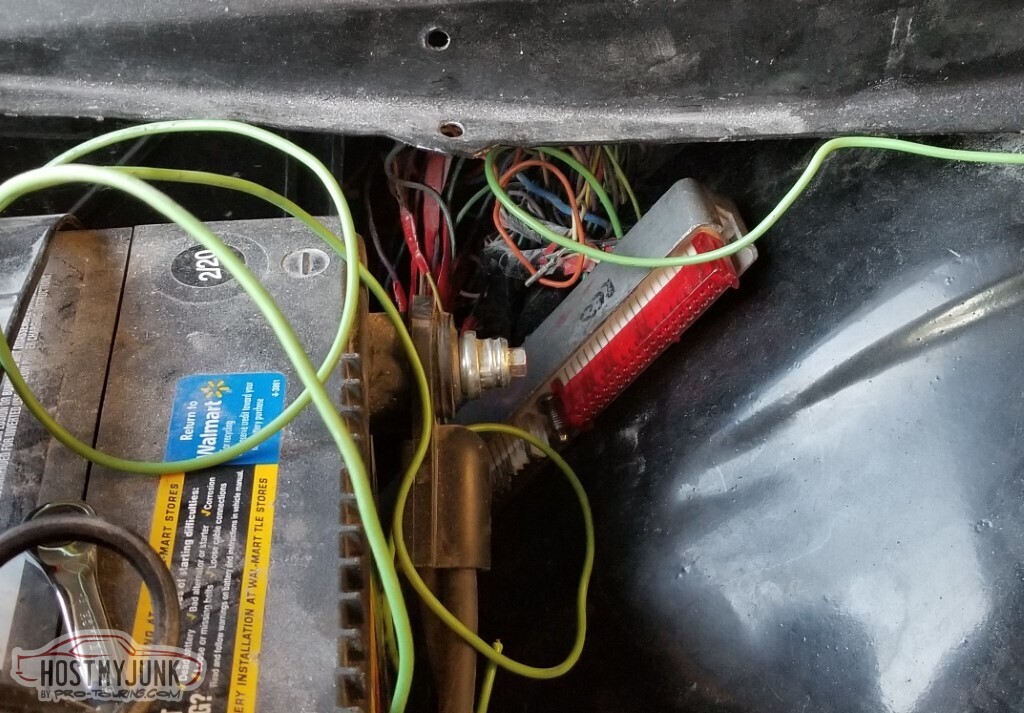
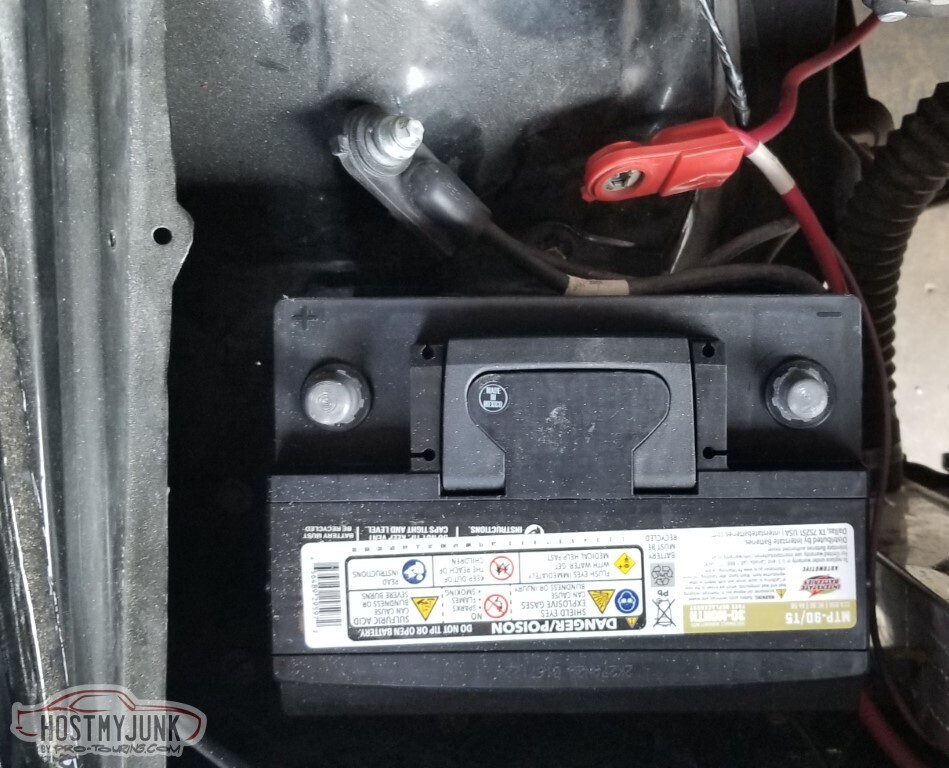
I had to replace the batteries in everything this month.
The battery in the Camino was a low-end Walmart battery that I had very little faith in, so when the gate across the driveway needed a new battery, I offered that one up.
Then the battery in the Vette went bad. I had no expectations, so went ahead and bought an optima to replace it... then I saw the "30 month free replacement guarantee" and the datecode of 27 months ago.
I had low expectations of Interstate's warranty - especially after the local Firestone wanted to see a receipt before they'd even entertain the idea.. but I ended up at one of their Battery Centers and they did a quick check and just handed me a new battery, with the full 30 month warranty on it.
It's top post and not side threaded like the old one but I think this is probably more appropriate for the car anyway.
Plenty to do still, but it's been 108+ for weeks and I just can't spend huge amounts of time out in that heat. Hopefully it'll cool soon.
-
3 Weeks Ago #116
-ɹoʇɐɹǝpoW-
- Join Date
- Jul 2002
- Location
- Mesquite, TX
- Posts
- 4,929
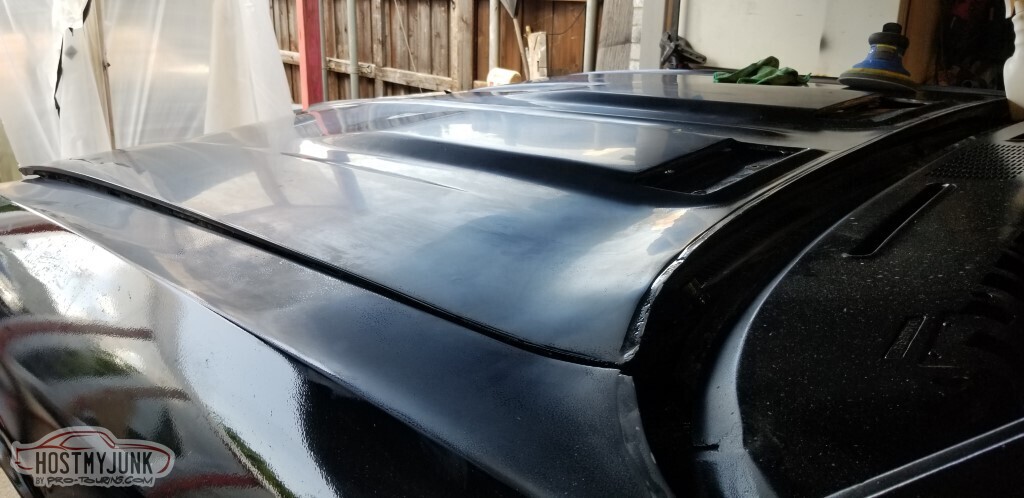
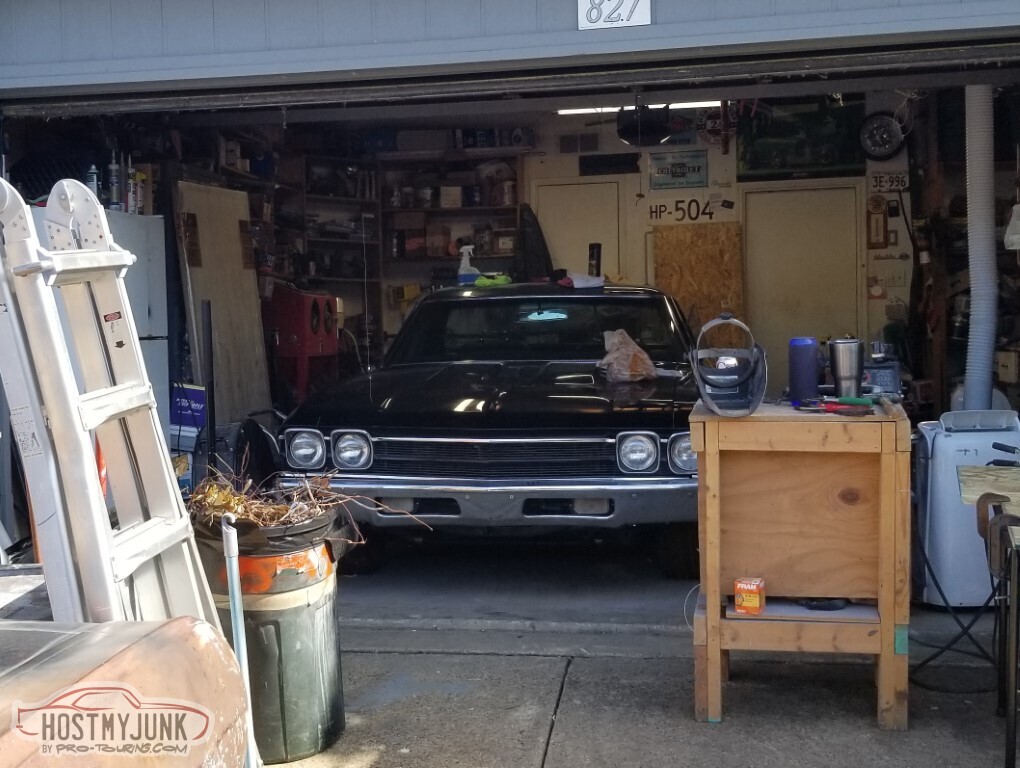
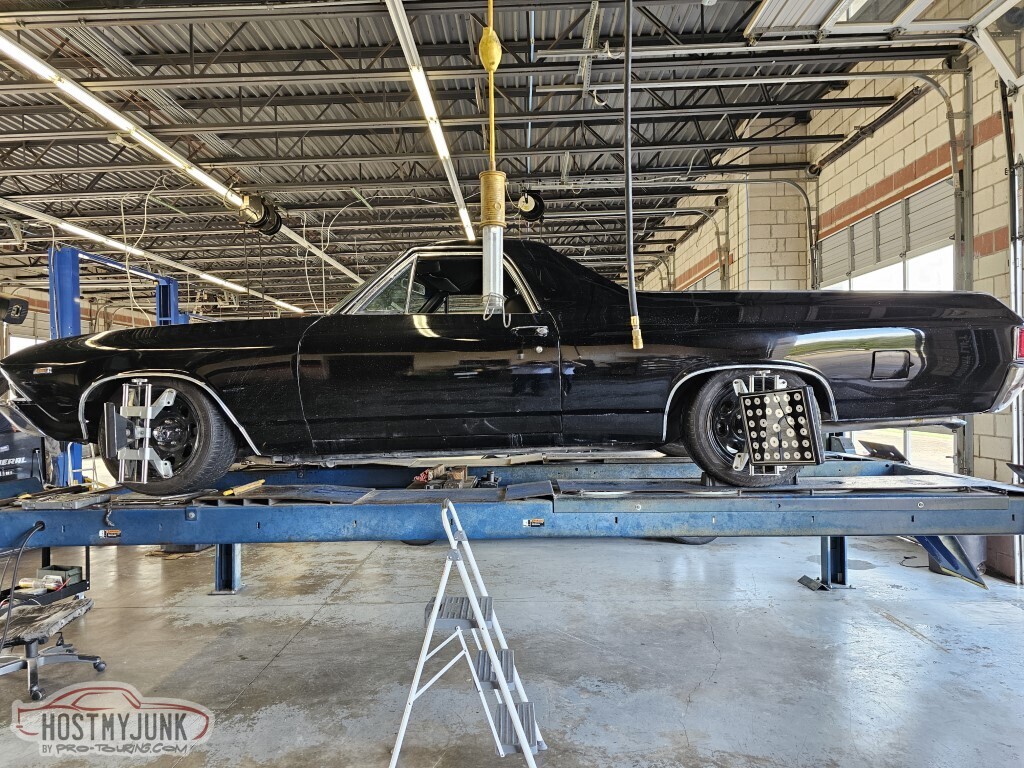
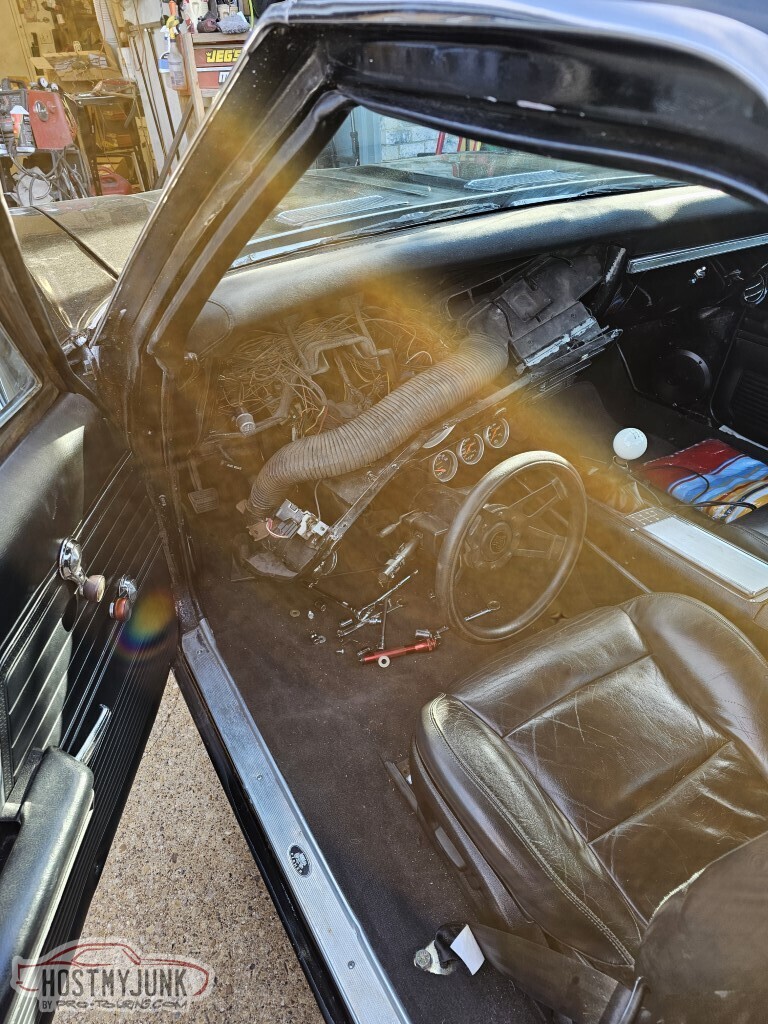
It was time to pull it out of the garage and get it cleaned up and ready for its maiden voyage.
And maybe a wash too.
The wash went well.


.. and maybe I need to clean the engine bay too. (I did not)

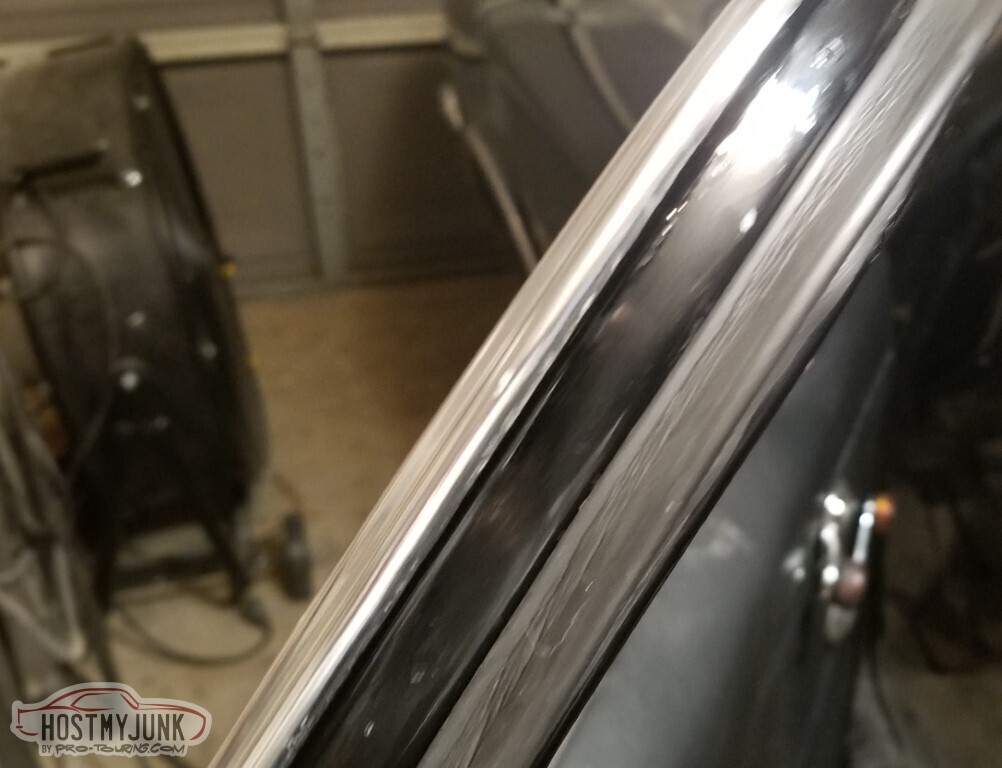
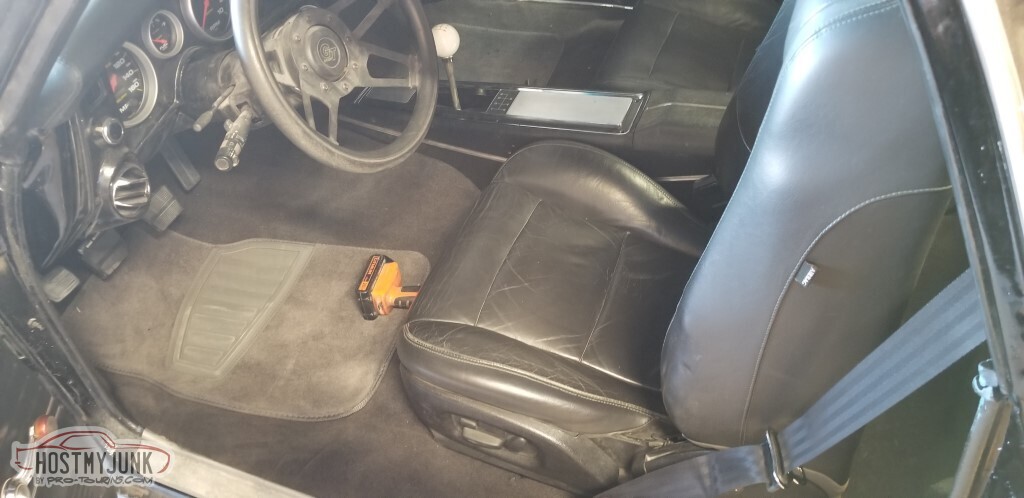
This is actually washed, a few nicks filled, sanded with 800/1200/1500/2000/3000/5000/8000, buffed, polished, and Chemical Guys HyperSlick coating applied.
Got the vehicle insured.
Today's plan was a trip around the block, then if all was well take the car up to get it inspected.
All was not well.- The clutch is not fully disconnecting. This actually got worse as the drive continued, because:
- The retainer for the clutch pedal had fallen off and gone .. somewhere.
- At temp, it won't idle. The clutch not disconnecting doesn't help there, I imagine.
- The parking brake worked great, until I got back. Something popped and there was suddenly a lot of slack on the pass side cable.. Took up the slack, and the pass side now gets much tigher than the driver's side, and the parking brake is completely ineffective. After cleaning up and coming in, I suspect that the pass side cable came free from the caliper, and it's catching the stop - so no braking from the pass side, and can't get tight enough on the driver's side to add any either.
- The driver's exhaust tip is not in the right place. I need to adjust everything after the muffler.
- I dropped the column a few months back to adjust the high beam switch, and something got tweaked. There's some binding in the steering - not in specific places, but in all of them the steering doesn't turn freely.
- The alignment is SO wrong.
- There's a whole bunch of things rubbing and rattling.
- I didn't even think to verify that the speedometer was reporting<
So the afternoon was spent in the driveway wrenching:
- I had a spare clutch pedal retainer in the attic. Successfully installed. Still insufficient clutch disengagement
- Tried to adjust the clutch rod to let it stroke the slave a little further, did not help. Think maybe I need a 1/4" threaded sleeve that's ~1/2" longer than what I have now.
- Also tried to re-bleed the clutch slave; had a hard time getting the pressure bleeder set up
- As described above - spent a lot of time trying to get the parking brake adjusted with no joy.
Plenty to do before the next attempt... but I can say I did drive the car today.
-
3 Weeks Ago #117
-ɹoʇɐɹǝpoW-
- Join Date
- Jul 2002
- Location
- Mesquite, TX
- Posts
- 4,929
Most of the issues I mentioned last time have been resolved.
- The clutch disengaging was resolved with a longer ball joint.
- Parking brake cable had popped off the pass side parking brake
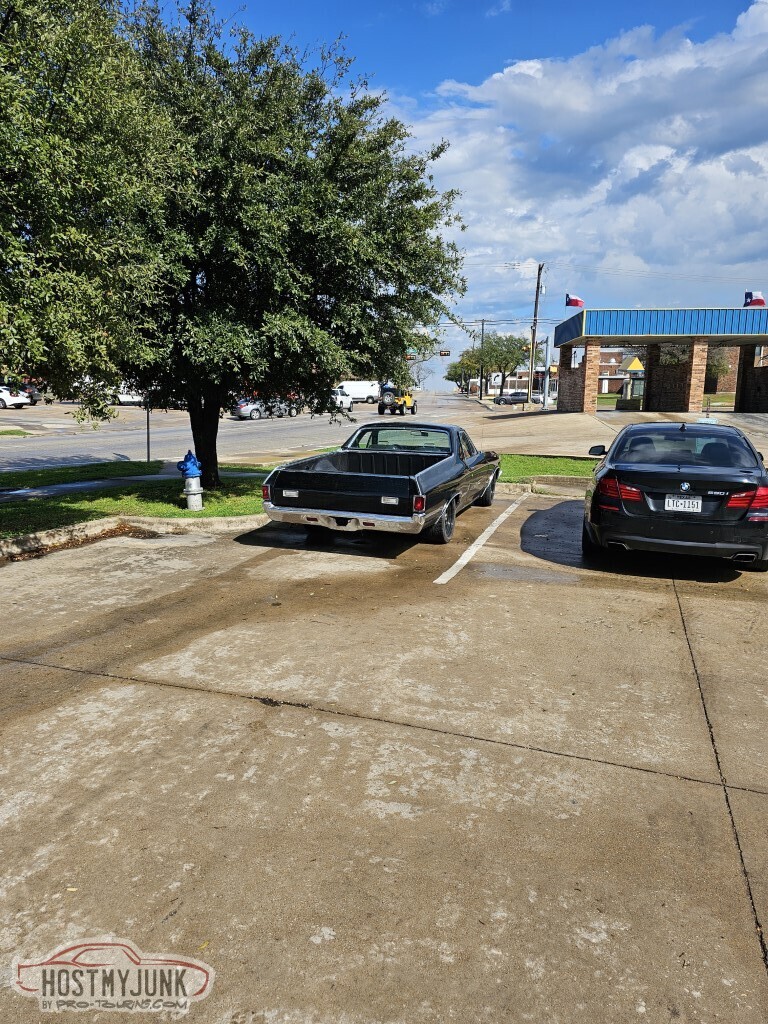
Went ahead and drove it down to the inspection place (last year for inspections in Texas, unless you're in a county that requires emissions (which I am) and your car is not exempt from emissions testing (which this is)). The drive was... harrowing. The rubbing and scraping were nerve-wracking, the car wouldn't idle at stoplights, the speedometer only reads ten miles per hour (regardless of speed), and the brakes are not particularly effective. Regardless, it passed safety inspection.
Unrelated: Why does it look like a toy compared to that Bimmer?
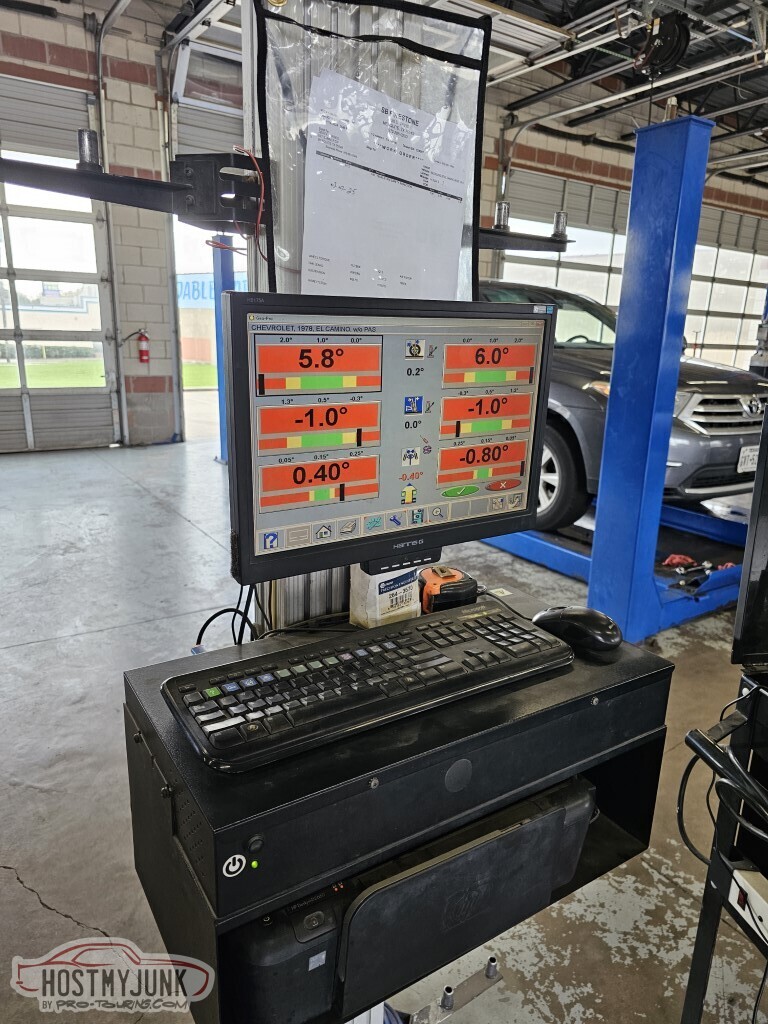
They had time to do an alignment as well (which is good, because it really needed it)
While it was on the rack, the first thing we noticed was that a lot of the rubbing and scraping was the rear shocks hitting the little splash-shield things on the rear axle. Since it was a 4-wheel alignment, they adjusted the pinion down a little and that moved the shocks away from the shields.
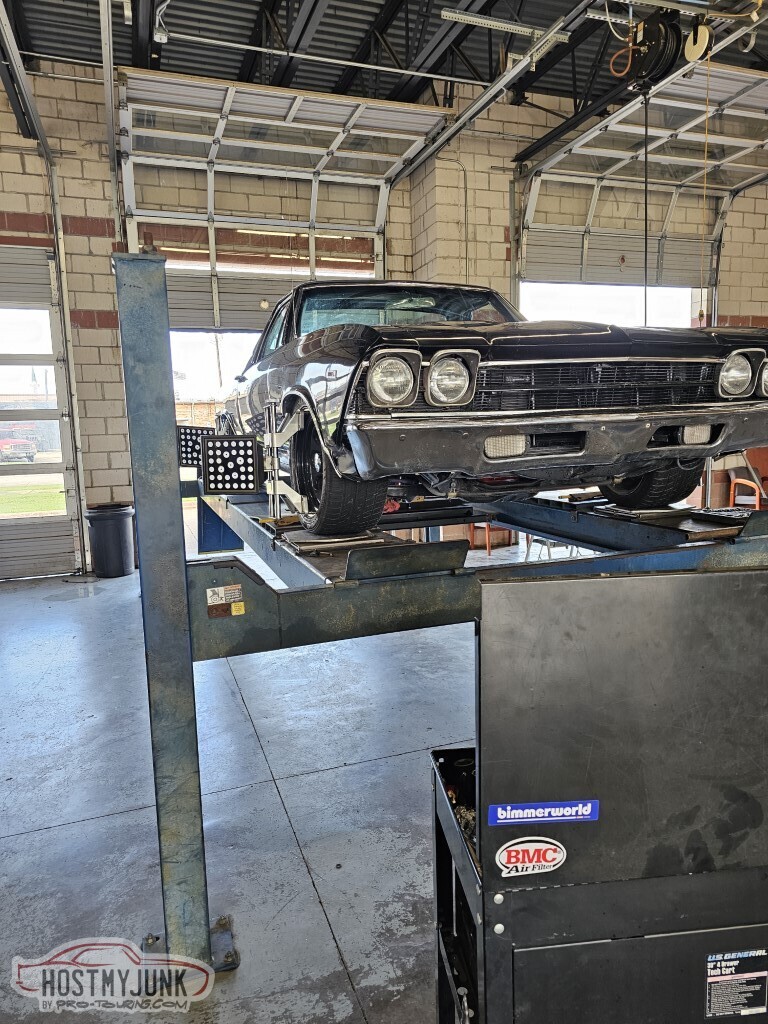
I knew it needed an alignment.
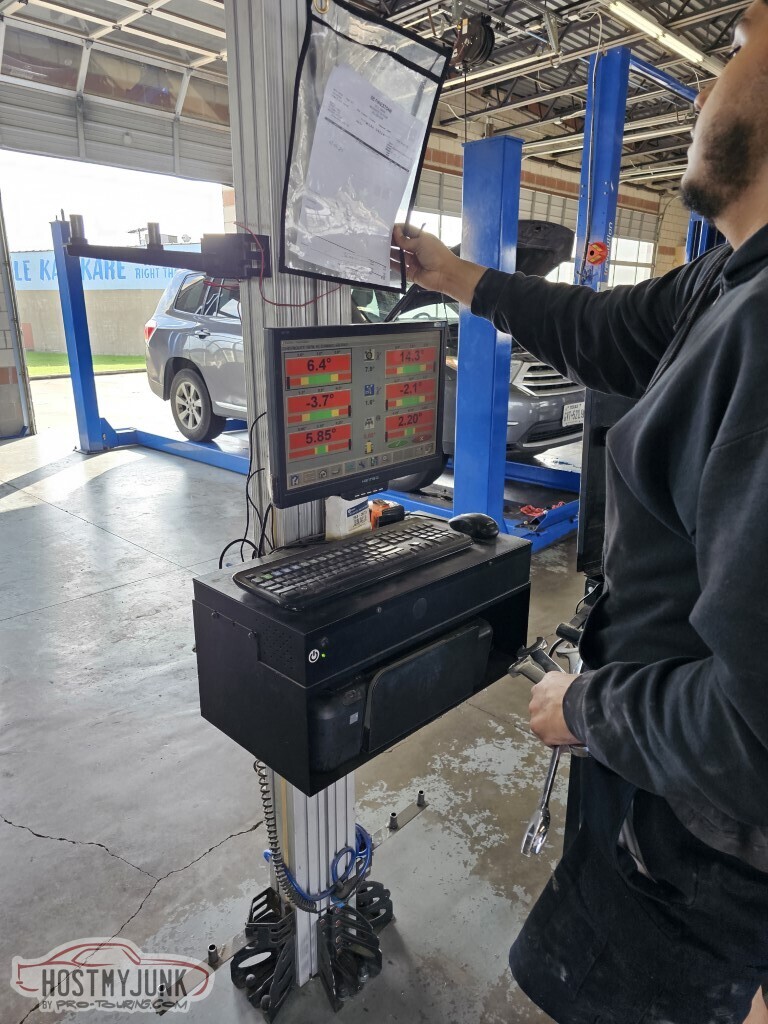
Final numbers are pretty close to what I asked for.
 2404060005_tn.jpg"></a>
Next item on the list:
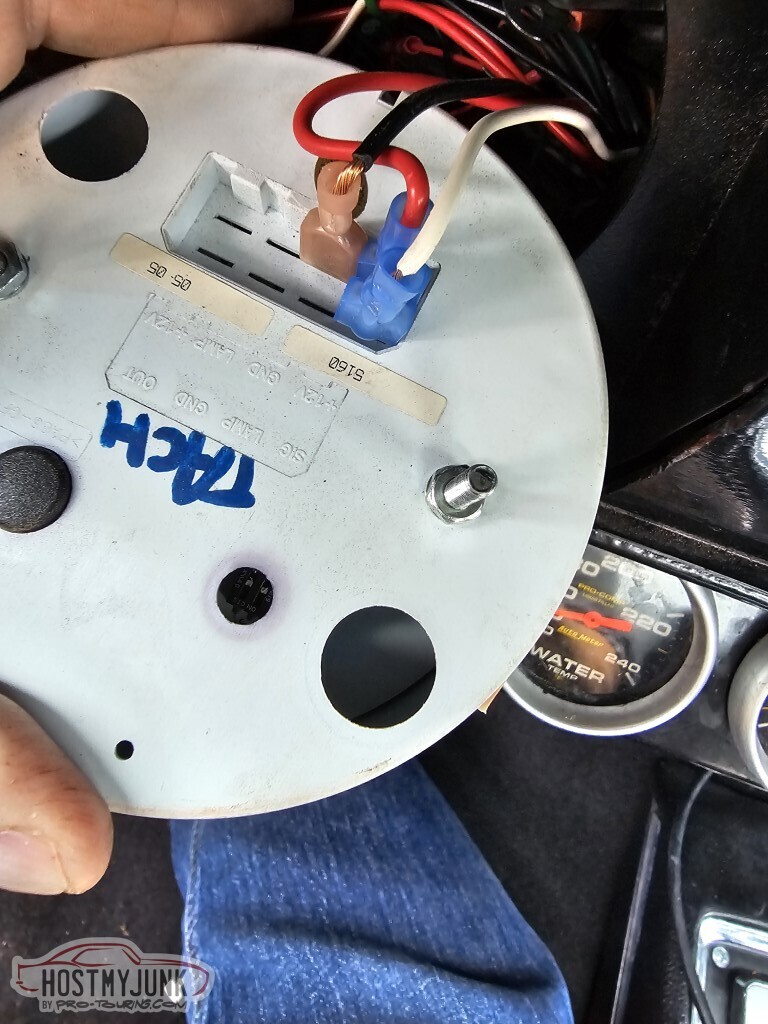
The tach looks to be reporting half the correct RPMs.
Per the instructions, the two dip switches should be set to UP-UP for an 8 cylinder, but for LS usages it should be set to 4 cylinder, switches UP-DOWN. Definitely shouldn'e be set to DOWN-UP for 6 cylinder.
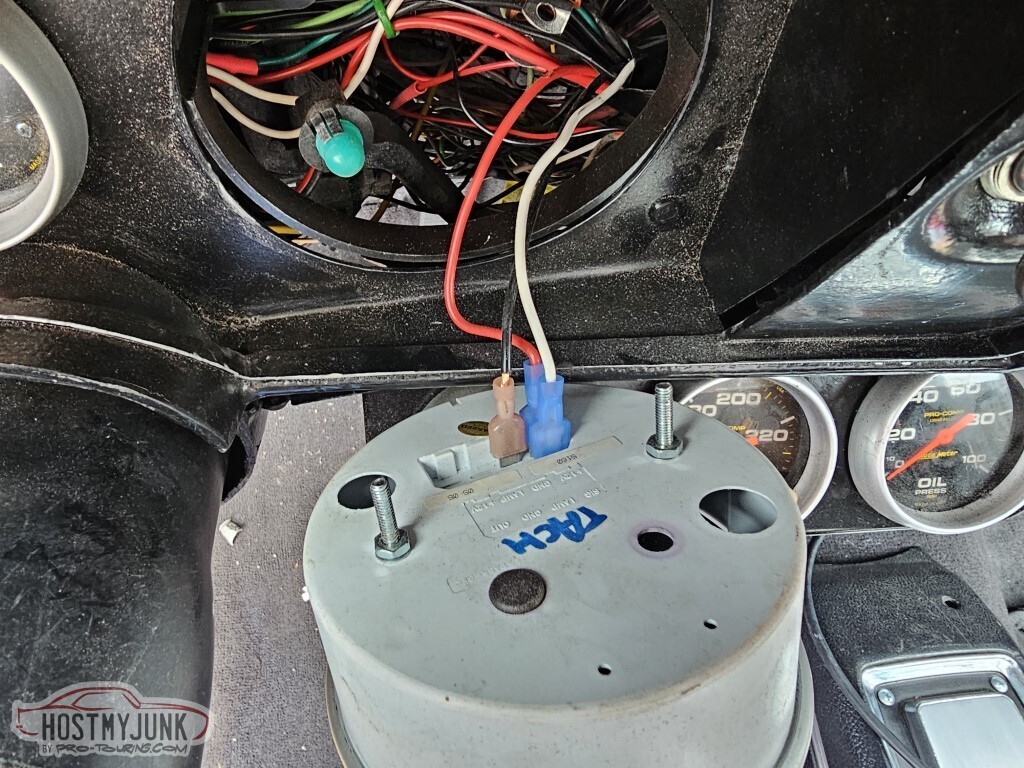
.. but the only way I got the correct reading is to have the switches set to DOWN-DOWN, which shouldn't even be valid.
Of course, I had to drop the dashboard to get the tach back in there correctly.
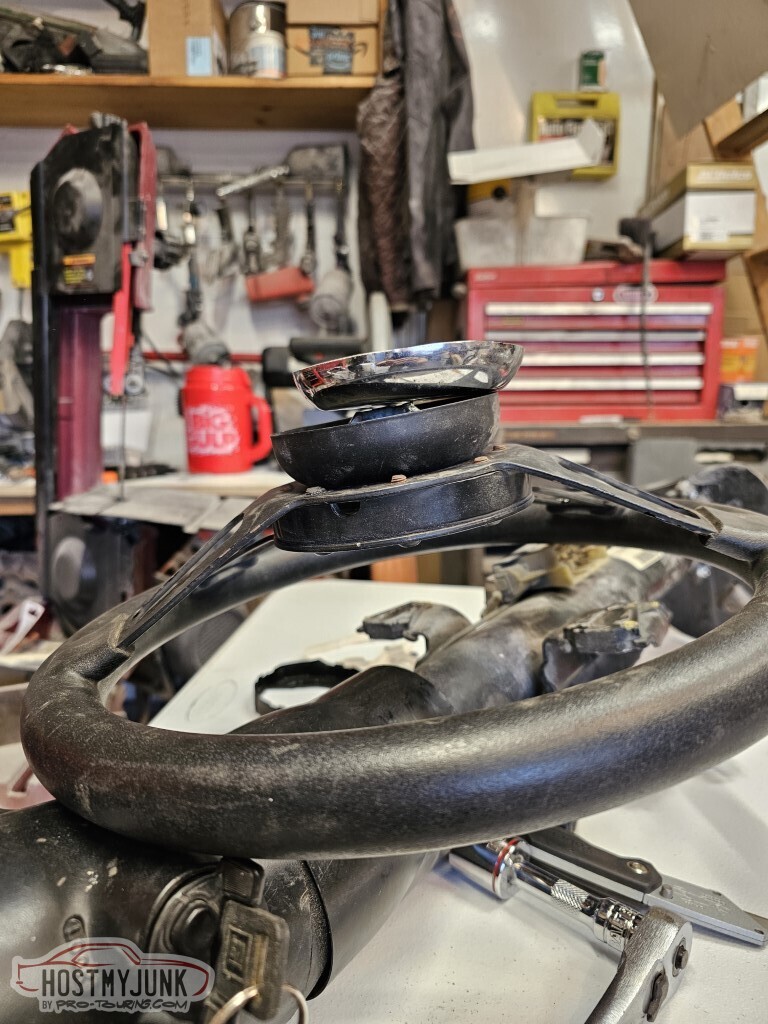
Time to work on the binding in the steering column (because it's most disconcerting).
Took the wheel off and it looked like this plastic cover was broken and possibly in the way. Spoiler: it was broken, but not the problem.
The trim ring had actually recessed itself into the column and was rubbing on the inside edge.
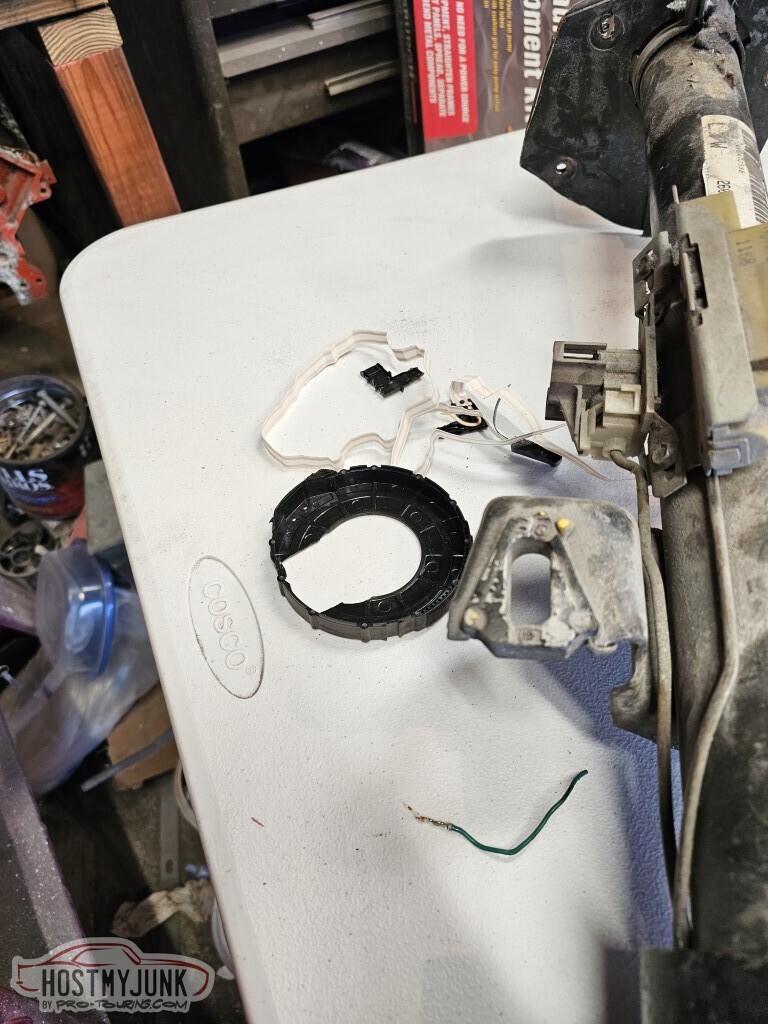
You can see here where it was rubbing.
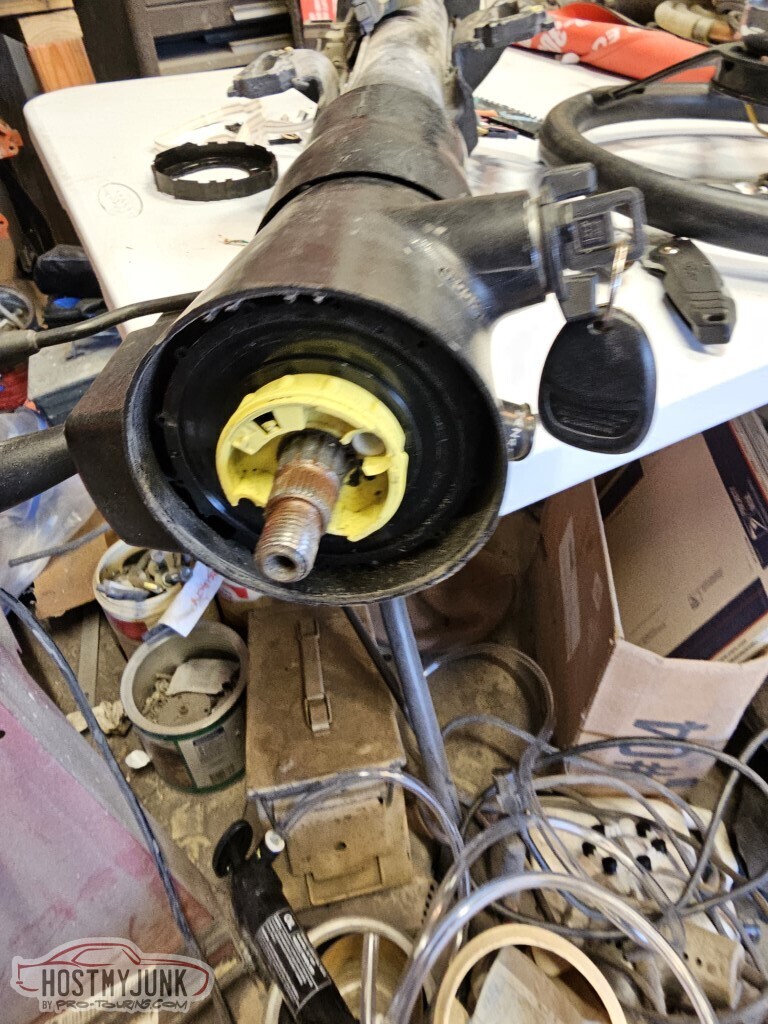
I tried just grinding the edge of the trim ring down so it'd clear. It did not go well. Luckily I had a spare.
Put some washers between the column adapter and this ring, hopefully it'll keep enough space to not bind up again... and if it does, I know how to fix it without pulling the column.
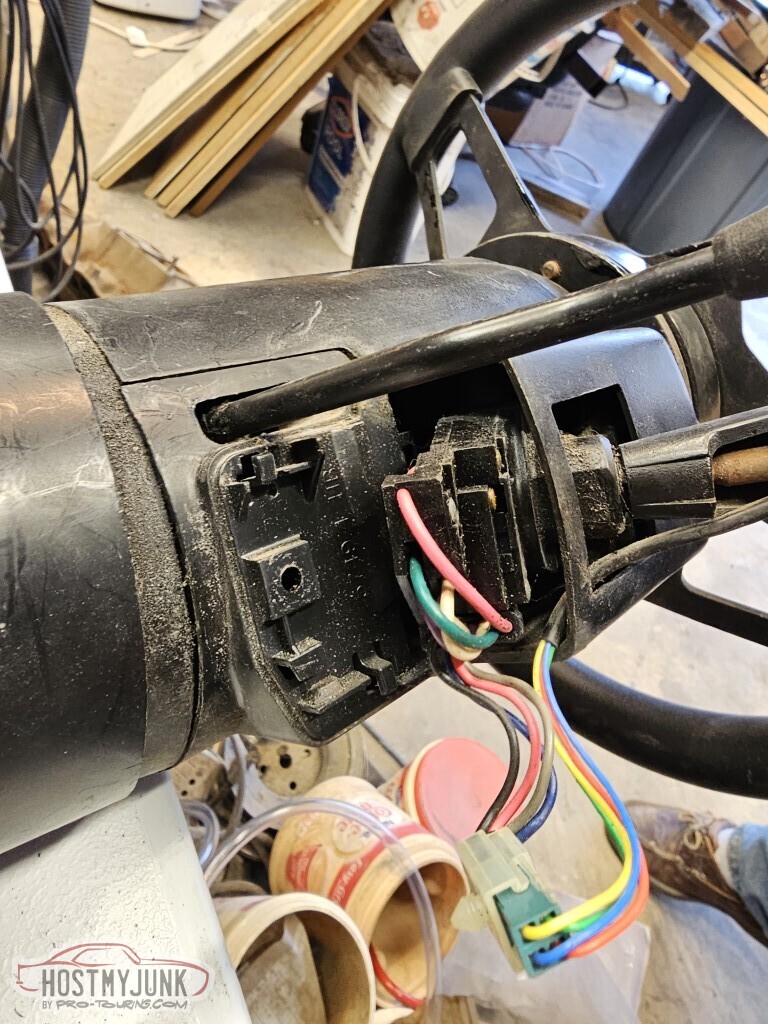
Another issue while it was apart was on the way back from the inspection, the turn signal lever stopped "latching" in the right-turn position.
I could not figure out how to get this apart so will worry about it later.
Not pictured:- The column is back in the car.
- New problem: With the column back in the car, if the car is running and you turn on the high beams, the car dies. I do not know what the resolution for this was, it fixed itself during my troubleshooting.
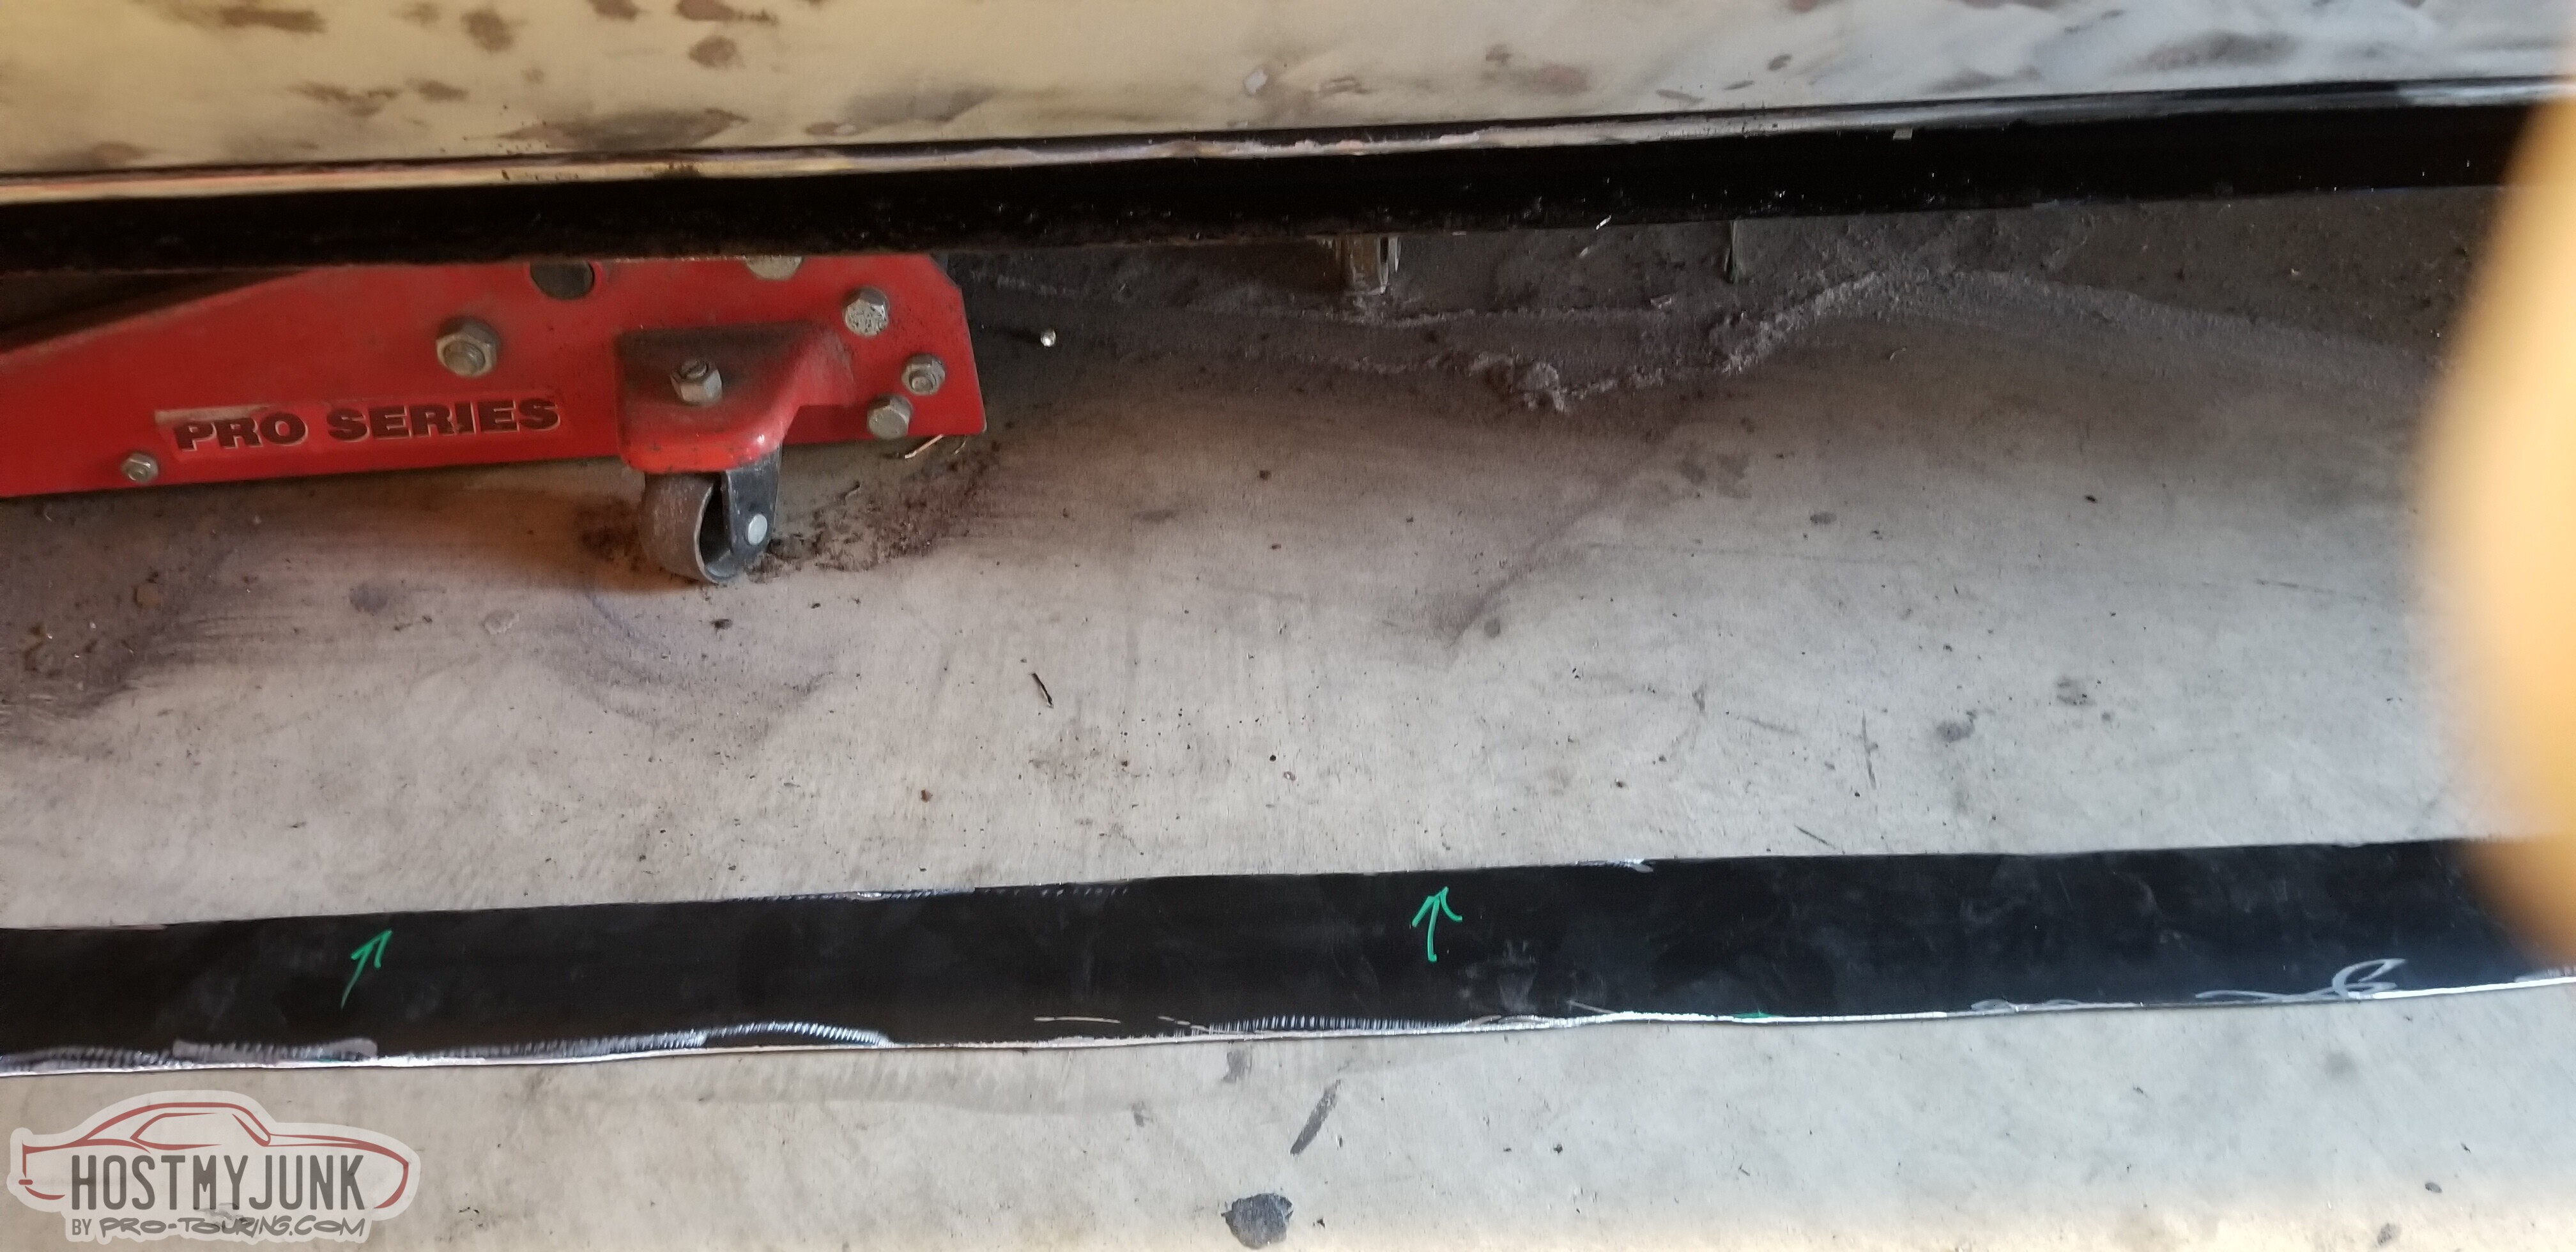
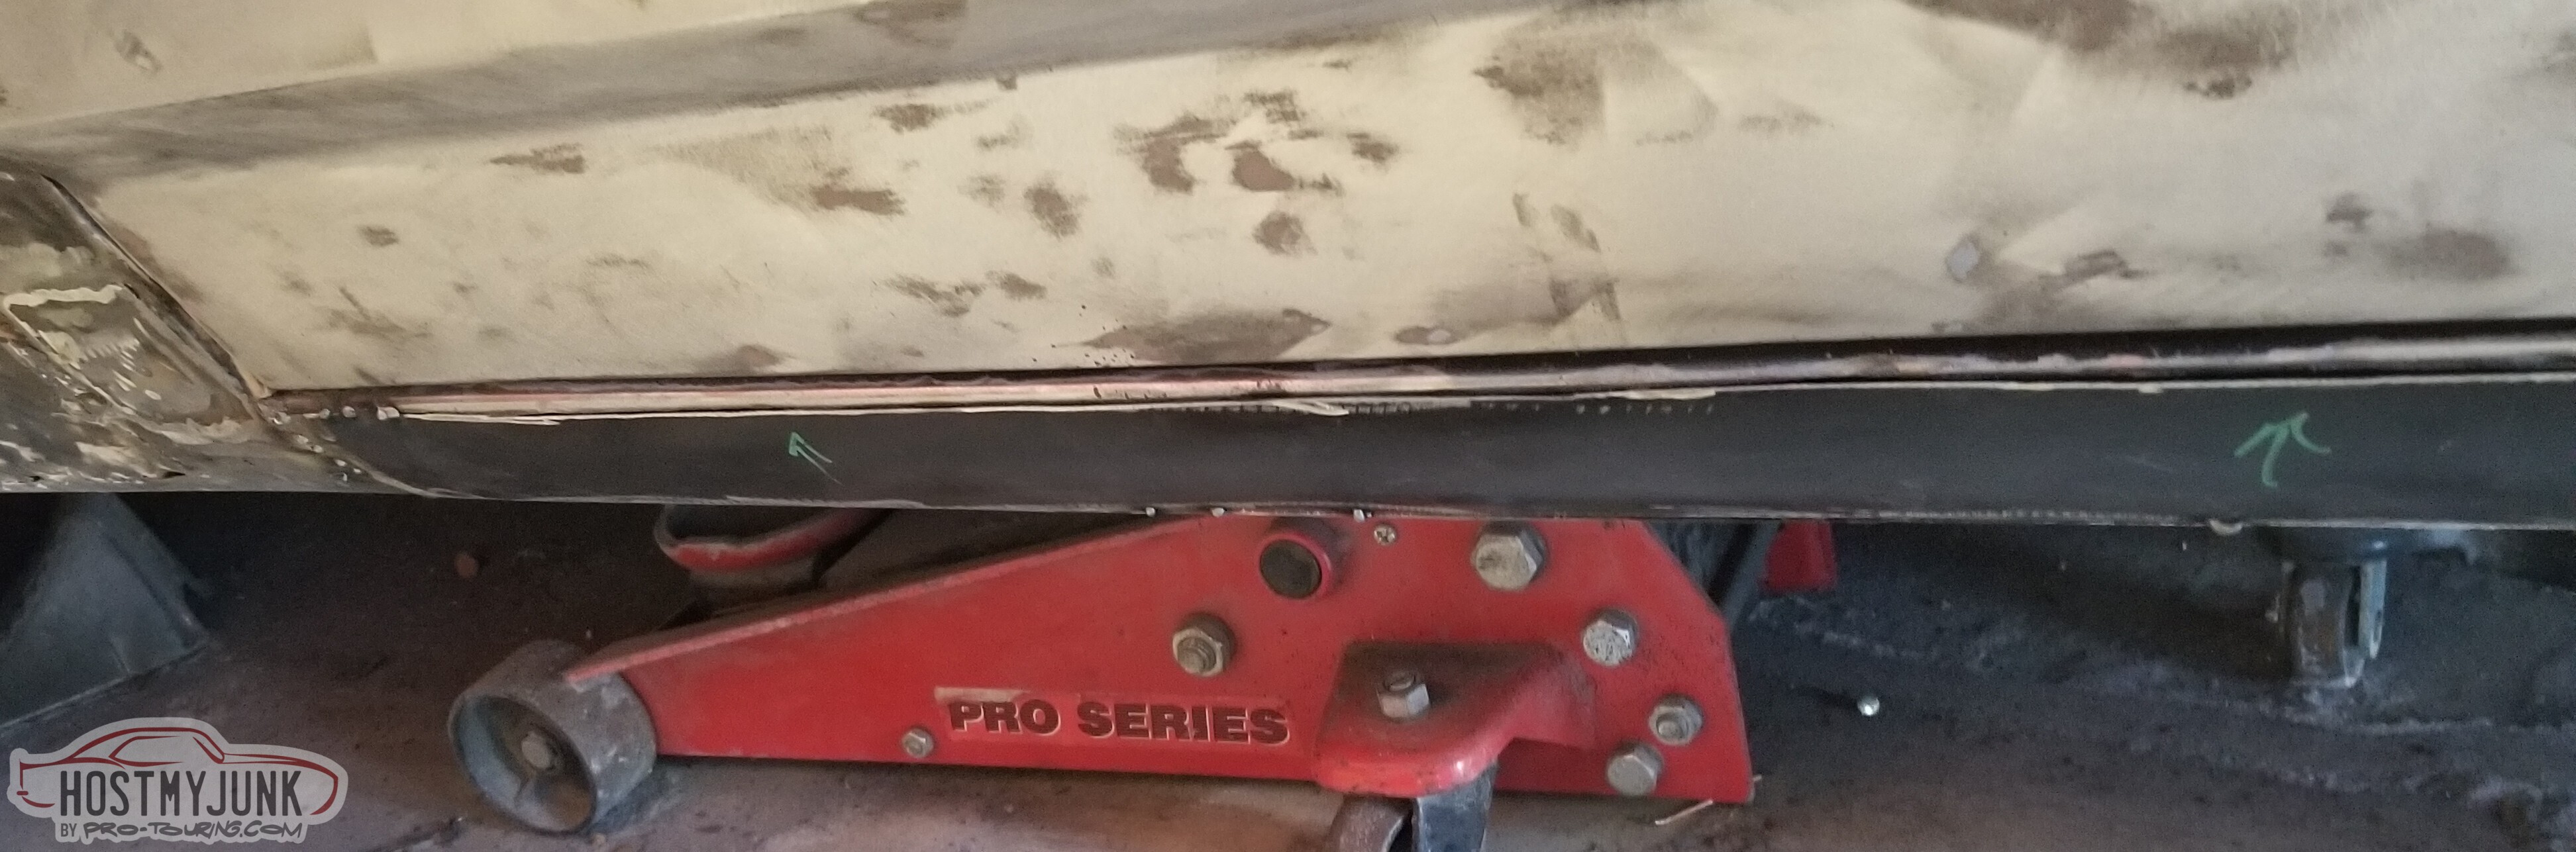
- There is an issue with the driveshaft. I can see where it's rubbed on <something> roughly where the brace for the inner seatbelt mounts are. I do not know if it rubbed before the rear axle was adjusted or after. Felt around and don't feel anything obvious that could be hitting it. I put some paint on the rub marks so I can see if they're continuing or not. I <think> I had a "tall" transmission mount (edit: I did, I already replaced it with a short one).
Wonder if the problem was resolved at that point, and this is old rubbing and if it's still rubbing I could maybe get a shorter one, or they talked me into upgrading to a 3" driveshaft when I got it; the 2 1/2" would likely be less of an issue. - Played with EFILive a little and got it where it'd idle.
- Then I went to set up for wideband tuning - dug out the Innovate LC-1 that I've had for ~20 years (goes well with the 20 year old EFILive hardware, I imagine)
- Hooked it all up, and EFILive says 0.0 AFR or 0.0 volts on the external, depending on how I ask it
- Went to look at the raw data through the LC-1 software, and my USB-to-Serial cable has failed. Ordered a new one.
- New USB-to-Serial, now I can get to the LC-1 software. Wild fluctuations - 7-to-20-to-7, etc. Assuming it has failed (although that could be perfectly normal).. ordered a new one, and LC-2 since LC-1 is out of production.
- New LC-2 with new USB-to-Serial, go in and tell the hardware to report 2v on channel 1 and 3v on channel 2. Confirmed output with a multimeter.
- EFILive reports 0.0v. Lots of back and forth with the EFILive support folk... and the result is that my hardware has apparently failed, and the upgrade path from the FlashScan v1 to vx closed years ago. Ordered an HP Tuners HPVI3, with ProLink - not because I think it's better, but because almost all of the tuning tutorials I see on YT are with HPT and not EFILive.
- Now I'm getting to learn how to use HPT.
- Hooked it all up, and EFILive says 0.0 AFR or 0.0 volts on the external, depending on how I ask it
- I got a steering column tool to get to the bolt for the turn signal.
- The speedometer only reporting 10mph is presumably because it's not calibrated - instructions here give the process. I need to find a 2mi route to use to calibrate; not quite ready to take this thing on the highway yet. Oddly enough, it does seem to be counting miles on the odometer still though.
- Car is inspected, insured, registered, and has license plates... so I'm proper dangerous.
I am now back to being current on my updates here. Tuning is the next process; it's ongoing but between weather and family medical, time has been limited.
-
3 Weeks Ago #118
Registered User
- Join Date
- Sep 2013
- Location
- sw Kansas
- Posts
- 1,649
That's quite an update. Not without pain but I can say not unusual.
 Keep the faith, you're almost there.
-
2 Weeks Ago #119
Rat Pack Member

- Join Date
- Aug 2002
- Location
- Waleska Ga.
- Posts
- 2,711
Looking good Derek .
David Sloan
If youre suggesting sending men with weapons of war to take my weapons of war,then Im fairly certain thats whats called an act of war and the definition of tyranny.which coincidentally is the reason for the second amendment to begin with!
https://www.pro-touring.com/showthre...ght=fun+camaro
https://www.pro-touring.com/threads/...lcamino-build!
-
2 Weeks Ago #120
 Registered User
- Join Date
- Nov 2000
- Location
- O-town
- Posts
- 4,285
We should be friends, I have the same luck you do, My brother calls it the family curse, but that a hell of a lot of work,
Steve68- 1968 Camaro SS LSX T56, 12bolt 3:90's, 18" Fikse Profil 13s, Deep Fathom Green paint, Spearcos, just bunch of old junk because another member said so, LOL
70 Nova SS street/drag 454, T400, 3:55, ugly!
-

 Reply With Quote


